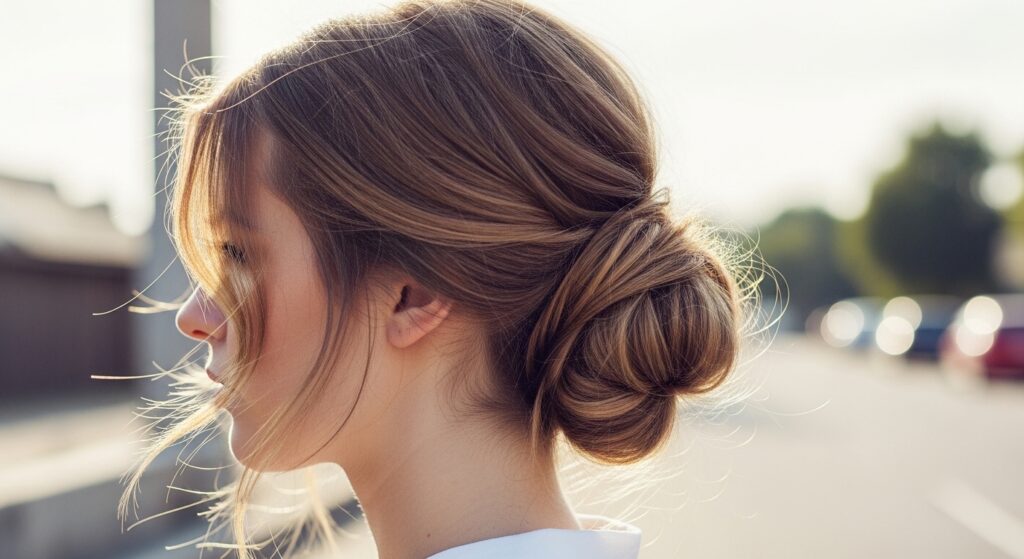
12 Effortless Beach Waves Hacks for Summer Glow
Okay, let’s be real. We all want that perfect, just-got-out-of-the-ocean hair look. But for most of us, it doesn’t just happen. My hair either goes completely flat or turns into a frizzy mess. Sound familiar?
I spent years trying every product and technique, from expensive salt sprays to weird braiding methods I saw online. Some worked, most didn’t. It was so frustrating!
But guess what? I finally cracked the code. And it’s not about one magic trick. It’s about having a whole toolkit of simple, fast hacks you can use depending on your hair type and how much time you have.
That’s why I’m sharing my 12 absolute favorite, no-fuss ways to get gorgeous beach waves. These are the ones I actually use, and they work. Get ready for your easiest, glossiest summer hair ever.
1. The Damp Braid Overnight Trick
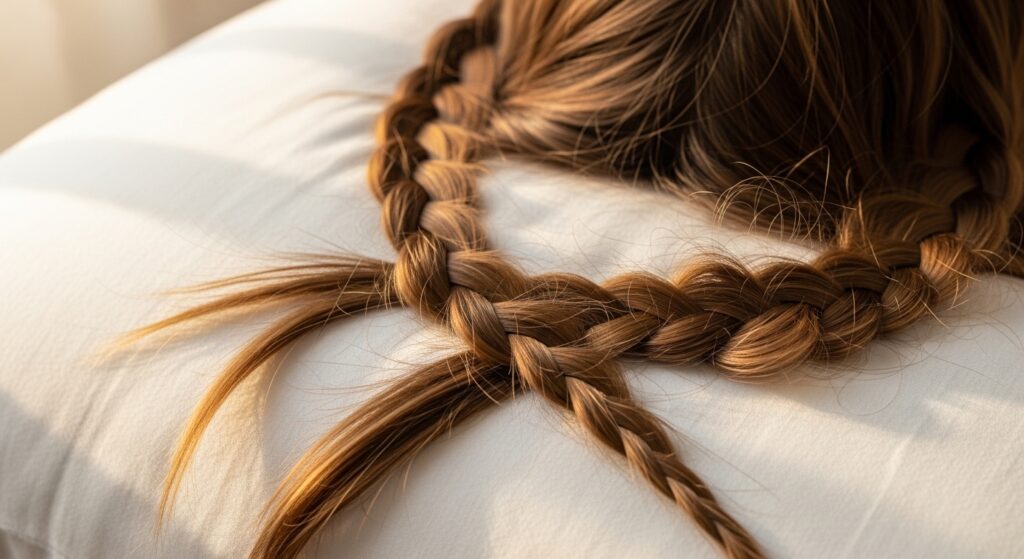
This is my lazy-girl secret for perfect waves with zero heat. It’s so simple. Right after your shower, towel-dry your hair so it’s just damp, not soaking wet.
Apply a light leave-in conditioner or wave spray. Then, split your hair into two sections and braid two loose, low pigtail braids. Don’t make them tight! The looser the braid, the softer the wave.
Go to sleep on a silk pillowcase (it helps!). In the morning, just unravel the braids, shake out your hair with your fingers, and you’re done. You’ll have beautiful, natural-looking waves that last all day.
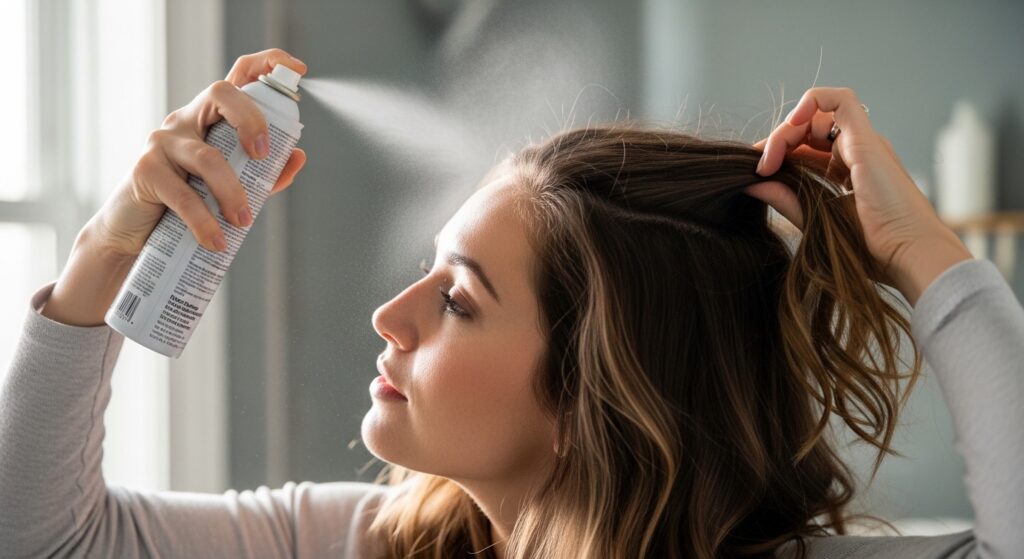
2. Salt Spray & Air Dry Combo
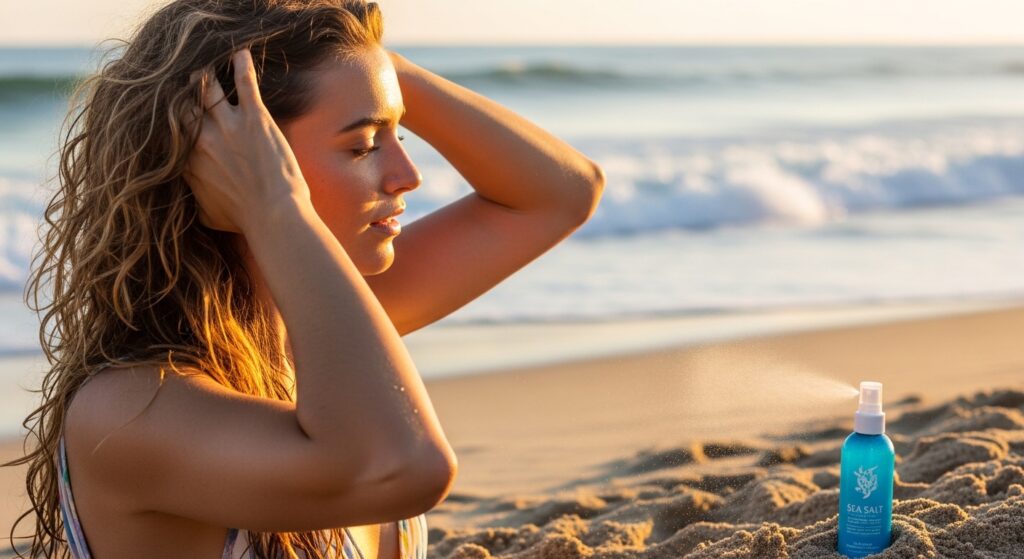
Not all salt sprays are created equal. The key is to find one that doesn’t make your hair feel like straw. Look for ones with hydrating ingredients like aloe or coconut water.
Spray it generously onto towel-dried hair. Then, don’t touch it! Let it air dry completely. As it dries, scrunch your hair upwards gently with your hands every so often to encourage the wave pattern.
This method gives you that authentic, breezy texture. It’s the ultimate effortless look for a day at the beach or running errands in the sun.
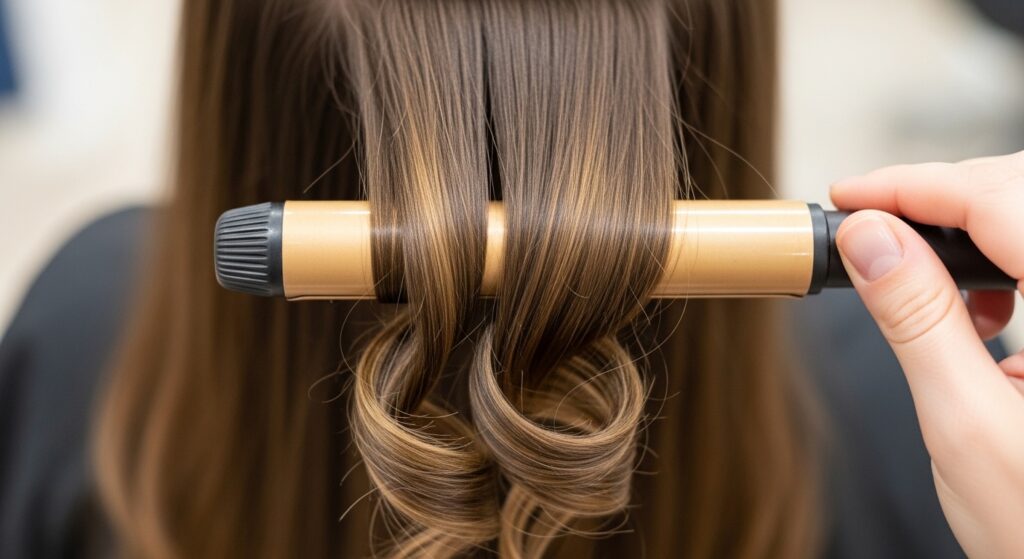
3. The 1-Inch Curling Wand Flip
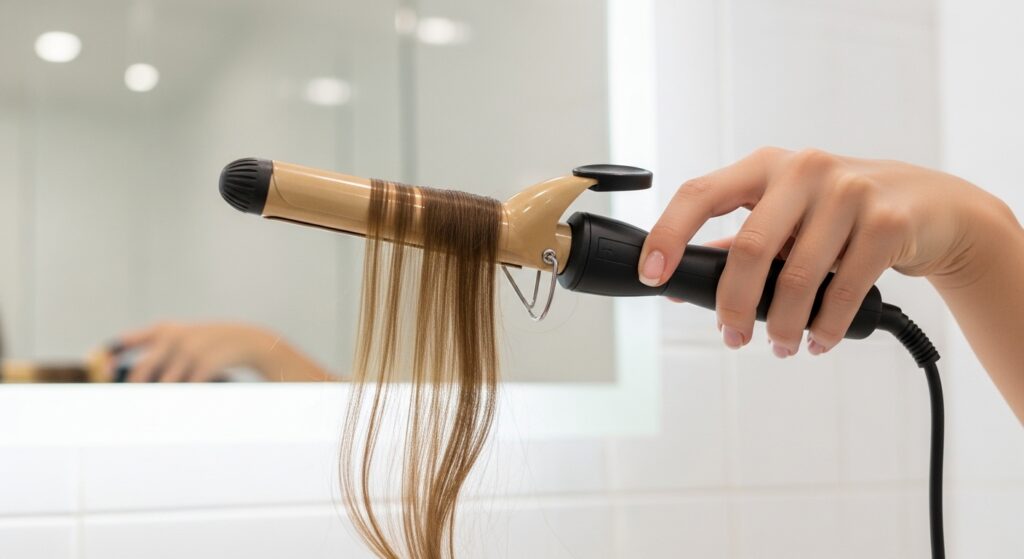
If you need waves fast, this is your go-to. Use a 1-inch barrel curling wand. The smaller barrel gives a wave, not a curl, which is exactly what we want.
Take large, two-inch sections of hair. Wrap each section around the wand away from your face, hold for only 5-8 seconds, and release. Don’t clamp the ends!
When all your hair is done, run your fingers through it to break up the waves. Then, flip your head over and give it a good shake. This adds volume and makes everything look perfectly undone.
4. Twist & Pin for Heat-Free Waves

No curling iron? No problem. This is a great heat-free method you can do while you do your makeup. On dry or damp hair, take a one-inch section.
Twist it tightly from the roots down to the ends. Then, coil the twisted section flat against your head and secure it with two bobby pins in an X shape.
Repeat all over your head. Leave the pins in for at least 30 minutes (the longer, the better). When you take them out, you’ll have soft, romantic waves. This technique is a hidden gem for achieving that quiet luxury bob texture.
5. The Sock Bun Method (Really!)
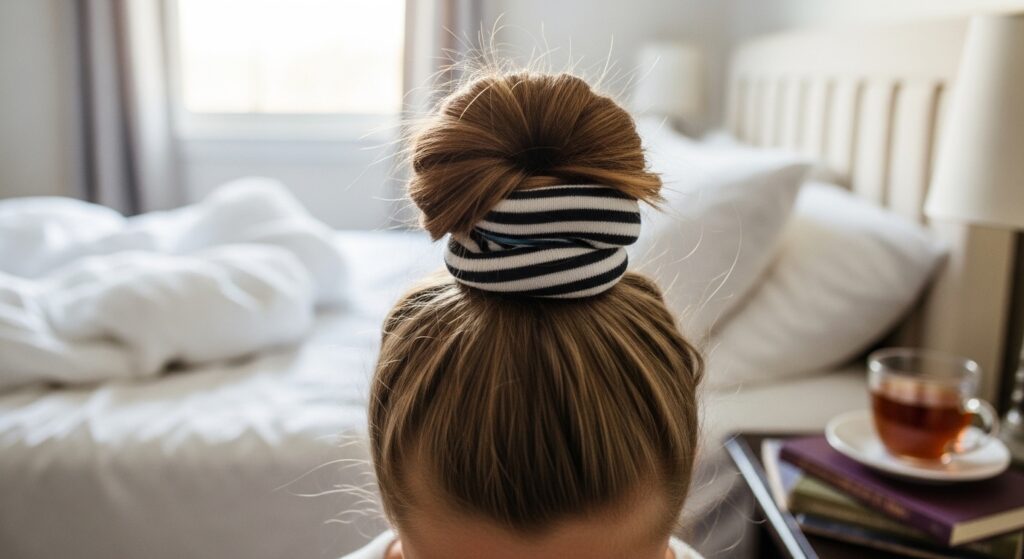
Yes, the viral trick actually works! You’ll need one clean, long sock (ankle socks won’t work). Cut the toe off and roll it into a doughnut shape.
Pull your hair into a high ponytail. Slide the sock doughnut over the ponytail to the ends, then spread your hair evenly around it. Start rolling the sock down toward your head, tucking all your hair in as you go.
Once it’s a tight bun at your roots, secure it and leave it for a few hours. The result? Uniform, cascading waves that look like you spent an hour with a stylist.
6. Diffuser for Defined Volume
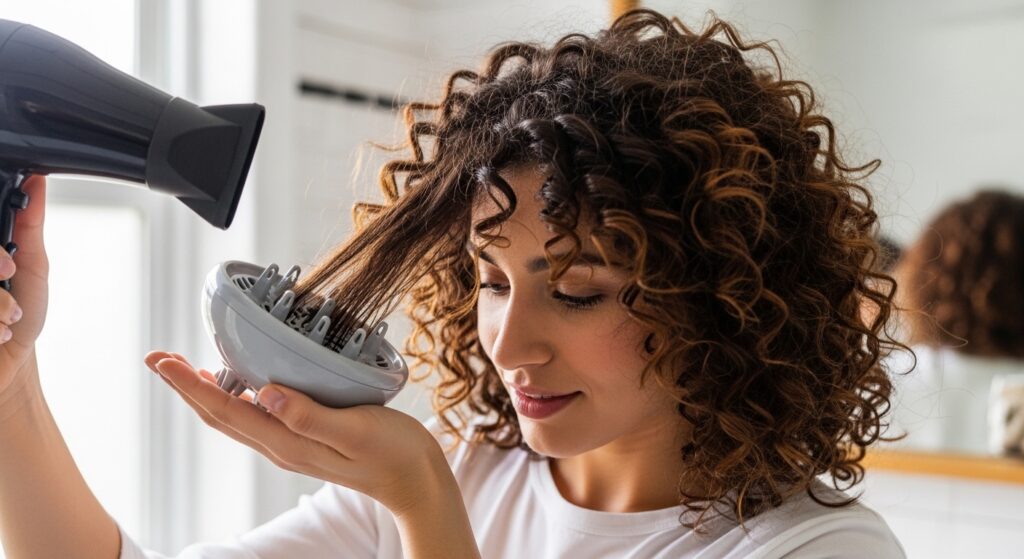
If you have natural wave or curl, a diffuser is your best friend for beachy volume. After applying your product, flip your head upside down. Place sections of hair into the diffuser bowl.
Gently lift it to your scalp and turn the dryer on a low heat, medium speed setting. Hold it there for a minute, then turn it off before moving to the next section. This “hovering” method prevents frizz.
Don’t touch your hair until it’s 100% dry. You’ll get amazing definition and root lift. This is a core technique for many of the trending 2026 hairstyles that focus on healthy, enhanced texture.
7. Sea Water Mimic Mix
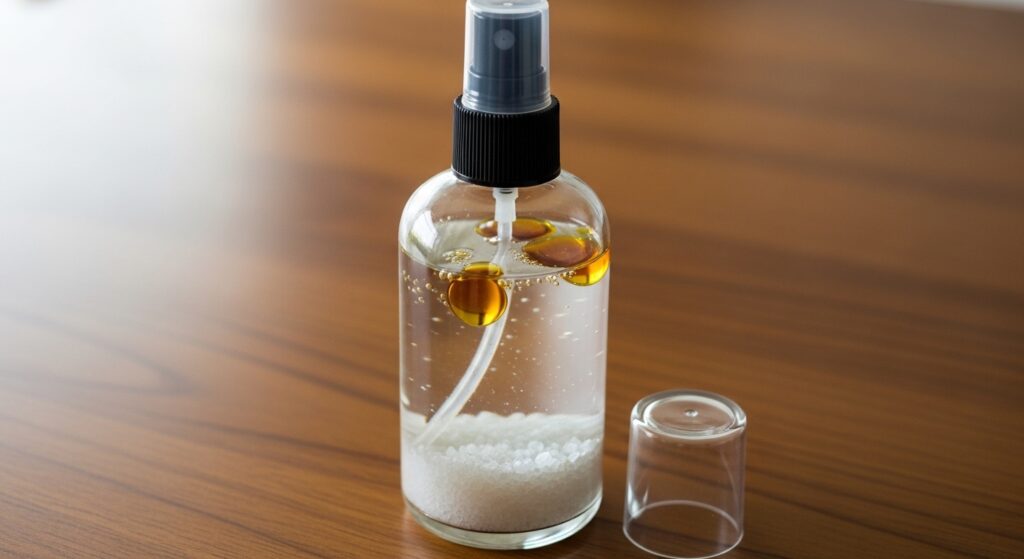
Want to make your own texturizing spray? It’s easy. In a spray bottle, mix one cup of warm water with one tablespoon of sea salt or Epsom salt until dissolved.
Then, add a teaspoon of your favorite leave-in conditioner or a few drops of lightweight oil like argan or jojoba. This adds moisture so the salt doesn’t dry you out.
Shake well before each use. Spray it on damp hair and style as usual. It’s cheap, customizable, and gives you that real beach texture without the sand!
8. Waves on Second-Day Hair
Second-day hair is actually the BEST canvas for beach waves. The natural oils give your hair grip and texture that freshly washed hair often lacks.
Start by refreshing your roots with a dry shampoo. This adds volume and absorbs any excess oil. Then, lightly mist a texturizing spray through your mid-lengths and ends.
Use a large-barrel curling iron or a flat iron to wave random sections, focusing on the front pieces and layers. The waves will hold better and look more lived-in and natural.
9. The Flat Iron Wave Technique
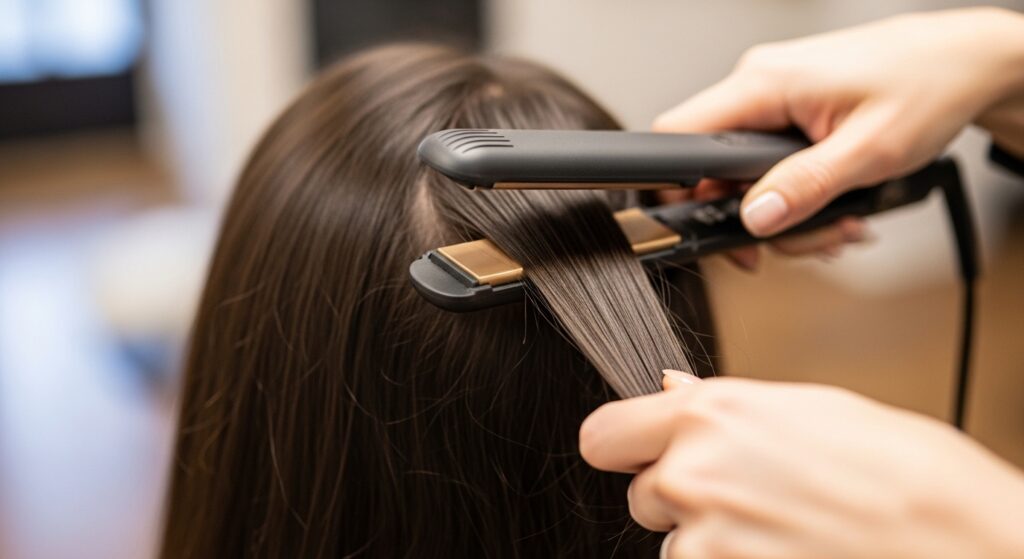
Don’t have a curling wand? Your flat iron can create gorgeous waves. Take a one-inch section of hair. Clamp the flat iron near the roots.
Then, instead of pulling straight down, gently rotate the iron away from your face as you slide it down the hair shaft. It’s a slight, slow S-shaped motion.
Repeat, alternating the direction of the waves. This method creates a cool, piece-y wave that’s perfect for an asymmetrical lob or adding edge to a classic cut.
10. Braid the Crown for Root Volume
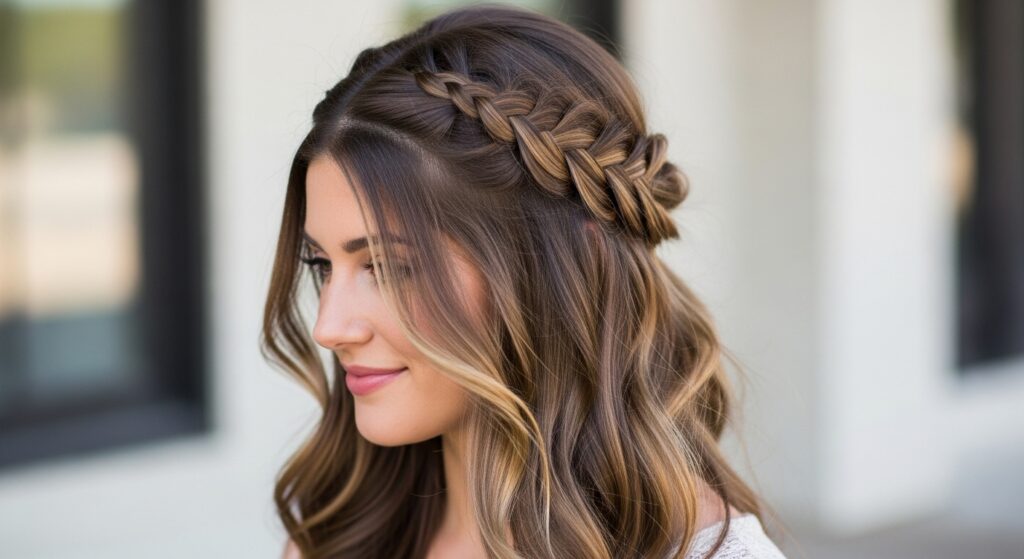
Flat roots can ruin the beach wave vibe. For instant root lift, try this. On dry hair, take a front section from each temple.
Braid these two sections loosely along your hairline, meeting at the back like a headband. Secure the ends with a clear elastic and tuck them under.
Then, gently pull on the sides of the braid to loosen it and create volume. This lifts the roots instantly and gives a beautiful, old money hair touch of effortful effortlessness.
11. Pineappling for Overnight Protection
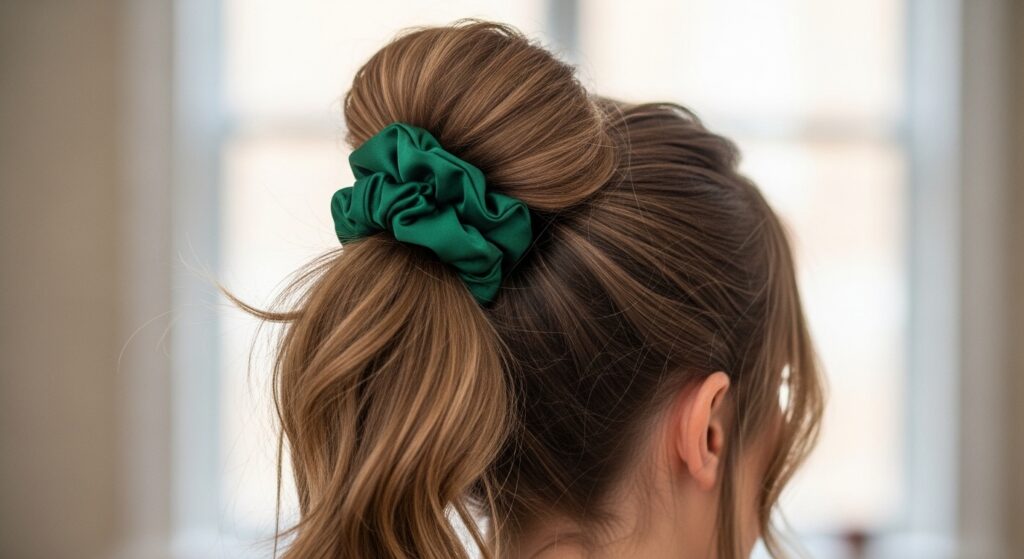
If you have longer hair, “pineappling” is a game-changer to preserve your waves overnight. Flip your head upside down and gather all your hair at the very top of your forehead.
Use a silk scrunchie (gentler than elastic) to secure it in a loose ponytail. Don’t make it tight! You want it high and loose to prevent creasing.
In the morning, just take it down. Your waves will be intact, with even more volume at the roots. It’s the simplest way to make your style last two or three days.
12. The T-Shirt Plop for Less Frizz
Ditch your regular towel. Rough terrycloth towels cause frizz by roughing up the hair cuticle. Instead, use a soft cotton t-shirt.
After applying product to sopping wet hair, lay the t-shirt flat. Place your hair in the center of it, then fold the bottom of the shirt up over your ends.
Take the two sleeves and wrap them around to the back, tying them to secure the “plop.” Leave it on for 20-30 minutes. This method encourages your natural wave pattern with way less frizz and chaos.
13. Add Pieces for Vampire Edge
Beach waves can be edgy too. To get that vampire haircut or romantic goth hairstyles vibe, focus on your face-framing pieces.
Cut or style two longer, dramatic layers around your face. When you create your waves, make these front pieces extra piece-y and separated.
Use a strong-hold texture spray on just these sections. It creates a beautiful, darkly romantic contrast between soft waves and sharp, dramatic lines—perfect for a night out.
14. Messy Bun as a Wave Tool
Need waves in 10 minutes? Make a messy bun. On dry hair, flip your head over and gather all your hair at the nape of your neck.
Twist it loosely once or twice, then wrap it into the messiest, loosest bun you can. Secure it with a clip, not a tight elastic. Pull out lots of pieces around your face and neck.
Leave it for at least an hour. When you take it down, you’ll have gentle, crinkly waves with amazing volume. It’s the ultimate quick fix.
15. Rope Twists for Uniform Waves
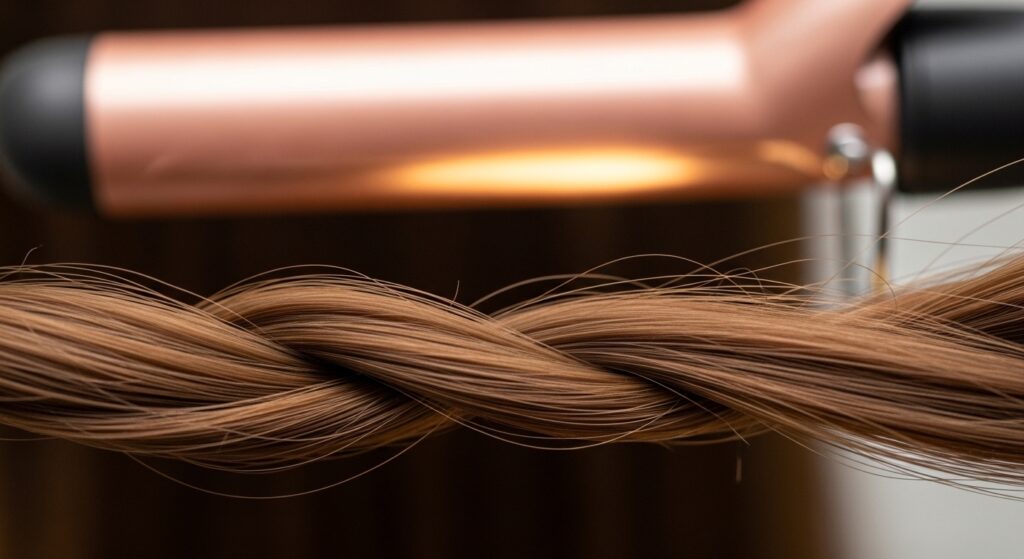
For a more uniform, spiral-like beach wave, try the rope twist method with your curling iron. Take a section of hair and split it into two smaller strands.
Twist these two strands around each other tightly, like you’re making a rope. Then, wrap this twisted “rope” around your curling wand.
Hold for 10 seconds and release. When you unravel the twist from the curl, you get a perfectly defined, smooth wave without the kinks you sometimes get from a regular iron.
16. Focus on the Ends
Sometimes, you only need a little wave to look styled. For a modern, low-commitment look, only curl the very ends of your hair.
Take large sections and wrap just the last two inches around your curling wand. This gives a subtle bend and flip that’s super chic and easy.
It’s a great way to add movement to a blunt cut or to try a wavy look without going all in. It feels very fresh and modern, almost like a glitchy glam hair detail.
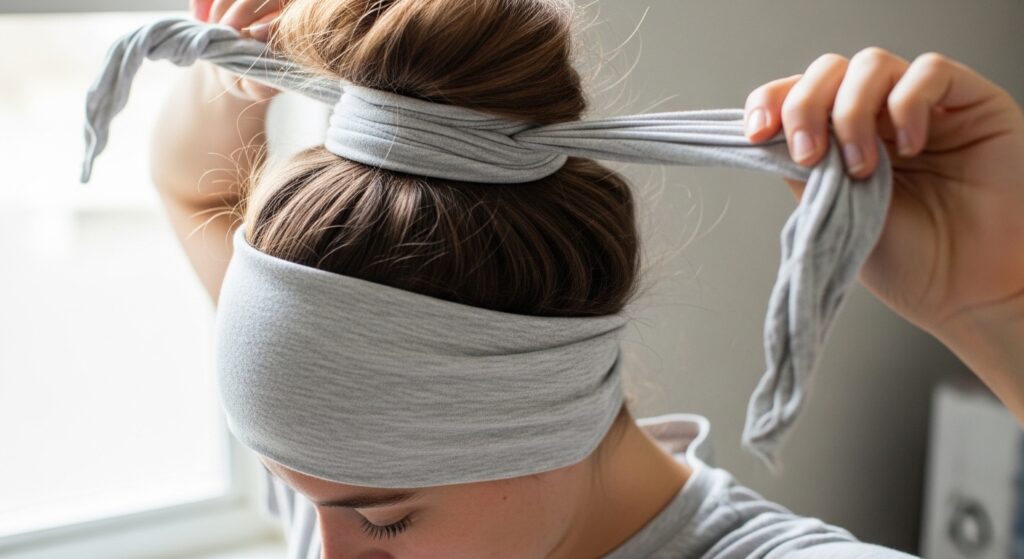
17. The Headband Curl Shortcut
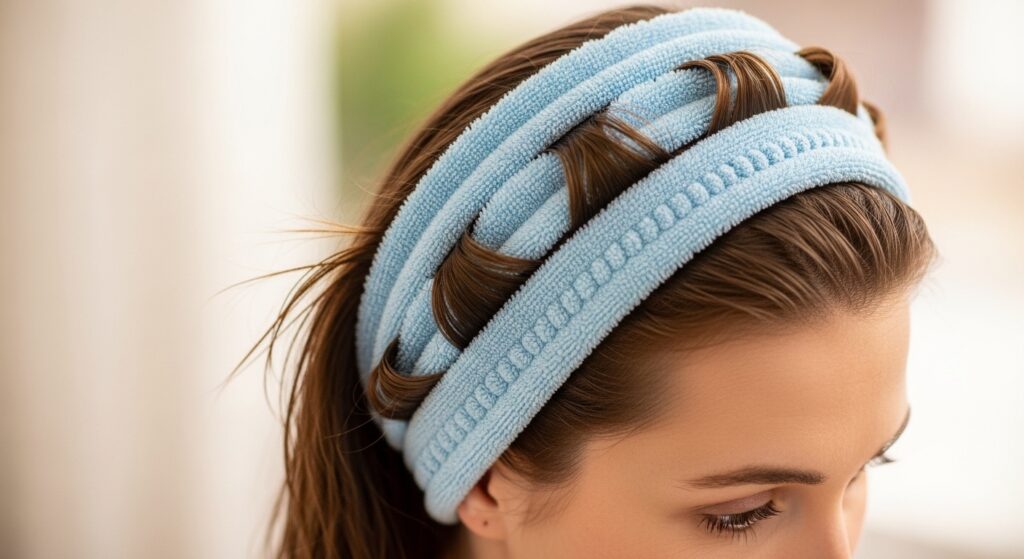
This is a fun, totally heat-free method. You need a soft, coil-style fabric headband. Place it on your head like a crown on damp hair.
Take small sections of hair and wrap them over and under the headband, all the way around your head. It looks a bit silly while it’s drying, but trust the process!
Let your hair dry completely, either by air or with a blow dryer on cool. Unwrap to reveal beautiful, uniform waves with zero heat damage.
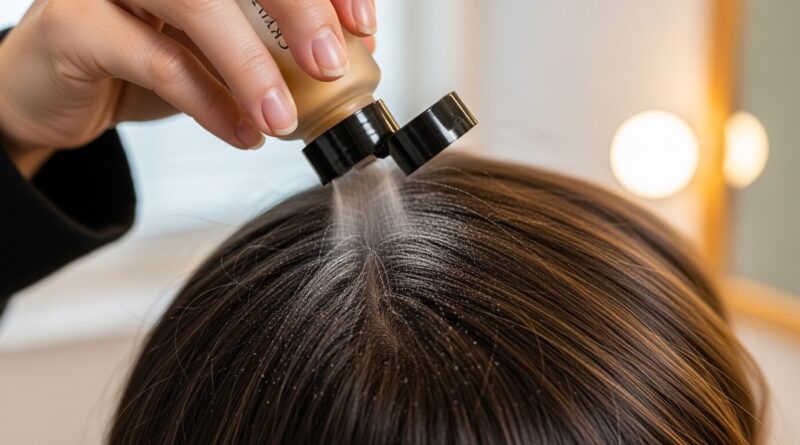
18. Texturizing Powder for Grip
Fine or silky hair often won’t hold waves because it’s too slippery. A texturizing or volumizing powder is your secret weapon.
Lightly sprinkle the powder onto your dry roots and massage it in. It creates instant grit and volume, giving your hair something to “grab” onto.
Then, when you create your waves, they will set better and last much longer. It’s a total game-changer for making any style stay put.
19. The Half-Up Twisted Crown

This is both a styling hack and a way to show off your waves. After creating your waves, take the top front section of your hair.
Give it a slight backcomb at the roots for volume, then twist it loosely back. Secure it with a small clip or pin at the back of your crown.
This pulls your waves up beautifully, shows off the texture, and keeps hair off your face. It’s a sweet, elegant look that works with everything from a hime cut to long layers.
20. Cold Air Blast to Set It
This final step makes all the difference. After you’ve created your waves with any heat tool, let your hair cool down completely before you touch it.
Then, flip your head over and blast your roots with the cold air setting on your dryer for 30 seconds. This “sets” the style by closing the hair cuticle.
It locks in the wave, adds shine, and makes your style last hours longer. It’s the professional trick that costs you nothing extra.
And there you have it! My full arsenal of beach wave hacks. The best part is, you don’t need to use them all. Pick two or three that fit your hair type and your schedule, and just start there.
Remember, the goal isn’t perfection. It’s that easy, lived-in, gorgeous texture that makes you feel confident and glowing. Some days it’ll work better than others, and that’s totally okay. That’s the real secret to effortless hair.
Save this post to Pinterest so you always have these tricks handy! Which hack are you most excited to try first? Tell me in the comments below—I love hearing what works for you!