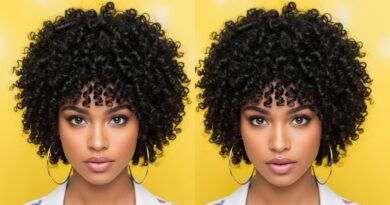
13 Easy cut Ideas for long Hair You Can Do at Home
Is your long hair starting to feel more like a chore than a crown? You’re not alone. While we love the versatility of lengthy locks, the same old style can become monotonous, and salon visits can be both time-consuming and expensive. But what if you could breathe new life into your hair without ever leaving your bathroom?
The good news is that with a bit of guidance, the right tools, and a courageous spirit, you can achieve a stunning new look all by yourself. This guide is designed for the at-home stylist, offering 13 easy, achievable haircut ideas that range from a simple maintenance trim to trendy, face-framing layers. Forget the fear of a hair disaster; we’re focusing on techniques that are forgiving, fun, and perfectly suited for a DIY approach. Grab your sharp hair shears, and let’s get creative!
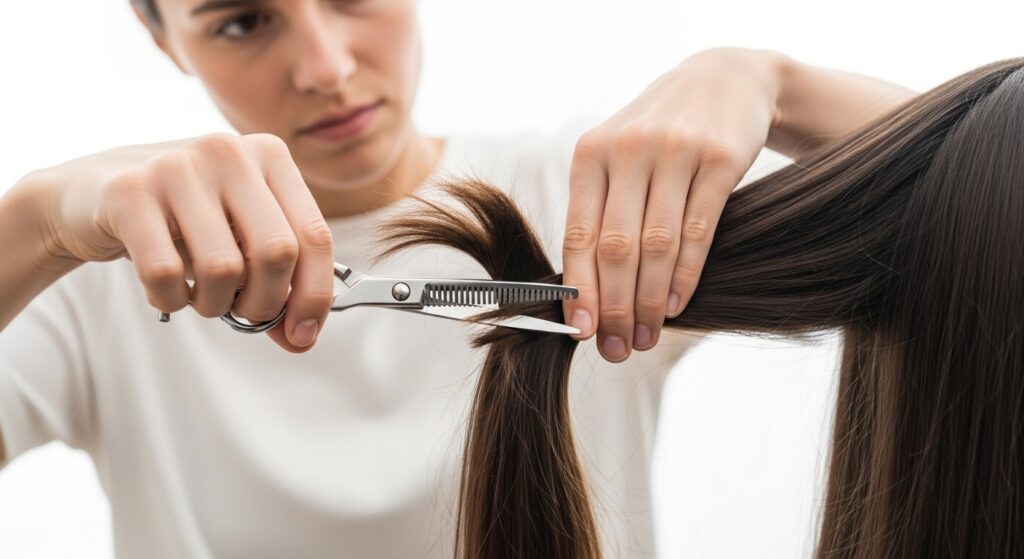
1. The Classic Blunt Trim
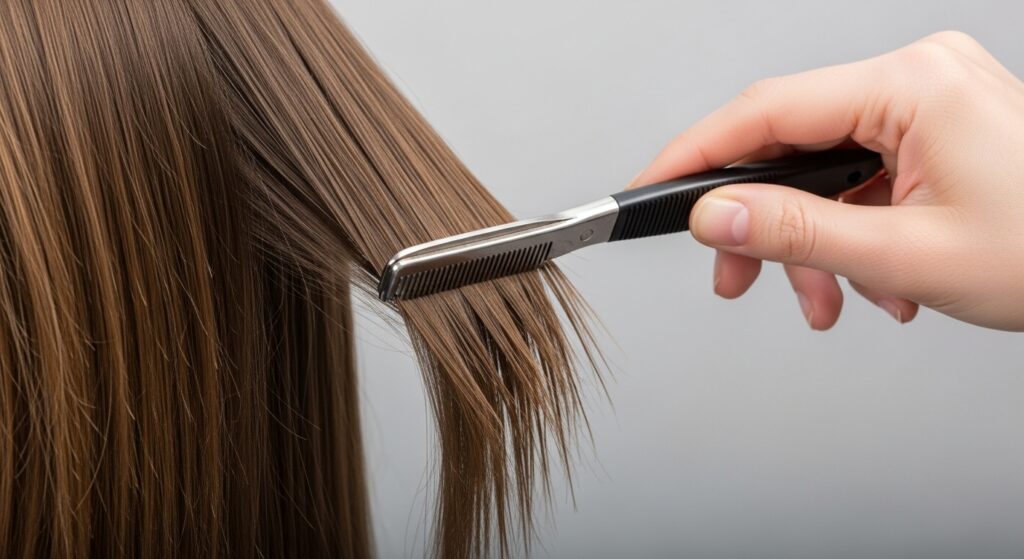
Let’s start with the foundation of all at-home haircuts: the classic blunt trim. This is the perfect method for maintaining your hair’s health and length while getting rid of split ends. The goal is to create a clean, straight line across the bottom of your hair.
How to do it: Start with bone-dry, brushed hair. Part it down the middle and bring it all forward over your shoulders so you can see it in the mirror. Gather it into a low ponytail at the very front of your chin, holding the base securely. Carefully slide your fingers down to the point where you want to make the cut—start with just half an inch to be safe. Snip straight across. When you let your hair down, you’ll have a surprisingly clean, blunt line.
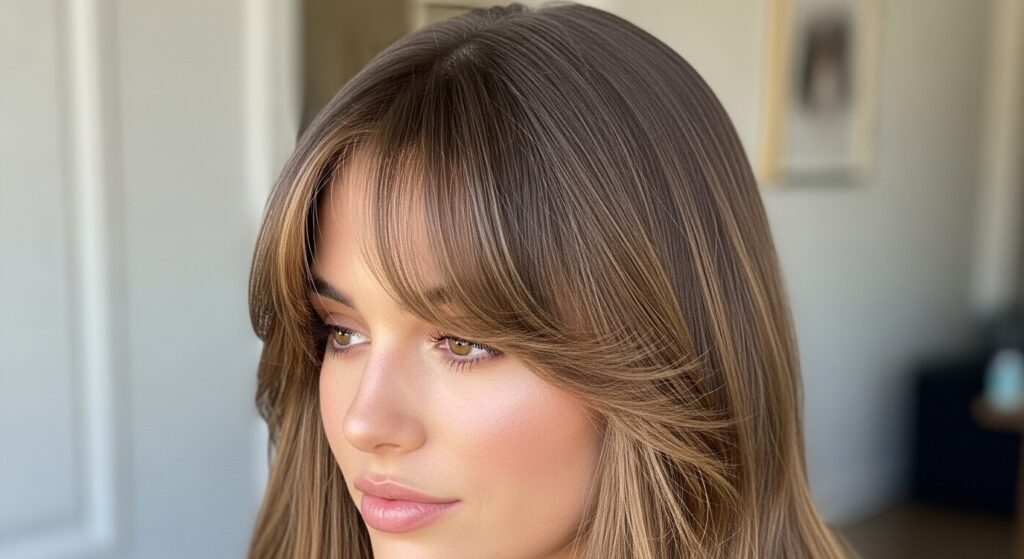
2. Face-Framing Layers
If you want to add dimension and movement without sacrificing length, face-framing layers are your best friend. This technique draws attention to your eyes and cheekbones, creating a soft, flattering effect.
How to do it: Separate a triangular section of hair from the front of your head, starting from the crown down to behind each ear. Clip the rest of your hair back. Hold this section out in front of you and point-cut (cutting vertically into the hair with the tips of your scissors) into the ends. Start longer; you can always take more off. This creates a soft, blended transition that beautifully frames your face.
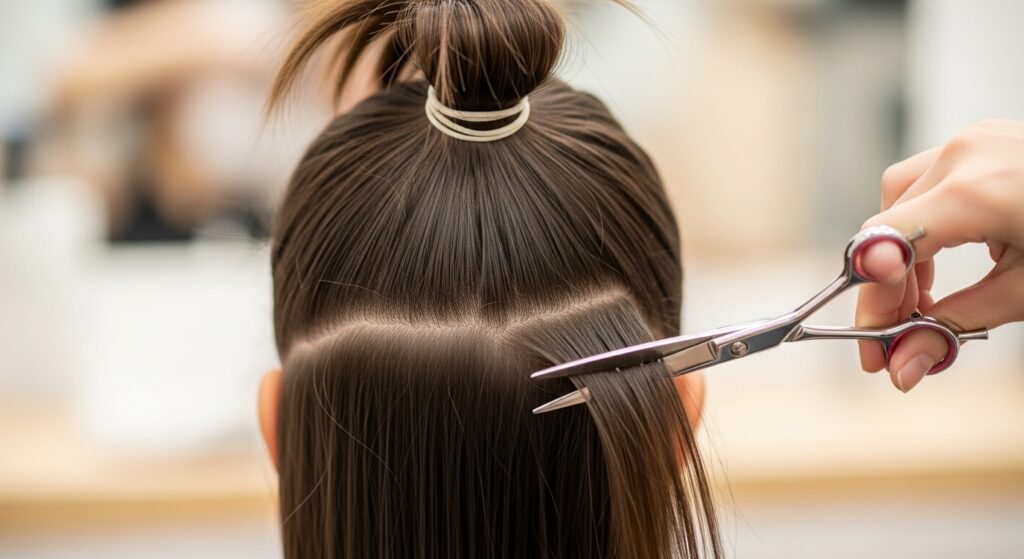
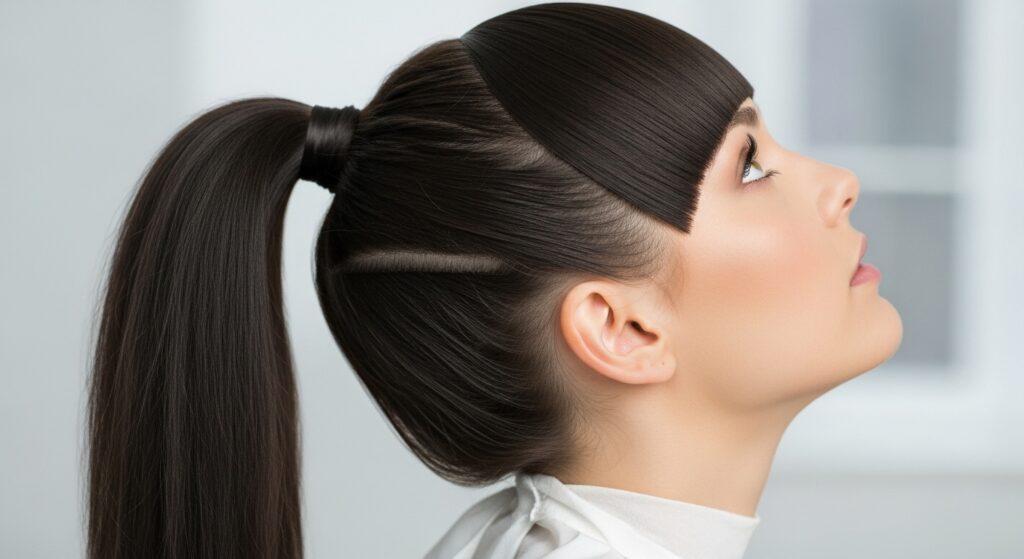
3. The “Pony” Method for Long Layers
This viral technique is a game-changer for adding layers throughout your long hair. It’s incredibly simple and yields a cascading, layered effect that looks professionally done.
How to do it: Flip your head upside down and gather all your hair into a tight ponytail on the very top of your head (like a unicorn horn). Slide the hair tie to the tip of the ponytail, determining your shortest layer length. Then, simply cut straight across the desired amount off the tip. When you let your hair down, you’ll have beautiful, shaggy layers. Remember: this method creates shorter layers in the back, so be conservative with your cut.

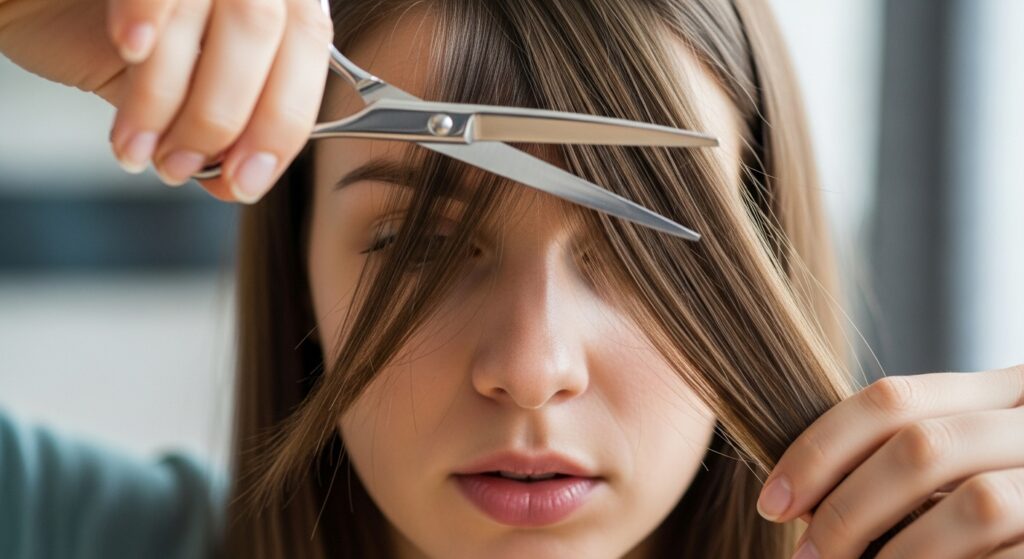
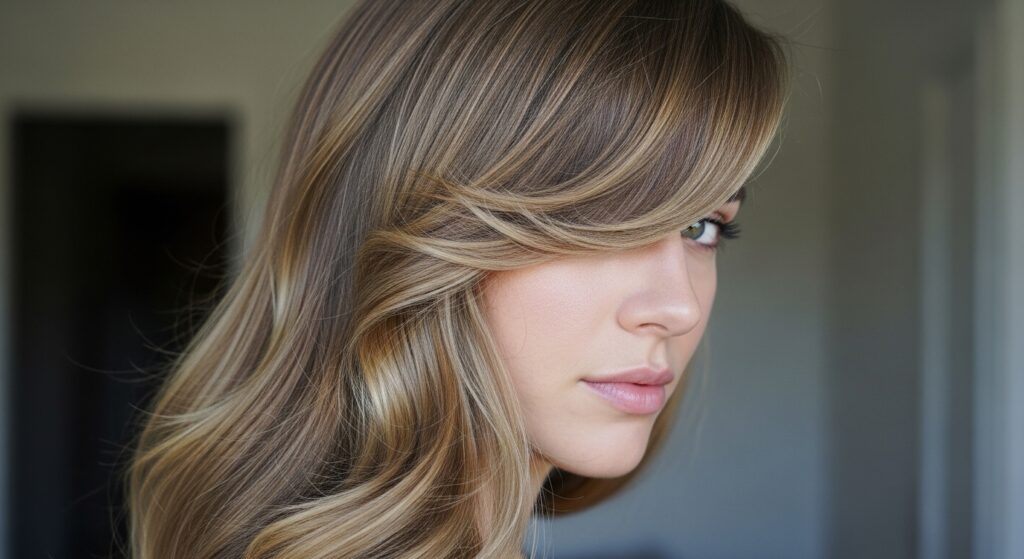
4. Curtain Bangs
Curtain bangs are the ultimate low-commitment, high-impact bang. They blend seamlessly into your long hair and can be styled parted down the middle for a retro, face-framing look.
How to do it: Section off a wide, rectangular piece of hair from the front, no deeper than the bridge of your nose. Part this section down the middle. Holding one side taut away from your face, point-cut diagonally from the outer eye down to your desired length near the nose. Repeat on the other side. Always cut longer than you think, as hair shrinks up when it’s dry.
5. Texturizing with Scissor-Over-Comb
If your long hair is thick, heavy, or prone to looking bulky, texturizing is the key to adding airiness and removing weight. The scissor-over-comb technique is a barber’s secret you can use at home.
How to do it: Take a small, vertical section of hair from an area that feels too thick (often around the crown or ends). Hold a comb flat against the hair, with the teeth gripping the section. Use your shears to gently “chip” into the hair held over the comb, making small, vertical snips. This removes internal weight without altering your overall length or shape.
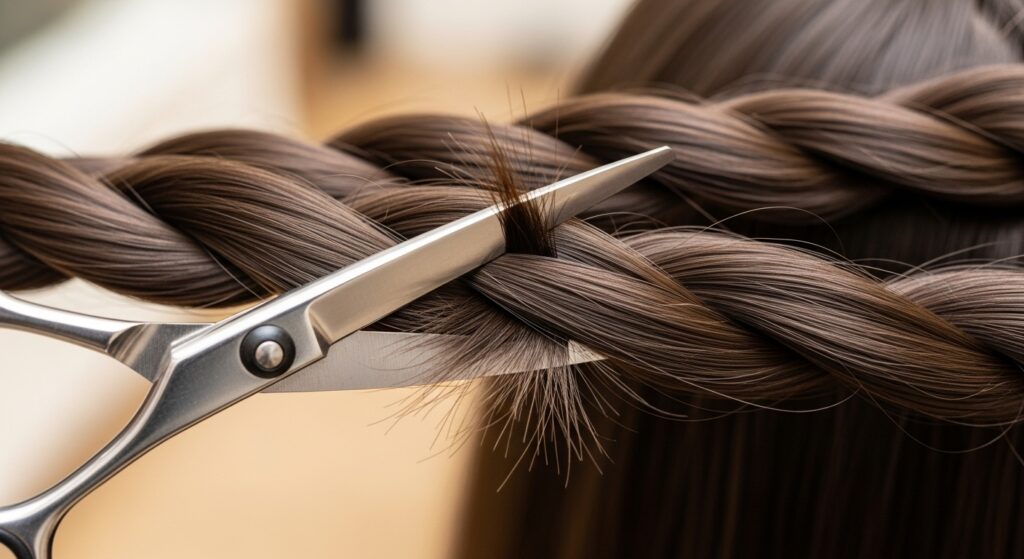
6. The Two-Strand Twist for Wispy Ends
This is a magical trick for creating soft, feathered, and perfectly blended ends that prevent that harsh, just-cut line. It’s ideal for adding a touch of bohemian flair.
How to do it: Split your dry hair into two sections. Twist each section tightly away from your face. Hold the twists taut and use your shears to snip into the ends of the twisted hair, cutting off small, random pieces. When you untwist your hair, the cuts will have created a beautifully irregular, wispy finish.
7. Long Shag Layers (Piggyback Pony Method)
For a more defined, 70s-inspired shag look, try the piggyback pony method. It gives you more control over the layers than the standard unicorn pony method.
How to do it: Create a high ponytail on your crown. Then, make a second ponytail just below it, incorporating the hair from the first ponytail. You can make a third even lower if you want more layers. Snip an inch or two off the end of each ponytail. When you take them down, the layers will be more staggered and less drastic than the single-pony method.
8. The “Dusting” Technique for Micro-Trims
Dusting is a genius method for trimming split ends without losing any noticeable length. It targets only the damaged ends, making it perfect for maintaining hair health between bigger trims.
How to do it: Take a small, twisted section of hair. Any split ends that stick out of the twist are what you’ll target. Carefully snip off just these tiny, offending pieces without cutting into the main body of the twist. Work your way around your head section by section. It’s time-consuming but incredibly effective for hair health.
9. Side-Swept Bangs
For a sultry, dramatic change, side-swept bangs are a fantastic option. They are versatile and can be grown out more easily than full bangs.
How to do it: Section off a triangular piece of hair from the front, but this time, make it larger on one side. Comb the section over to the opposite side of your head. Starting from the longer side, point-cut on a diagonal, creating a longer-to-shorter gradient that blends into the rest of your hair. The shortest part should hit around your cheekbone.
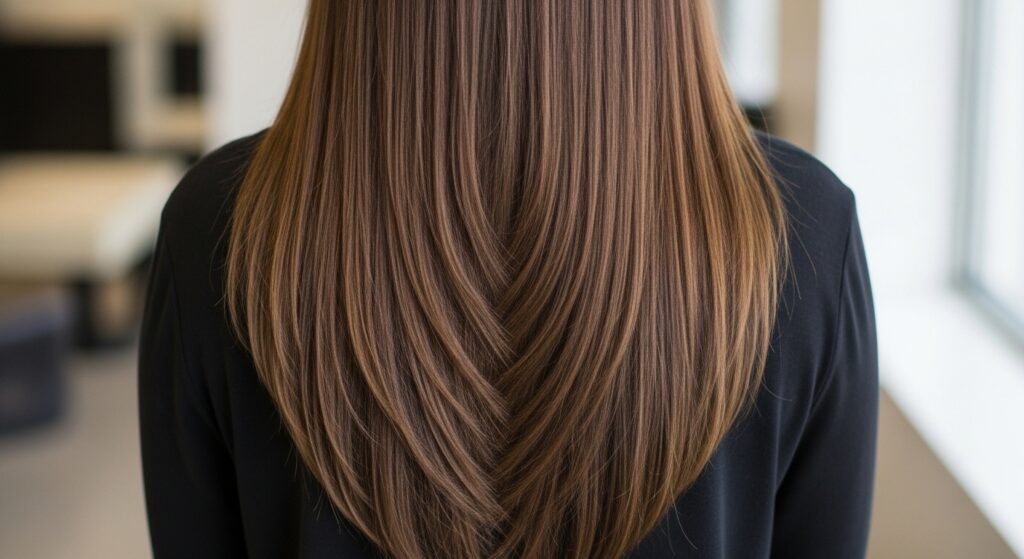
10. V-Cut or U-Cut Ends
Instead of a straight-across blunt cut, why not play with the shape of your hemline? A V-cut (pointed in the middle) or U-cut (softly rounded) adds a subtle, stylish detail.
How to do it: Part your hair down the middle and bring it forward. For a V-cut, separate it into two sections and cut each side on a diagonal, meeting in the middle to form a V-shape. For a U-cut, imagine drawing a soft, rounded line with your scissors from one side to the other. Go slowly and check your progress in the mirror frequently.
11. Cascading Layers with a Ponytail on the Forehead
This is a variation of the pony method that creates longer, more cascading layers perfect for those who want movement but don’t want shorter layers in the back.
How to do it: Instead of putting the ponytail on the crown, place it on your forehead. Yes, right in the center of your forehead. Pull the hair tight and cut straight across at your desired length. This method places the shortest layers around your face, which then graduate longer towards the back.
12. Choppy Ends with Razoring
Note: This is for the more adventurous and should be done with a hair razor, not a regular razor. Razoring creates incredible, piece-y texture and is amazing for removing bulk from thick hair.
How to do it: Take small sections of hair and hold the razor at a 45-degree angle. Gently glide it down the hair shaft, from the mid-lengths to the ends, taking off tiny slivers of hair. This is not for cutting length, but for texturizing. Use it sparingly for a choppy, modern effect.
13. The Simple Face-Framing Money Piece
The “money piece” is that highlighted or brightened section around the face, but you can create the same effect with a cut. It’s a super-focused version of face-framing layers.
How to do it: Isolate just two very small sections of hair on either side of your part, right at the front. Point-cut these pieces to your desired length, typically around the chin or lip line. This creates a bold, framing effect that makes your features pop without altering the rest of your hair.

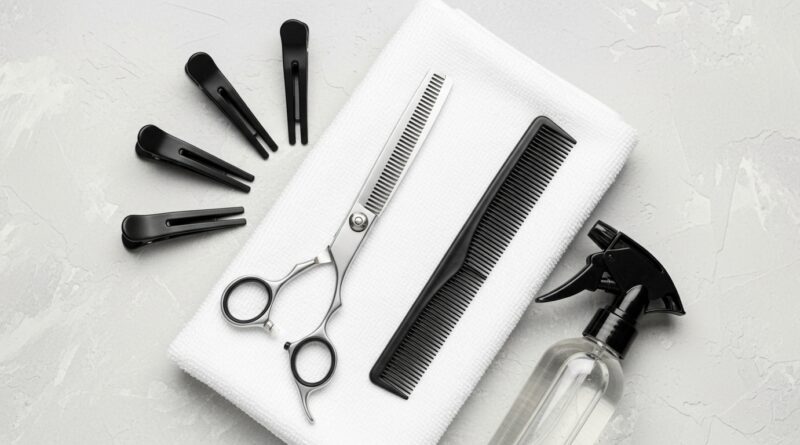
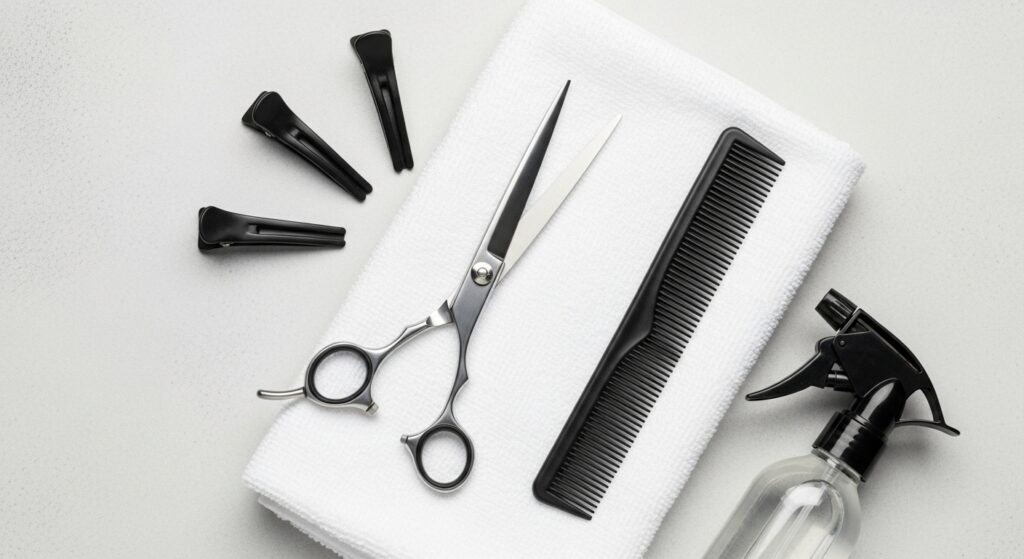
Your At-Home Haircut Toolkit
Before you start, make sure you have the right tools. Using the wrong equipment is the number one cause of DIY haircut disasters.
Essential Tools:
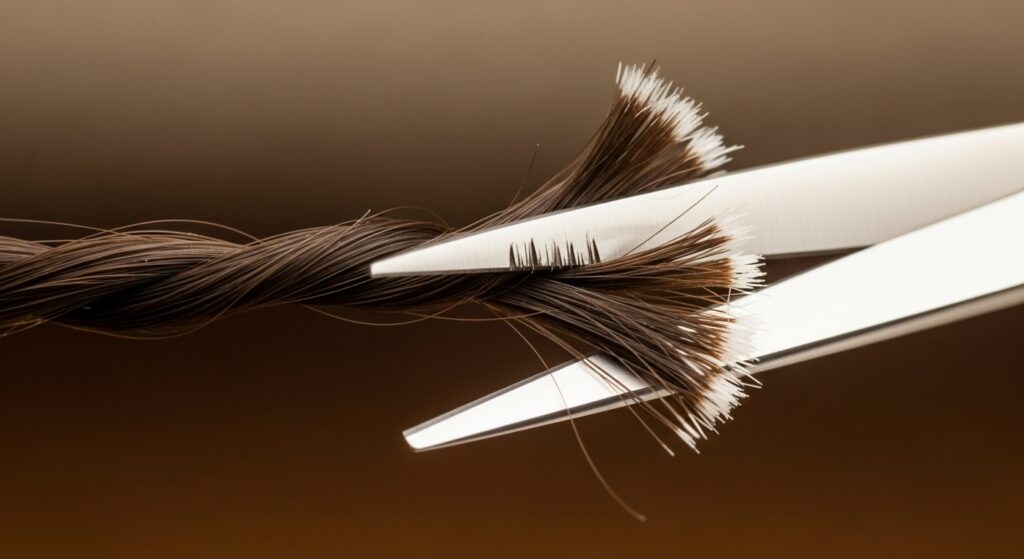
Sharp Hair Shears: Do not, under any circumstances, use kitchen or craft scissors. They will crush your hair and cause more split ends.
Fine-Tooth Comb: For precise sectioning and detangling.
Hair Clips: To section off hair and keep things organized.
Two Mirrors: One for the front and one for the back, so you can check your progress from all angles.
Spray Bottle with Water: For dampening hair if your chosen technique requires it.
Final Pro Tips for a Successful DIY Cut
Start Small: You can always cut more hair off, but you can’t put it back on. Begin with a conservative trim and reassess.
Cut Dry Hair: For most of these techniques, especially texturizing and layering, cutting dry hair is best. You can see the true length and how the hair falls naturally.
Embrace Imperfection: The beauty of a DIY cut is often in its slight imperfections. It adds character and a lived-in, effortless vibe.
When in Doubt, Point-Cut: Instead of cutting straight across, use the point-cutting method (vertical snips) to blend and soften, which is much more forgiving.