16 Gel Casting Methods for Long-Lasting Curl Definition
If you’re on a quest for perfectly defined, frizz-free curls that survive humidity, sleep, and the general chaos of life, then you’ve likely heard the term gel casting. But what exactly is it? Think of it as creating a flexible, breathable mold around each curl clump. This “cast” locks the curl pattern in place as it dries, shielding it from external forces that cause frizz. Once dry, you simply “scrunch out the crunch” to reveal soft, defined, and incredibly long-lasting curls.

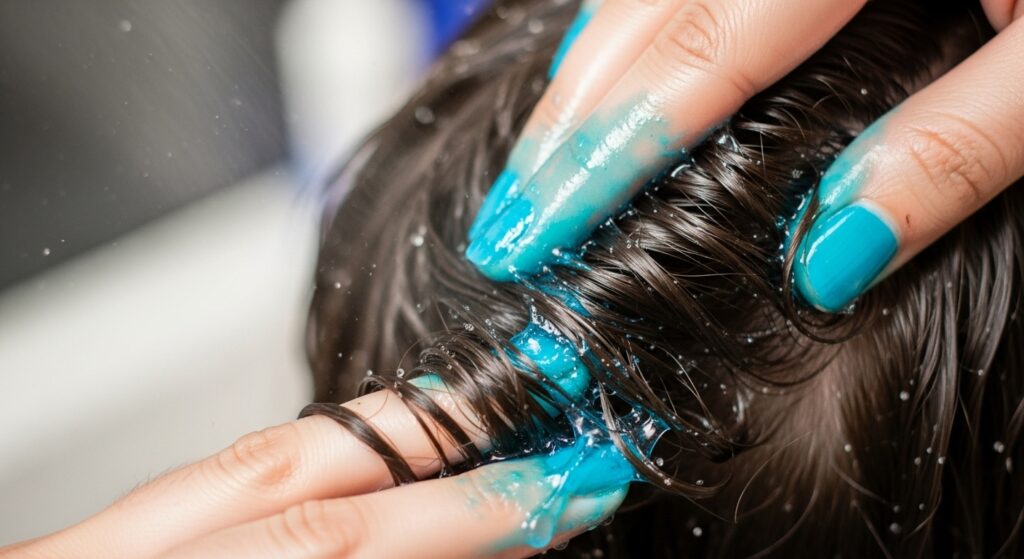
1. The Raking & Shingling Method
This is a foundational technique, especially for those with tighter curl patterns (Type 3 and 4). Apply a generous amount of gel to soaking wet hair. Using your fingers like a wide-tooth comb, rake the gel through small sections from root to tip. Then, take each section and smooth the gel along the hair shaft with your fingers, encouraging the curls to clump together neatly. This “shingling” action provides intense definition for each individual curl.
2. The Praying Hands Glide
For those seeking smooth, elongated curls with minimal frizz, the praying hands method is a savior. Dispense gel onto your palms, rub them together, and then glide your hands down each hair section as if in prayer. This technique applies product evenly without disrupting the natural curl clumps, reducing the chance of breakage or frizz caused by raking. It’s excellent for wavy (Type 2) and curly (Type 3) hair seeking a more uniform, sleek definition.

3. The Scrunch-In Classic
The quintessential method for wavy hair! Apply your gel to very wet hair, then cup sections of your hair and scrunch upward towards your scalp. This motion encourages the natural wave pattern, adds volume at the roots, and helps the gel encapsulate the curl. Repeat until all hair is coated. For extra hold, you can add a second layer of gel with a lighter scrunch after micro-plopping (gentle squeezing with a t-shirt).

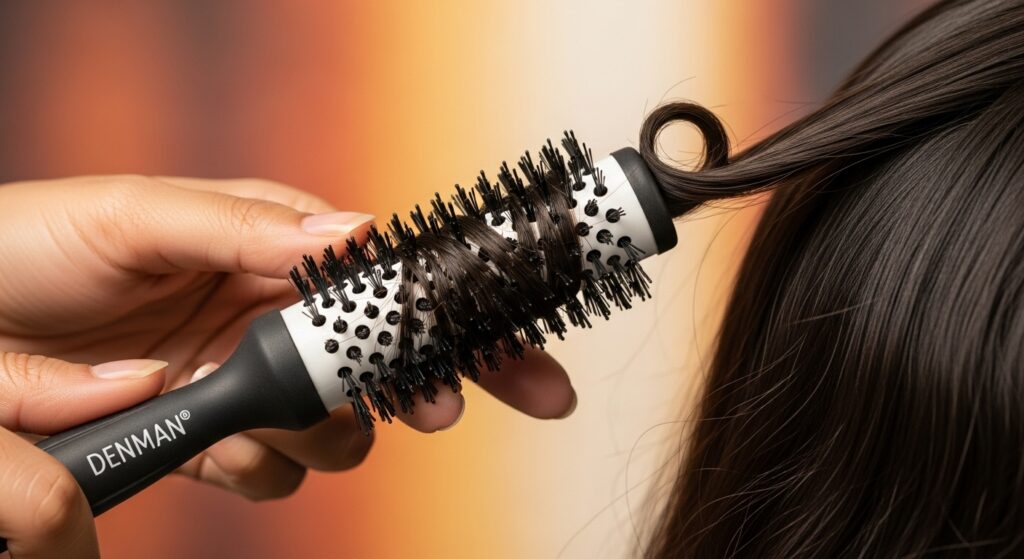
4. The Brush Coiling Technique
Unlock next-level definition with a styling brush. Using a Denman, Tangle Teezer, or similar brush, apply gel to a section of wet hair. Then, brush through and twist the brush at the ends to form perfect, springy coils. This method creates consistent, uniform curl shapes and is fantastic for defining stubborn sections or creating more coil pattern than your natural state. It’s a game-changer for Type 3 and 4 hair.
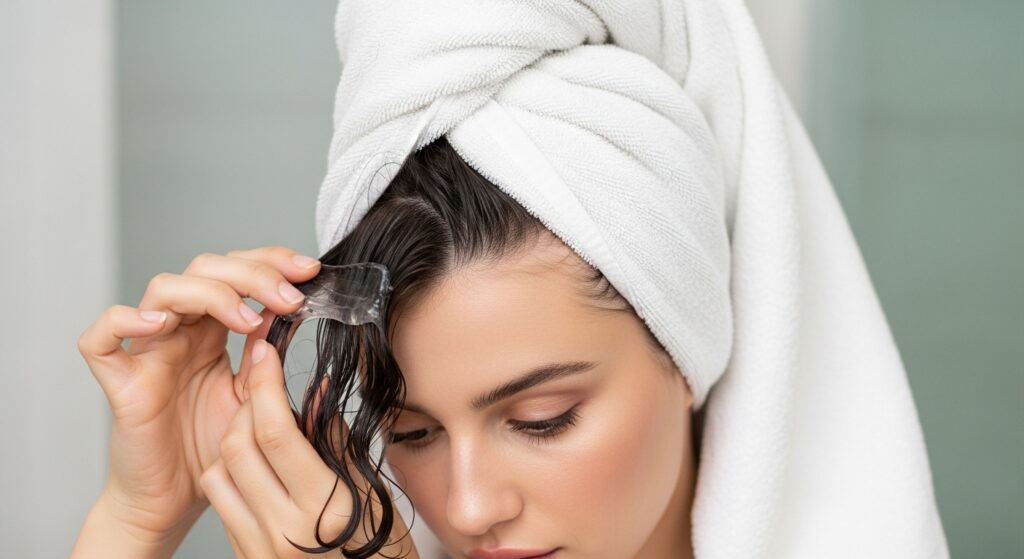
5. The “Glaze & Smooth” Over Custard or Cream
For maximum moisture and hold, layering is key. First, apply a leave-in conditioner or curl cream to soaking wet hair using your preferred method. Then, take a smaller amount of gel, emulsify it with water in your hands, and glaze it over the already moisturized hair. Use praying hands to smooth it on, creating a sealing layer. This “gel cast” locks in the moisture from your earlier products for a defined yet juicy finish.

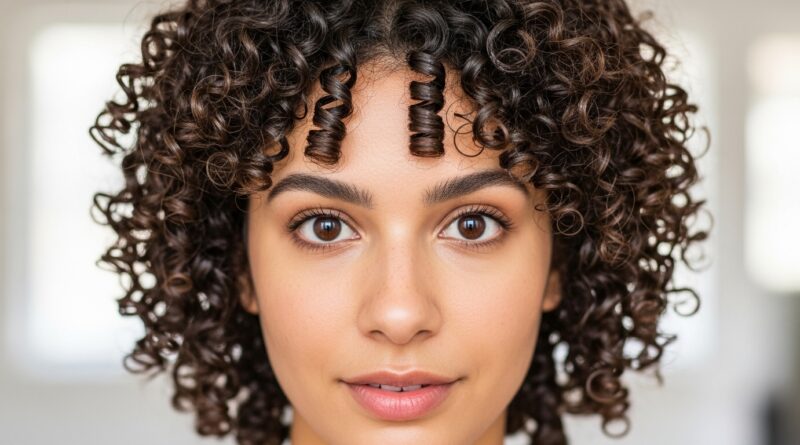
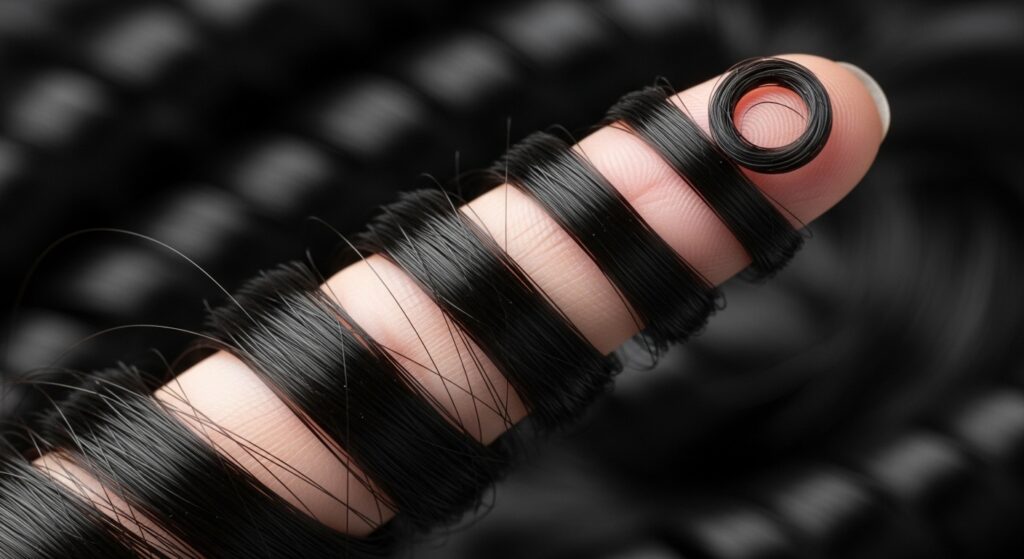
6. The Finger Coiling Method
This is the gold standard for targeted definition. Take small sections of gel-coated hair and wind them around your finger from root to tip. This manually creates a flawless coil shape that sets as it dries. While time-consuming, it’s perfect for special occasions, for training curls to form a pattern, or for defining the front sections of your hair. You can finger coil your entire head or just select areas.
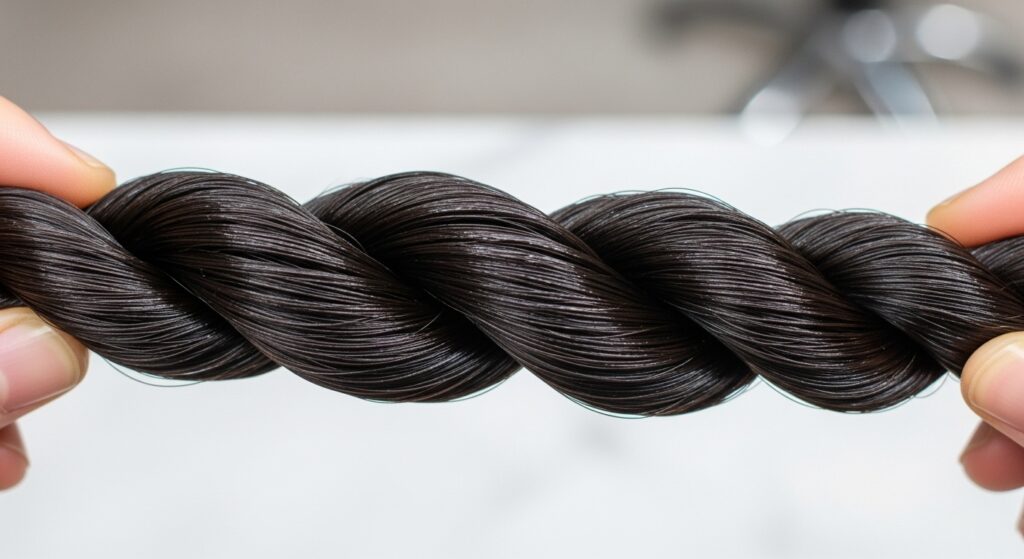
7. The “Rope” Twisting Method
Similar to finger coiling but faster for longer or thicker hair. Take a section, apply gel, and then twist two strands around each other like you’re making a rope. This creates beautiful, chunky, defined twists that, once dry and separated, reveal incredible volume and wave. It’s a fantastic method for Type 3 and 4 hair looking for stretch and definition with a slightly different texture.
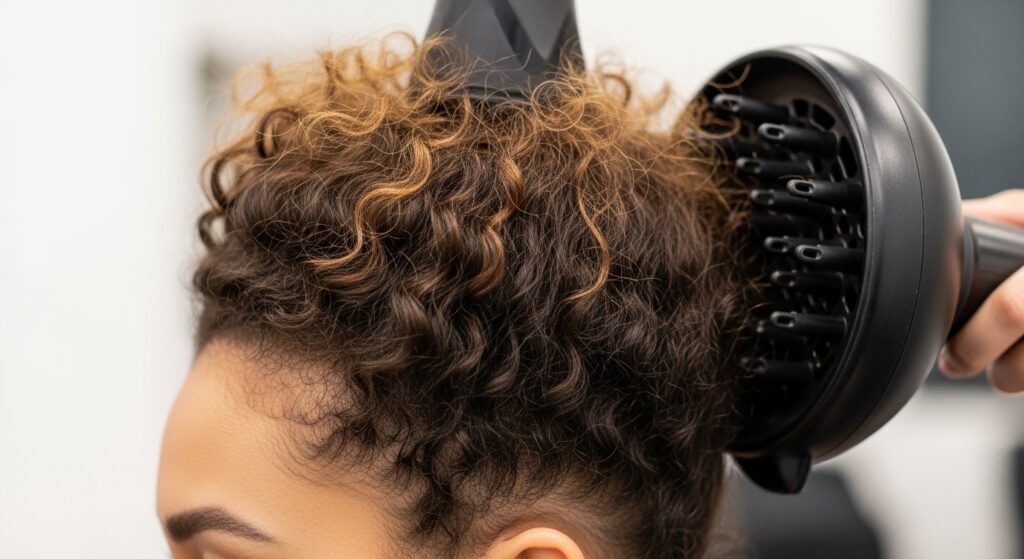
8. The Diffuser Attachment “Hover” Dry
Application is only half the battle—drying technique seals the cast. After applying gel, use a diffuser attached to your hairdryer. Instead of plunging your hair into the diffuser, hover it around your head on a low heat/medium speed setting until a light cast forms. This “hover” method sets the cast without causing frizz. Then, you can gently cup sections to dry fully. This preserves incredible volume and definition.

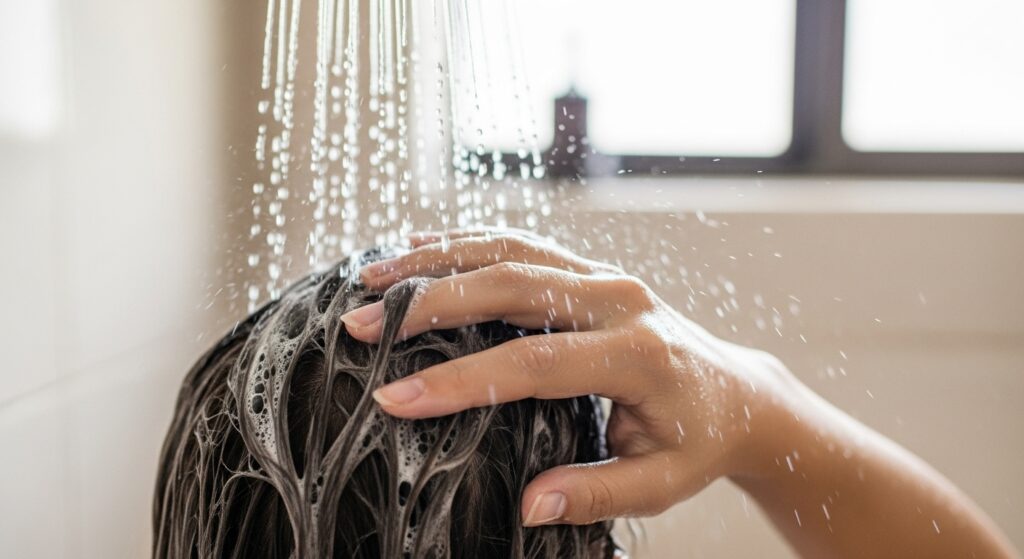
9. The “Wet Brush” Styling in the Shower
For the ultimate in clump formation, don’t leave the shower. Apply your gel to sopping wet hair in the shower. Then, using a flexible wet-detangling brush, brush through sections under the stream of water. The water helps distribute the gel evenly and encourages massive, juicy curl clumps. Simply scrunch gently and step out—your cast will begin forming immediately as the excess water drains.
10. The “Micro-plop & Then Gel” Method
If your hair is easily weighed down or takes forever to dry, reverse the order. After applying leave-in conditioner, gently scrunch out excess water with a microfiber towel or cotton t-shirt (this is micro-plopping). Then, apply your gel to damp hair using praying hands or scrunching. This method uses less product, speeds up drying time, and can result in more volume at the root while still achieving a strong cast.
11. The “Gel & Mousse” Layered Cast
Sometimes, one product isn’t enough. For extreme humidity or fine hair that needs volume, try a gel-under-mousse cocktail. Apply your styling gel first as usual to wet hair to define the curl. Then, layer a volumizing mousse over the top, scrunching it in. The gel provides the definition cast, while the mousse adds an extra layer of hold, volume, and a lighter final texture once scrunched out.

12. The “Shake & Break” for Short Hair
For short cuts, pixie curls, and tight coils, a simpler method reigns supreme. Apply gel evenly to very wet hair using raking or praying hands. Then, simply gently shake your roots with your fingers to encourage separation and volume. Let it air dry. Once dry, you won’t so much “scrunch” as you will lightly “break” the cast by patting and shaking your hair, preserving incredible root lift.

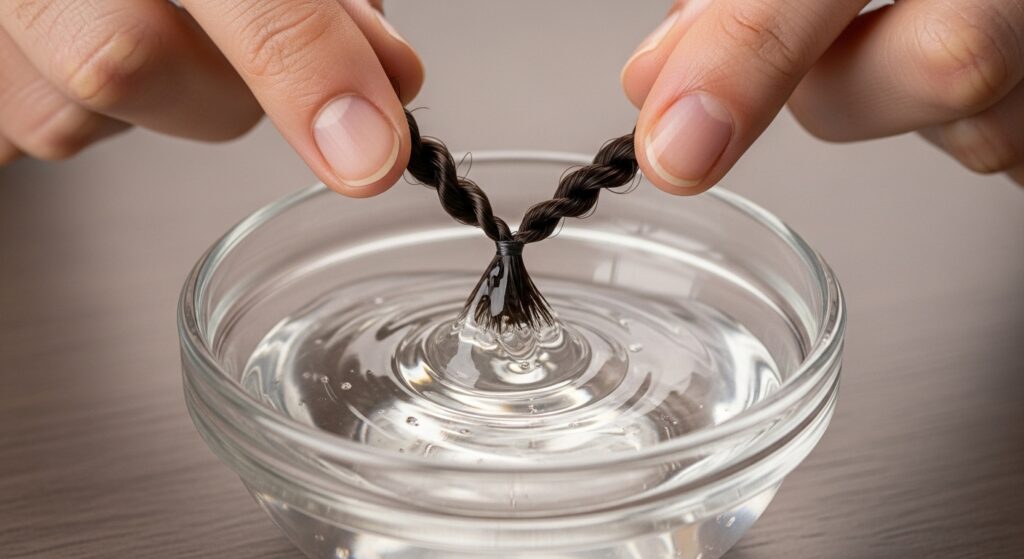
13. The “Dipping” Method for Twists & Braid Outs
Gel casting isn’t just for wash-and-gos. For defined twist-outs and braid-outs, try dipping. After applying a cream, dip the ends of each twisting or braiding section into a small bowl of gel before finishing the twist. This seals the ends, preventing frizz and ensuring the tips are as crisp and defined as the base. It makes unraveling your styles a dream.
14. The “Pixie” Diffusing for Ultimate Volume
This drying method creates the cast of all casts. After gelling, use a diffuser but place sections of your hair directly into the diffuser bowl and hold it against your scalp. Turn the dryer on low heat/cool and low speed. Hold for a few minutes, then move to the next section. This creates an incredibly strong, root-lifting cast that, when scrunched out, yields unbelievable, lasting volume and definition.
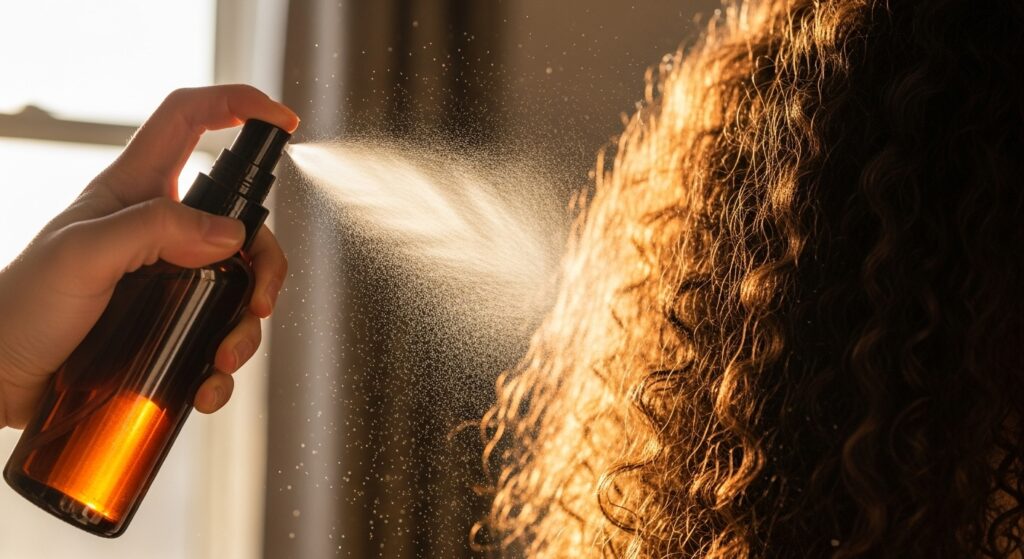
15. The “Spray Gel” for Refreshes & Light Hold
For day 2, 3, or 4 hair, or for those who prefer a lighter hold, a spray gel is your method. Lightly mist water over a section, then spray a liquid or foam gel directly onto the dampened curl. Smooth with praying hands or scrunch. This applies a new, lighter cast over the old one, revitalizing definition without heaviness or buildup. It’s the perfect maintenance casting method.
16. The “Void” Method (Air Dry Only)
Sometimes, the best method is to do nothing. Apply your gel using any of the above techniques on soaking wet hair. Then, do not touch it. Let it air dry completely without scrunching, diffusing, or manipulating. This allows the cast to form in its purest, hardest state, often resulting in the most dramatic, frizz-free definition possible. It requires patience but delivers stunning results.
Finding Your Perfect Gel Cast
With these 16 methods in your toolkit, experimentation is key. Your perfect gel cast depends on your hair’s porosity, density, curl pattern, and lifestyle. You might use the “Rake & Shingle” on a wash day and the “Spray Gel” method for refreshes. The goal is long-lasting definition, moisture retention, and a style that makes you feel confident.
Remember, the “crunch” is not the enemy—it’s the blueprint for your best curls. Once your hair is completely, 100% dry, break the cast by scrunching your hair with clean, dry hands or a tiny drop of oil on your palms. You’ll be left with soft, touchable, resilient curls that stand up to whatever your day throws at them. Happy casting!