17 Pin Curl Methods for Vintage Waves That Last All Night
There’s a certain magic to vintage hairstyles—a timeless glamour that whispers of Hollywood starlets, swing dancing, and effortless elegance. Yet, for anyone who has tried to recreate those perfect, resilient waves, the reality often involves a lot of effort for a result that falls flat before the night is over. The secret weapon of the silver screen? Pin curls. More than just a retro technique, pin curling is a foundational hairstyling method that, when mastered, creates waves with incredible memory, volume, and shine that modern tools often can’t replicate.
The Foundation: Understanding Pin Curl Basics
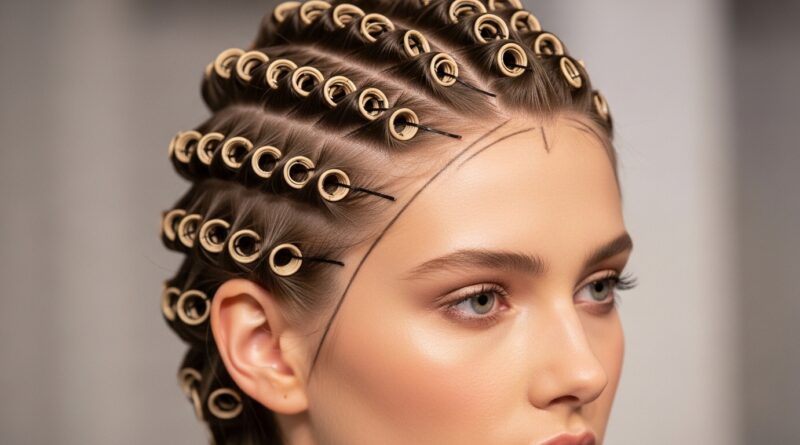
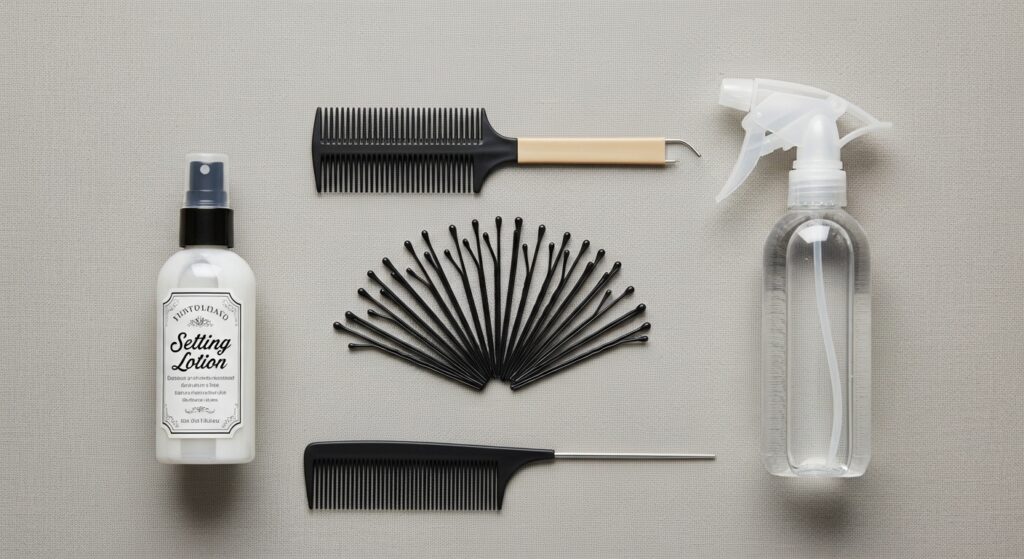
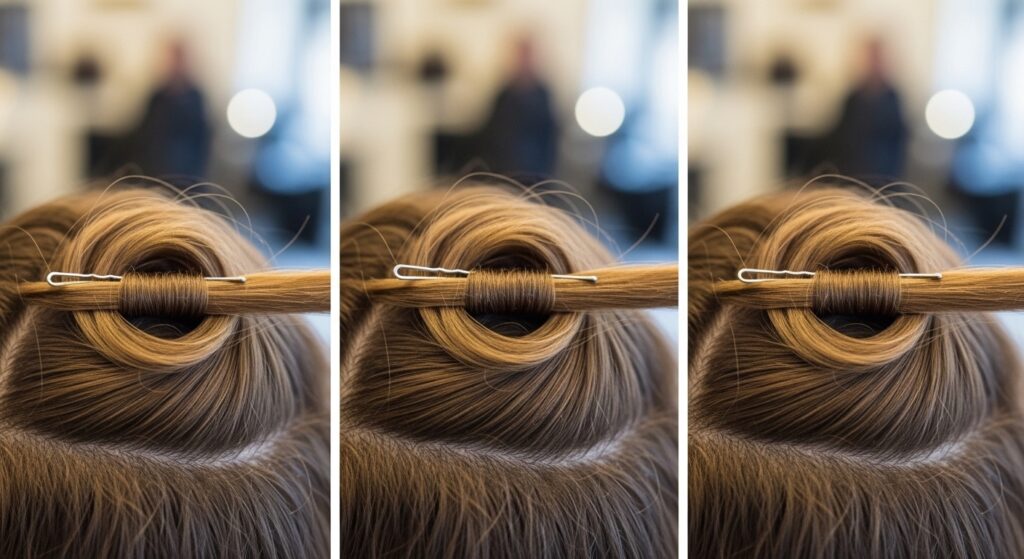
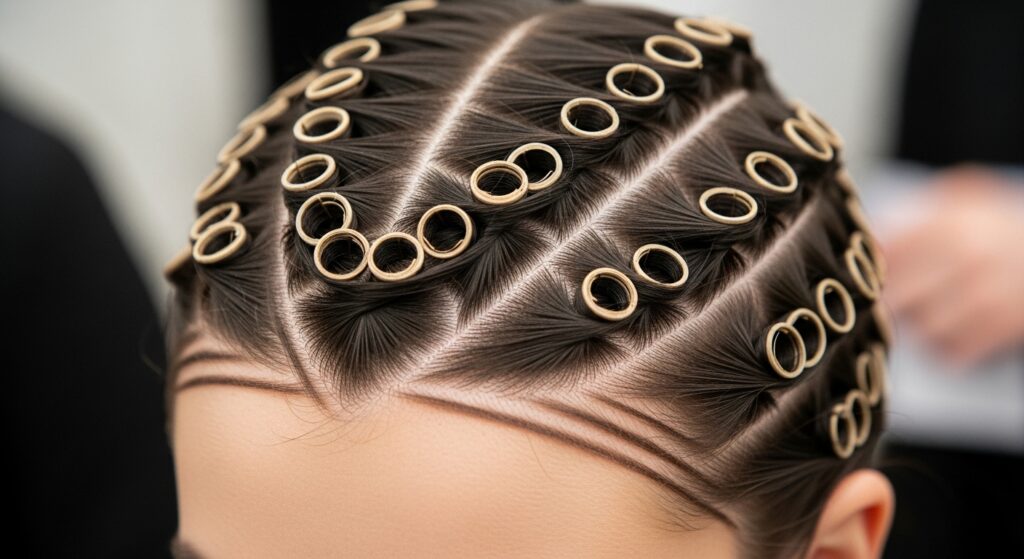
Before we dive into the 17 methods, let’s establish the core principles. A pin curl is created by taking a section of damp (not soaking wet) hair, coiling it into a flat spiral against the scalp, and securing it with a pin or clip. The direction of the coil and its placement on the head dictates the final wave pattern. For best results, start with clean, towel-dried hair. Apply a setting lotion or a light-hold mousse to each section for extra hold and frizz control. Let your curls dry completely—overnight is ideal—before carefully unpinning and brushing them out.
1. The Classic Flat Curl
This is the most fundamental technique. Create a small, horizontal section of hair. Hold the end between your fingers and coil the hair flat against the scalp in a clockwise or counterclockwise direction. Secure the center of the coil with a pin. This method creates a consistent, springy wave and is the building block for most patterns.
2. The Stand-Up Curl (Cascade Curl)
Instead of lying flat, the stand-up curl is coiled in the air before being pinned to the scalp. This technique gives more lift and volume at the roots, perfect for adding height to the crown or creating a looser, more voluminous wave pattern.
3. The Reverse Direction Curl
For this method, you coil the hair in the opposite direction you want the wave to fall. If you want a wave that curves forward toward your face, you coil it backward. This creates stronger resistance and a more pronounced, lasting wave shape.
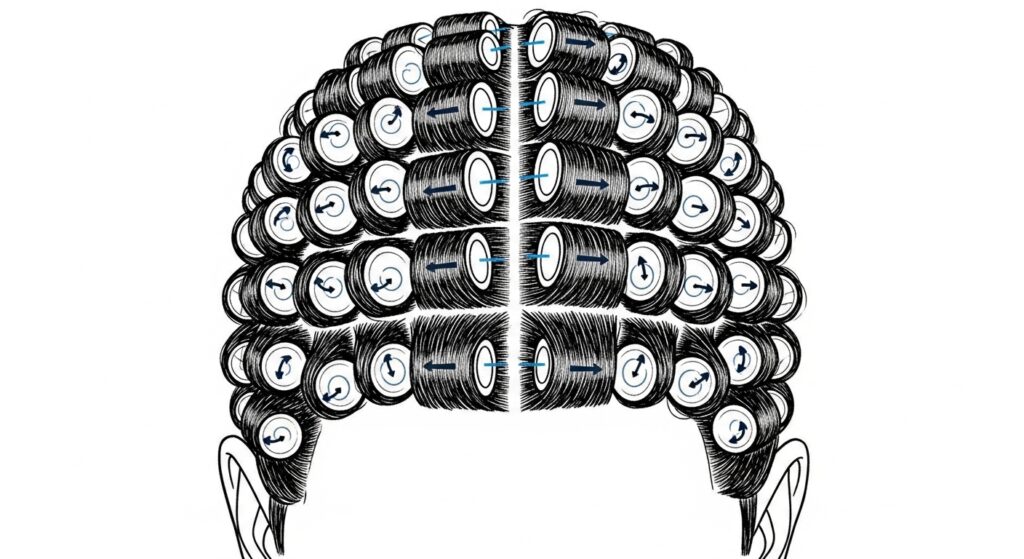
4. The Clockwise & Counterclockwise Pattern
Direction is everything. By alternating the direction of your pin curls row by row (one row clockwise, the next counterclockwise), you create an S-shaped wave pattern that flows seamlessly. This is essential for classic, all-over vintage waves.
5. The Forward-Facing Curl
All curls in the front sections of your hair are coiled rolling forward toward your face. This creates a soft, framing wave that rolls away from the part, ideal for styles like the 1940s pompadour or peek-a-boo waves.
6. The Backward-Facing Curl
The opposite of the forward curl, this technique involves coiling hair backward, away from the face. It creates volume at the back of the head and waves that sweep gracefully back, offering a more sophisticated, open look.
7. The Vertical Pin Curl
Use vertical sections of hair instead of horizontal ones. Coil these sections straight up or down. Vertical curls are fantastic for creating dramatic, cascading waves or for adding texture in long hair without too much horizontal spread.
8. The Diagonal Pin Curl
Section your hair on a diagonal. This advanced placement helps blend wave patterns seamlessly, especially around the hairline and crown, and can create a very flattering, face-framing effect.
9. The Barrel Curl Method
This technique involves wrapping the hair around two fingers to create a larger, barrel-shaped curl before pinning. It yields a looser, more open wave reminiscent of the 1930s, perfect for those who want a softer vintage look.
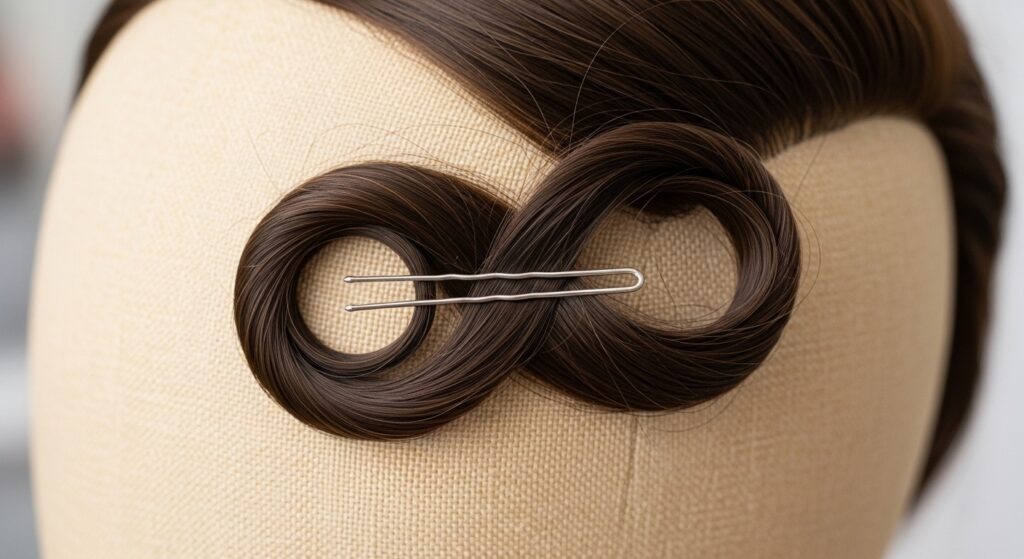
10. The Figure-Eight Pin Curl
Instead of a simple spiral, fold the hair strand into a figure-eight shape before pinning it flat. This creates a wider, flatter wave with a distinct, beautiful pattern that brushes out into deep, luxurious waves.
11. The Pin Curl Mohawk
For incredible volume, create a row of stand-up pin curls directly down the center of your head from forehead to nape. Once set and brushed out, this gives massive height and a solid foundation for victory rolls or big hair styles.
12. The Nape-Enhancing Cluster
Focus small, flat pin curls at the very nape of your neck. This often-overlooked area benefits from the added texture and curl, ensuring your vintage style looks polished from every angle when you put your hair up or wear it down.
13. The Face-Framing Forward-Backward Combo
For perfect face-framing, place two forward-facing curls at the front of each side of your part, followed by backward-facing curls directly behind them. This creates a natural, rolling wave that perfectly contours the cheekbone.
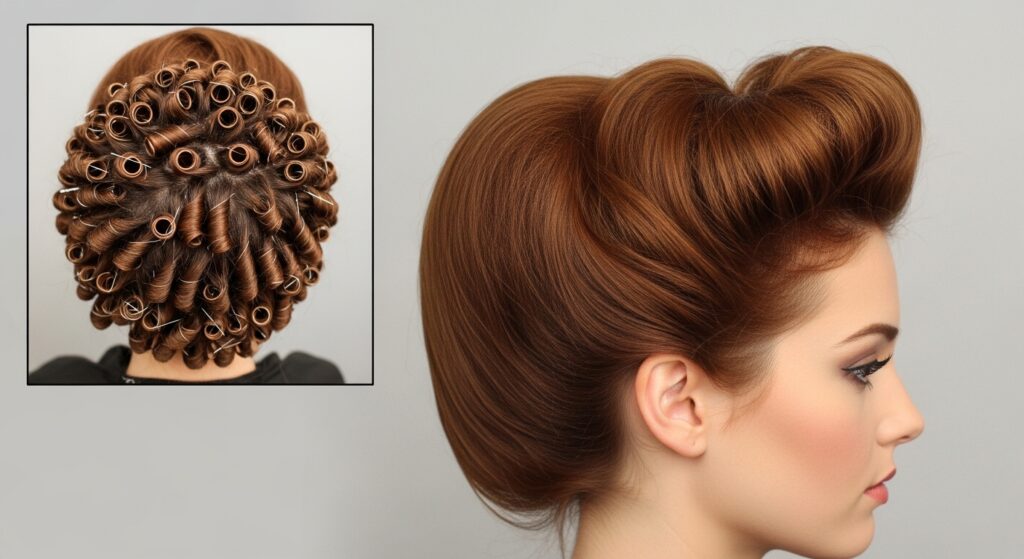
14. The All-Over Uniform Set
The most traditional set. Create neat, consistent rows of flat pin curls across the entire head, all coiled in the same direction or in the alternating pattern. This is your go-to for reliable, head-turning vintage waves.
15. The Crown Volume Focus
Concentrate smaller, stand-up pin curls or tightly coiled flat curls just at the crown of your head. When brushed out, this gives tremendous lift and support, preventing your style from falling flat as the night goes on.
16. The End-Only Pin Curl
If you have long hair and want wave mainly at the ends, coil only the last few inches of your hair into a pin curl and let the rest of the length lie straight. This is a great way to add a vintage touch to modern long hairstyles.
17. The Hybrid Roller & Pin Curl Set
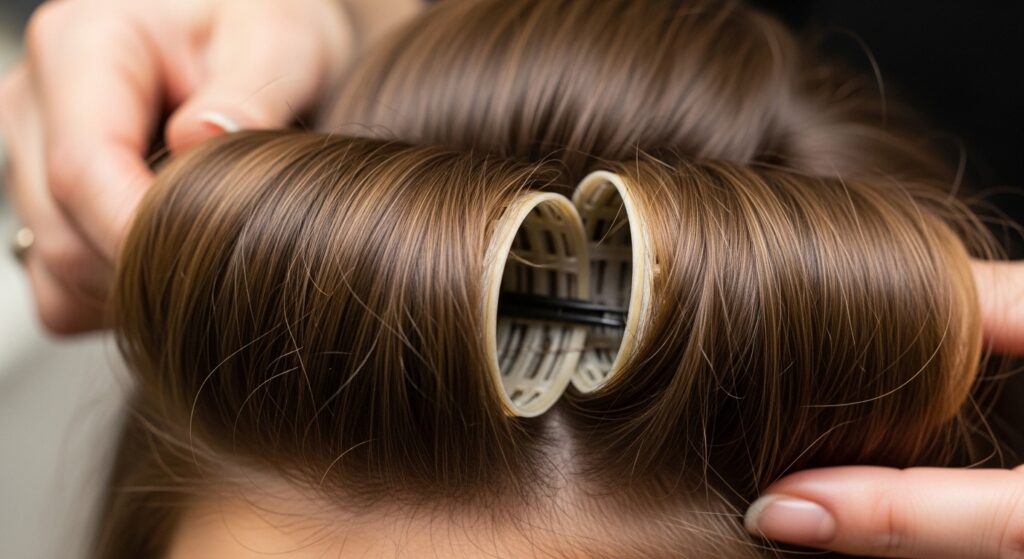
Use magnetic rollers for the large, internal sections of hair to speed up drying and create broad volume, then use pin curls at the hairline, nape, and crown for precise control and detailing. This hybrid method combines the best of both worlds.
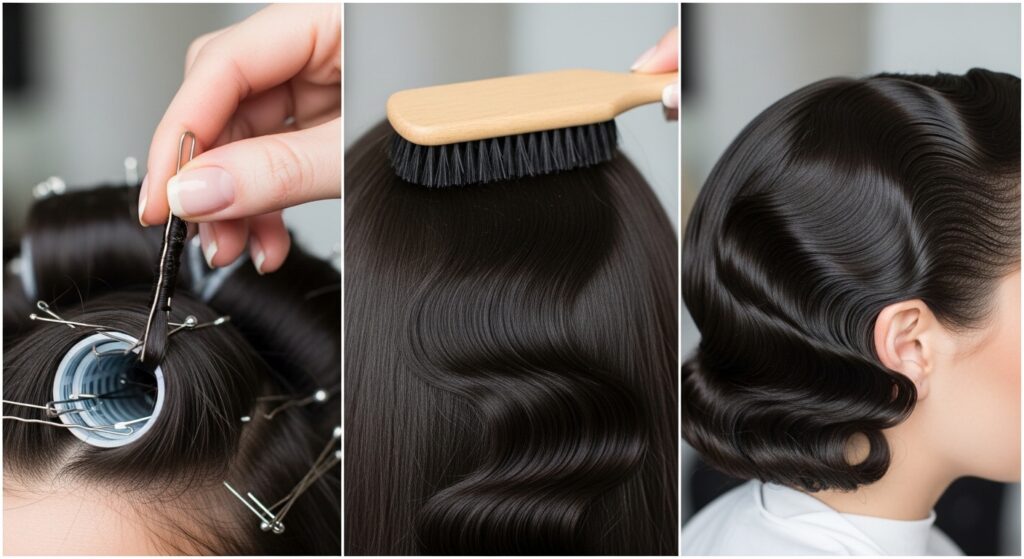
Brushing Out & Styling Your Masterpiece
Your work isn’t done when the pins come out! The brushing-out process is crucial. Start by carefully removing all pins. Using a soft-bristle brush or a wide-tooth comb, gently brush through the curls in a downward motion. Don’t rake through aggressively—you’re separating and shaping the waves, not brushing them straight. Use your fingers to help sculpt and place the waves. Once brushed, mist lightly with a flexible-hold hairspray. For authentic 1940s style, you can then use your fingers or a comb to create a sharp side part and define individual waves.
Pro Tips for All-Night Hold
To ensure your waves truly last all night, follow these pro tips. Always ensure your hair is 100% dry before unpinning; damp hair equals droopy waves. Use a quality setting product suited to your hair type—fine hair needs a lighter lotion, while thick hair may need a stronger gel. After brushing out, insert a few hidden hairpins at the crest of key waves to anchor them discreetly. Finally, carry a small vintage-style comb and a travel-size hairspray for touch-ups, so you can reset a wave with a spritz of water and a quick re-pin if needed.
Mastering these 17 pin curl methods unlocks a world of creative, long-lasting hairstyling. It’s a practice in patience that pays off in unparalleled glamour. With this guide, you’re equipped to experiment, mix techniques, and ultimately discover the perfect pin curl patterns to frame your face and capture the timeless beauty of vintage waves. So gather your pins, prepare your setting lotion, and get ready for compliments that last as long as your curls.