17 Waterfall Effects on Short Hair Mastered
Okay, let’s be real. When you have short hair, sometimes you miss the drama. You miss the feeling of hair cascading down your shoulders. But what if I told you that you can have that gorgeous, flowing effect without growing out your pixie or bob?
That’s the magic of the waterfall effect. It’s all about creating the illusion of length and movement with clever styling, strategic layers, and a few insider tricks. It’s the secret behind so many of those stunning 2026 hairstyles we’re starting to see.
This isn’t about complicated updos. This is about easy, everyday looks that make your short hair feel brand new. I’ve mastered 17 ways to get this look, from quiet luxury to romantic goth, and I’m breaking them all down for you right here.
Get ready to fall in love with your short hair all over again. Let’s dive into these waterfall effects you can actually do.
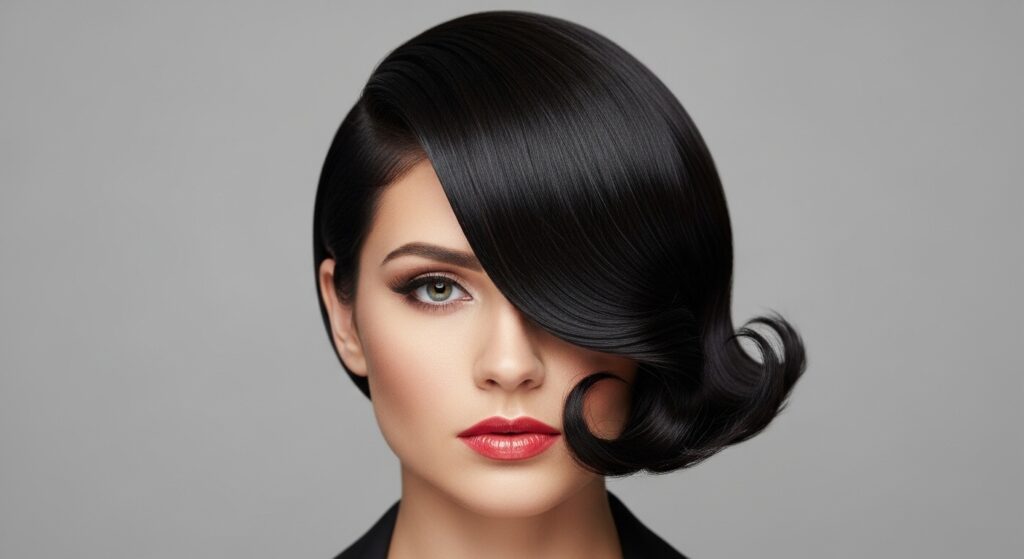
1. The Classic Side-Swept Waterfall
This is your gateway waterfall. It’s simple, elegant, and works on almost any short cut. The key is a deep side part. Use a tail comb to create a clean line from the crown of your head to your temple.
Then, simply sweep all your hair to the heavier side. Use a light-hold texture spray to keep it in place without stiffness. This creates an instant cascade of hair that feels polished and put-together.
- Create a deep side part.
- Smooth hair with a flat brush.
- Spritz with a flexible hold spray.
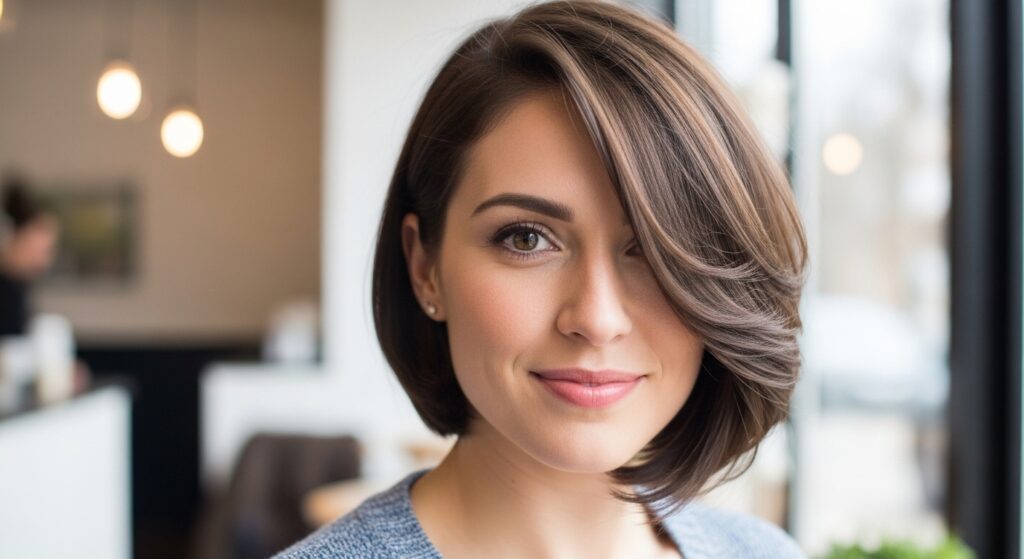
2. The “Old Money Hair” Waterfall Bob
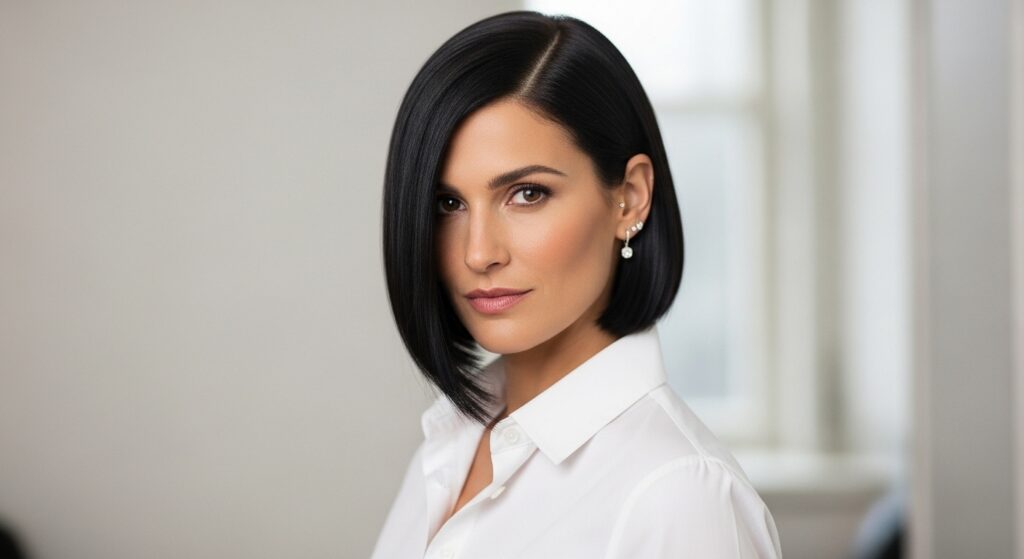
Think timeless, not trendy. This look is all about impeccable, healthy hair with a subtle wave. Start with a super sleek blowout using a round brush. Focus on creating a gentle bend at the ends, not a curl.
Tuck one side securely behind your ear. Let the other side fall naturally in that pristine, glossy sheet. It’s the ultimate quiet luxury bob—effortless and expensive-looking.
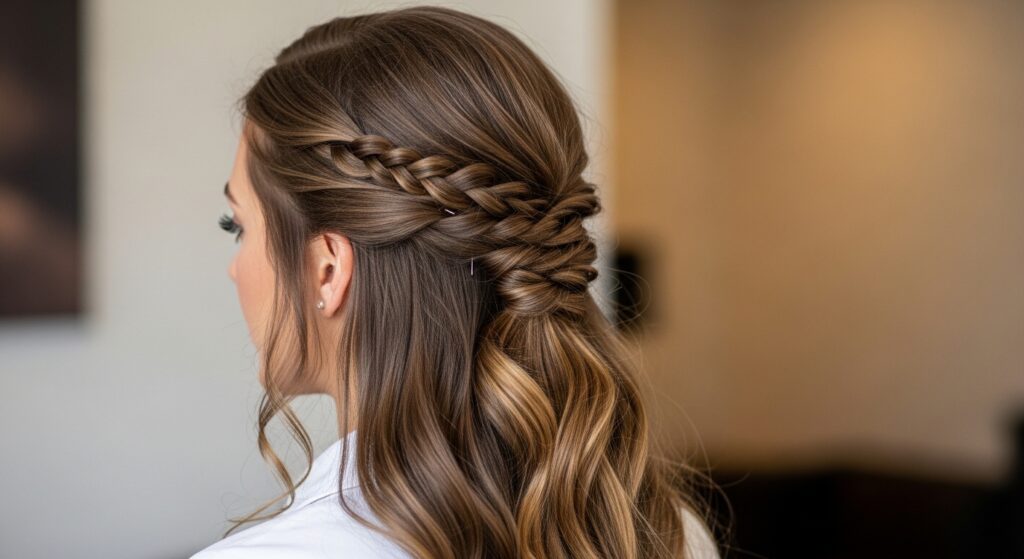
3. Waterfall Braid Accent
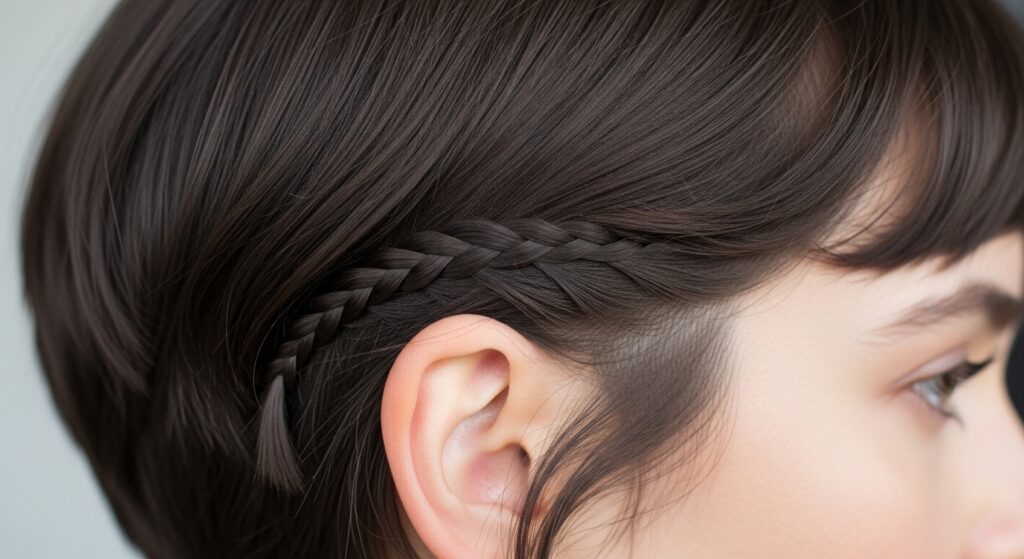
You don’t need long hair for a waterfall braid! This technique adds a beautiful, bohemian detail. Start a small section of hair near your temple. Begin a French braid, but instead of adding hair from the top, you drop the bottom strand and pick up a new one.
Keep it loose and soft. You only need to do 2-3 “waterfall” drops before incorporating it into a regular braid or pinning it back. It’s a gorgeous detail for a special day.
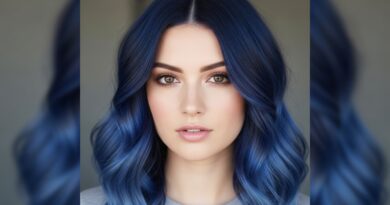
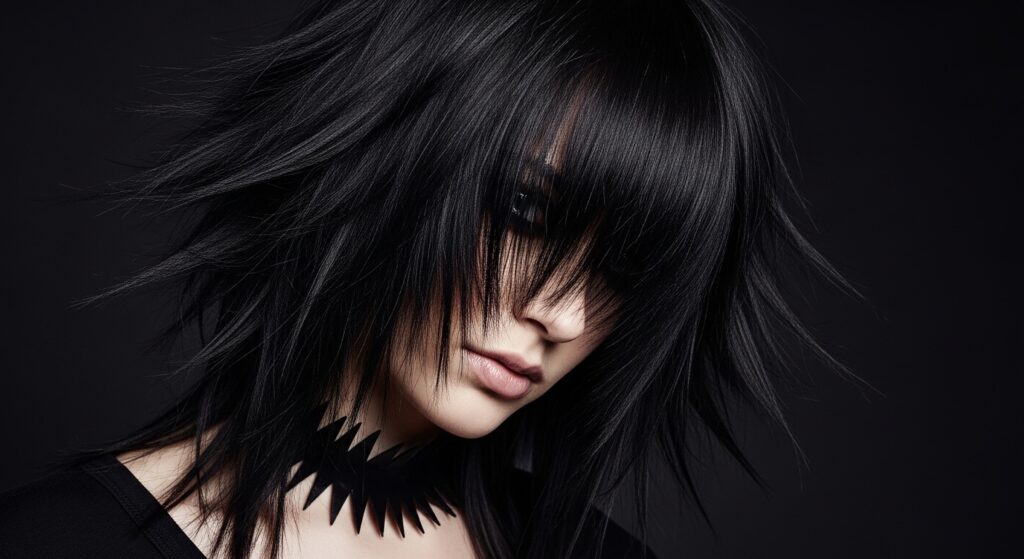
4. Romantic Goth Waterfall Waves
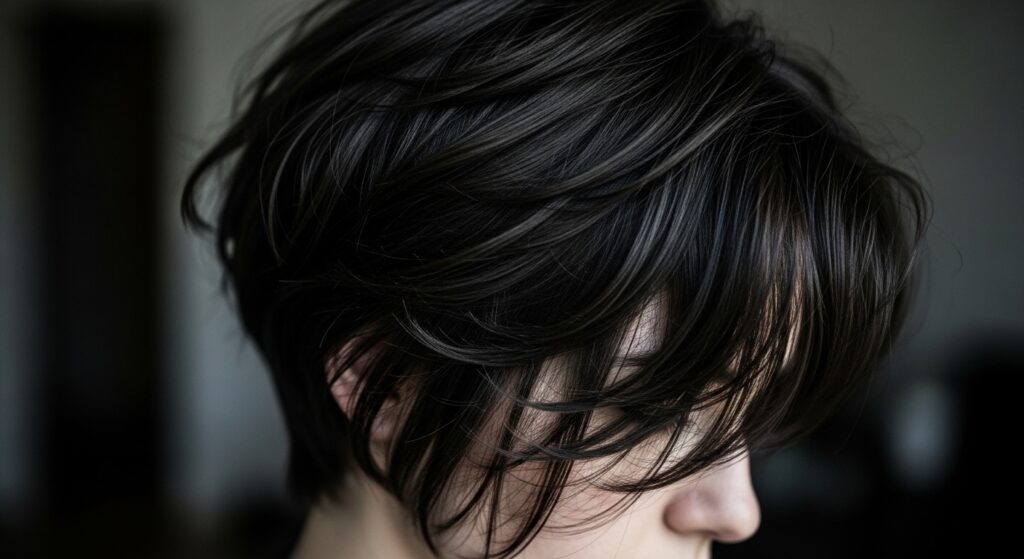
This is for my dark romantic souls. The key here is texture and undone waves. Use a 1-inch curling wand to create random, deep waves in your short layers. Don’t brush them out.
Instead, run your fingers through them and mist with a dry texturizing spray. Part your hair down the middle and let the waves fall messily around your face. It’s a perfect take on romantic goth hairstyles—dreamy and a little dramatic.
5. The Glitchy Glam Pin-Back

Glitchy glam hair is about controlled imperfection. Take random, small sections from the front of your hair. Twist them slightly and pin them back behind your ear with mini claw clips or bobby pins.
Leave other sections loose to waterfall down. The contrast between the pinned-back pieces and the falling pieces creates that cool, “glitchy” effect. It’s artistic and easy.
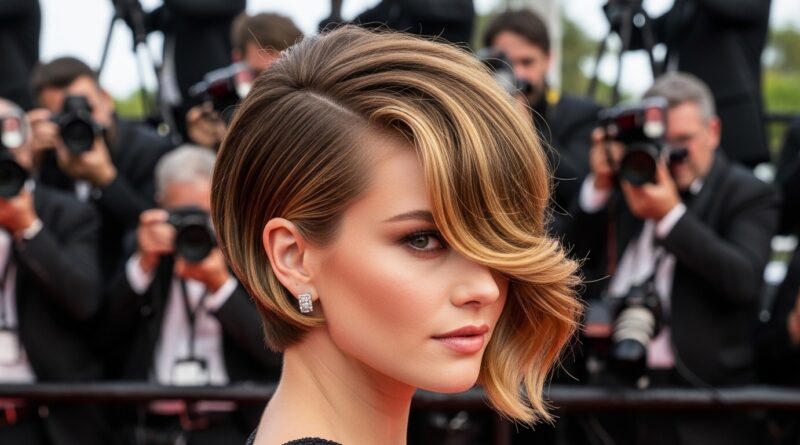
6. Asymmetrical Lob Waterfall
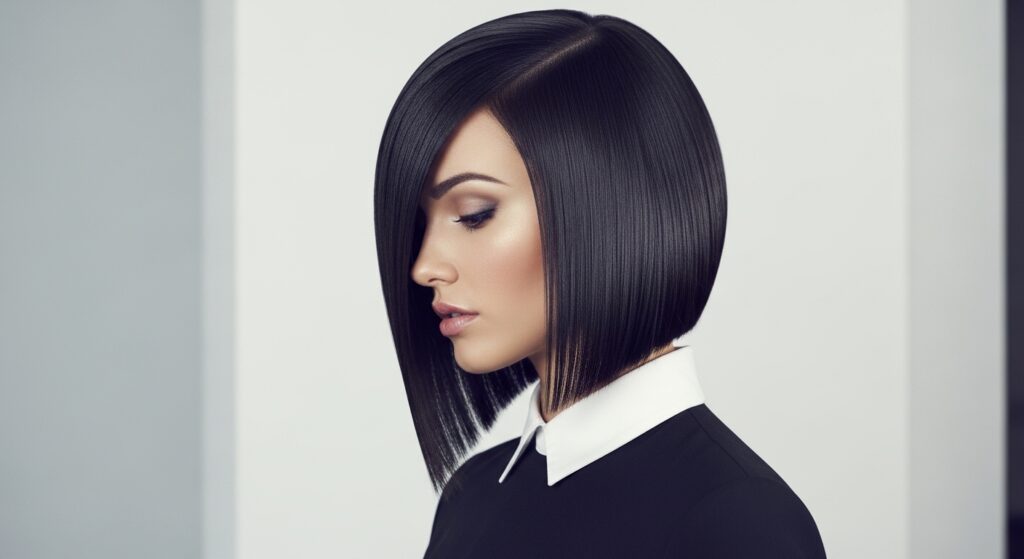
An asymmetrical lob is built for this. The longer side naturally gives you that waterfall length. Emphasize it by keeping that side super smooth and straight.
Use a flat iron to add a slight inward bend at the end. Keep the shorter side tucked or styled away from the face. The dramatic difference in length creates a bold, modern silhouette that’s all about the cascade.
7. Vampire Haircut Texture
The vampire haircut is all about shattered, piece-y ends and a strong frame. To get the waterfall effect, focus on your curtain bangs and front layers.
Use a matte pomade on your fingertips to separate the ends of these pieces. Let them fall jaggedly around your face, creating a shadowy, textured cascade. It’s mysterious and utterly cool.
8. Hime Cut Meets Waterfall
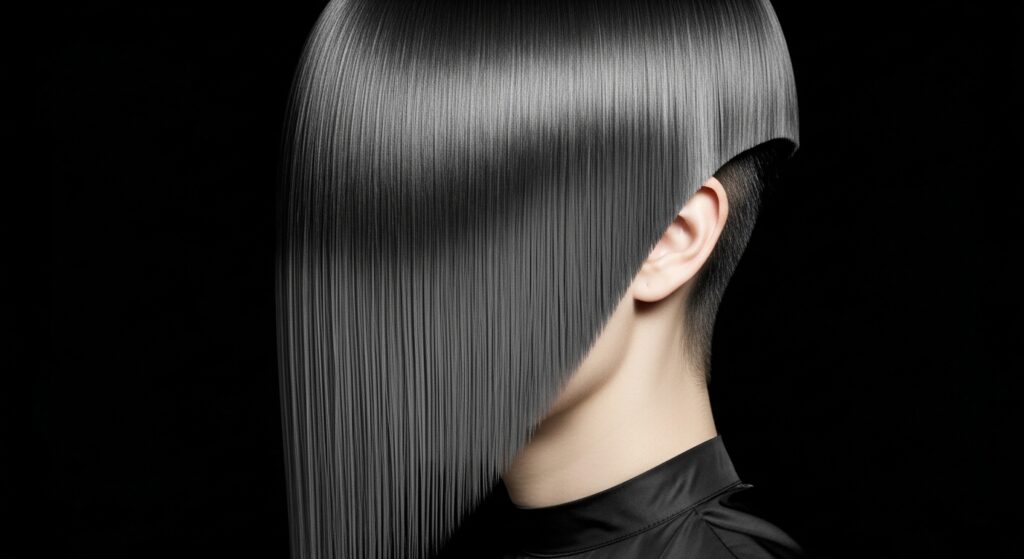
The hime cut already has a built-in waterfall with its long, front framing strands. To master the look, ensure those front pieces are cut in a strong, blunt line.
Style them pin-straight so they create a clean, graphic curtain of hair. The contrast with the shorter back and sides makes the waterfall effect incredibly striking and geometric.
9. Twisted Rope Waterfall
This is a five-minute upgrade. Take two small sections of hair from your temples. Twist them individually, then twist them together into a rope. Pull them back to the crown of your head and secure with a pin.
This pulls hair back in a soft, face-framing way while letting the rest of your short hair flow down in a waterfall. It looks intricate but is so simple.
10. The Voluminous Root Flip
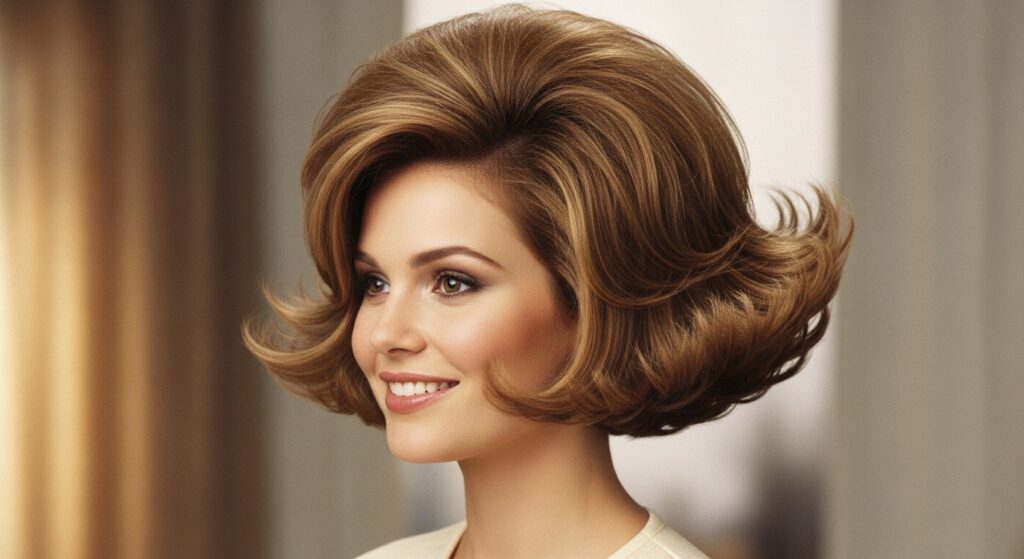
Volume is key for a waterfall that doesn’t fall flat. After washing, apply a root-lifting spray. Blow-dry your hair upside down. Once dry, use a round brush to roll the ends under and then quickly flip them outward.
This creates body at the root and a flipped cascade at the end. It’s retro, fun, and gives the illusion of more hair.
11. Half-Up Waterfall Pouf
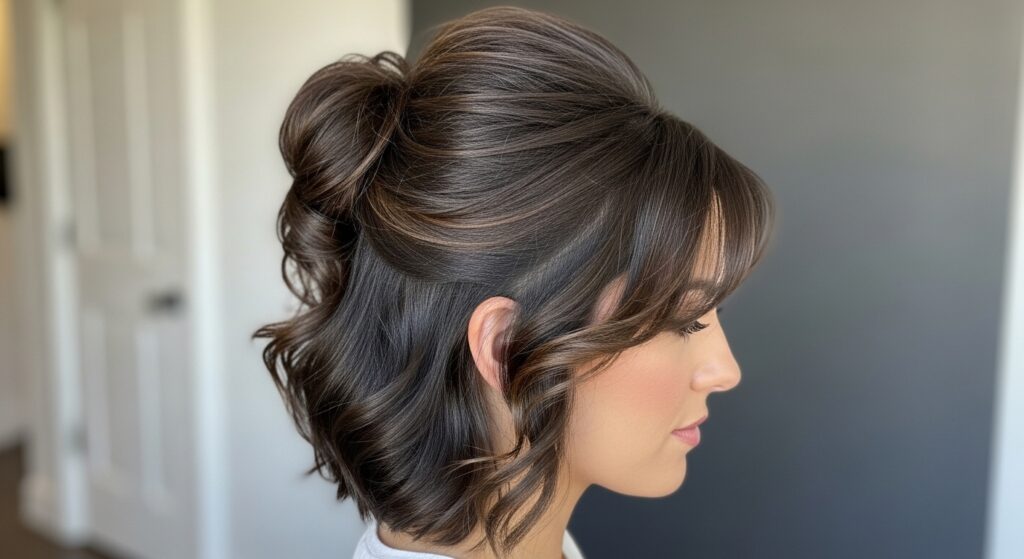
Even short hair can do half-up. Gather the top section of your hair, from your temples back. Lightly tease this section at the crown for a small pouf, then secure it with a clip.
Let the bottom layers waterfall down. Curl these bottom pieces away from your face to widen the effect. It’s playful and perfect for second-day hair.
12. Wet-Look Slicked Waterfall

Apply a strong-hold gel to damp hair. Use a comb to slick back the hair from your temples and crown. But here’s the twist: leave your front sections or bangs free.
Apply a little more gel to these front pieces and style them to waterfall down over your forehead in separated, piecey strands. It’s edgy and controlled.
13. Curly Short Hair Waterfall
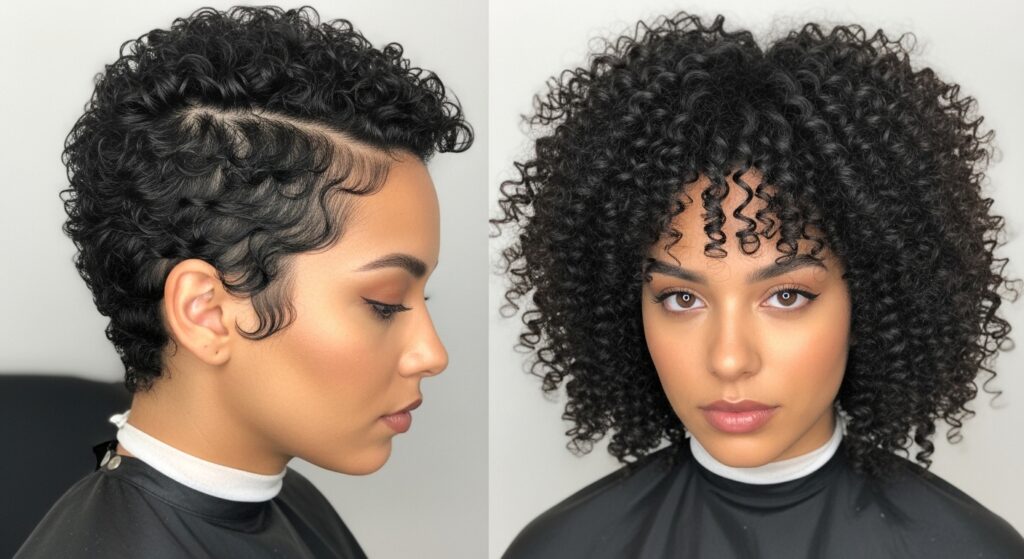
If you have natural curls, show them off! Define your curls with a curl cream. Once dry, choose one side of your head to gently clip back near your temple.
This allows the gorgeous, bouncy cascade of curls on the other side to take center stage. It’s a beautiful way to create shape and highlight your texture.
14. Accessorized Waterfall Clip
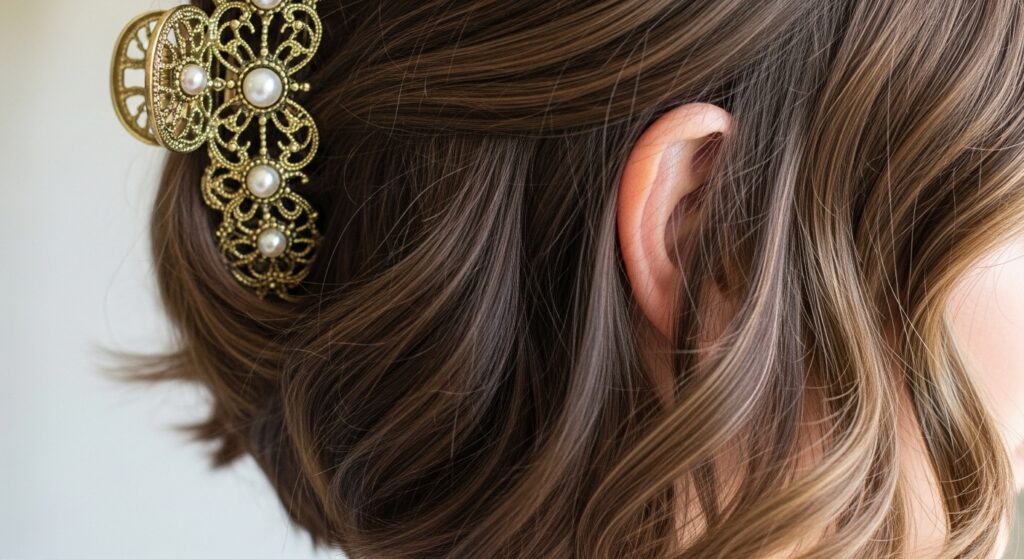
A statement clip is your best friend. Gather a substantial section of hair from one side, twist it slightly, and secure it with a beautiful, large clip just above your ear.
This instantly creates a gathered waterfall effect, with hair flowing down from the clip. It’s an instant glam upgrade that takes ten seconds.
15. Piece-Y Textured Ends
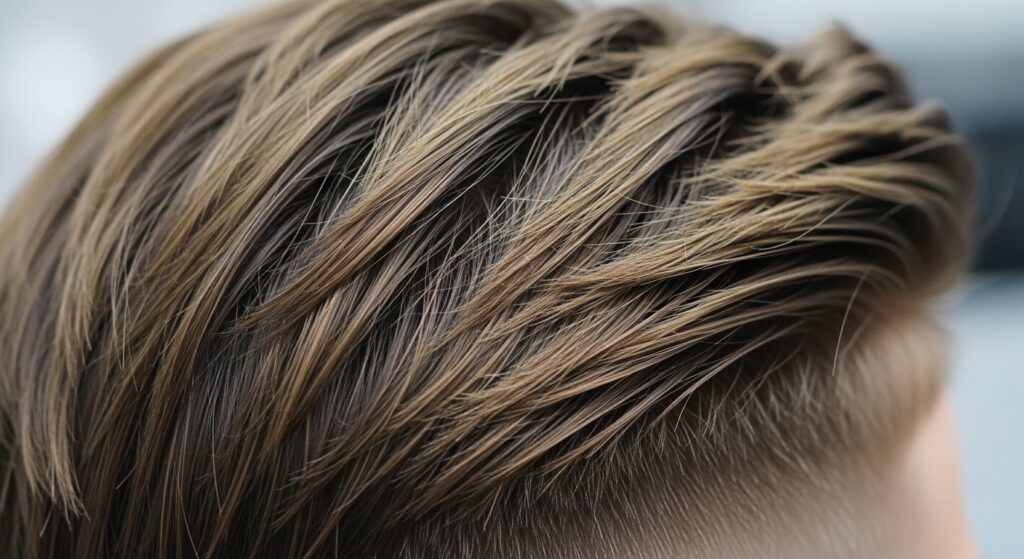
Ask your stylist for heavily textured, piece-y ends. At home, use a wax or molding paste. Rub it between your palms and then pinch the ends of your hair to separate them.
This breaks up any solid lines and makes the ends of your hair look like a soft, textured waterfall. It adds movement without any length.
16. The Deep-Part Volume Wave
This is old Hollywood glam. Create the deepest side part you can. On the heavier side, use a round brush to blow-dry a strong, voluminous wave back and away from your face.
Let that wave crest and then cascade down into the rest of your style. Use a light hairspray to hold the shape. It’s dramatic and stunning.
17. Messy Bun with Waterfall Frame

Yes, you can have a bun with short hair! Pull the very back section of your hair into a tiny, messy bun. Leave everything else out—your bangs, your side pieces, all of it.
Style these front pieces with a curling iron or flat iron to create a beautiful, intentional frame that waterfalls around your face. It looks like you tried hard, but it’s so easy.
Product Magic: What You Really Need
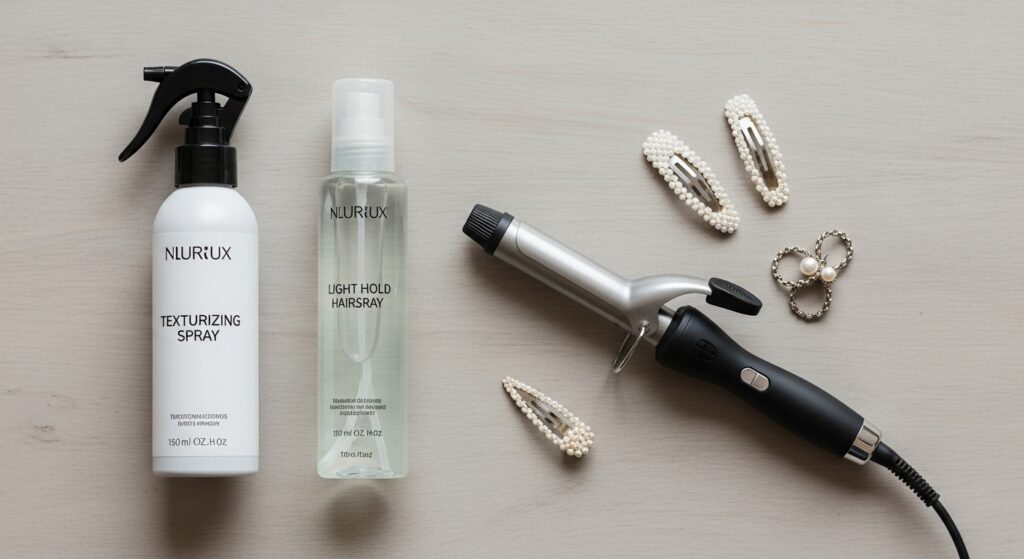
You don’t need a salon cabinet. For these looks, three products are heroes. A texturizing spray adds grit and hold for piece-y looks. A flexible-hold hairspray locks in styles without crunch.
A 1-inch curling iron is perfect for creating waves and bends in short hair. And don’t forget accessories—a few chic clips or pins can create a waterfall effect instantly.
Finding Your Face-Framing Layers
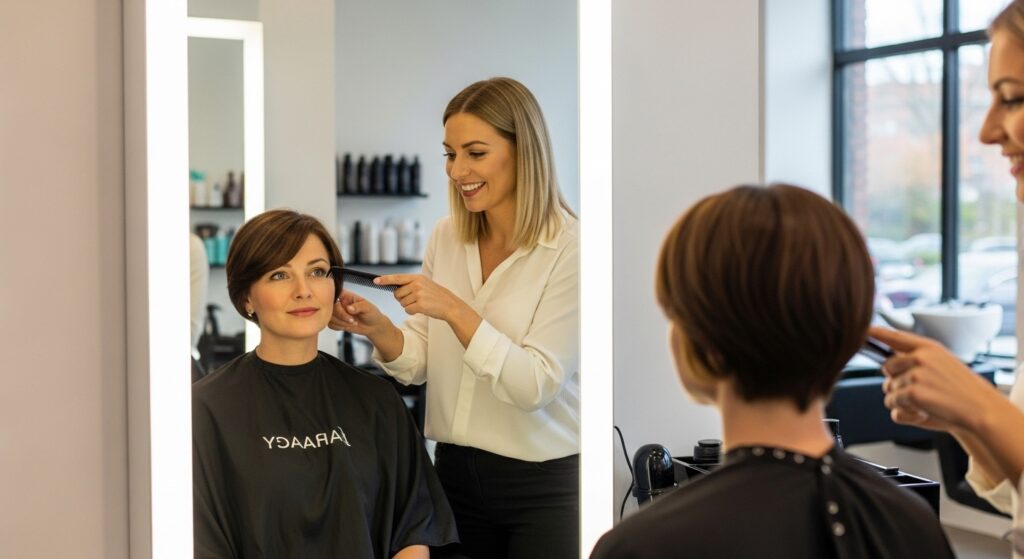
The right cut is 80% of the battle. Talk to your stylist about “face-framing layers.” These are layers cut specifically to fall around your face, starting at your chin or higher.
They are the engine of the waterfall effect. Bring pictures of the looks you like. A good stylist will adjust the length and weight of these layers to suit your hair type and face shape perfectly.
Mastering the Quick Curl Technique
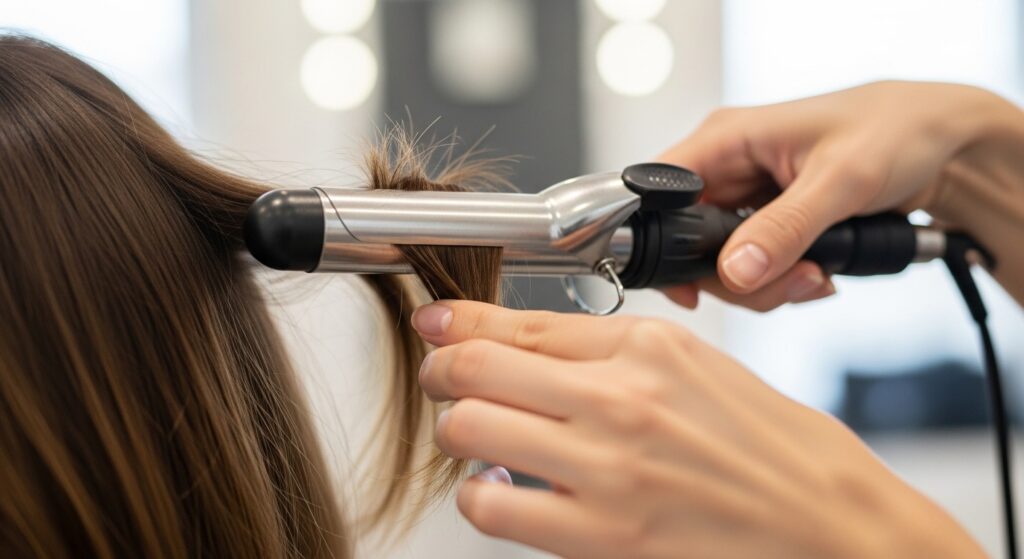
For waves that waterfall, direction is key. Always curl your front sections away from your face. Take small, vertical sections of hair. Wrap them around the iron, hold for 10 seconds, and release.
Don’t touch the curls until they’re completely cool. Then, gently separate them with your fingers. This creates natural-looking movement that cascades beautifully.
When to Tuck, When to Flow
The golden rule for short hair waterfalls: contrast. If one side is flowing down, try tucking the other side behind your ear. If the top is pinned back, let the bottom flow.
This creates visual interest and makes the waterfall effect look intentional, not accidental. Play with this balance—it’s the secret to a dynamic style.
See? Short hair is anything but boring. It’s a canvas for so much creativity. You have all the tools now to create movement, drama, and that beautiful flowing feeling, all without waiting for it to grow.
The best part is you can mix and match these techniques. Try a waterfall braid one day and a glitchy glam pin-back the next. Your short hair is your ultimate accessory.
I hope you feel inspired to play with your look this week. Which of these waterfall effects are you trying first? Let me know in the comments below—I love hearing from you!
Save this post to Pinterest to keep all 17 ideas right at your fingertips!