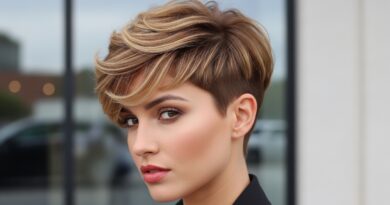
18 Blow-Dry Techniques for Curly Hair That Minimize Frizz
For those with curly hair, the mention of a blow-dryer can often evoke images of a puffy, frizzy halo. It’s a common struggle: the desire for a faster dry time and more volume, but the fear of sacrificing your beautiful curl pattern and inviting chaos. What if we told you that the problem isn’t the tool, but the technique? With the right approach, a blow-dryer can become your secret weapon for defined, bouncy, and frizz-minimized curls.
1. The Pre-Dry Prep: Your Anti-Frizz Foundation
Every masterpiece starts with a solid foundation, and a frizz-free blow-dry is no exception. Your technique begins long before you turn on the dryer.
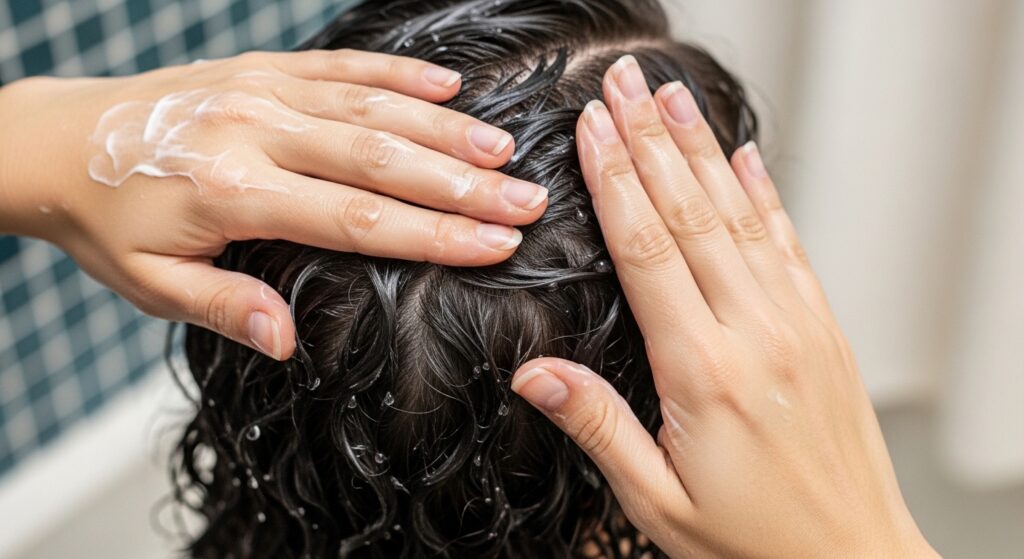
Technique 1: The Soaking Wet Application. Apply your leave-in conditioner, curl cream, and heat protectant to soaking wet hair. This allows the product to be diluted and distributed evenly, coating every strand with hydration and protection from the inside out.
Technique 2: The Prayer Hands & Scrunch. Avoid raking through curls with your fingers, which can break up clumps and cause frizz. Instead, smooth products over sections using flat “prayer hands,” then gently scrunch upward to encourage curl formation and remove excess water.
Technique 3: The Microfiber/ Cotton T-Shirt Plop. Before any heat, wrap your hair in a microfiber towel or a soft cotton t-shirt for 10-20 minutes. This absorbs water without the friction of a regular towel, which roughens the cuticle and creates instant frizz.
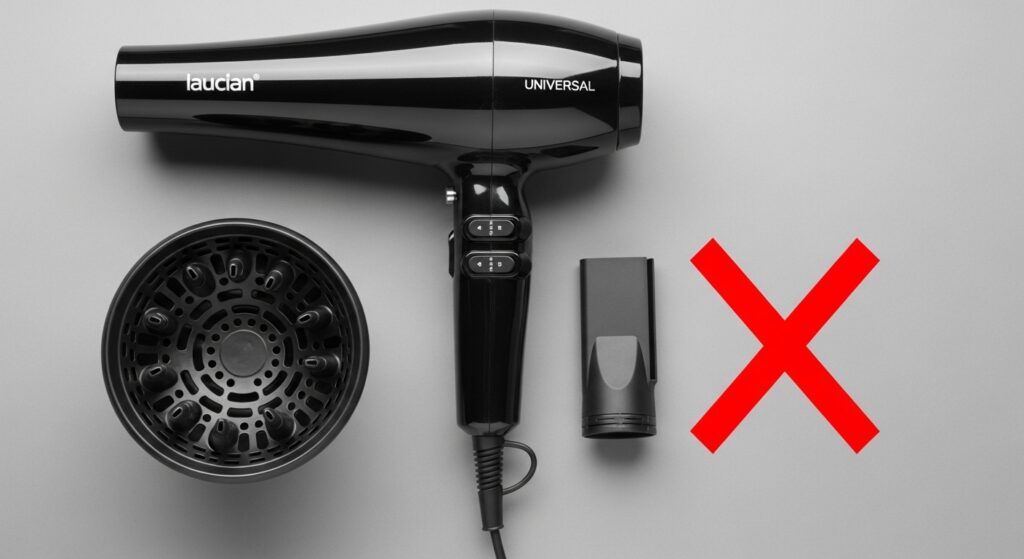
2. Tool Mastery: Choosing Your Weapons Wisely
Using the right attachments is non-negotiable for curly hair. Ditch the standard concentrator nozzle for these frizz-fighting heroes.
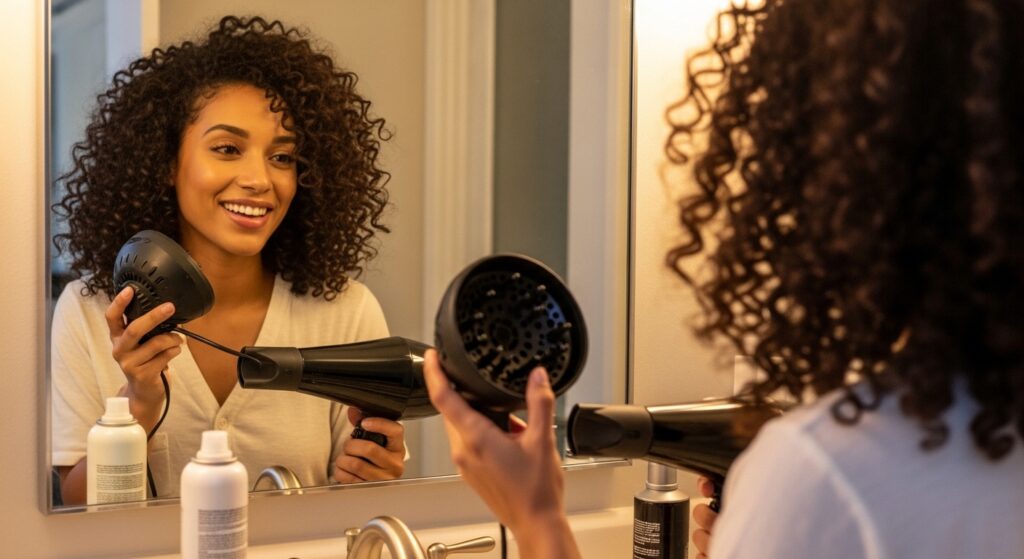
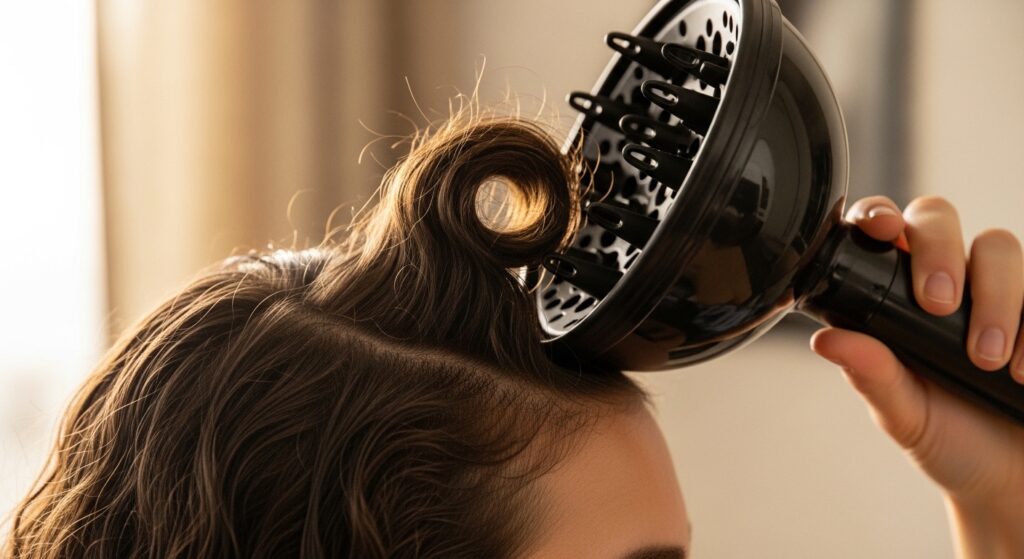
Technique 4: The Diffuser is Non-Negotiable. This is the curly girl’s best friend. A diffuser spreads the airflow over a wide area, drying curls gently without blasting them apart. It cups your curls, allowing them to dry in their natural pattern with less disruption.
Technique 5: Pick the Right Diffuser Shape. Look for a diffuser with long, flexible prongs or a deep bowl that can cradle more hair at once. This provides better support and reduces drying time.
Technique 6: The Cold Shot Button is Your Closer. Always end each section with a 10-15 second blast of cold air. This shocks the hair cuticle closed, sealing in style and shine while locking out humidity-induced frizz.
3. The Core Drying Techniques: Movement is Key
How you move the dryer is just as important as the dryer itself. Static, direct heat is the enemy.
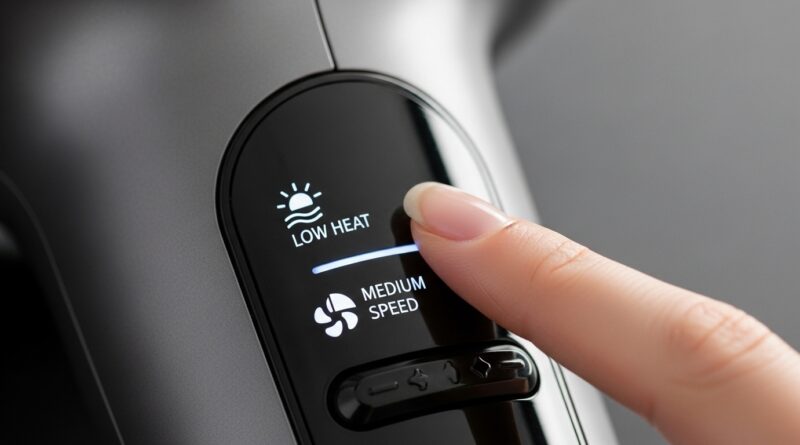
Technique 7: Hover Diffusing. With your dryer on a low heat and medium speed setting, hover the diffuser around the roots and under the canopy of your hair without touching it. This sets the root volume and dries the most porous areas first, minimizing root frizz.
Technique 8: The Pixie (or Cup) Diffusing Method. This is the gold standard. Turn the dryer OFF, gather a section of curls into the diffuser, bring it all the way to your scalp, THEN turn it on to a low/medium heat. Hold for 60-90 seconds, turn it OFF, then move on. This minimizes air disturbance dramatically.
Technique 9: Never, Ever Disturb the Cast. If you use a gel or mousse that creates a “cast,” do not touch or break up the curls while drying. Let the cast form completely under the diffused heat; you’ll break it up once hair is 100% dry for soft, defined curls.
4. Advanced Frizz-Fighting Maneuvers
Take your blow-dry to the next level with these pro-level strategies for ultimate smoothness.
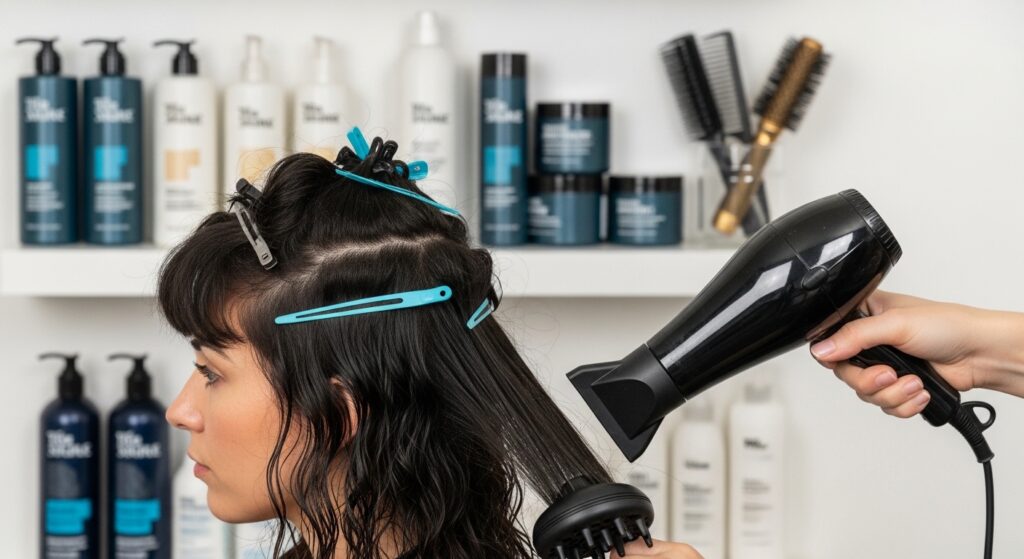
Technique 10: Section Like a Stylist. Don’t dry your hair as one mass. Clip up the top layers and work from the nape of the neck up. Smaller, manageable sections ensure each curl gets focused, even heat.
Technique 11: Dry Roots to Mid-Lengths First. Curls are most fragile at the ends. Focus heat on the roots and mid-lengths first, letting the ends air-dry a bit or drying them last on a cooler setting to prevent dryness and split ends.
Technique 12: The Tension Method with a Diffuser. For tighter curls or sections that need more definition, gently stretch the curl downward (applying light tension) with your free hand while diffusing the midsection. This can help elongate and smooth the cuticle.
Technique 13: Use a Concentrator Nozzle for Edges & Styling. Once diffused, you can use the cool setting and the concentrator nozzle to precisely smooth down flyaways around your hairline or part, directing the airflow down the hair shaft.
5. Heat & Power: The Delicate Balance
More heat and power do not equal better results for curls. In fact, it’s the opposite.
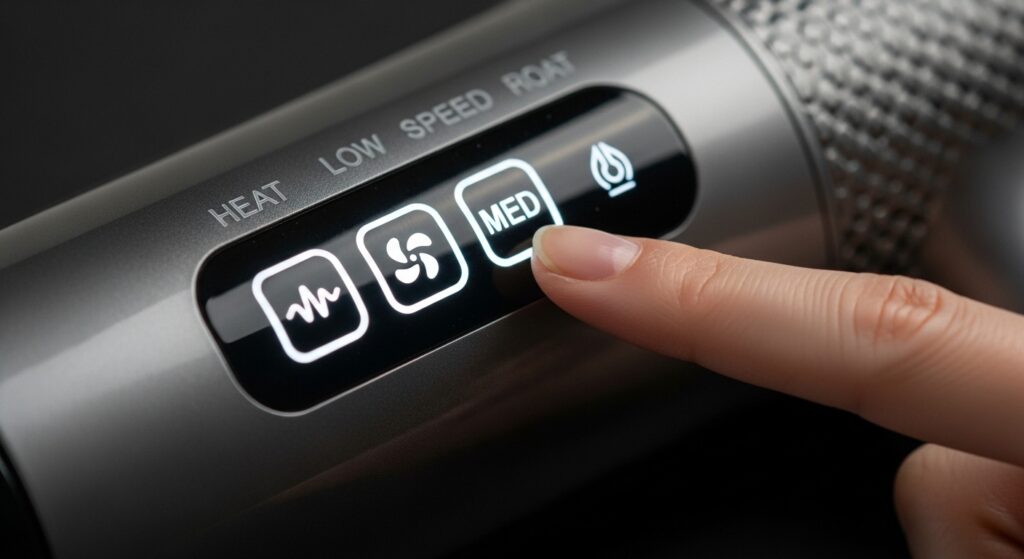
Technique 14: Low and Slow Wins the Race. Always choose the lowest heat setting that effectively dries your hair. High heat boils the water inside the hair shaft, causing explosive frizz. Patience is key.
Technique 15: Medium Speed for Control. Use a medium airflow speed. High speed can whip curls around and create tangles, while low speed might take too long, tempting you to crank up the heat.
Technique 16: The 80% Dry Rule. Aim to blow-dry your curls only until they are about 80% dry. Let the remaining moisture air-dry naturally. This prevents over-drying, which is a primary cause of frizz and brittleness.
6. The Finishing Touches: Sealing the Deal
Your work isn’t done when you turn off the dryer. These final steps lock in your smooth style.
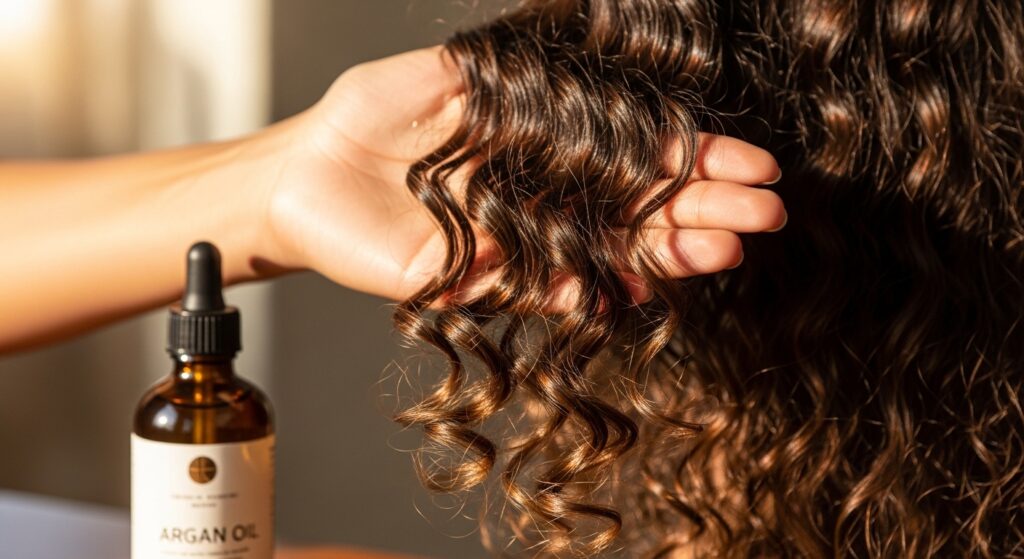
Technique 17: The Oil Slick. Once hair is completely cool and dry, take 1-2 drops of a lightweight hair oil. Rub it between your palms and gently glaze it over the surface of your hair, focusing on the ends and any remaining frizz. This adds shine and seals the cuticle.
Technique 18: Sleep on a Satin Pillowcase. Your post-blow-dry care is crucial. Cotton pillowcases create friction and absorb moisture, undoing all your hard work overnight. A satin or silk pillowcase allows your curls to glide, preserving your style and minimizing next-day frizz.
Embrace Your Frizz-Free Curls
Mastering the blow-dry for curly hair is a journey of embracing techniques that work with your natural texture, not against it. It’s about trading speed for strategy and force for finesse. By incorporating these 18 techniques—from the foundational prep to the final oil slick—you are not just drying your hair; you are crafting a defined, resilient, and beautiful curl pattern that can stand up to humidity and daily life.
Remember, consistency is key. Start with one or two new methods, like perfecting the pixie diffusing or committing to the cold shot, and build from there. Your curls have the potential to be their most vibrant, healthy, and frizz-minimized selves. Now, go forth and blow-dry with confidence.