
18 Detangling Techniques That Don’t Break Natural Hair
If the mere thought of detangling your natural hair sends shivers down your spine, you’re not alone. For many with curls, coils, and kinks, detangling can feel like a high-stakes battle between achieving a manageable mane and preserving precious length. The sound of a snapping strand is enough to make anyone wince. But what if we told you that detangling doesn’t have to be a destructive chore? What if it could be a gentle, almost therapeutic ritual that strengthens your hair and showcases its beauty?

1. The Pre-Detangle Prep: Setting the Stage
Success starts long before you pick up a comb. Preparing your hair properly can reduce tangles by up to 70% before you even begin the main process.
Start with a Pre-Poo Treatment: Before shampooing, apply a lightweight oil (like almond or coconut) or a conditioner to dry or damp hair. This creates a protective barrier, preventing the shampoo from stripping hair completely and reducing friction during washing.
Protective Styling Wisdom: Always detangle thoroughly before installing any long-term protective style like braids or twists. Starting with smooth, knot-free sections prevents tangles from maturing into dreadlocks over weeks of wear.
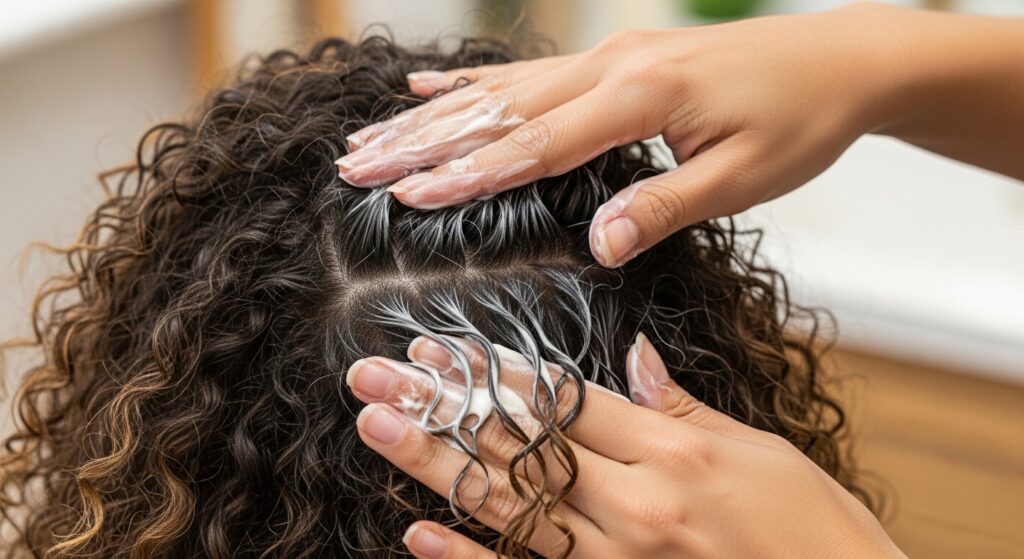
2. The Saturate & Slip Method
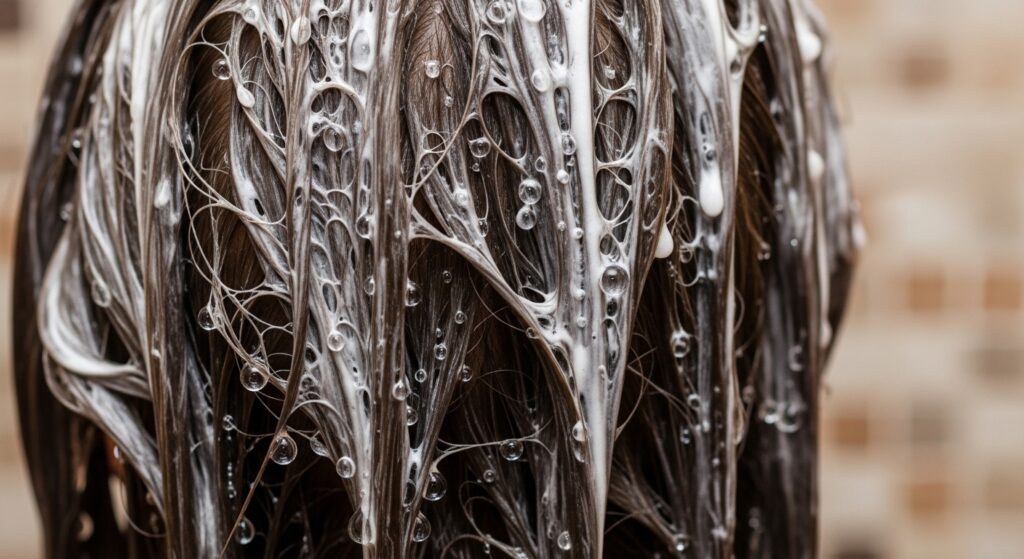
Never, ever detangle natural hair dry. Your hair is most elastic and least likely to break when it’s fully saturated with a slippery conditioner. Water and conditioner work together to swell the hair shaft (hydrating it) and provide the “slip” needed for tools to glide through.
In the shower, after cleansing, apply a generous amount of a rinse-out conditioner known for great slip. Use your palms to smooth it over your hair, ensuring every strand from root to tip is coated. The hair should feel slick to the touch. This is your detangling canvas.
3. Strategic Sectioning is Everything
Trying to detangle your entire head at once is a recipe for frustration and breakage. Divide and conquer.
Start by parting your hair into 4-6 large sections using your fingers or a wide-tail comb, securing each with a clip or hair band. As you work, subdivide each large section into smaller, manageable subsections—no larger than 1-2 inches wide. This allows you to focus completely on a small area, ensuring no tangle is left behind.

4. Finger Detangling: Your First Line of Defense
Before any tool touches your hair, use your fingers. Starting at the very tips of a subsection, gently feel for knots. Using your fingertips (not nails), slowly work them apart. Gently separate the hair strand by strand if needed.
Why it works: Your fingers are sensitive and can feel the exact size and tension of a knot, allowing you to apply just the right amount of pressure. This method removes the largest snags with minimal stress, making the next steps much easier.
5. The “Bottom-Up” Comb-Through Rule
This is the golden rule of tool detangling. Always start your comb or brush at the ends of your hair, not the roots. After finger detangling, place your detangling tool about 1-2 inches from the end of your subsection and gently comb through.
Work your way up in small increments: after clearing the ends, move the tool up another inch, comb through, and repeat until you can smoothly glide from the roots to the tips. This methodically removes tangles in layers without pulling them all down into one massive knot at the ends.

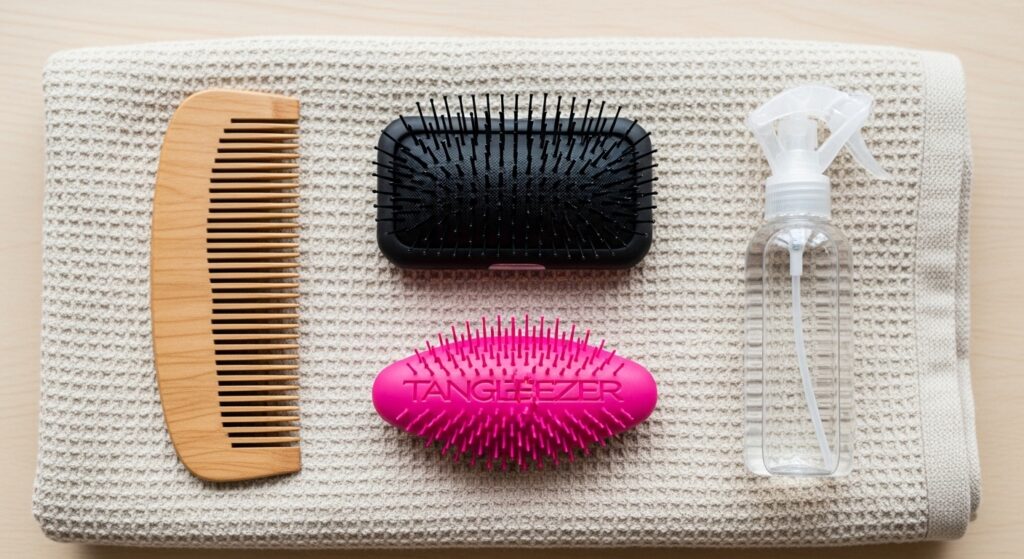
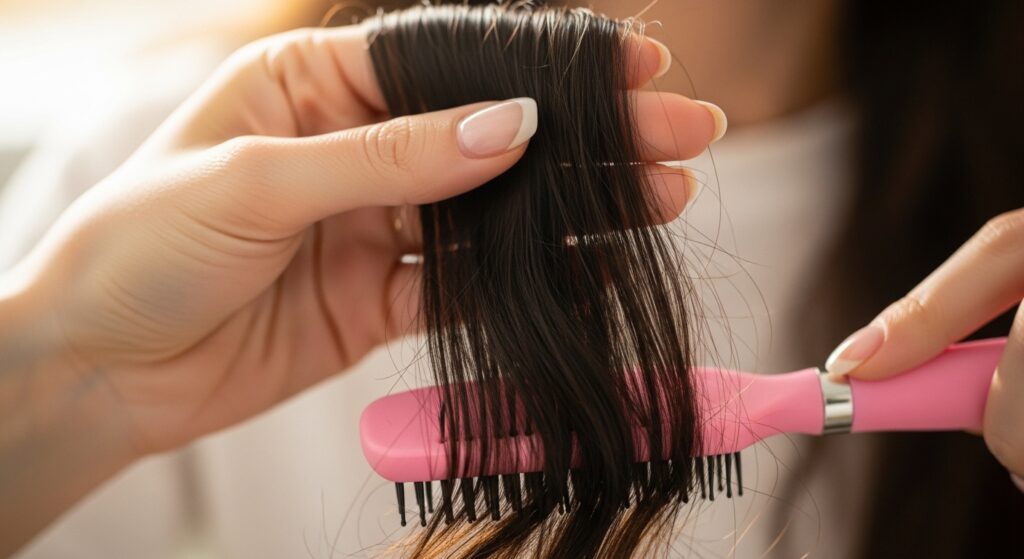
6. Tool Time: Choosing Your Weapon Wisely
The right tool makes all the difference. Ditch fine-tooth combs forever for detangling.
Wide-Tooth Comb: A classic. Look for seamless or smooth-edged combs to prevent snagging. Best for looser curl patterns or after initial detangling with a brush.
Detangling Brush (Flexible Paddle or Tangle Teezer-style): These have flexible, varying-length bristles that bend to navigate knots. They are often more efficient than wide-tooth combs for thicker, denser hair but should still be used on conditioned, wet hair with the bottom-up technique.
7. The Tension Technique
As you comb a subsection, use your opposite hand to hold the hair above the point where you’re combing. Apply gentle, steady tension on the hair shaft. This prevents the force of combing from pulling on your delicate roots and scalp, transferring the stress to your hand instead of your follicles.
8. The “Pulse and Release” for Stubborn Knots
When you meet a stubborn knot, don’t force it. Apply a bit more of your slippery conditioner directly to the knot. Using your fingers or the very tip of your comb, gently “pulse” at the edges of the knot—little back-and-forth or wiggling motions to loosen its grip. Then pause (release), apply more conditioner if needed, and try again. Patience here saves strands.
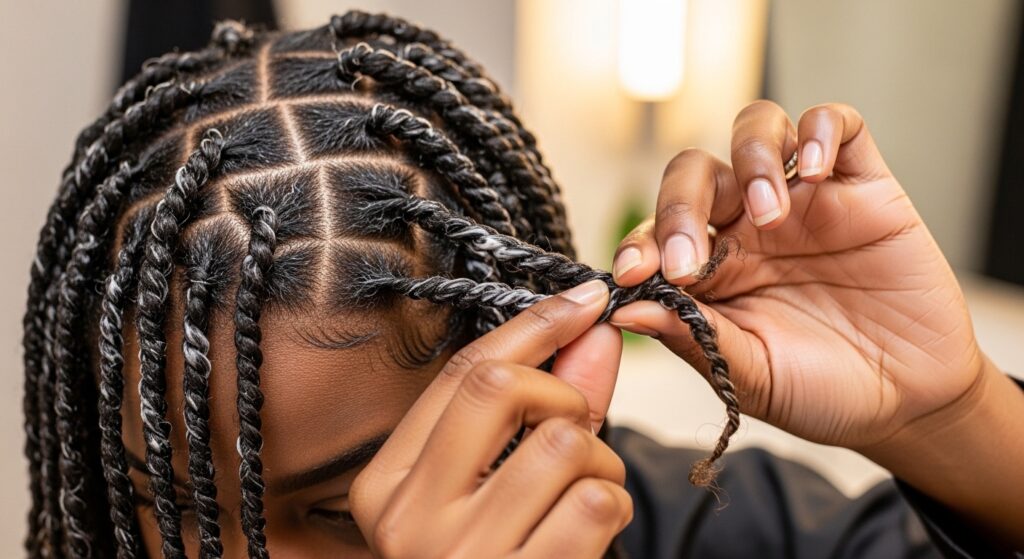
9. Detangling in a Protective Style
You can and should detangle while in styles like two-strand twists or braids. Saturate the styled hair with a conditioner and water mix. Gently undo one twist/braid at a time, apply more slip agent, and detangle that section using the bottom-up method before re-twisting or re-braiding it immediately. This makes wash day far less daunting.
10. The Power of Steam
Steam is a game-changer for highly textured, dry, or low-porosity hair. The heat and moisture help the hair cuticle open slightly and absorb conditioner better, dramatically increasing slip and elasticity. Use a handheld steamer or sit under a hooded dryer with a damp, conditioned head for 10-15 minutes before detangling.
11. The “Shingling” Assist
While applying your styling product (like a curl cream or gel), use the “shingling” method to detangle and define simultaneously. Take a small subsection, apply product from root to tip, and then use your fingers or a denman brush to smooth the product through from root to tip. This final pass ensures the subsection is perfectly detangled and clumped for definition.
12. Nightly Maintenance to Prevent Tangles
Minimize future detangling sessions by protecting your hair at night. Always sleep on a satin or silk pillowcase or wear a satin bonnet/scarf. Before bed, loosely gather your hair in a “pineapple” (high, loose ponytail) or several large twists. This prevents friction and keeps curls organized.

13. The Trim-to-Prevent Principle
Regular trims (every 3-6 months) are a proactive detangling technique. Split ends and single-strand knots (aka fairy knots) travel up the hair shaft, catch on other strands, and create larger tangles. By trimming them away, you maintain a smooth hair cuticle that glides past other hairs instead of latching on.
14. Detangling Spray as a Mid-Week Refresher
For mid-week touch-ups, use a lightweight detangling spray instead of just water. Mix water with a bit of leave-in conditioner in a spray bottle. Lightly mist a tangled section, apply a dab of oil or cream to your fingers, and gently finger detangle to refresh your style without a full wash.
15. The “Praying Hands” Glide
After combing through a subsection, apply your leave-in conditioner or styler by smoothing it down the hair shaft with your palms in a “praying hands” motion. This not only distributes product but also helps align the strands and smooth the cuticle, further reducing the chance of re-tangling.
16. Cold Water Rinse Finale
After detangling and styling, do a final rinse with cool or cold water. This helps to seal the hair cuticle shut, locking in moisture and creating a smoother, shinier surface that is less prone to frizz and tangling throughout the day.
17. Listen to Your Hair’s Signals
If you feel excessive resistance or hear snapping sounds, stop immediately. This is your hair telling you it needs more slip, a smaller section, or a different tool. Reapply conditioner, return to finger detangling, or take a break. Forcing it is never the answer.
18. Consistency Over Intensity
The most important technique of all is regularity. Detangling your hair thoroughly once a week (or as needed for your routine) is far better than letting tangles build up for weeks and then embarking on a painful, lengthy session. Consistent, gentle care prevents severe matting and makes each session quick and easy.

Embrace the Journey, Preserve Your Crown
Detangling natural hair is not just a step in a routine; it’s a practice in patience and understanding your unique texture. By incorporating these 18 gentle techniques, you shift the narrative from “fighting my hair” to “caring for my crown.” You’ll notice less hair in your comb, more length retention, and a deeper appreciation for the resilience and beauty of your curls, coils, and kinks.
Remember, the goal is progress, not perfection. Start with one or two new methods—like perfecting your saturation and sectioning—and build from there. Your hair will thank you with strength, shine, and endless good hair days.