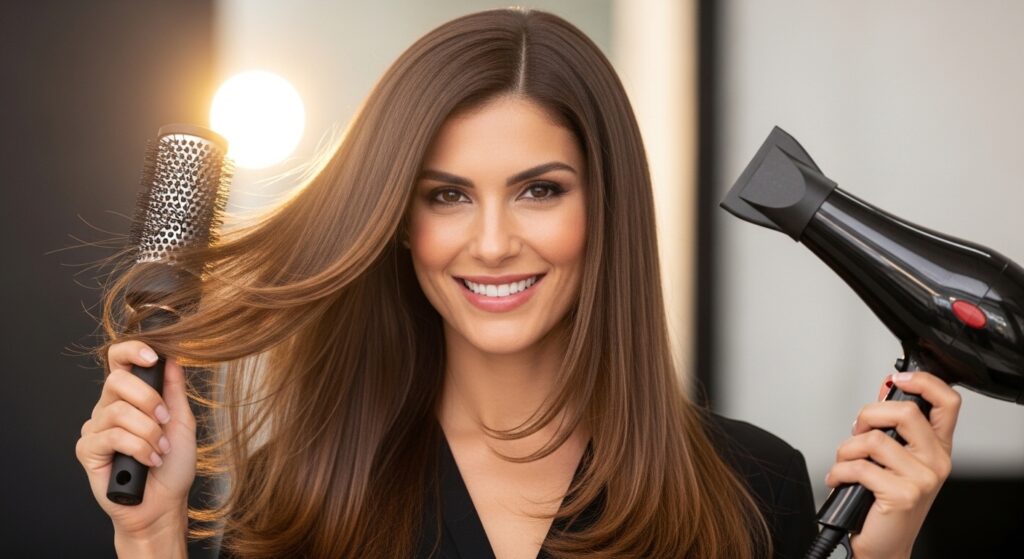
18 Round Brush Methods That Create Salon-Quality Blowouts
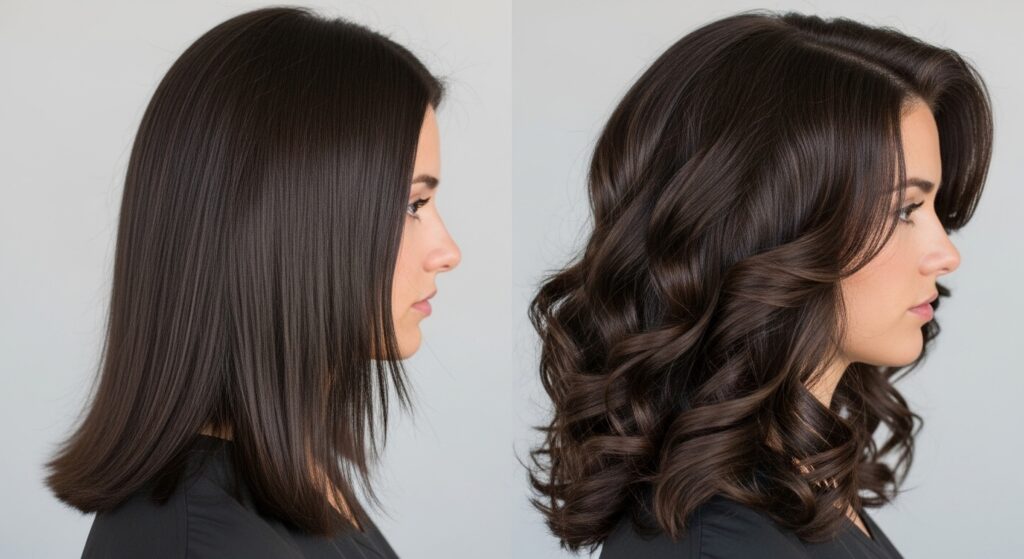
There’s a certain magic to walking out of a salon with a flawless, bouncy blowout. Your hair feels silky, looks full of life, and swings with every step. But what if you could capture that magic in your own bathroom? The secret weapon isn’t a $500 dryer—it’s the humble round brush, wielded with skill and strategy. Too often, at-home blowouts result in frizz, uneven volume, or arms that give out halfway through.
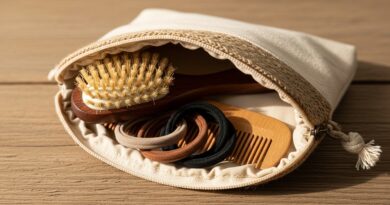
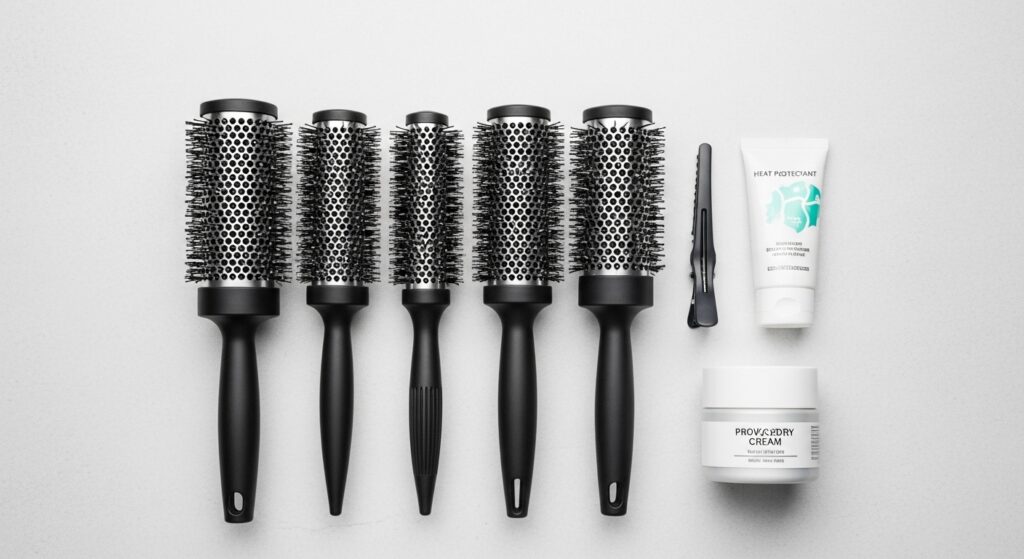
The Foundation: Choosing Your Tools & Prepping Your Canvas
Before you even turn on the dryer, success is determined by your preparation. Using the wrong brush on your hair type or skipping crucial prep steps will undermine even the best technique.
Brush Selection is Key: Round brushes come in various diameters and bristle types. Smaller barrels (1-inch to 1.5-inch) create tight curls and intense volume at the roots. Medium barrels (1.75-inch to 2-inch) are the versatile workhorses for classic body and smoothness. Large barrels (2.5-inch and above) deliver loose waves and gentle bends. For bristles, ionic or ceramic brushes help smooth the cuticle, while a mix of boar and nylon bristles provides the best tension and grip.
Pre-Styling is Non-Negotiable: Always start with hair that’s towel-dried (about 70-80% dry) and protected. Apply a heat protectant spray from roots to ends, followed by a blow-dry cream or mousse for your hair type (volumizing for fine hair, smoothing for thick or frizzy hair). This creates a smooth canvas and reduces styling time.
Method 1-6: The Core Techniques for Smoothness & Volume
These fundamental methods form the backbone of any great blowout. They focus on creating a smooth root, a sleek mid-length, and a bouncy end.
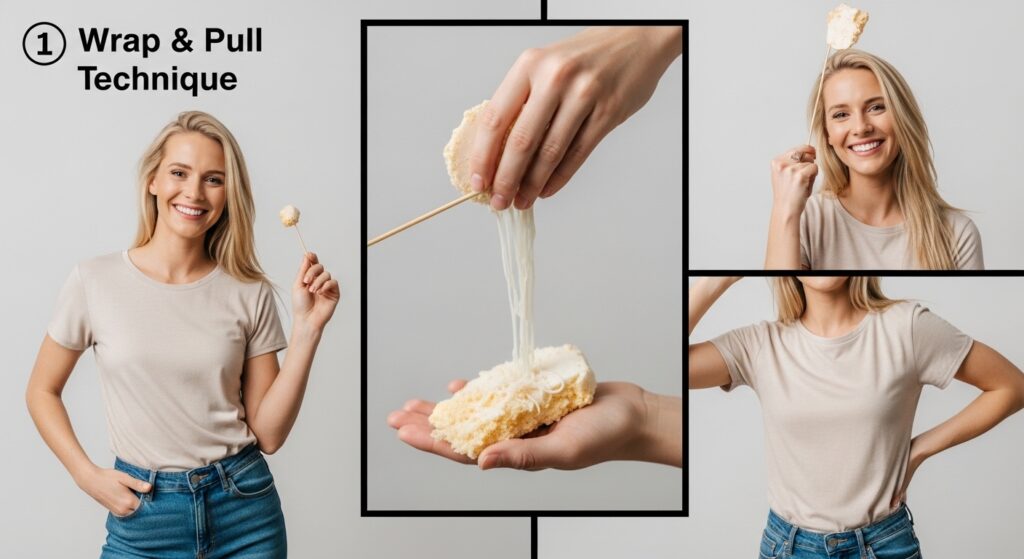
1. The Basic Wrap & Pull: The essential move. Place the brush under a section of hair, about an inch from the scalp. Wrap the hair around the brush, rolling it downward toward the ends while simultaneously pulling the brush downward and outward. Follow with the dryer nozzle pointed down the hair shaft.
2. Root-Lift Roll: For instant volume. On a horizontal section at the crown, insert the brush at the roots and roll the hair upward toward the ceiling, holding it taut for a few seconds with heat, then letting it cool on the brush.
3. Tension & Direction: This is the pro secret. Always maintain a gentle, consistent pull on the hair with the brush. Direct the hair where you want it to ultimately fall—sideways, backward, or forward—as you dry to train its movement.
4. The C-Shape Flip: For a smooth, flipped-under end. As you reach the ends of a section, continue the wrap of the brush so the ends tuck under, creating a soft “C” shape. Hold with heat, then cool.
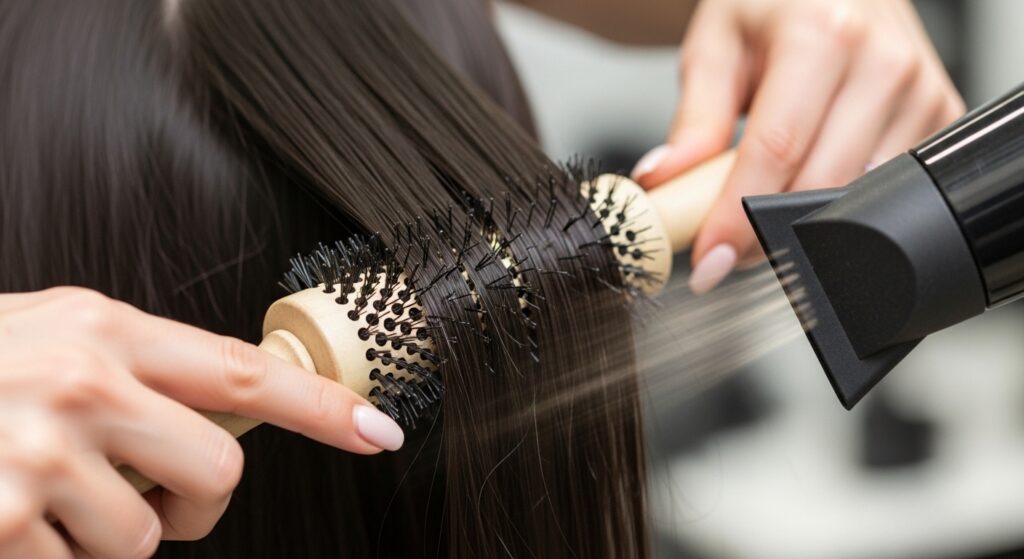
5. Sectioning & Drying: Never brush through large sections. Clip up the top half of your hair. Work on the bottom layers first, in horizontal sections no wider than the brush. Move systematically around the head.
6. Cool Shot Set: After heating a section with the dryer, blast it with the cool shot button for 5-10 seconds while the hair is still wrapped. This sets the shape by cooling the hair’s keratin structure, locking in the style.
Method 7-12: Advanced Moves for Texture & Movement
Once you’ve mastered smoothness, these techniques add personality, texture, and that “lived-in” salon look.
7. The Barrel Twist: For piece-y texture. Instead of wrapping all the hair neatly, twist the brush as you pull it through a section. This creates a more irregular, tousled wave.
8. Vertical Section Curling: For uniform, bouncy curls. Take vertical (instead of horizontal) sections of hair. Wrap each section around the brush like a curling rod, from roots to ends, for a consistent spiral curl pattern.
9. Surface Smoothing: To eliminate the top-layer frizz. After drying, take the topmost layer of hair and, with a large barrel brush, slowly glide the brush under the section from root to tip, following closely with the dryer nozzle for a glass-like finish.
10. The Directional Change: For maximum volume. Blow-dry the underlayers downward for smoothness. Then, when styling the top layers, direct the brush and dryer backward or opposite to the natural fall to build body at the root.
11. The “Round Brush Curl”: A hybrid technique. Hold the brush vertically and wrap a section of hair around it in a spiral. Dry the hair while it’s wrapped, then gently release for a loose, bouncy curl without a curling iron.
12. End Bouncing: To revive flat ends. On dry hair, mist the very ends lightly with water or a texture spray. Wrap small sections around a medium brush and apply heat briefly, then cool, to add life and flip.
Method 13-18: Problem-Solving & Finishing Techniques
Target specific concerns and add the final, polished touches that make a blowout last for days.
13. Frizz-Fighting Seal: For unruly hair, use a brush with pure boar bristles for the final pass. The bristles help distribute natural oils and seal the cuticle shut for a high-shine finish.
14. Bangs & Face-Framing Blowout: Style fringe and face-framing pieces first. Use a smaller barrel brush, rolling bangs under or away from the face, directing the heat to set the shape precisely where you want it.
15. The “Under-Dry” Technique: For ultimate volume, ensure the undersides of your hair sections are completely dry before moving on. Damp underlayers will weigh hair down as it cools.
16. Cool Air Sculpt: After your entire blowout is done, go back to key areas (crown, ends) and re-wrap sections without heat, just using the cool shot to reinforce the shape.
17. The Brush-Out: Once hair is completely cool, use a paddle brush or your fingers to gently break up the sections. This softens the style, blends any lines, and creates a more natural, voluminous effect.
18. Final Touch with a Concentrator: For the last step, attach the concentrator nozzle to your dryer. Isolate any stray hairs or frizzy spots and, while holding them taut with the brush, use a focused stream of cool air to lay them flat.
Putting It All Together: Your Salon-Quality Routine
Now, let’s build a seamless routine. Start with prepped, sectioned hair. Begin at the nape of your neck, using the Basic Wrap & Pull and Tension & Direction on the underlayers for smoothness. Move to the sides, incorporating Root-Lift Rolls at the crown and C-Shape Flips at the ends. For the top layers, employ Directional Change for volume and Surface Smoothing for polish. If you desire waves, use the Vertical Section or Barrel Twist methods on random face-framing pieces. Finally, let your hair cool completely, then perform the Brush-Out and any final Cool Air Sculpting.
Remember, practice is everything. Your first attempt might not be perfect, but with each session, your muscle memory will build. The investment in learning these 18 round brush methods pays off in countless saved salon appointments and the daily confidence of having truly gorgeous, healthy-looking hair. Your tools are ready, the techniques are in your hands—now go create that breathtaking blowout.