18 Spring Twist Methods That Give You Bouncy Texture
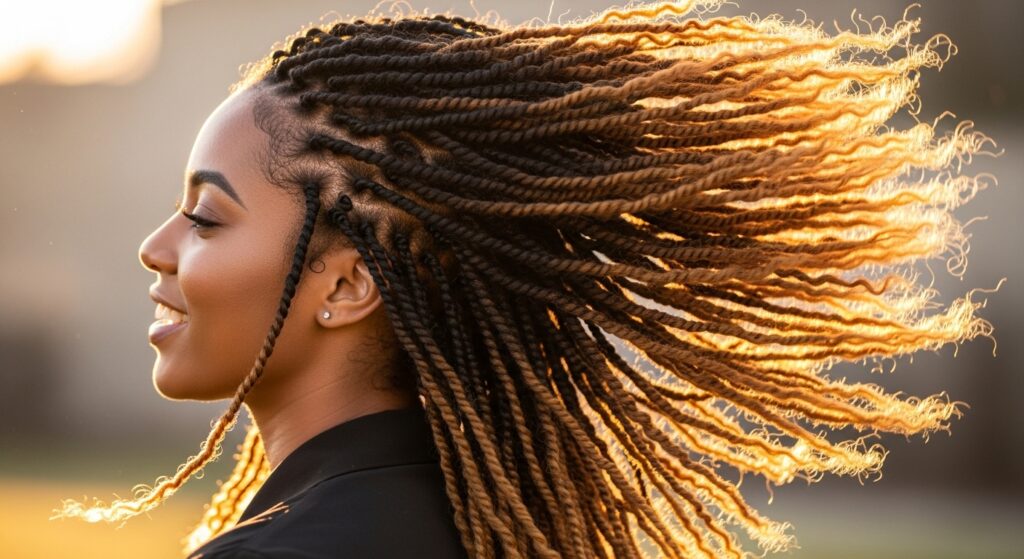
Are you dreaming of a protective style that doesn’t just sit there but moves with you? A style that offers the stunning visual appeal of defined curls with the playful, lightweight bounce of your natural hair? Welcome to the wonderful world of spring twists. Unlike traditional twists that can sometimes fall flat or feel heavy, spring twists are specifically designed to mimic the lively, coily texture of natural hair, resulting in unparalleled volume and movement.
But here’s the secret: not all spring twists are created equal. The method, the hair used, and the installation technique all play a crucial role in achieving that coveted bouncy texture. Whether you’re a DIY enthusiast or planning your next salon visit, this guide is your ultimate resource. We’ve curated 18 innovative spring twist methods that go beyond the basics, ensuring your hair is not just protected, but also bursting with life, body, and bounce. Get ready to say goodbye to limp styles and hello to head-turning volume!

The Foundation: Pre-Twist Prep for Maximum Bounce
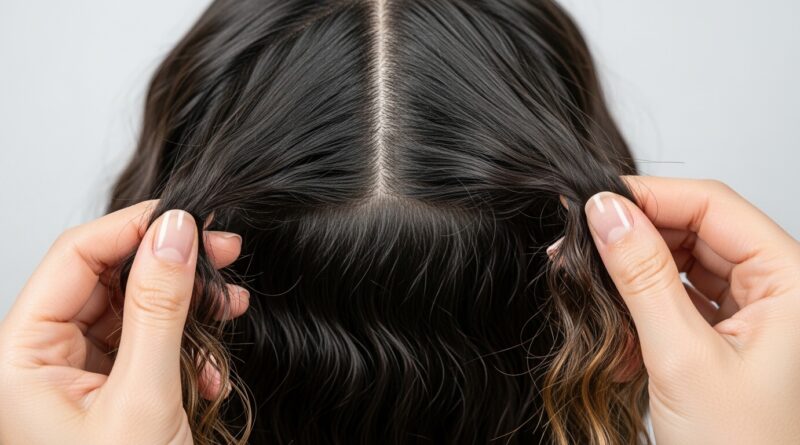
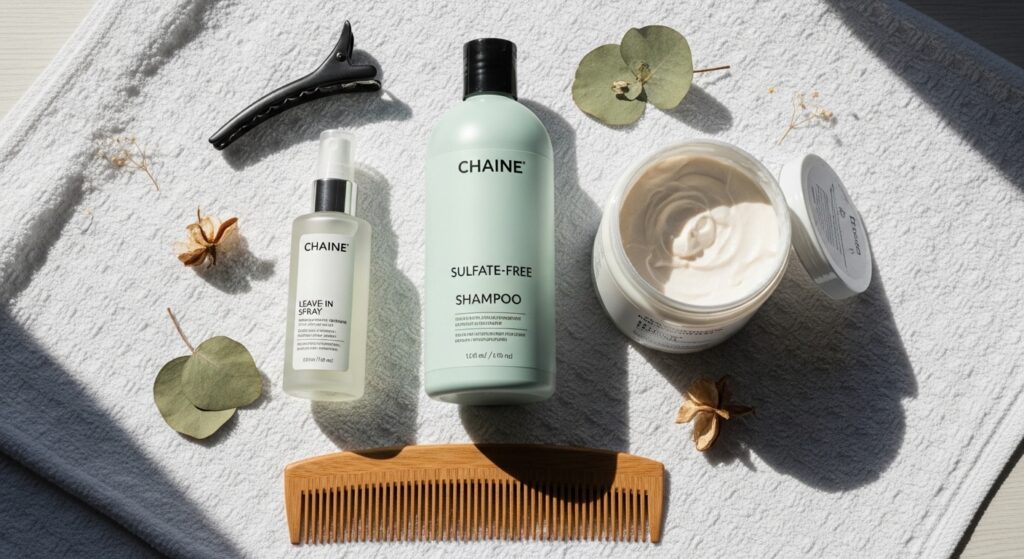
Before you even pick up your first pack of hair, the journey to bouncy texture begins with preparation. Your natural hair is the foundation, and a solid base is non-negotiable. Start with a thorough wash and deep conditioning session to ensure your hair is clean, moisturized, and strong. Follow up with a lightweight leave-in conditioner. The goal is hydration without heaviness; products that weigh hair down will sabotage your bounce before you begin.
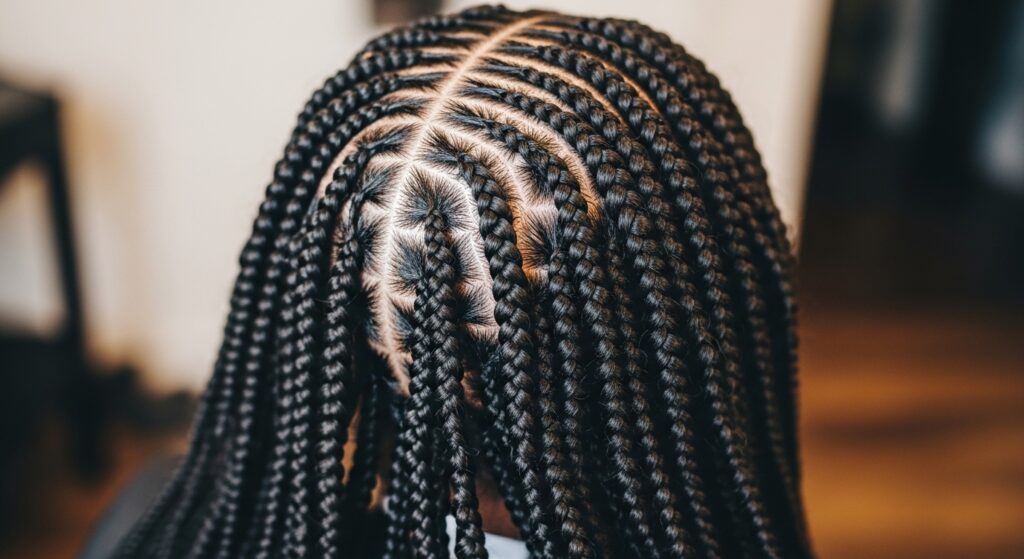
Next, consider your braiding pattern. For maximum volume at the roots and overall lift, opt for a medium-sized parts braiding pattern. Micro braids can create too much tension and limit movement, while large braids might not provide enough anchor points for uniform bounce. Finally, protect your ends by neatly tucking them away during the braiding process. This prep work ensures your scalp is healthy, your hair is protected, and your spring twists have the best possible canvas to spring from.
Classic & Reliable Spring Twist Methods
These tried-and-true methods are perfect for beginners and those who love a consistent, beautiful result. They form the core of spring twist installations.
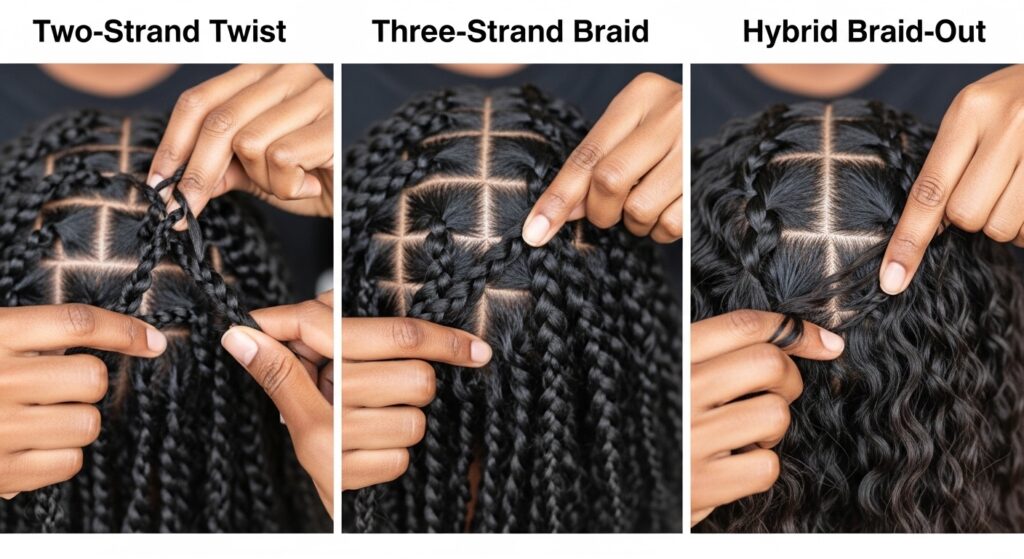
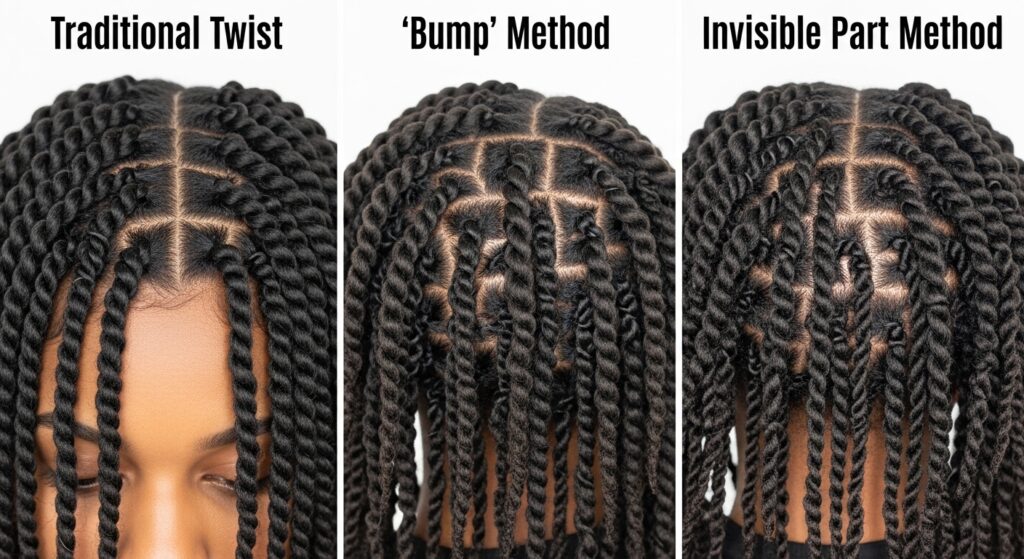
1. The Two-Strand Spring Twist: The fundamental method. Using pre-coiled spring twist hair, you simply braid your natural hair down and then use the two-strand twist technique to incorporate the synthetic hair. The key to bounce here is to maintain consistent tension—not too tight, not too loose—and to ensure you’re twisting all the way to the very end of the synthetic hair.
2. The Three-Strand Spring Twist (Spring Braid): For a denser, more defined curl pattern with incredible hold. Instead of two strands, you use three, braiding the spring hair with your own. This method often yields even more volume and a tighter, springier coil that resists unraveling.
3. The Hybrid Braid-Out Method: Install your spring twists using either of the above methods. Once fully installed, carefully unravel each twist. Gently separate the coiled synthetic hair with your fingers to create a stunning, full braid-out effect that is unbelievably bouncy and voluminous.
Innovative Installation for Enhanced Volume
Ready to level up? These techniques focus on how you install the twists to strategically create lift, body, and that eye-catching bounce.
4. The “Bump” Method at the Roots: After braiding your natural hair, before adding the synthetic hair, create a small “bump” or loop at the base with your braid. This tiny pillow of hair gives the installed twist an immediate lift off the scalp, creating instant root volume.
5. Crochet Spring Twists: A game-changer for speed and scalp health. Cornrow your natural hair into your desired pattern. Then, using a crochet hook, pull loops of the spring twist hair through the cornrows and knot them securely. This method is incredibly lightweight, reduces tension, and allows for easy adjustment of density for a cloud-like bounce.
6. Invisible Part/Knotless Spring Twists: Inspired by knotless braids, this method starts with your natural hair alone, and the synthetic hair is fed in gradually. This eliminates the bulky knot at the base, creating a seamless, natural look that is also lighter and moves more freely from the root.
7. The “Pineapple” Base Technique: For a high puff or updo. Install twists in a circular pattern around a central point on the crown of your head. When gathered, they naturally form a perfectly voluminous pineapple shape that’s full of bounce.
Creative Styling & Pattern Techniques
Bounce isn’t just about the install—it’s about the design. These methods use patterns and styling tricks to amplify texture.
8. Ombre & Colored Spring Twists: Incorporating lighter or colored hair, especially at the ends, creates a visual depth that makes every bounce and coil more noticeable. The weight variation can also add a dynamic movement.
9. Mixed Size Twists: Combine different twist sizes in one head. For example, use smaller twists around the hairline and perimeter and larger ones in the center. This not only adds artistic flair but creates varying levels of movement and texture that play off each other.
10. Curly Ends Attachment: Use regular spring twist hair for most of the length, but attach a small piece of loose, curly hair (like freetress bulk) at the very end before sealing. This creates a softer, more diffused, and wildly bouncy curl at the tips.
11. Zig-Zag Parting Patterns: Ditch the straight parts. Installing your twists along zig-zag or geometric part lines automatically adds volume and a unique texture, as the hair direction changes, creating natural lift.
DIY & Maintenance Methods for Lasting Bounce
The work isn’t over once they’re in! These methods focus on post-install care and DIY tricks to revive and maintain your texture for weeks.
12. The Steam Refresh: Over time, twists can get frizzy or lose shape. Using a handheld garment steamer (on a low, careful setting) or sitting in a steamy bathroom can redefine the coils and bring back their springiness without causing frizz like water might.
13. The “Shingling” Technique for Twists: Mix a small amount of lightweight foam mousse with water in a spray bottle. Lightly mist a section of twists and use your fingers to gently “shingle” or smooth the product down the length of each twist, re-clumping the coils for a fresh, bouncy look.
14. Pineapple & Silk Scrunching for Bed: Before bed, gather your twists into a loose, high pineapple on top of your head and secure with a silk scrunchie. Cover with a silk or satin bonnet. This preserves the root volume and prevents the twists from being flattened overnight.
15. Dry Shampoo & Root Fluffing: For added bounce at the roots, use a small amount of dry shampoo or texturizing spray at the base of your braids. Gently massage the scalp and use a pick to carefully fluff the roots for incredible lift.

Advanced & Artistic Texture Methods
For the adventurous stylist, these methods blend techniques to create truly unique, texture-forward masterpieces.
16. Spring Twist Feed-In Braids: Combine the sleekness of feed-in braids with the texture of spring twists. Start with a feed-in braid technique at the crown for a flat, seamless look, transitioning into full spring twists for the majority of the length. The contrast is stunning and lightweight.
17. Twist-Out on Spring Twists: Yes, you can do a twist-out on synthetic hair! Install your spring twists as normal. Then, carefully two-strand twist each installed twist (so you’re twisting the twist). Dip the ends in hot water to set. Once dry, unravel for a doubly defined, super-textured look with insane volume.
18. Boho Goddess Locs & Twists Blend: Integrate a few bohemian goddess locs throughout a head of spring twists. The different weights and textures—the coil of the twist and the wispy feel of the loc—create a multidimensional, bouncy effect that feels organic and artistic.
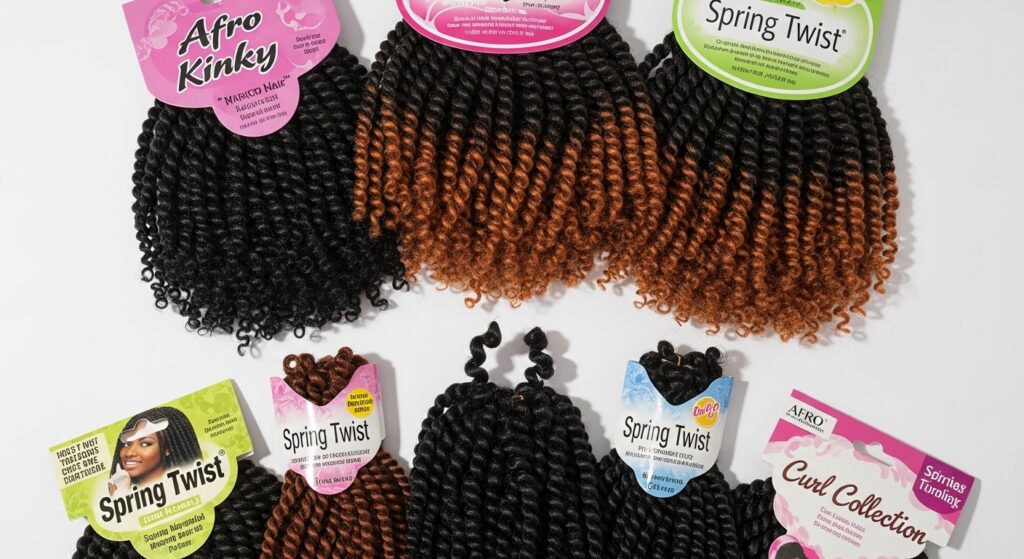
Choosing Your Perfect Spring Twist Hair
Your results hinge on the hair you choose. For the bounciest texture, look for pre-coiled spring twist hair that is made from a soft, high-quality kanekalon or toyokalon fiber. The coil should be tight and springy right out of the pack. Brands that offer “pre-stretched” options can also be helpful, as they reduce shrinkage and create longer, bouncier curls. Always feel the hair before you buy—if it feels stiff or plastic-like, it won’t move or bounce the way you want.
Embrace Your Bounce
Spring twists are more than just a protective style; they are a celebration of texture, volume, and effortless beauty. With these 18 methods in your arsenal—from foundational techniques to advanced artistic blends—you have all the tools needed to transform your look. Remember, the key to that perfect, bouncy texture lies in the combination of meticulous preparation, strategic installation, and dedicated maintenance.
So, which method will you try first? Whether you crave the classic coil or an avant-garde texture blend, your journey to head-turning, bouncy spring twists starts now. Don’t just wear your hair—let it bounce, move, and tell a story of incredible style and confidence.