18 Teasing Comb Methods That Add Major Volume
Is your hair falling flat? Literally? You’re not alone. In the quest for gravity-defying, voluminous hair, few tools are as iconic—or as misunderstood—as the teasing comb. Often relegated to memories of 80s bouffants or high-school dance disasters, teasing (or backcombing) is actually a powerful, professional-grade technique for creating instant and lasting volume. When done correctly, it’s the secret behind every red-carpet blowout, every editorial updo, and that “just left the salon” body we all crave.
The Foundation: Mastering the Basic Tease
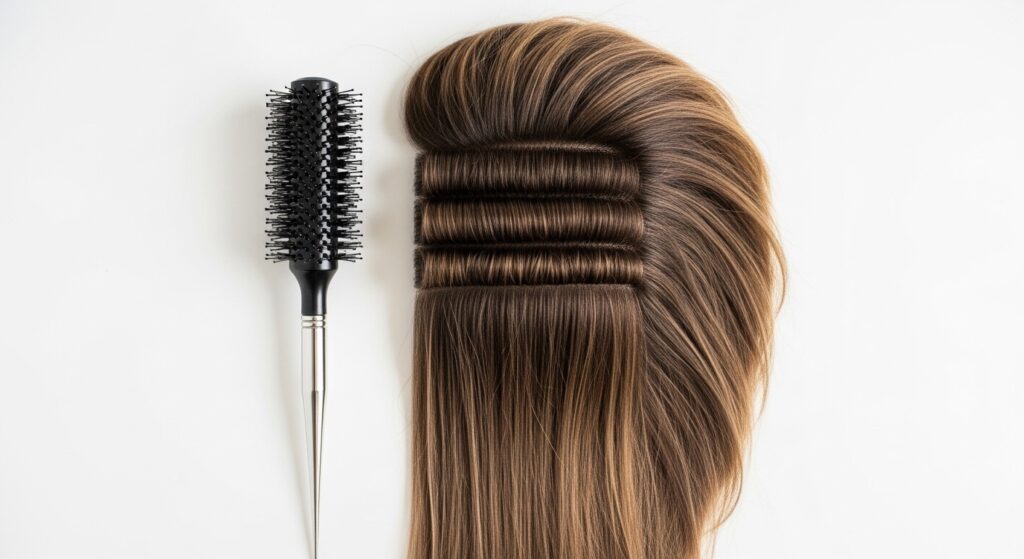
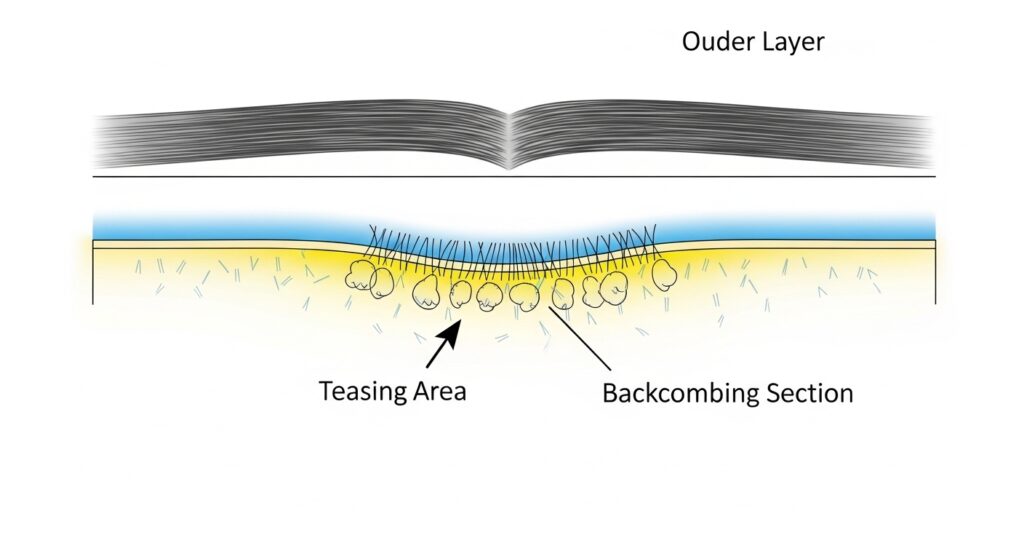
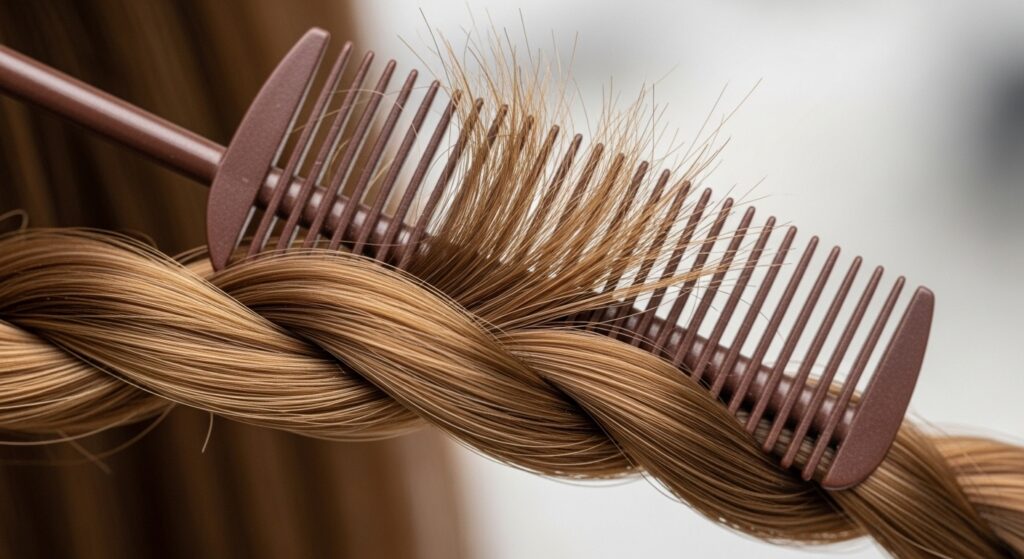
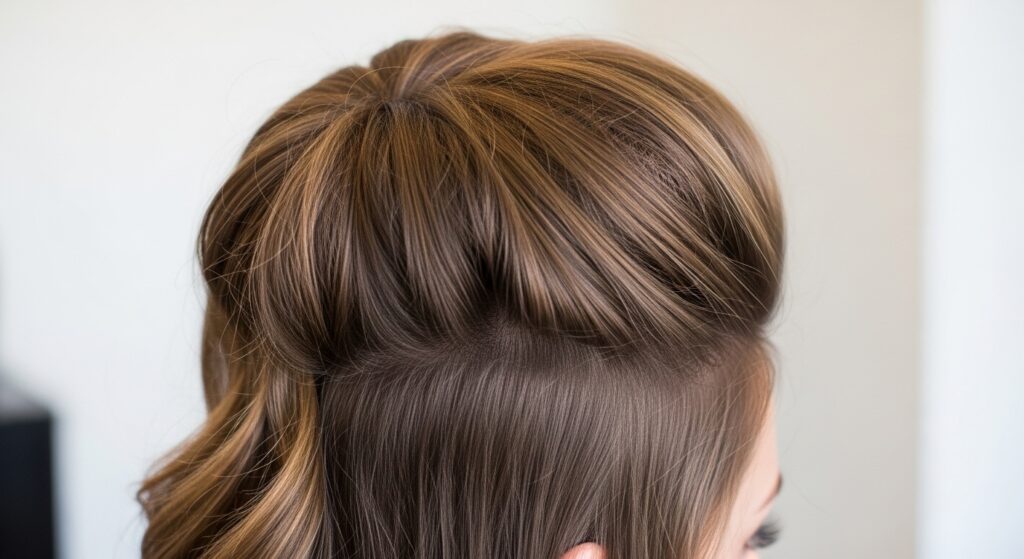
Before we dive into the advanced methods, you must perfect the core technique. Proper backcombing creates a temporary “knot” that lifts hair from the root, building a hidden structure. The goal is volume, not a bird’s nest.
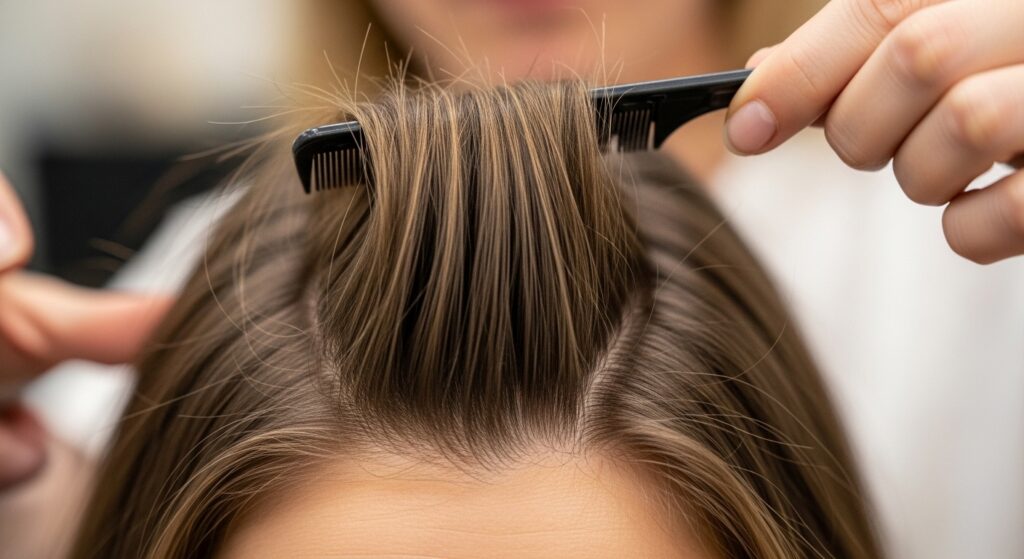
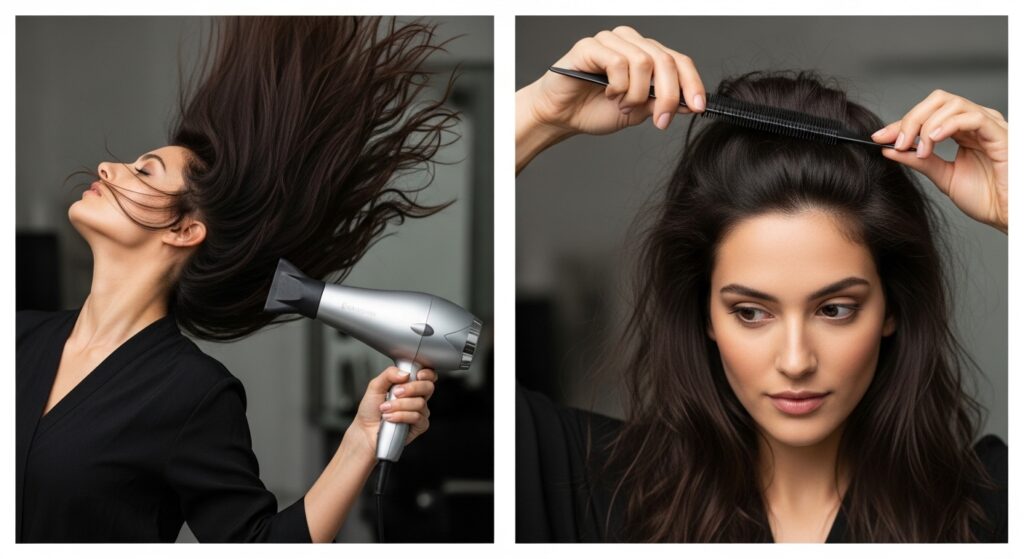
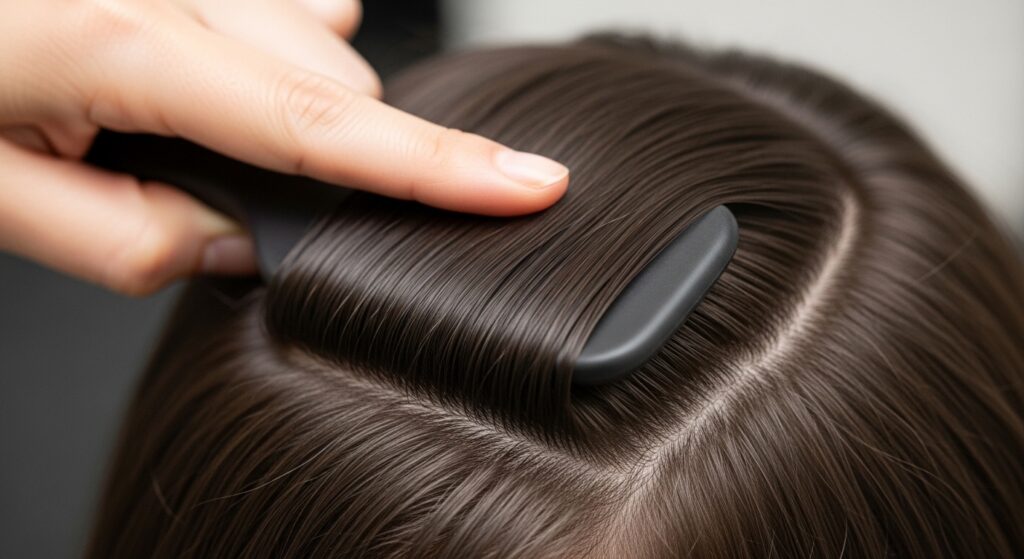
How to Execute a Basic Tease: Start with dry, styled hair (lightly hairsprayed or texturized hair holds better). Take a horizontal section, about 1-2 inches wide. Hold it straight up from the scalp. With your teasing comb, start about halfway down the hair shaft and make short, gentle strokes downward toward your scalp. Repeat 2-3 times, moving slightly up the section with each pass. Gently lower the hair. The magic is underneath—the top layer remains smooth.
Method 1: The Root Lift Tease
This is your everyday volume booster. Perfect for lifting flat roots around the crown and part line. Tease only the very root area of small, vertical sections. This creates invisible lift without adding bulk to the lengths.
Method 2: The “Cushion” Tease for Updos
Create a solid foundation for buns, chignons, and ponytails. Tease the entire section of hair that will form the base of your updo before smoothing it over. This gives the style body and prevents it from slipping flat.

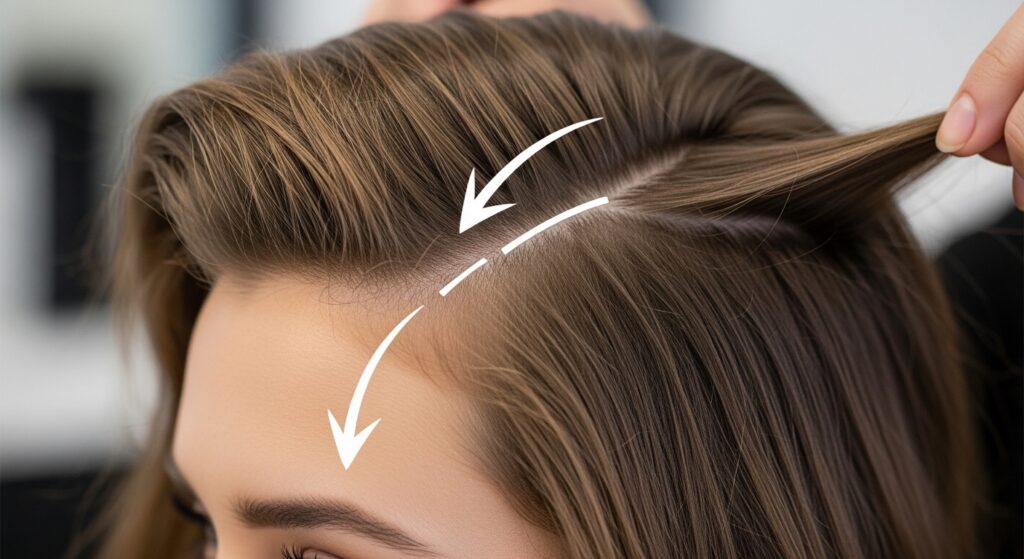
Method 3: Directional Teasing for Side Volume
Want volume on a deep side part? Tease the hair at the roots in the opposite direction you plan to style it. For a left part, tease the right side hair toward the left, then sweep it back over. The resistance creates incredible lift.
Method 4: The “Underlayer Only” Technique
Ideal for fine hair that flattens easily. Only tease the bottom 50% of your hair’s underlayers. When you drop the top layers, they hide the teased structure while benefiting from the incredible lift underneath.
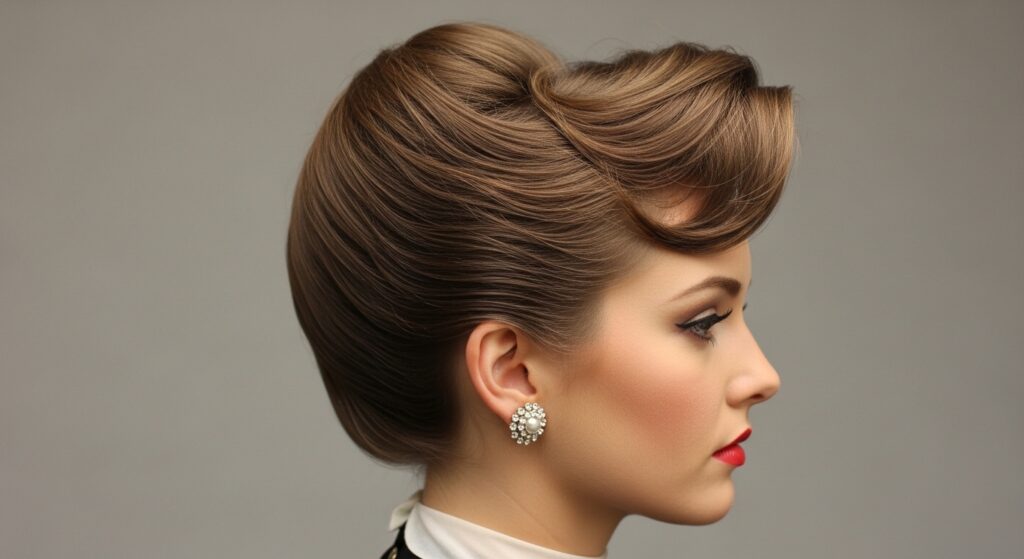
Method 5: The Pompadour Base
For that classic, retro lift at the front. Create a thick section at the front hairline. Tease heavily at the roots and mid-lengths, then gently roll the hair back over your fingers and pin it underneath. Smooth the top layer over.
Method 6: Spiral Teasing for Curls
Give curls and waves lasting body. Take a curled section, hold it up, and tease the underside in a slight spiral motion following the curl pattern. This amplifies the curl’s volume without frizzing its defined shape.
Method 7: The “X” Pattern for Maximum Hold
For ultimate density and hold, tease a section, then turn your comb and tease again at a perpendicular angle, creating an “X” pattern of support at the roots. This is a pro secret for heavy hair or elaborate styles.
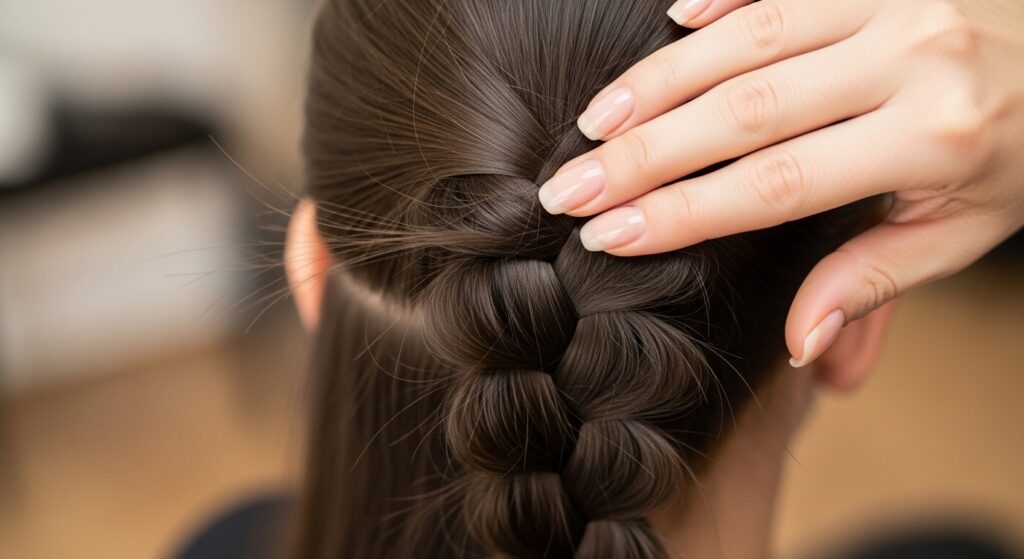
Method 8: Teasing for Braids
Make braids look fuller and more textured. Lightly tease each section of hair before you braid it. This gives the braid a lived-in, bohemian thickness and prevents it from looking skimpy.
Method 9: The “Spot Tease” for Specific Lift
See a flat spot? Isolate a tiny, one-inch square section right where you need lift. Tease just that spot intensely. This is your precision volume tool for targeted correction.
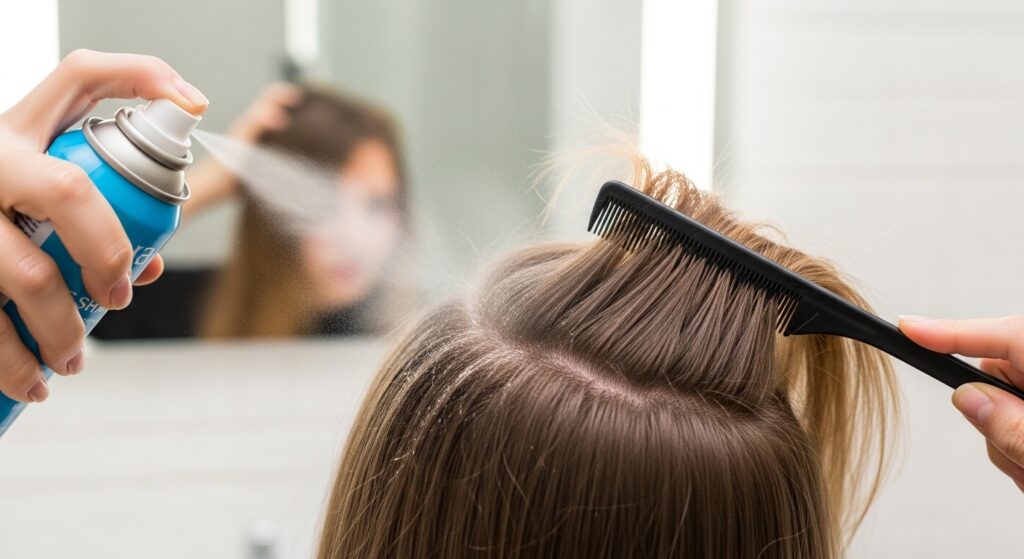
Method 10: Dry Shampoo as a Teasing Partner
For slippery or freshly washed hair, apply a dry shampoo at the roots first. It adds grit and texture, making the hair shaft more “grippy” and allowing the tease to hold far better and longer.
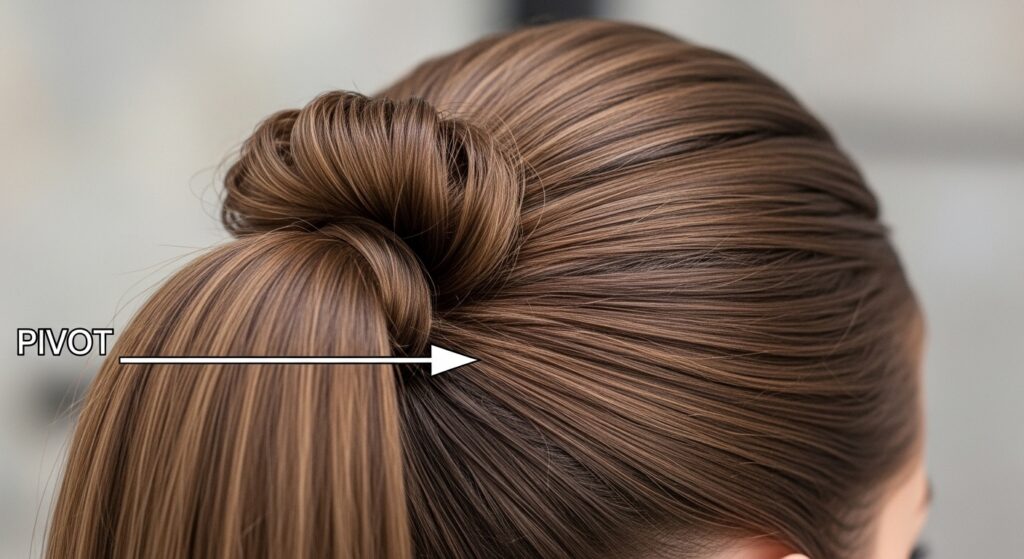
Method 11: The “Pivot Point” Tease for Ponytails
To create a ponytail that stands away from the head with a beautiful curve, tease the hair where the elastic will sit and about an inch above it. This creates a pivot point for lift.
Method 12: Vertical Section Teasing for All-Over Body
For uniform volume from roots to ends, work in vertical (from forehead to nape) sections instead of horizontal. Tease each vertical section from mid-shaft to roots. This builds a more consistent, all-around body.
Method 13: The “Twist and Tease” for Fine Hair
Fine hair can be delicate. Twist a section tightly, then tease the outside of the twist. This provides support and volume while minimizing direct stress on individual strands.
Method 14: Teasing for Half-Up Styles
Elevate your half-updo. Tease the crown section before gathering it. For a modern twist, also lightly tease the pieces you leave down where they meet the gathered section, blending volume seamlessly.
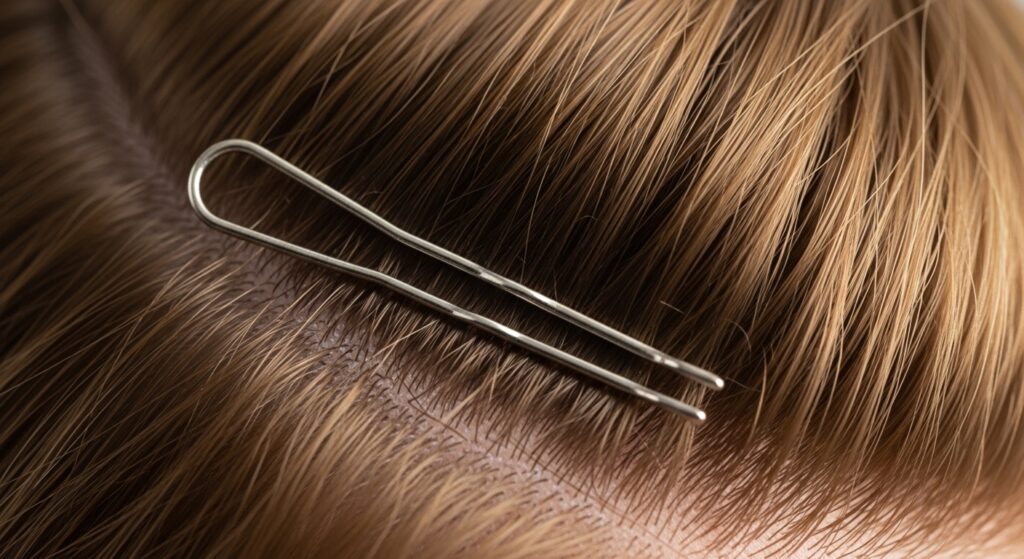
Method 15: The “Bobby Pin Anchor” Tease
When pinning a section (like a curl or twist), first tease the spot on your head where the pin will anchor. The added texture gives the bobby pin something to grip, making the hold rock-solid.
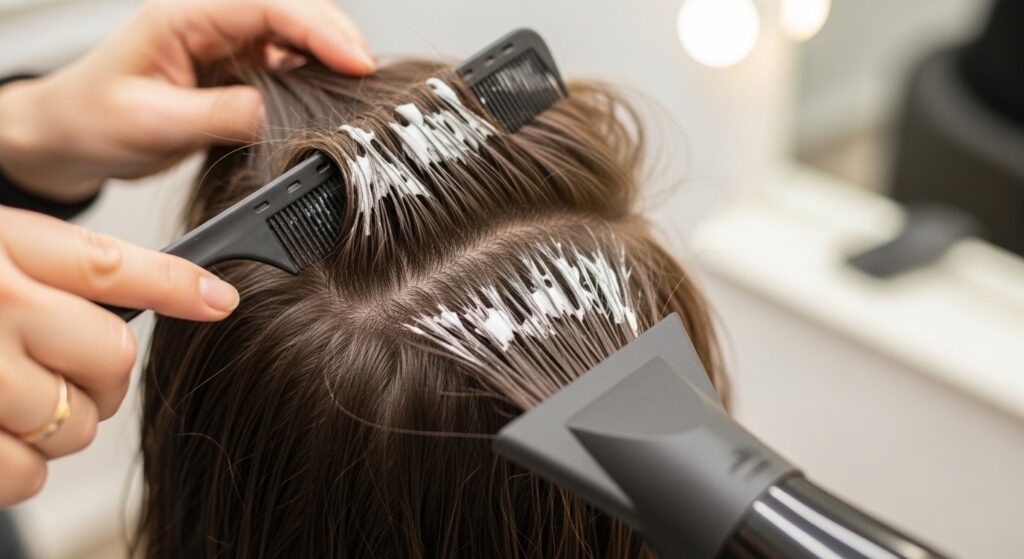
Method 16: Teasing Wet with Product for Moldable Volume
For an edgy, textured look, apply a strong-hold mousse to damp hair, then tease sections before blow-drying. The hair will set in the voluminous, textured position. This is great for sculptural styles.
Method 17: The “Dusting” Technique for Softness
To avoid a hard, tangled tease, use the very tips of the comb teeth and make ultra-light, rapid strokes. This “dusts” the hair shafts together for soft, touchable volume with minimal compaction.
Method 18: The Combination Blow-Dry & Tease
For volume that lasts days: blow-dry your hair upside down for root lift. Once completely cool, then do your root teasing. The combination of thermal and mechanical lift is unbeatable.
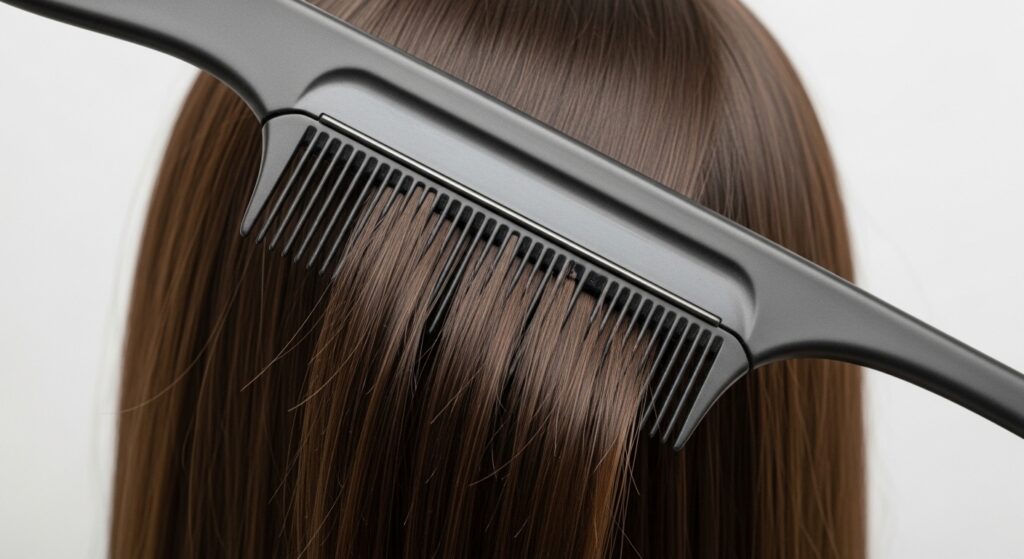
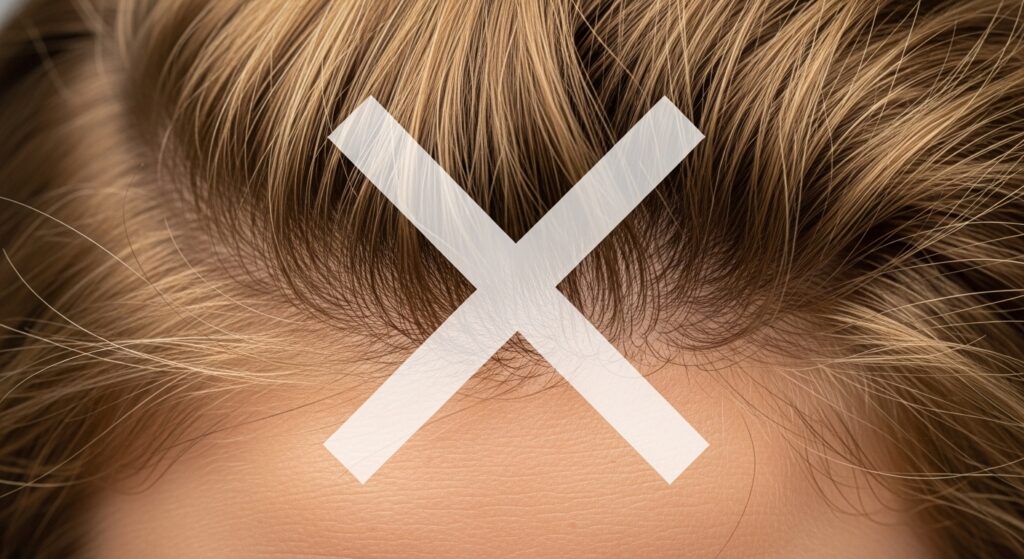
How to Smooth Without Losing Volume
The final, crucial step. After teasing, never drag a brush through it. Instead, take the top, smooth layer of hair and gently place it over the teased base. Use a paddle brush or your fingers to lightly smooth only the very surface, working from the ends up to the roots, holding the hair up and out. Finish with a light mist of flexible-hold hairspray.
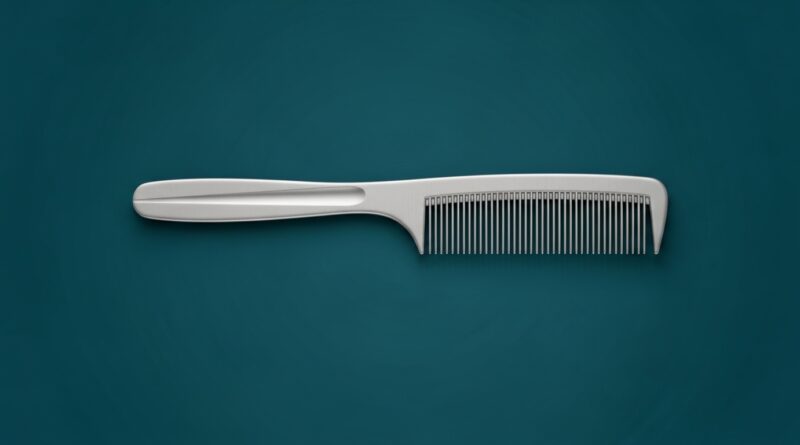
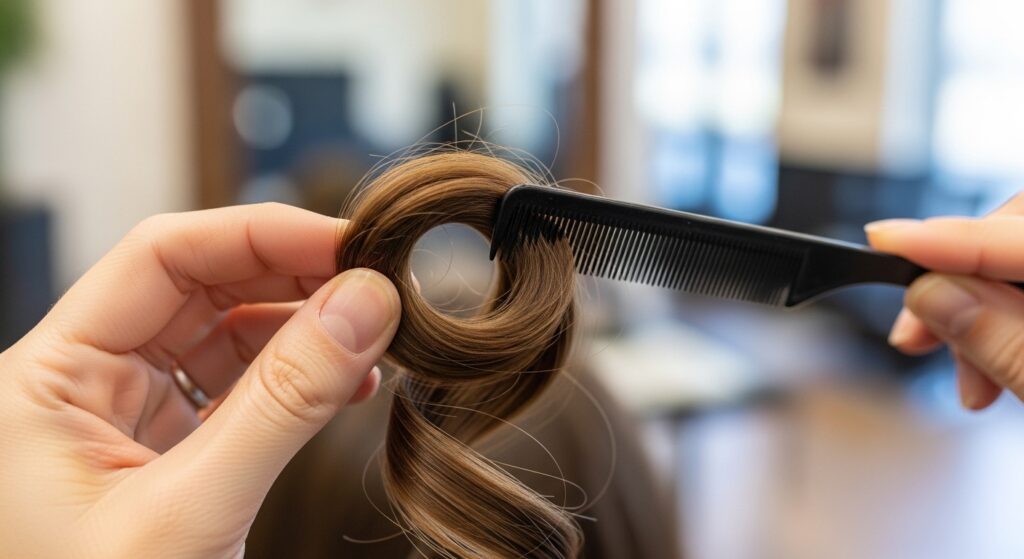
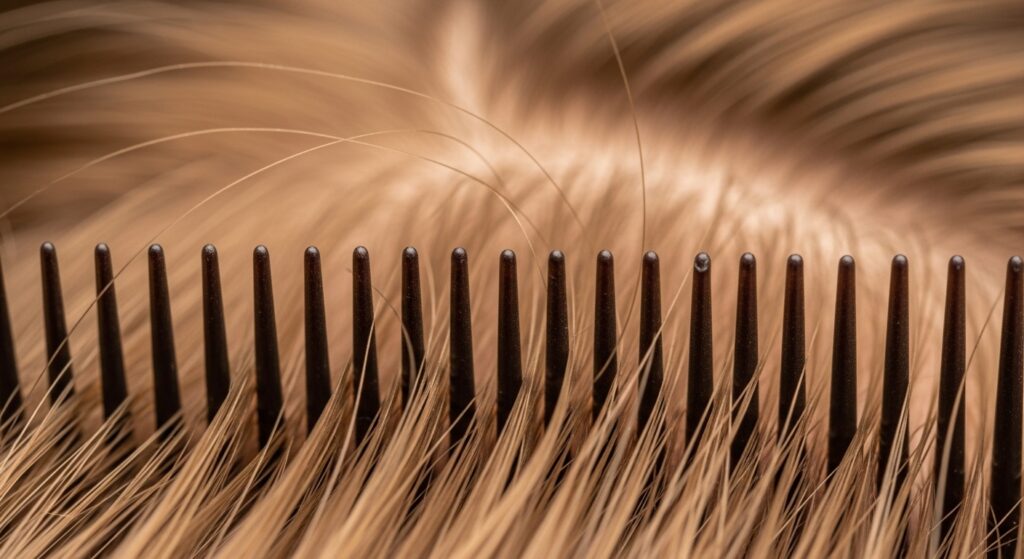
The Right Tools for the Job
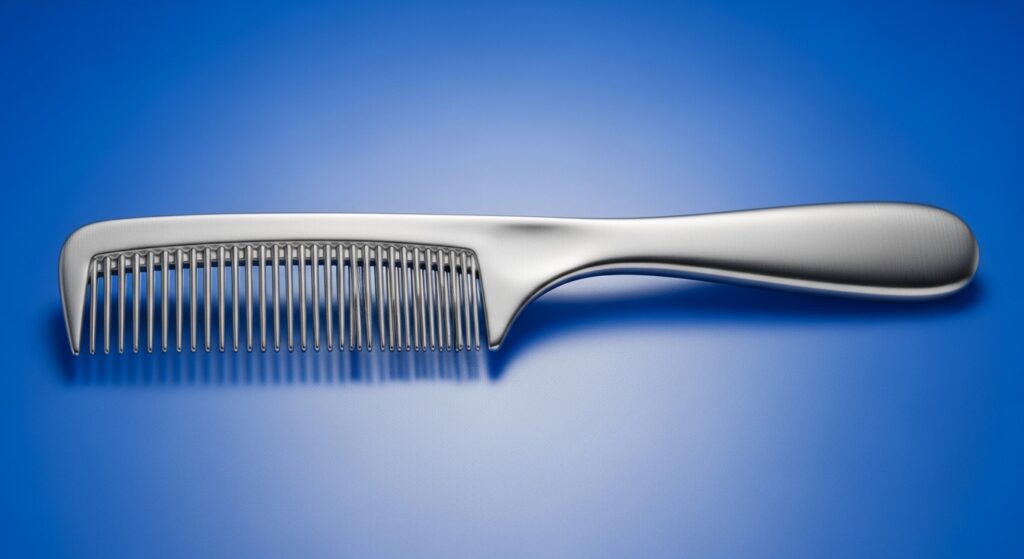
Your technique is only as good as your comb. A proper teasing comb has closely spaced, fine teeth that are uniform in length. Avoid combs with a pick on one end—they’re for detangling, not precision backcombing. Look for a sturdy, rat-tail comb specifically labeled for teasing.
Caring for Teased Hair: Removal and Health
To remove teasing without damage, start at the ends of your hair with a wide-tooth comb or your fingers, gently working out tangles. Slowly work your way up toward the roots. Always use a nourishing conditioner when you wash to replenish moisture. Teasing, done correctly and removed gently, does not have to damage your hair.
With these 18 methods in your styling arsenal, flat hair is a problem of the past. Volume is all about architecture, and your teasing comb is the ultimate tool. Experiment, find the techniques that work for your hair type and desired style, and get ready to turn up the volume—majorly.