19 Headband Twists Looking Effortless Yet Sophisticated
Okay, let’s be real. We all have those days where our hair feels like a project. You want to look put-together, but you also don’t want to spend an hour wrestling with a curling iron. I get it. That’s exactly why I’m obsessed with the headband twist right now.
It’s the ultimate cheat code. This one simple trick takes you from “just rolled out of bed” to “effortlessly sophisticated” in about sixty seconds flat. It works on second-day hair, it works on every hair type, and it instantly elevates your look.
I’ve been playing with this style non-stop, and I’ve found it’s the perfect base for so many different vibes. Whether you’re channeling quiet luxury, romantic goth, or just need a quick fix, a headband twist is your new best friend. Let me show you 19 ways to wear it.
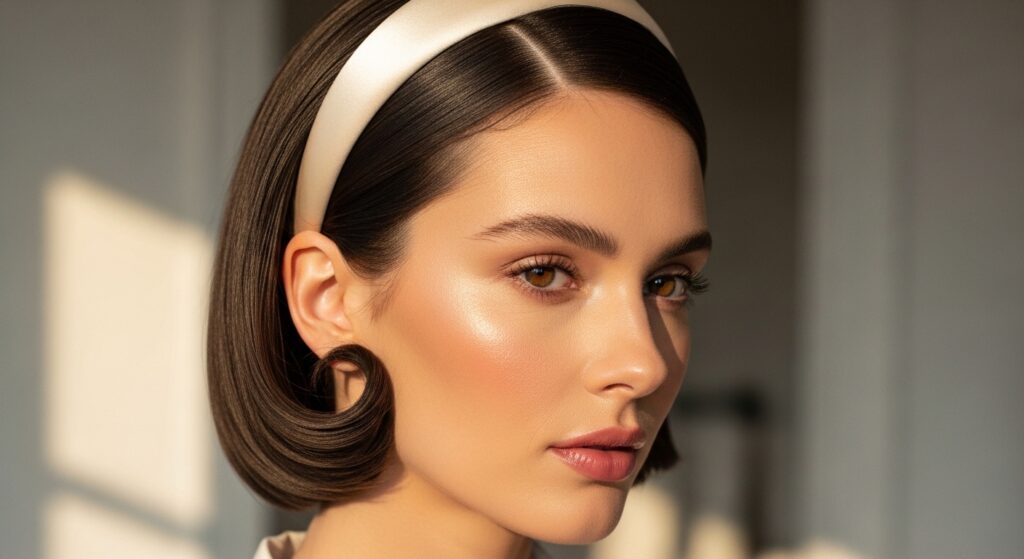
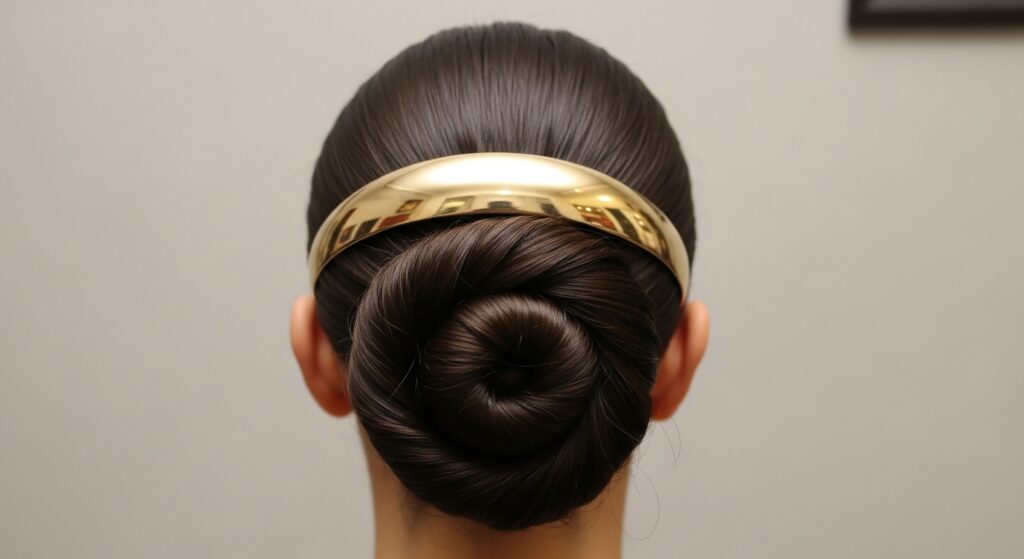
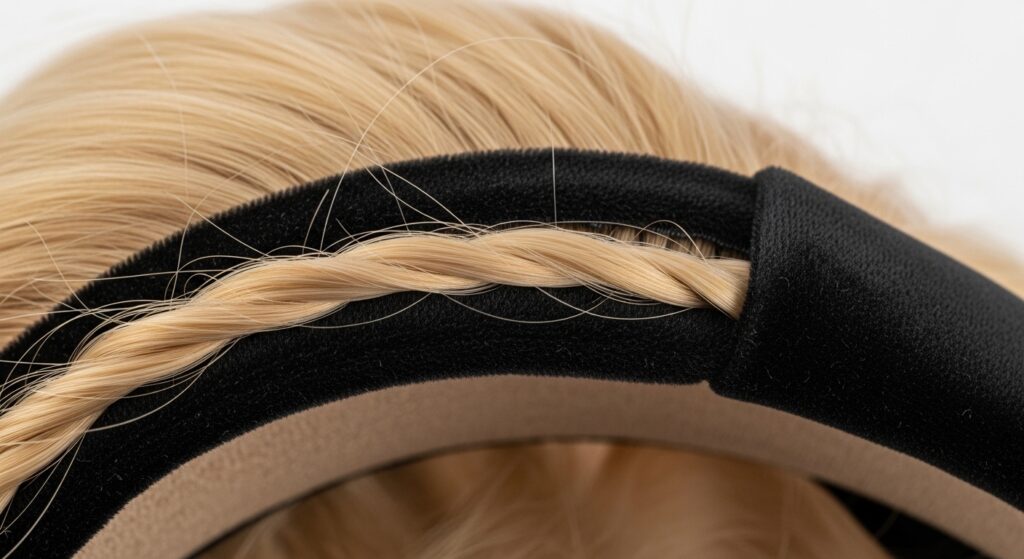
1. The Classic Silk Twist
This is where it all begins. A simple, wide silk headband is the gateway to looking polished. It screams old money hair without the fuss. Just slide it on, twist the front sections of your hair back, and tuck.
It works perfectly with a sleek quiet luxury bob or longer hair. The silk keeps everything smooth and prevents frizz. It’s my go-to for looking expensive with minimal effort.
- Start with brushed, tangle-free hair.
- Place a wide silk band just behind your hairline.
- Take a small front section on each side, twist once, and tuck under the band.
- Adjust for comfort and volume.
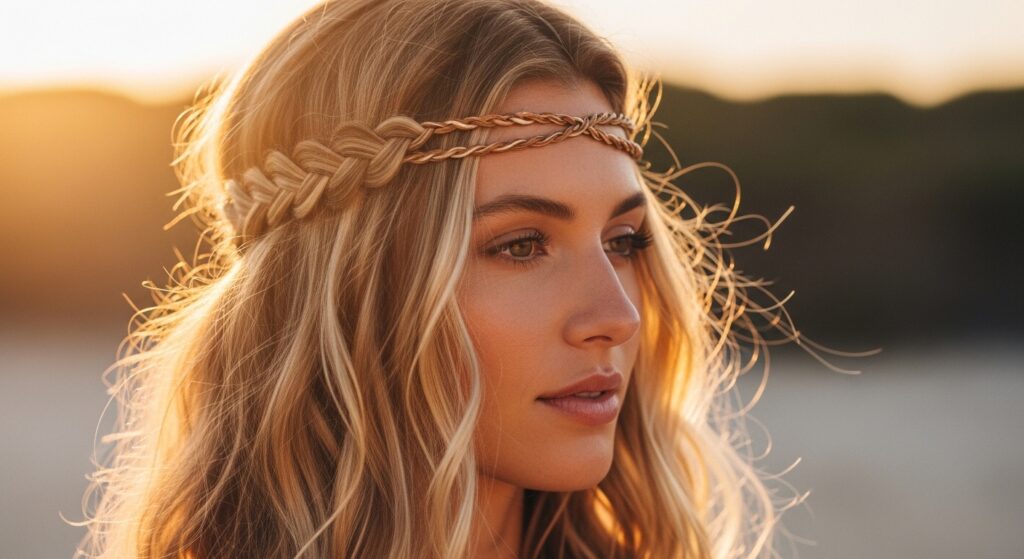
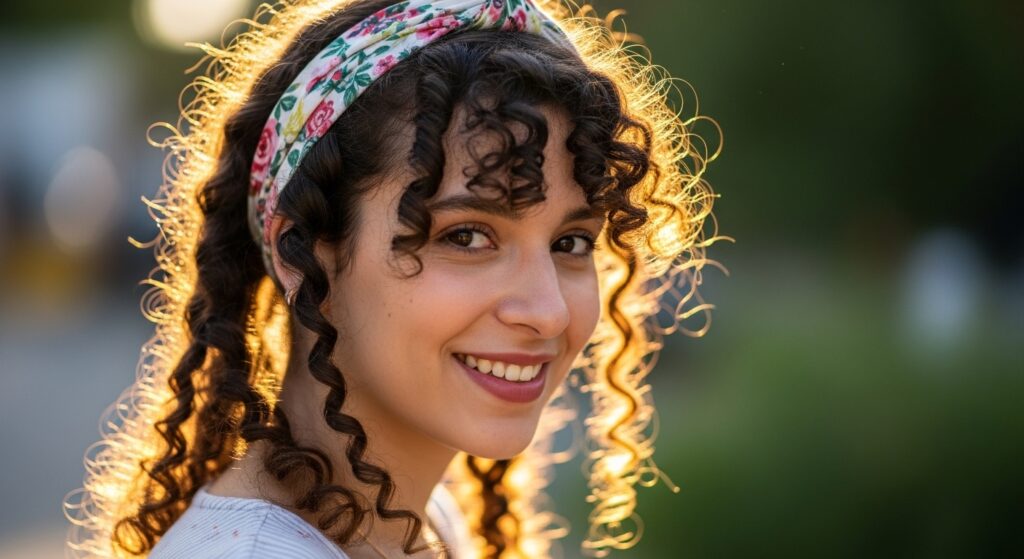
2. The Boho Braided Twist
Add some texture and romance by incorporating a braid. This style feels free-spirited and is perfect for a weekend market or a casual day out. It adds detail without being too precious.
Start with a loose braid on one side, then incorporate it into your headband twist. You can use a leather band or a patterned fabric one for a more boho feel. It’s a beautiful way to dress up simple waves.
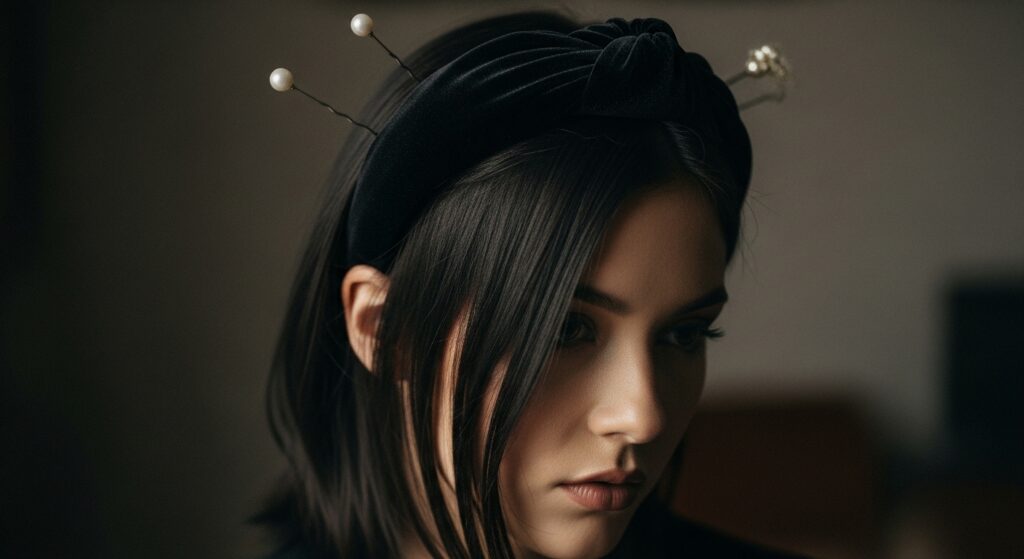
3. The Glitchy Glam Pinned Twist
For a night out, add some “glitchy glam hair” energy. After creating your twist, secure it not just under the band, but with a few decorative pins. Think pearl pins or small, sparkly clips.
The key is intentional imperfection. Let a few pieces fall loose. Pair this with an asymmetrical lob for a really modern, editorial look. It’s sophisticated but with an edge.
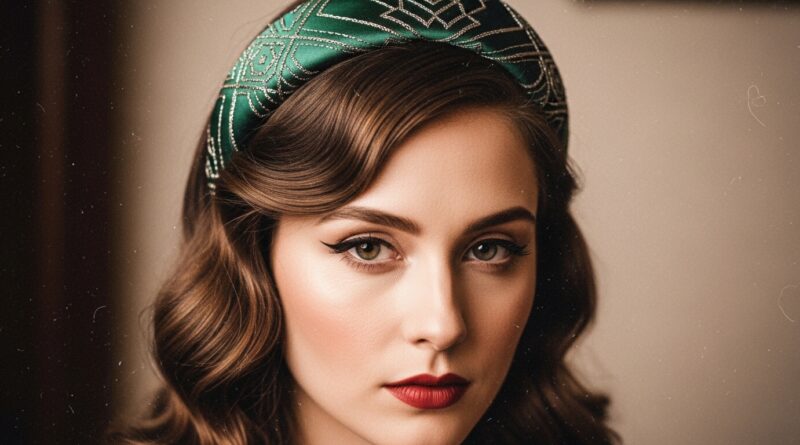
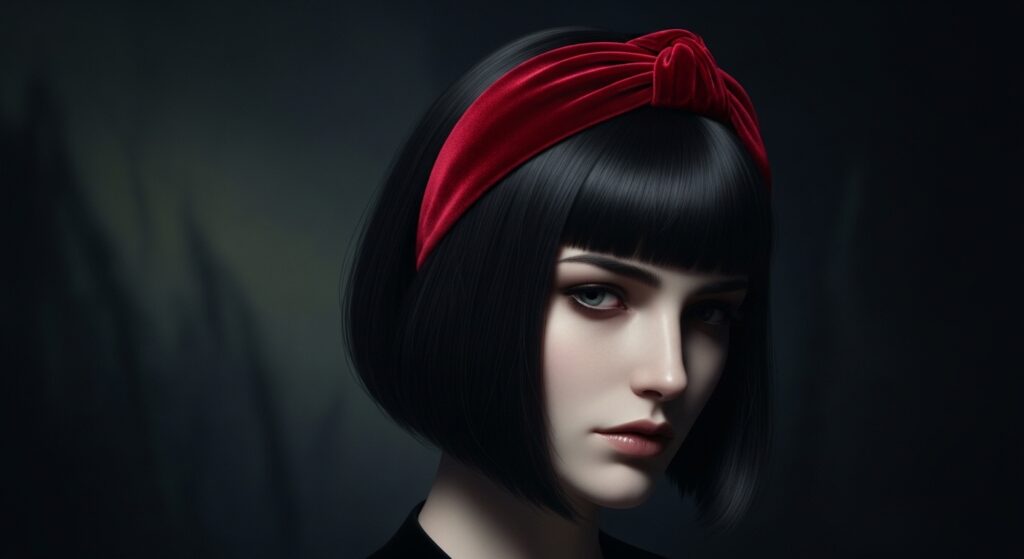
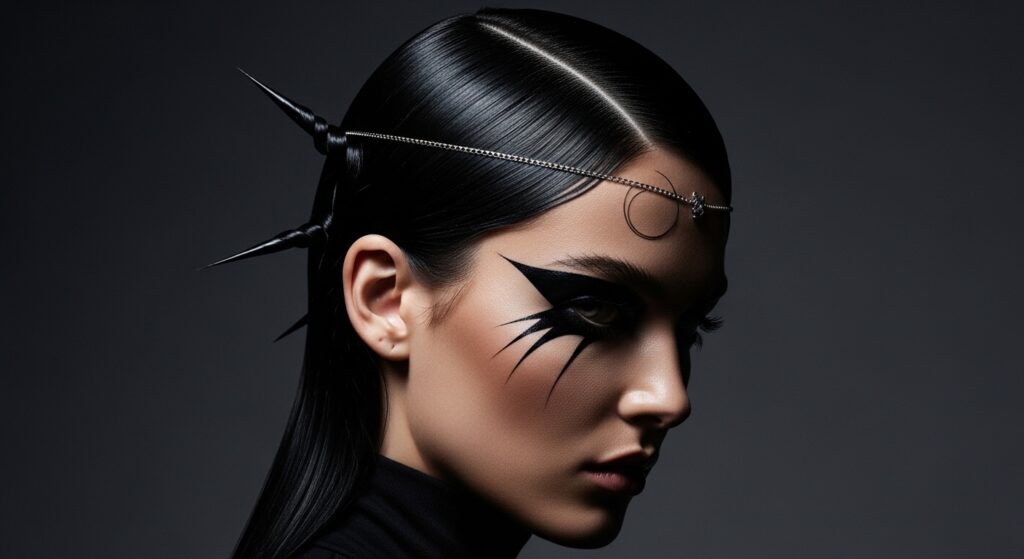
4. The Romantic Goth Velvet Band
Hello, vampire haircut bestie. A deep black or burgundy velvet headband is the perfect accessory for romantic goth hairstyles. It adds a touch of Victorian drama that feels fresh and cool.
Pair it with deep waves or straight, sharp hair. Keep the twist a little messier, with more volume at the crown. It’s dark, it’s romantic, and it’s incredibly chic.
5. The Sporty Knotted Twist
For active days or just a super casual vibe, a stretchy, knotted fabric headband is your hero. It keeps hair out of your face in the most stylish way possible.
This isn’t your 80s tennis band. Go for a neutral color and a soft, thick knot. The twist keeps it from looking too sporty and adds that touch of intention. Perfect for running errands in style.

6. The Hime Cut Accent
If you rock a hime cut (those classic straight-across bangs with long sides), a headband twist is a gorgeous way to highlight its structure. Place the band just behind your bangs.
Twist the long side sections back. This frames your face beautifully and keeps the dramatic lines of the cut front and center. It’s a very intentional, fashion-forward look.
7. The Half-Up, Half-Down Twist
This is the ultimate crowd-pleaser. It gives you the polish of an updo with the softness of wearing your hair down. It’s perfect for medium to long hair and works for any occasion.
Create your headband twist, but only on the top section of your hair. Leave the rest down in curls or waves. It adds volume at the crown and keeps hair off your face beautifully.
8. The Twisted Updo Base
Use a headband as the foundation for a full updo. After placing the band and doing the front twist, gather all your hair into a low bun or chignon at the nape of your neck.
The headband acts as both decoration and an anchor, making the updo feel more secure and much more interesting than a standard bun. It’s elegant and surprisingly easy.
9. The Scrunchie-Band Combo
Why choose one accessory when you can use two? Match your scrunchie to your headband for a coordinated, put-together look. This is a major trend for 2026 hairstyles we’re seeing now.
Do your headband twist, then pull the rest of your hair into a low ponytail or bun with the matching scrunchie. It’s playful, chic, and shows you paid attention to the details.

10. The Slicked-Back Gel Twist
For ultimate drama and a wet-look effect, use a strong-hold gel. Comb your hair back, apply gel, then place a thin, delicate headband over it. Create small, precise twists.
This look is bold, modern, and perfect for a statement event. It pairs amazingly with bold makeup and simple earrings. It’s all about the power vibe.
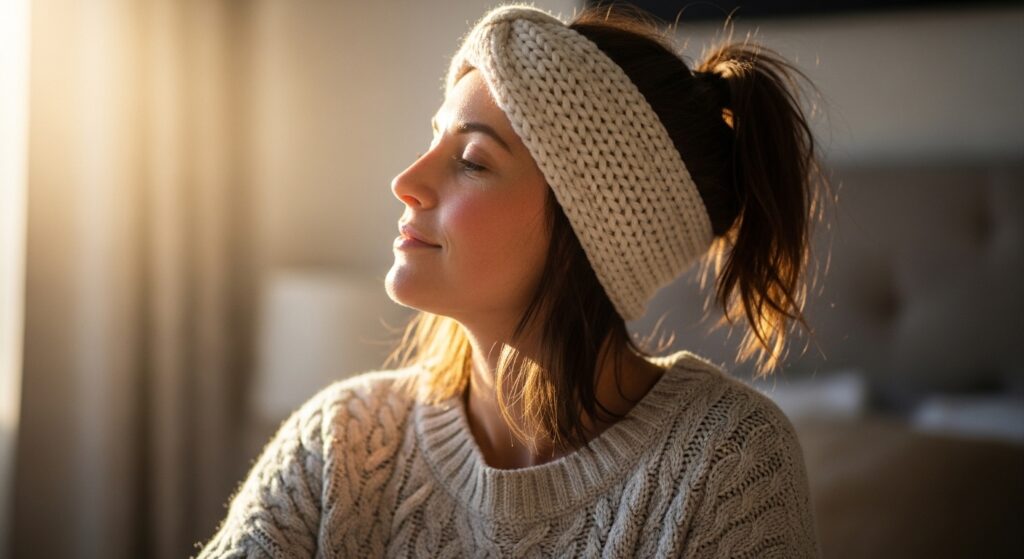
11. The Messy Morning-After Twist
This is the real-life savior. Got bedhead or second-day grease? A wide, textured headband (like a knit or woven style) and a quick, messy twist will hide it all.
Don’t brush too much. Just gather, twist, and tuck. The messier, the better. It looks intentional and artistic, not like you’re hiding anything. We all need this one in our arsenal.
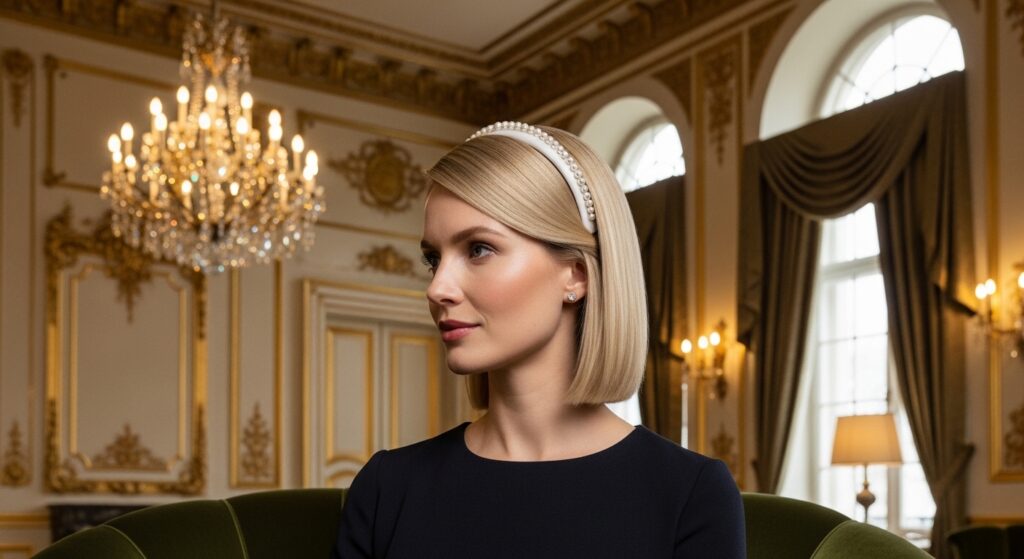
12. The Pearl-Embellished Twist
Pearls aren’t just for grandma. A headband with small pearls or a pearl detail instantly leans into the quiet luxury hair trend. It’s understated but deeply sophisticated.
Keep the rest of the hairstyle simple and smooth. A low knot or even down and straight. Let the pearl band be the star. It’s timeless and feels special every time.
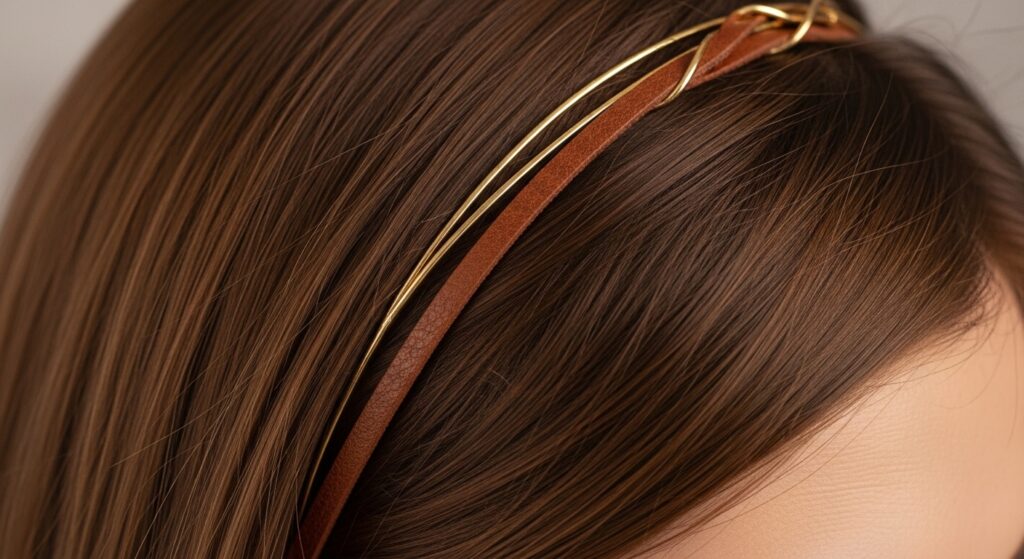
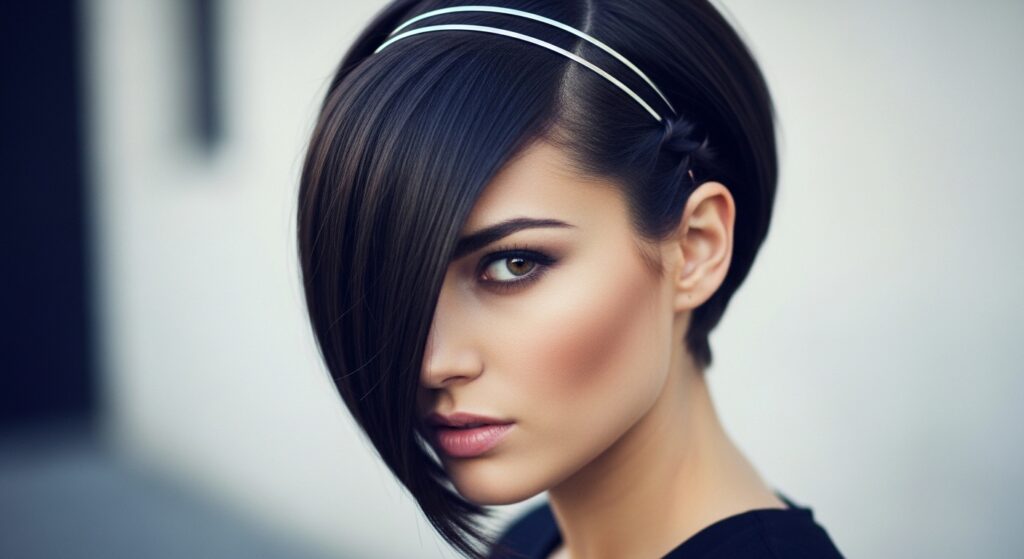
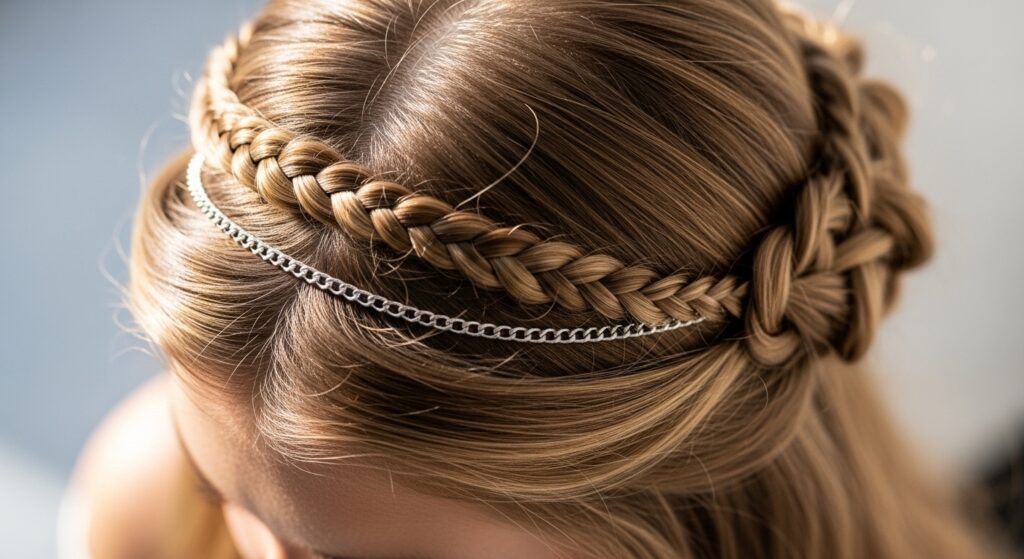
13. The Double Band Twist
Double the bands, double the impact. Use two thin, complementary headbands. Place one traditionally, then add a second just behind it. Do your twist over both.
This creates a cool, layered accessory look. Play with colors or textures—like a thin leather and a thin metal band. It’s a simple way to make the style feel very custom and fresh.
14. The Face-Framing Twist-Out
Instead of tucking the ends of your twist under the band, let them frame your face. Twist the sections, then pull them forward over your shoulders.
This is so flattering! It adds softness around your jawline and looks very romantic. Perfect for brunch or a date. It works beautifully on curly hair, too.
15. The Asymmetrical Lob Partner
An asymmetrical lob already has such great movement. A headband twist on the longer side can emphasize that beautiful angle. Place the band slightly diagonally.
Twist the hair from the shorter side across to the longer side. It highlights the cut’s architecture and keeps hair out of your eyes in the chicest way possible.
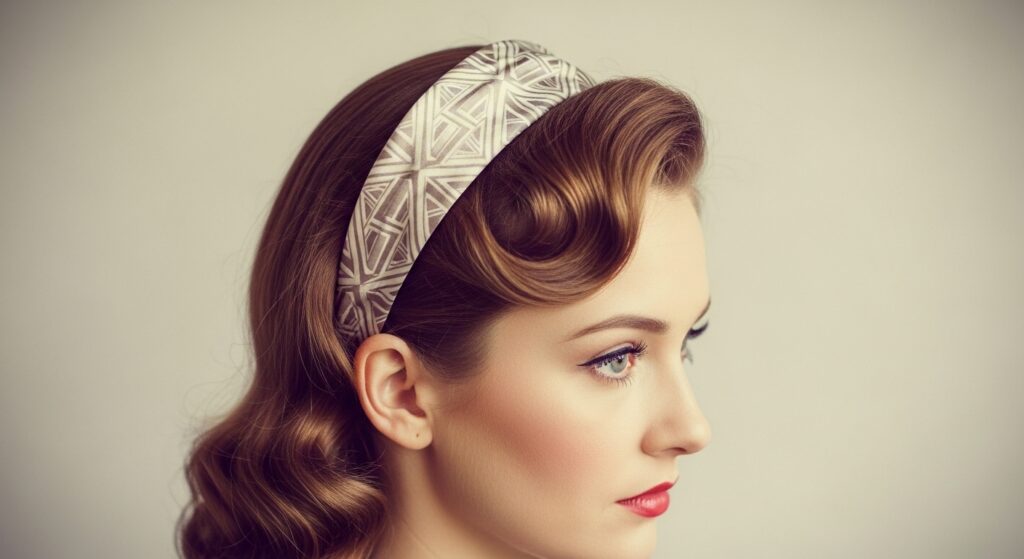
16. The Vintage-Inspired Wave Twist
Channel old Hollywood glamour. Set your hair in loose pin curls or waves. Then, use a wide, decorative headband—think something with a slight sparkle or pattern.
Place it back from your hairline and create soft twists. This look is all about the combination of texture and accessory. It’s glamorous but not costumey.
17. The No-Slip Grip Twist
For fine or slippery hair that won’t hold a style, seek out headbands with a velvet or silicone grip on the inside. This is a game-changer.
It holds everything in place all day long. You can do any of these twists with the confidence it won’t slide off. It’s the practical tip that makes the trend work for everyone.
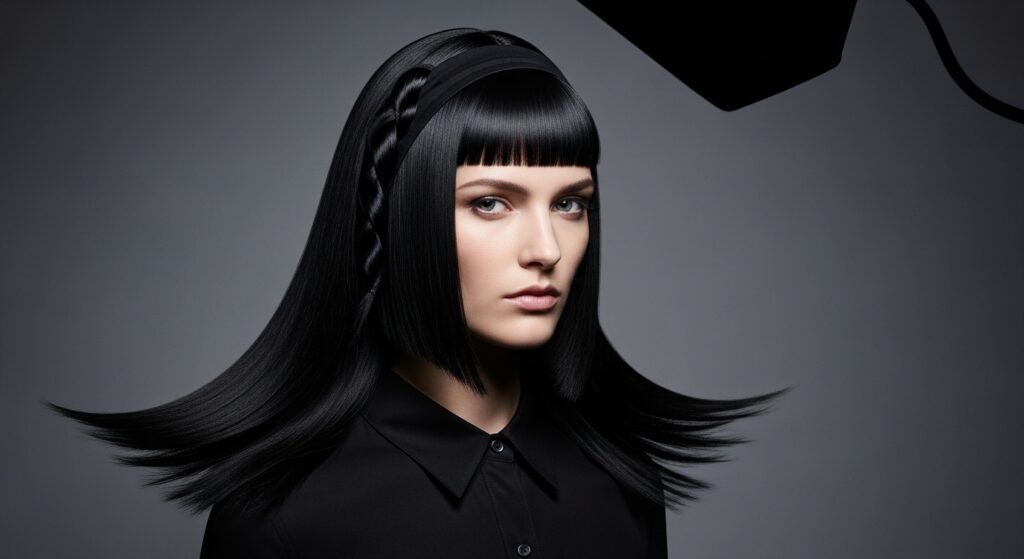
18. The Crown-Braided Twist
Elevate the basic twist by starting with a small crown braid on one side. Braid from temple to temple, then use a headband to secure the end and blend it into a twist on the other side.
It looks incredibly intricate but is just a few simple steps combined. Perfect for weddings, parties, or when you just want to feel like a fairy queen.
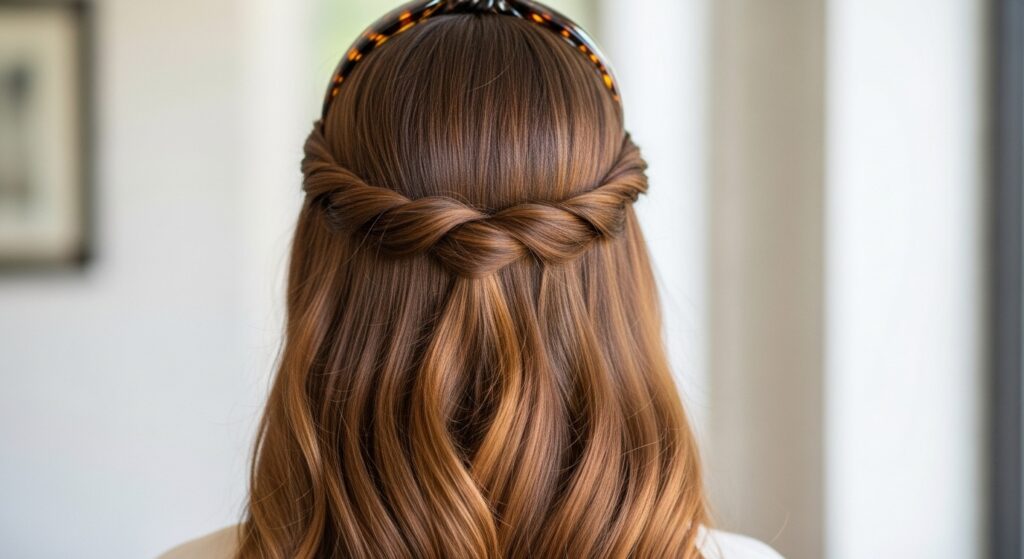
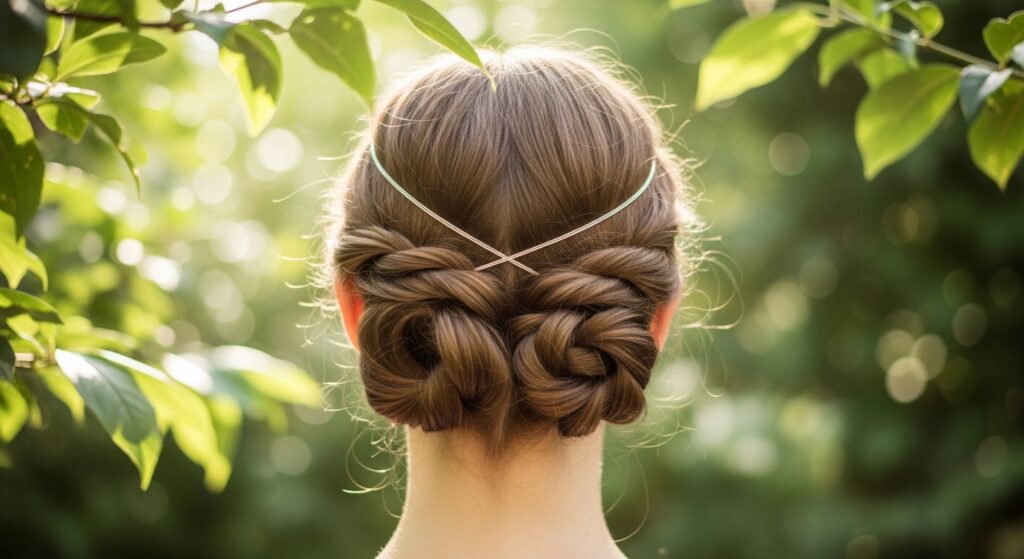
19. The Modern Milkmaid Base
The milkmaid braid trend is still going strong. Use two headband twists as the starting point instead of braids. Create a twist on each side, then cross them and pin them at the back.
It’s a softer, more modern take on the classic style. It’s faster than braiding and has a beautiful, ethereal feel. Ideal for summer events or even a bridal look.
Your Quick-Start Guide
Feeling inspired? Here’s how to nail your first headband twist in three easy steps. No stress, I promise.
- Prep: Start with day-old hair or use a little texturizing spray for grip. Brush it through.
- Place: Slide your chosen headband into place, about an inch back from your hairline.
- Twist & Tuck: Take a 1-2 inch section of hair from each side in front of the band. Twist each one once or twice toward the back, then tuck the ends securely under the band. Adjust for volume!
See? I told you it was the easiest trick in the book. From a classic silk twist to something with a little romantic goth drama, there’s a style here for every mood and hair type.
The best part is that it makes you look like you tried, even on the days you really, really didn’t. That’s the magic of a good accessory and a simple technique.
I’d love to hear which one you’re trying first! Drop a comment below and tell me your favorite. And if you want to keep these ideas handy for your next bad hair day (or good hair day!), be sure to save this post to Pinterest so you can always find it.