19 Stitch Braid Techniques for Clean, Defined Parts
Have you ever admired a stunning braided hairstyle and been captivated by the precision of its parts? Those sharp, clean lines that map out the design before a single braid is even woven are the hallmark of a masterful style. This art of creating defined parts, especially in techniques like stitch braids, transforms hair from a simple protective style into a true work of art. Achieving that level of clarity and definition, however, requires more than just a steady hand—it demands the right techniques, tools, and knowledge.
The Foundation: Tools and Prep for Perfect Parts
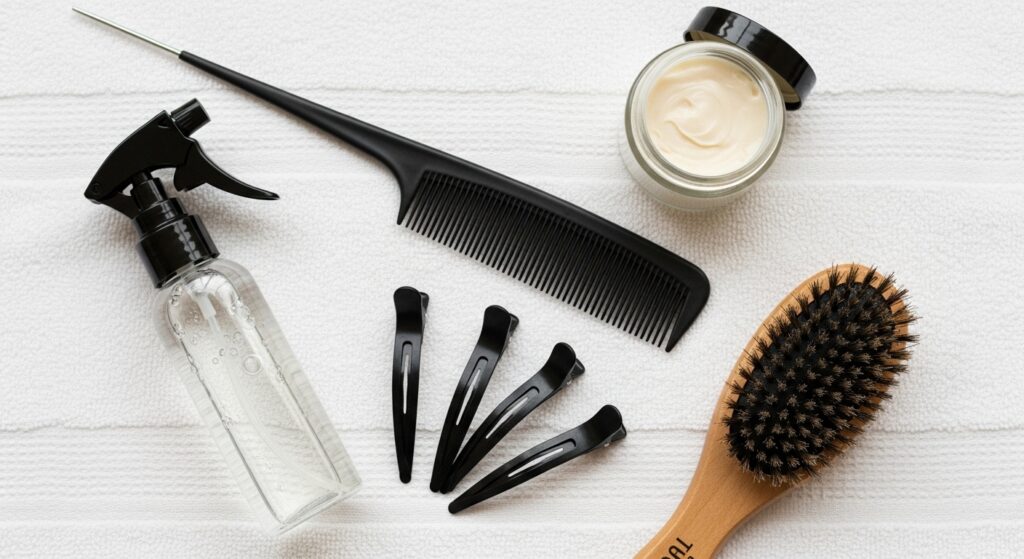
Before you touch a single strand of hair, your success is determined by your preparation. The journey to clean parts begins with the right arsenal. A fine-tooth rat-tail comb is your most important tool—its pointed end allows for straight, precise lines and easy sectioning. Don’t underestimate the power of good lighting; natural light or a bright, shadow-free lamp is crucial for seeing every hair. For hold and manageability, a lightweight gel or edge control applied to the sectioned hair before braiding is non-negotiable. It tames flyaways and helps each part stay defined for weeks. Finally, ensure the hair is detangled, freshly washed, and thoroughly moisturized. Braiding on a solid foundation prevents slippage and ensures your beautiful parts last.
Mastering the Basic Part: Straight, Curved, and Diagonal
Every complex design starts with mastering the fundamentals. The straight part is the backbone of braiding. Use the tail of your comb, pull from the hairline straight back, applying gentle tension. For curved parts, which add softness and shape to styles like crown braids, visualize the arc and use the comb to create a smooth, flowing line—practice makes perfect here. Diagonal parts, which add dynamic energy and are great for slimming the face, require you to angle your comb from one point of the hairline to the opposite side of the head. The key for all three? Maintain consistent tension and follow through from start to end point without lifting the comb prematurely.
Geometric Game Changers: Triangles, Zig-Zags, and More
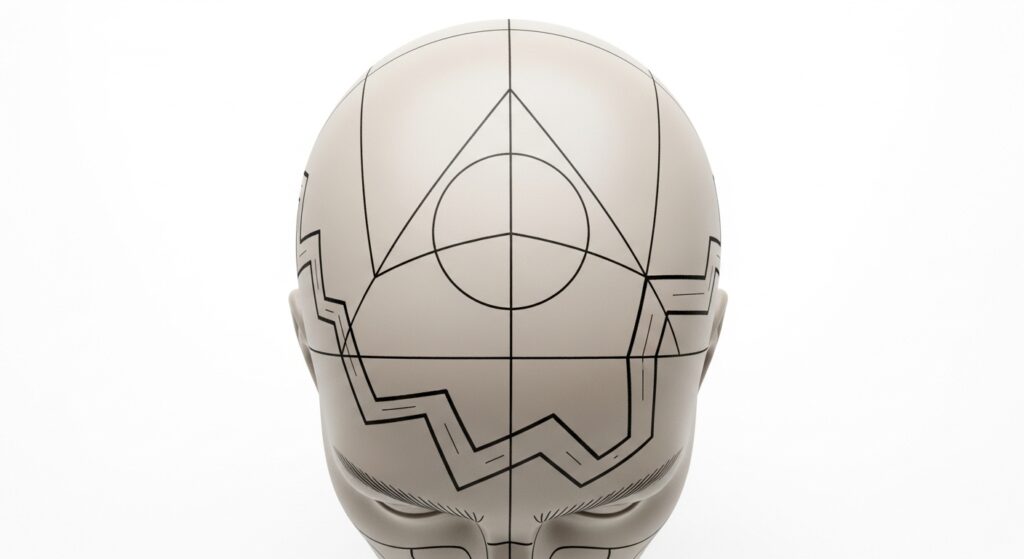
Now, let’s introduce geometry to the scalp. Creating a triangle part involves sectioning a square and then parting from the middle of one side to the opposite corner. Zig-zag parts are a classic for a reason—they add incredible visual interest. Start at the hairline, make a small “V,” and continue the pattern back. For a modern twist, try circular parts around the crown or hexagonal, honeycomb-like sections for a truly intricate, eye-catching design. These shapes require planning; you may want to lightly sketch the design with the comb’s tail before committing with gel.
Stitch Braid Specific Techniques: The Illusion of Depth
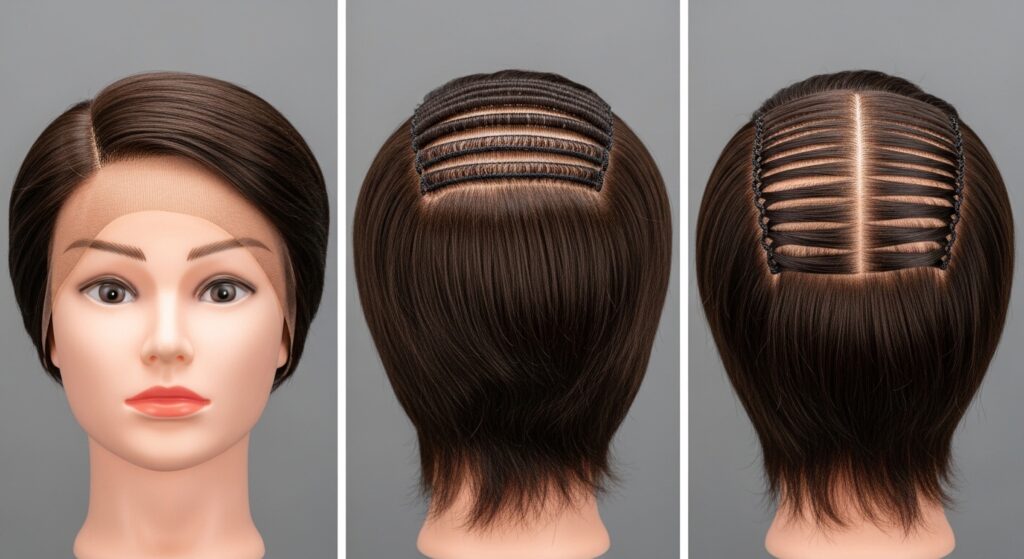
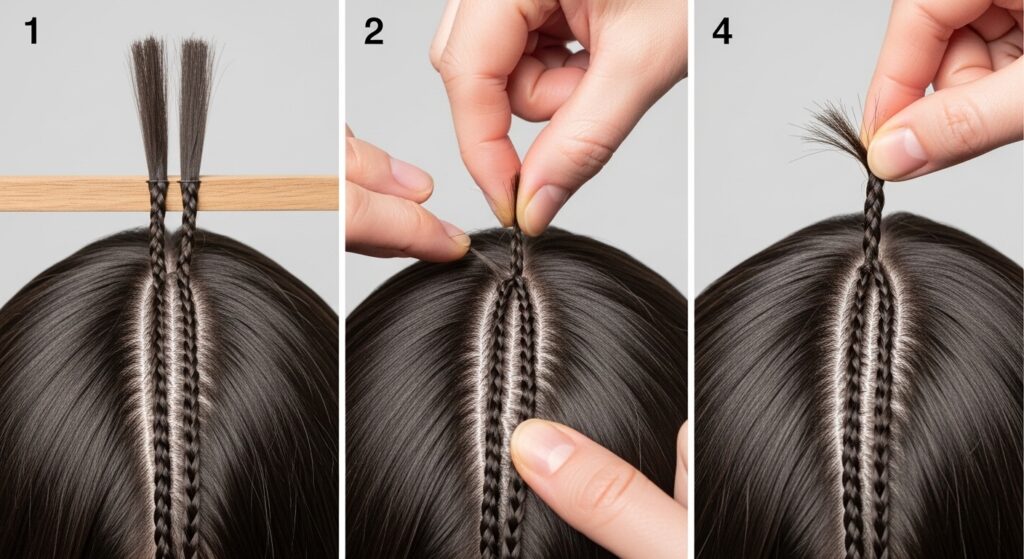
Stitch braids get their name from the sewing-like technique used during braiding, which creates a raised, “stitched” look along the part. The magic lies in how you handle the part during the braiding process. After creating your pristine part, begin your cornrow. As you braid, instead of simply adding hair from the loose side, use the thumb of your opposite hand to gently push a tiny, clean section of hair from the *other* side of the part up and over into the braid. This “flipping” action is what creates that signature, pronounced ridge along the part line, giving an incredible 3D effect and locking in the definition.
Advanced Artistic Parts: For the Bold and Creative
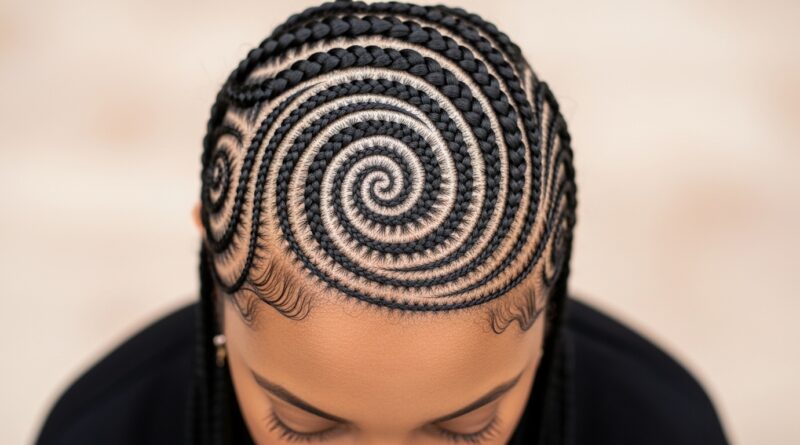
When you’re ready to make a true statement, these techniques are your canvas. Swirls and spirals radiating from a central point create a stunning sunburst effect. Layered parts, where one design is nested inside another (like a triangle within a triangle), add unbelievable depth. For a regal look, try a crescent moon part from temple to temple, or channel ancient artistry with parts inspired by Celtic knots or Adinkra symbols. These designs are about patience and vision—map them out completely before picking up your gel.

Pro Tips for Maintenance and Longevity
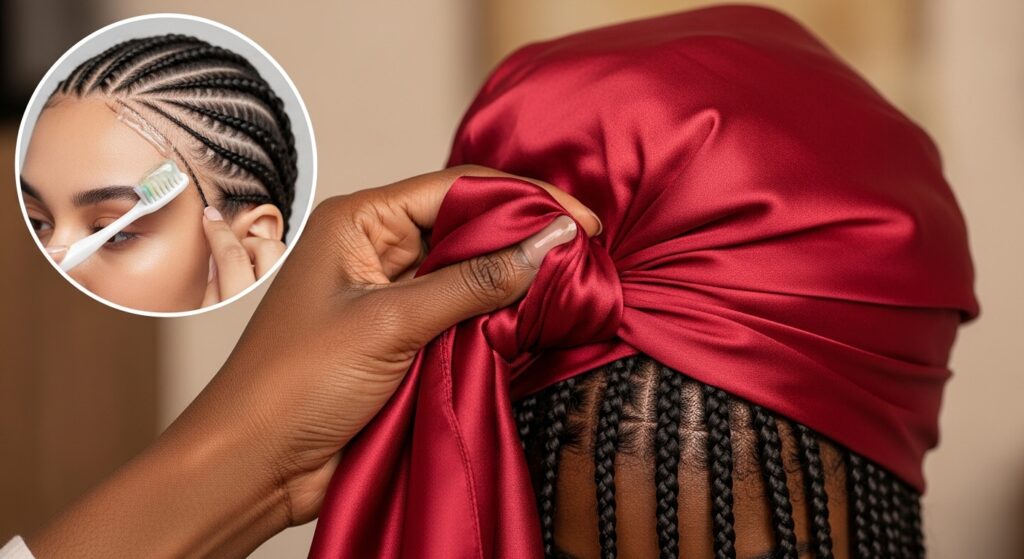
Your beautiful work deserves to last. To preserve those crisp parts, wrap your hair at night with a satin or silk scarf, tying it in a way that doesn’t press directly on the parts. For refreshment, a tiny amount of edge control or gel on a soft toothbrush can be dabbed along the part line to slick down any new growth or flyaways. Avoid heavy oils directly on the scalp near the parts, as they can cause buildup and loosen the braids. When washing, opt for a diluted shampoo applied with a nozzle bottle to target the scalp without disturbing the braids or parts.
Troubleshooting Common Part Problems
Even pros encounter hurdles. If your parts are crooked, slow down and use the natural growth patterns of the hair as a guide. For fuzzy parts, ensure you’re using enough tension when creating the line and that your gel is applied to the root of the section. If the scalp is visible but unevenly so, you may be applying uneven pressure with your comb. Practice on a mannequin head to build muscle memory. Remember, a clean part is often more about confident, single-stroke movements than hesitant corrections.
Conclusion: Your Path to Braiding Mastery
Mastering the 19 stitch braid techniques for clean, defined parts is a journey that blends technical skill with artistic expression. From the essential straight line to the most elaborate geometric swirl, each part you create is a step toward more beautiful, professional, and long-lasting braided styles. The true secret lies in the foundational practices: impeccable prep, the right tools, and mindful technique during the braiding process itself.
Don’t be discouraged if your first attempts aren’t perfect. Braiding is an art form honed through practice. Start with the basic parts, master the stitch technique, and then gradually challenge yourself with more complex designs. Your hands will learn the motions, and your eye will develop a sharper sense of symmetry and space. So grab your rat-tail comb, charge your creativity, and start mapping out your next masterpiece. Your journey to flawless, defined parts and stunning stitch braids starts now.