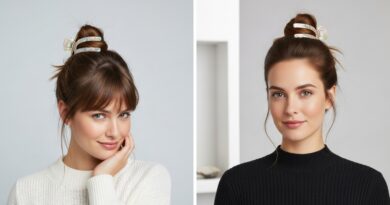
20 Bang Styles You Can Try Without Cutting Your Hair
Have you ever scrolled through Instagram, captivated by a model’s perfect fringe, only to be hit by the cold fear of commitment? The desire for bangs is a universal hair dilemma—a craving for change, a new frame for your face, but a deep-seated terror of the scissors. What if we told you that you could have the bangs of your dreams, experiment with every trend, and still wake up tomorrow with your long, untouched locks intact? It’s not magic; it’s the art of the temporary bang transformation.
The Magic of Temporary Bangs: Why Go Faux?
Before we dive into the styles, let’s appreciate the sheer genius of the non-commitment bang. Faux bangs offer unparalleled flexibility. You can switch from blunt to wispy in minutes, match your bangs to your outfit, or simply remove them when you want your forehead back. They’re perfect for protecting your hair from a potentially regrettable cut, and they allow you to “try on” different face-framing styles to see what truly suits you before you ever visit a salon.
Section 1: The Clip-In & Accessory Route (The Instant Fix)
For instant gratification, nothing beats pre-made solutions. This is the fastest way to achieve a full, believable fringe.
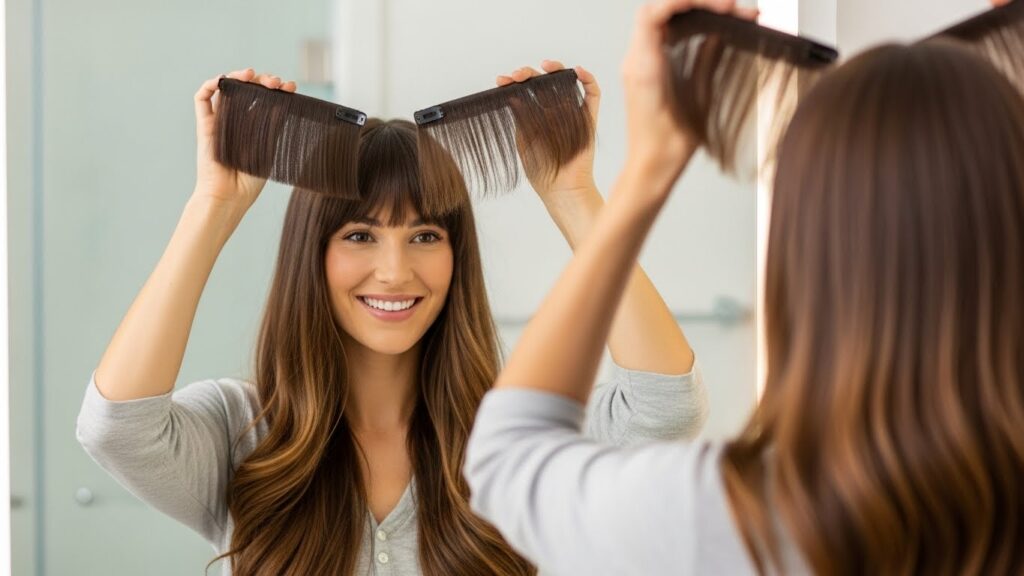
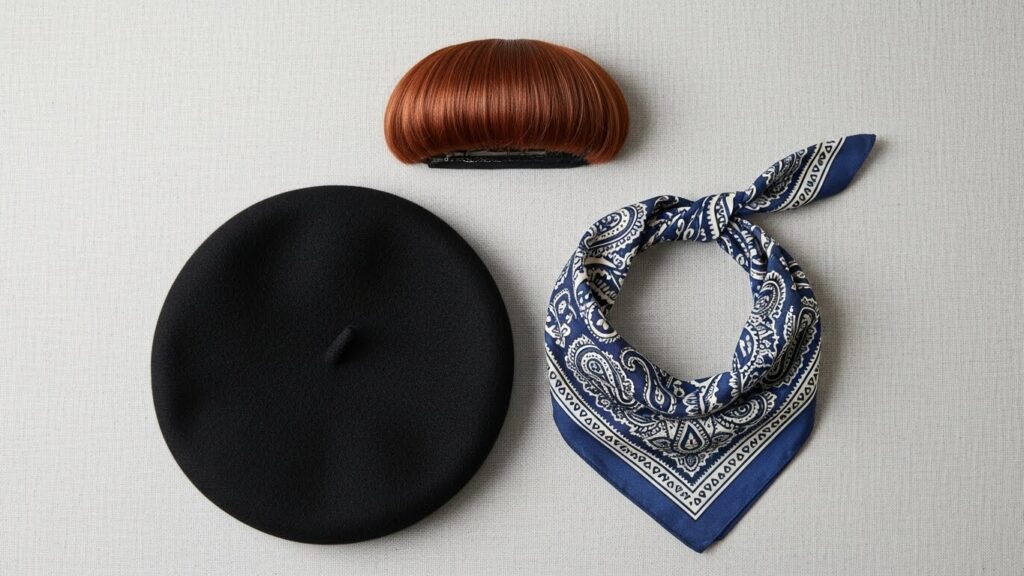
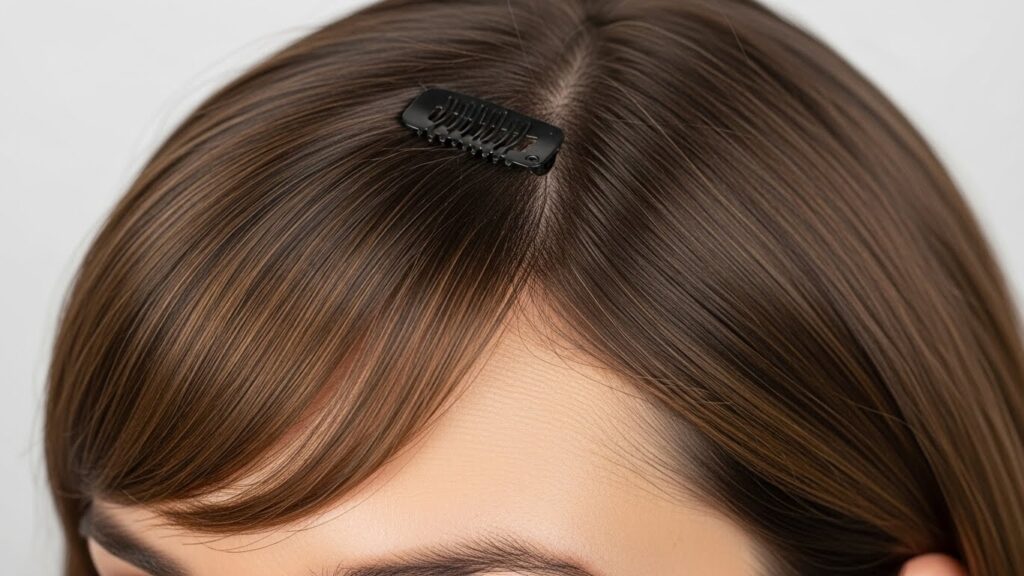
1. Classic Clip-In Fringe: Purchase a clip-in bang piece that matches your hair color. Section off the front of your hair, secure it underneath, and clip the fringe on top. Blend the sides with your natural hair for a seamless look.
2. Hat Trick Bangs: Use a beanie, beret, or wide headband. Pull it down over your hairline, then gently pull out a few strands of hair from underneath to create a short, piecey fringe effect at the front.
3. Bandana Bangs: Fold a bandana into a headband and tie it around your head, positioned right at your hairline. Tuck all your hair behind it, then carefully pull out a few face-framing pieces over the fabric to mimic curly or wispy bangs.
Section 2: The Style & Pin Method (The Creative Canvas)
This technique uses your own hair, cleverly folded and pinned into place. It works best on medium to long hair.
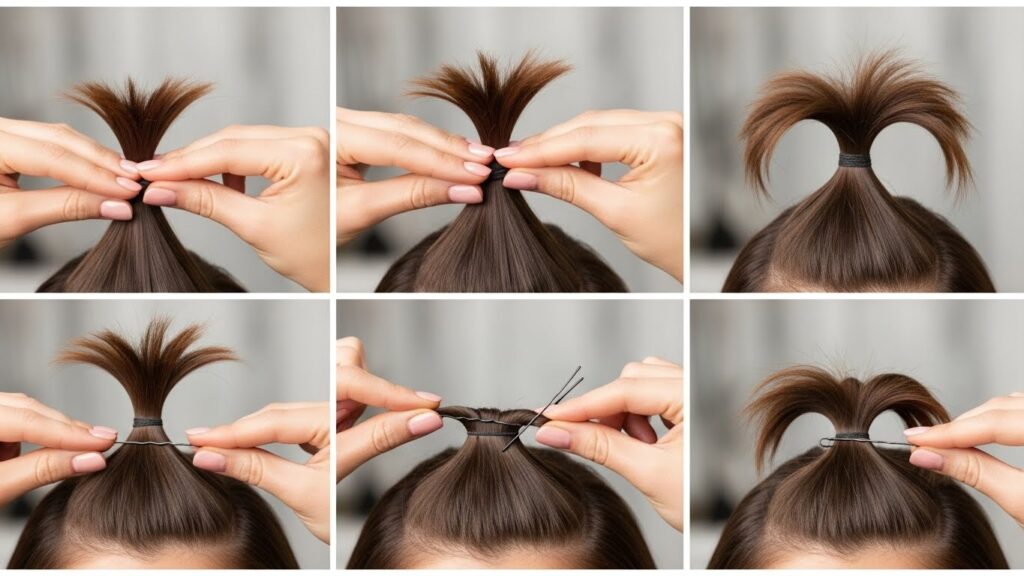
4. The Simple Fold-Over: Take a front section of hair (about the width of your temples). Smooth it down over your face, then fold it under itself at the length you want your bangs. Secure the fold flat against your forehead with bobby pins hidden underneath.
5. Blunt Bang Illusion: Create a deep side part. Take the larger section of hair, bring it across your forehead, and tuck it behind your ear on the opposite side. Pin it securely at the back. The horizontal line across your forehead creates a stunning blunt bang effect.
6. Voluminous Pouf Bangs: Tease the crown section of your hair lightly for volume. Bring a front section forward, then roll it back slightly and pin it at the crown, allowing the ends to fall forward as bangs. Hairspray for hold.
Section 3: The Braided & Twisted Frontier (The Boho Chic)
Incorporate bangs into intricate styles for a look that’s both functional and fashionable.
7. Braided Fringe: French braid a section of hair from your hairline back, incorporating hair only from the front. Secure the end and tuck it into the rest of your hairstyle. The braid sits like a thick, textured bang.
8. Twisted Side-Swept Bangs: Take a front section, twist it tightly, and sweep it across your forehead, pinning it discreetly above your opposite ear. This creates elegant, side-swept bangs with beautiful texture.
9. Double Rope Twist Bangs: Split a front section into two. Twist each individually, then twist them together. Pull this twisted “bang” forward and pin the ends back into your hair.

Section 4: The Curl & Wave Wonder (The Soft Romance)
Use your hair’s natural texture or tools to create soft, face-framing bangs.
10. Curtain Bangs (The Queen): Create a center part. Take two front sections, curl them away from your face with a large-barrel iron, and let them fall loosely. Pin the rest of your hair back to emphasize these face-framing layers.
11. Wispy Pin-Curl Bangs: Dampen a front section, roll it under into a flat pin curl against your forehead, and secure with a clip. Let it dry or use a blow dryer on low heat. Unravel for soft, retro-inspired wispy bangs.
12. Swoopy Blow-Dried Bangs: Isolate a front section. Using a round brush, blow-dry it downward and then under, directing it to one side for a voluminous, salon-style swoop.

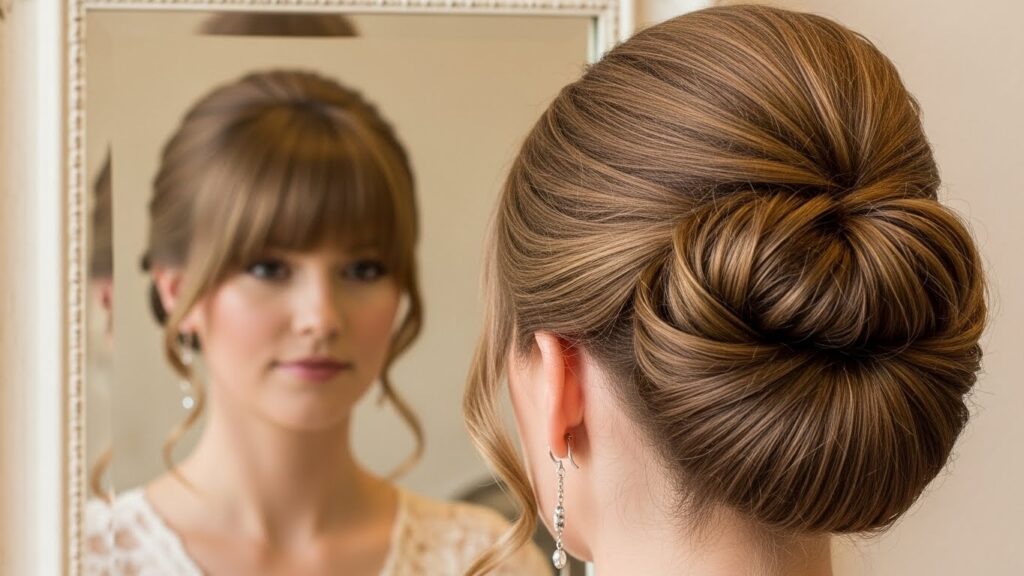
Section 5: The Half-Up & Updo Illusion (The Elegant Solution)
When your hair is up, it’s the perfect opportunity to craft a fringe from the pieces you leave down.
13. The Half-Up Fringe: In a half-up style, deliberately leave out a thinner, shorter-looking section in the front. Style this piece as blunt or side-swept bangs, while the rest of the half-up hair holds the length back.
14. Updo with Face-Framers: When creating a bun or updo, don’t pull all the hair back. Leave out two strategic front sections. Curl or straighten these pieces to fall at cheek or chin length, acting as the perfect bangs complement.
15. Gibson Tuck with Fringe: Perform a classic Gibson tuck at the back, but leave a generous front section out. Style this forward-facing hair as full, voluminous bangs for a vintage-meets-modern look.
Section 6: The Advanced No-Cut Techniques (For the Bold)
Ready to level up? These methods require a bit more skill but deliver stunningly realistic results.
16. The Wiglet/Small Hairpiece: A small, top-front hairpiece (a wiglet) can be blended in to create not just bangs, but added volume and color dimension.
17. Hair Wrapping: Take a long front section, wrap it around your head like a headband, and tuck the end. The wrapped portion creates a thick, braid-like bang across the forehead.
18. Double Dutch Bangs: Create two Dutch braids (braids that sit on top of the head) starting at your hairline and going back. Let them hang forward as bold, statement bangs.
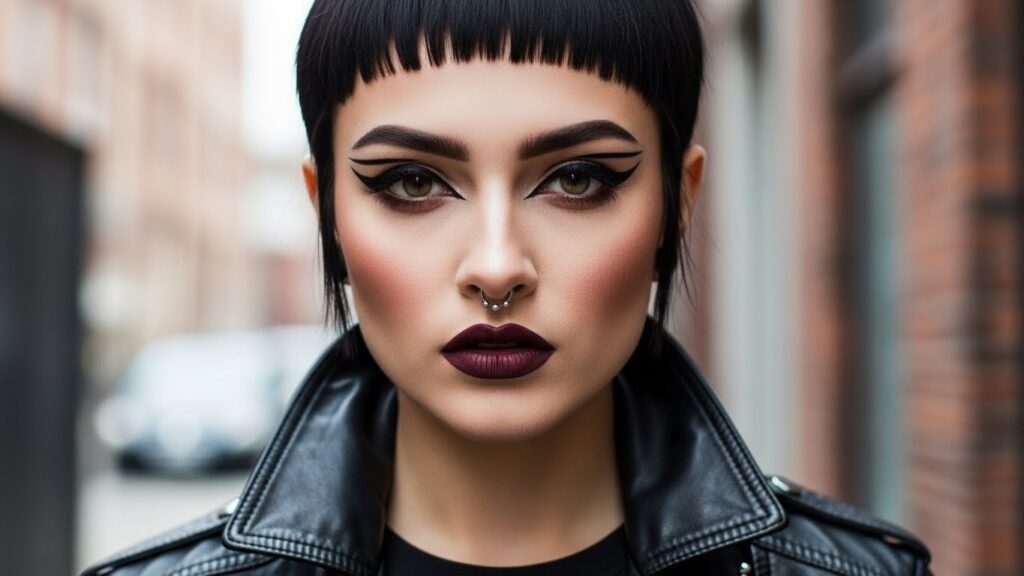
19. The Fake Micro Bangs: For the edgiest look, take tiny front sections, twist them, and pin them flat against your forehead in a jagged line. It creates the illusion of micro or baby bangs.
20. The “Hair Glue” Style (Temporary!): Using a strong-hold but washable styling product, you can slick very short pieces from your hairline down to create a wet-look, eyebrow-grazing fringe. Always patch test and use products designed for hair.
Pro Tips for Making Your Faux Bangs Look Real
Blend is Your Best Friend: Always blend the sides of your faux bangs with your natural hair using a brush, your fingers, or a little texturizing spray.
Color Match Matters: If using clip-ins, take time to find a perfect match, or consider having a piece professionally colored.
Texture, Texture, Texture: Match the texture of your bangs to the rest of your hair. Curl straight clip-ins or straighten your natural hair to match the faux fringe.
Secure Discreetly: Use pins that match your hair color and insert them at angles, pushing through the base of the style and into your own hair for an invisible hold.
Embrace Accessories: Headbands, clips, and bandanas aren’t just for creating bangs—they’re also perfect for hiding any awkward pins or edges.
Conclusion: Your Fringe Future is Limitless
The power to transform your look is literally at your fingertips—no appointment necessary. From the bohemian flair of braided bangs to the chic sophistication of a blow-dried swoop, the world of temporary bangs is rich with possibility. This guide to 20 bang styles without cutting your hair is more than a list; it’s an invitation to play, experiment, and rediscover your hair’s potential every single day.
So, gather your bobby pins, dig out that old bandana, and dare to try a new fringe tonight. Your long hair will be waiting safely for you tomorrow, but you might just find a new alter ego in the mirror today. Happy styling!