20 Flat Iron Techniques Beyond Just Straightening
If you think your flat iron is a one-trick pony reserved only for battling frizz and creating pin-straight locks, you’re sitting on a goldmine of untapped styling potential. This versatile tool, often underestimated, is a veritable magic wand capable of creating an entire repertoire of looks—from bouncy curls and beachy waves to sleek updos and unbelievable volume. It’s time to break free from the straight and narrow and explore the artistry of iron work. Welcome to your ultimate guide to 20 flat iron techniques that go far beyond just straightening.
1. The Classic Flip-Out
Perfect for adding a touch of retro glamour, the flip-out focuses on the ends. Instead of clamping and pulling straight down, glide the iron down to the last two inches of your hair. Then, gently twist your wrist inward, curling the ends under (for an inward flip) or outward (for a more dramatic 60s vibe). This technique adds a playful, polished finish that breaks the monotony of blunt ends.
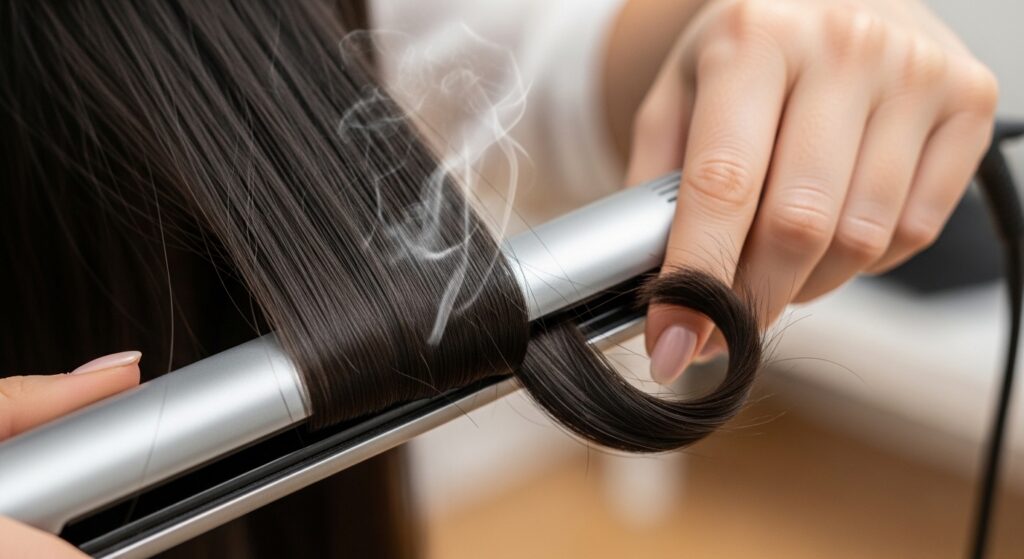
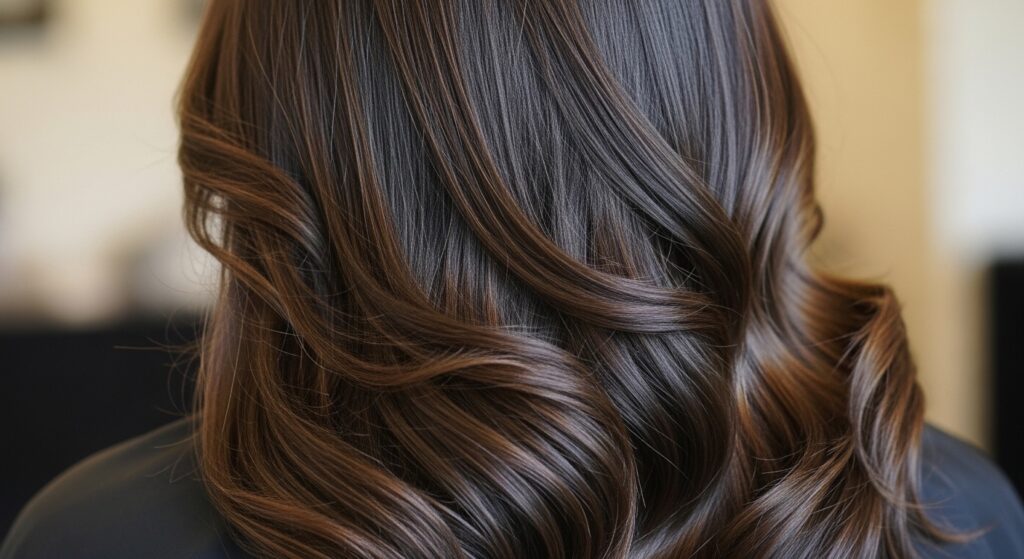
2. Beachy Waves (The Clamp-and-Twist)
Forget the curling wand. To create effortless, lived-in waves, take a one-inch section of hair. Clamp the iron near the root, then slowly rotate the iron 180 degrees away from your face as you slide it down the length. The key is a slow, continuous glide and twist. Release the hair and gently tousle. The result? Relaxed, textured waves with zero heat-curler kink.
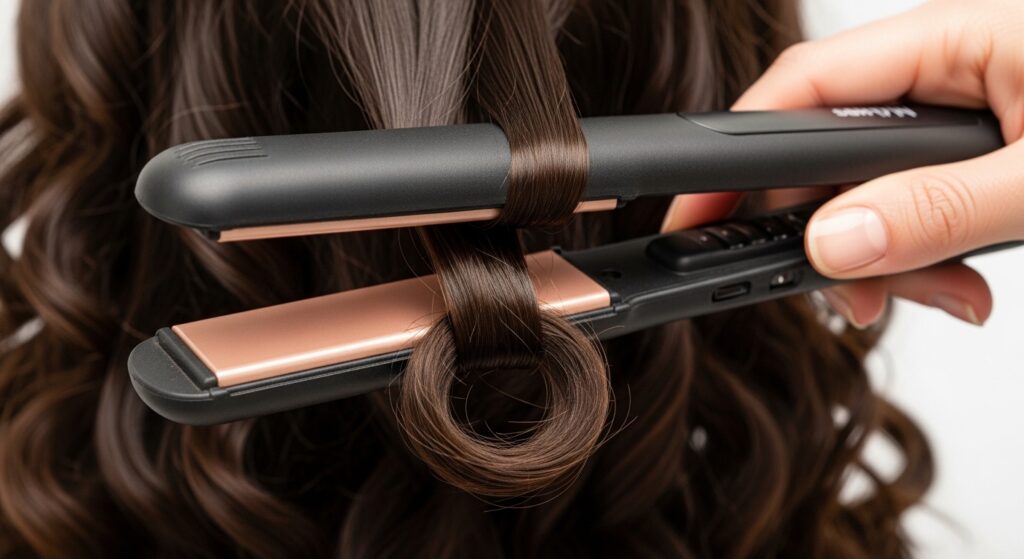
3. Spiral Curls
Yes, you can create ringlets with a flat iron! Start with a small section of hair. Place the iron near the root, clamp, and then slowly spin the iron while simultaneously pulling it downward. It requires a bit of coordination, but the spiral effect is stunning and uniform. For a more romantic look, brush out the curls once cooled for soft, voluminous waves.
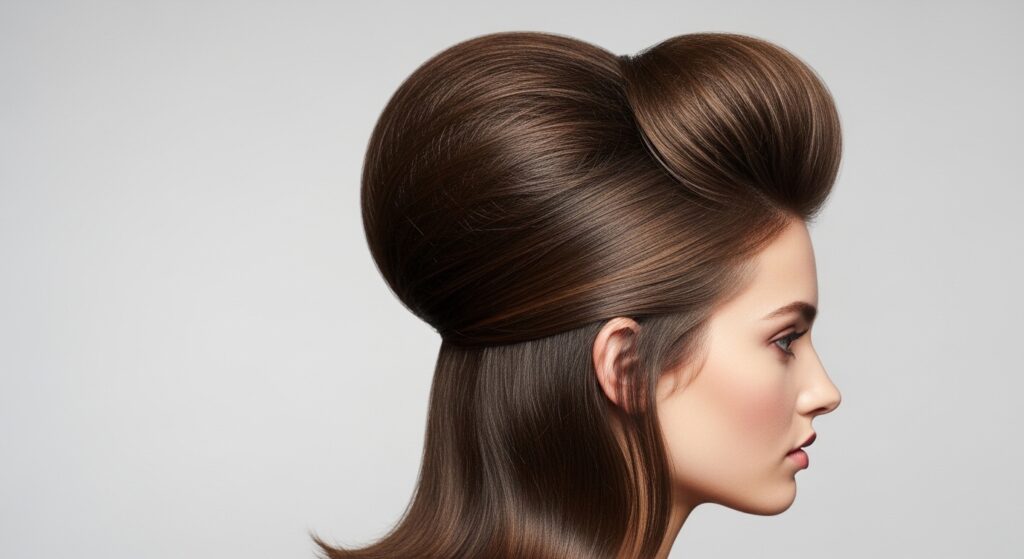
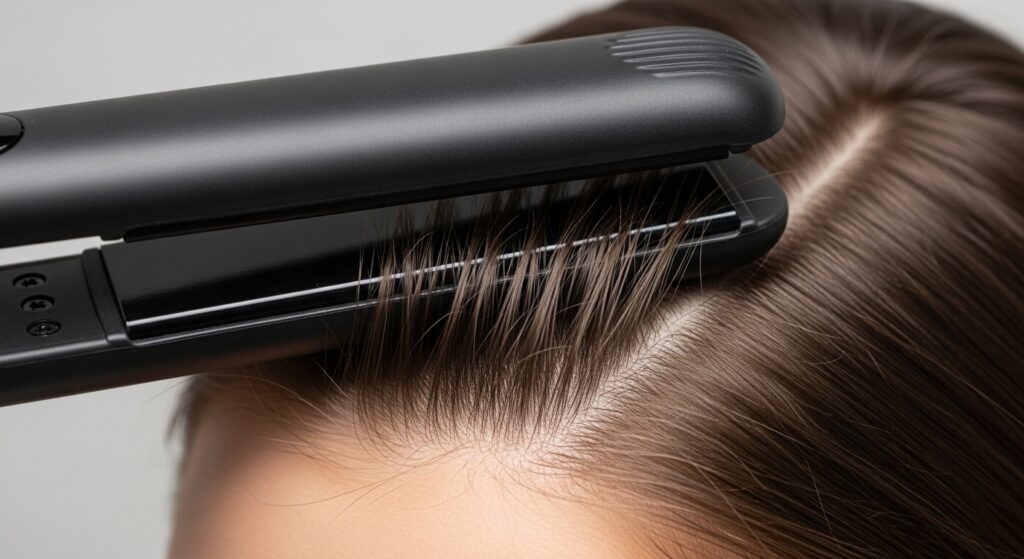
4. Volume-Boosting Root Lift
Flat irons are secret weapons for root volume. Take a vertical section at the crown. Clamp the iron as close to the root as safely possible, then push the iron upward, lifting the root away from your scalp, and hold for a few seconds before gliding down. This creates an instant lift that lasts, far more effective than many round-brush techniques for fine hair.
5. The S-Wave (Crimping 2.0)
Modern crimping is subtle and chic. Create a soft “S” pattern by clamping the iron and bending it inward, then moving down an inch, clamping again, and bending it outward. Repeat this alternating pattern down the section. When you brush it out, you get a gorgeous, textured wave with incredible volume, perfect for festival hair or adding body to limp strands.
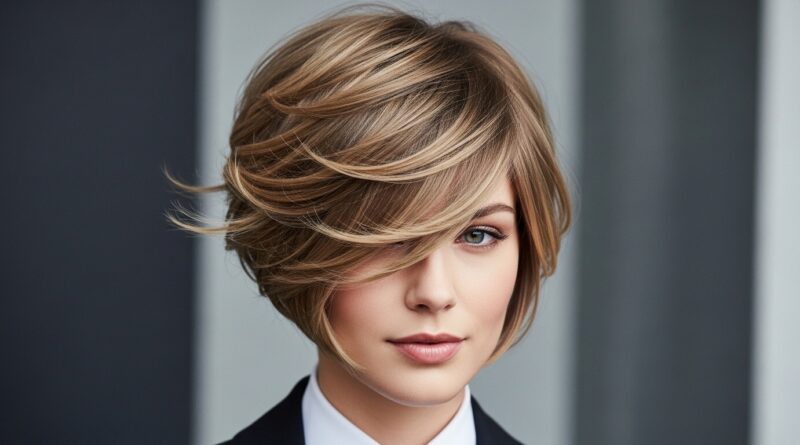
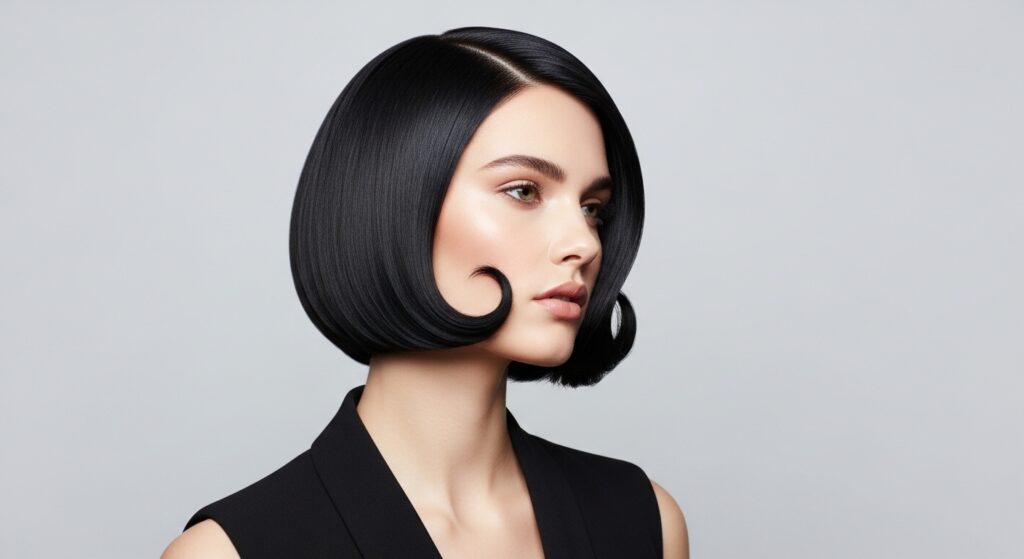
6. Flipped-Under Bob
This technique is a game-changer for bob or lob haircuts. Style your hair as usual, but for the final layer around your face, use the flat iron to curl the ends under consistently and sharply. This creates a clean, graphic, and sophisticated line that frames the face beautifully and adds a weighted, polished feel to the cut.
7. Face-Framing Tendrils
Elevate any updo or even straight hair by crafting deliberate face-framing pieces. Take two small sections near the front. Using the flat iron, curl one away from the face and the other toward the face for an asymmetrical, soft effect. You can create tight corkscrews or loose bends for a romantic, effortless look.
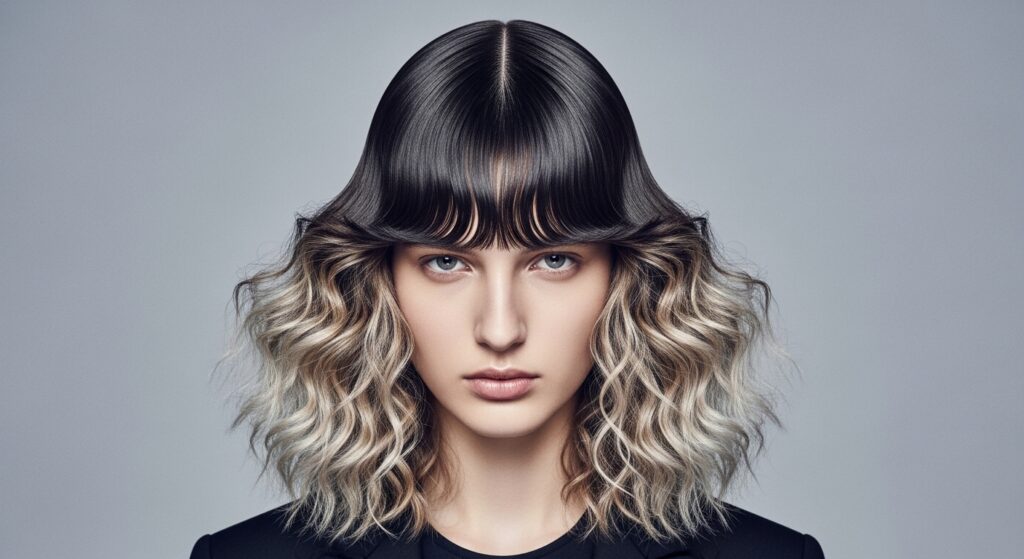
8. Straight-to-Crimped Ombre Effect
For a trendy, textured look, straighten the top half of your hair as normal. Then, on the bottom half (or just the underlayers), use the S-wave or a quick crimping technique. When you shake your hair out, you get a beautiful contrast between sleek and textured, adding depth and edge without committing to full-on crimping.
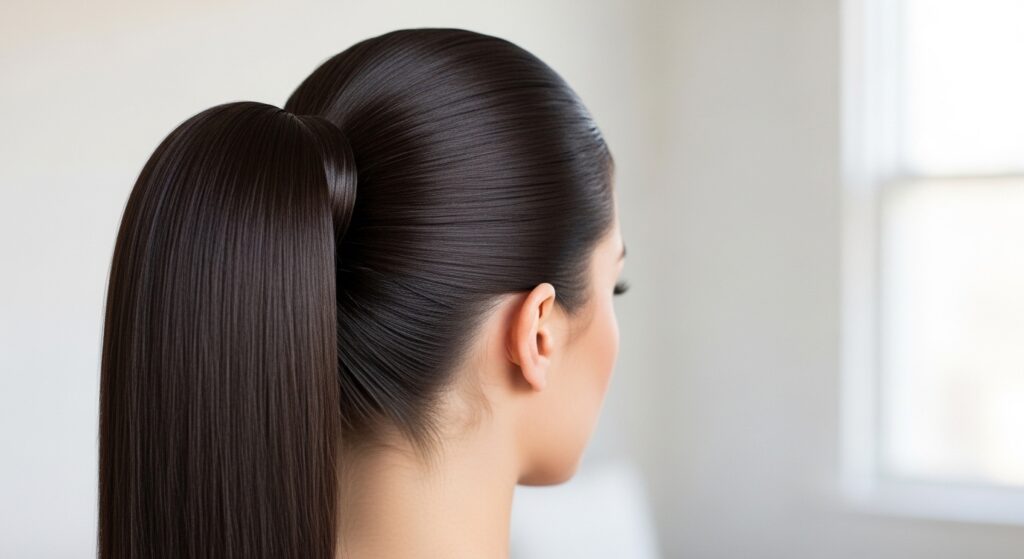
9. Polished Ponytail Prep
The secret to a red-carpet ponytail is perfectly smoothed hair with hidden volume. Before gathering your hair, use the flat iron to straighten thoroughly. Then, use the root-lift technique at the crown. Finally, for a seamless look, run the iron over the surface hair that will form the ponytail’s outer layer to eliminate any bumps or flyaways.
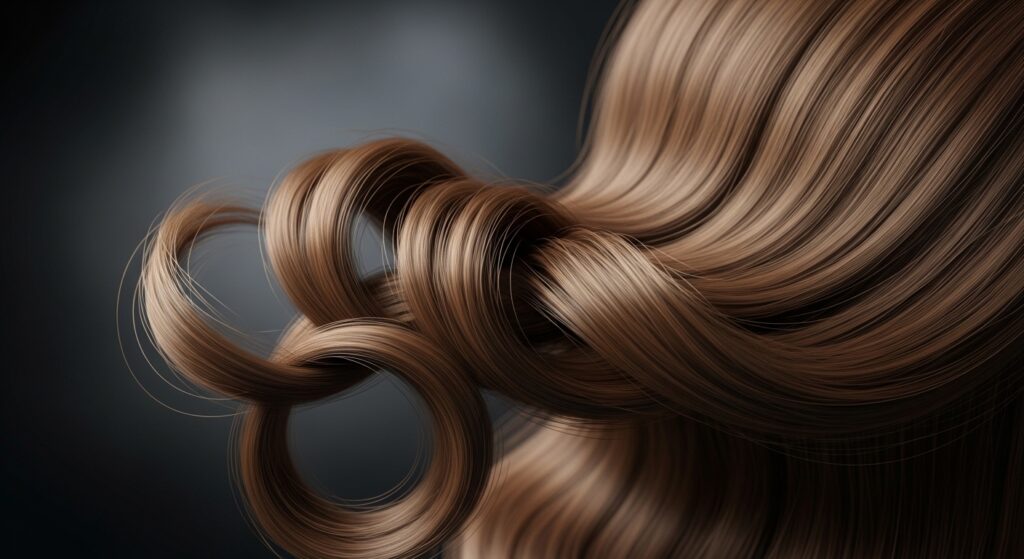
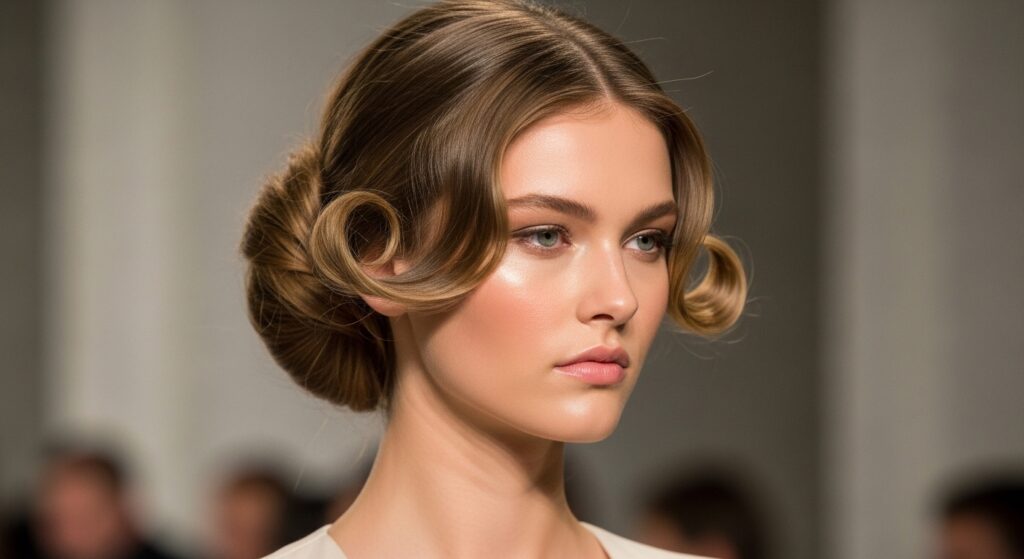
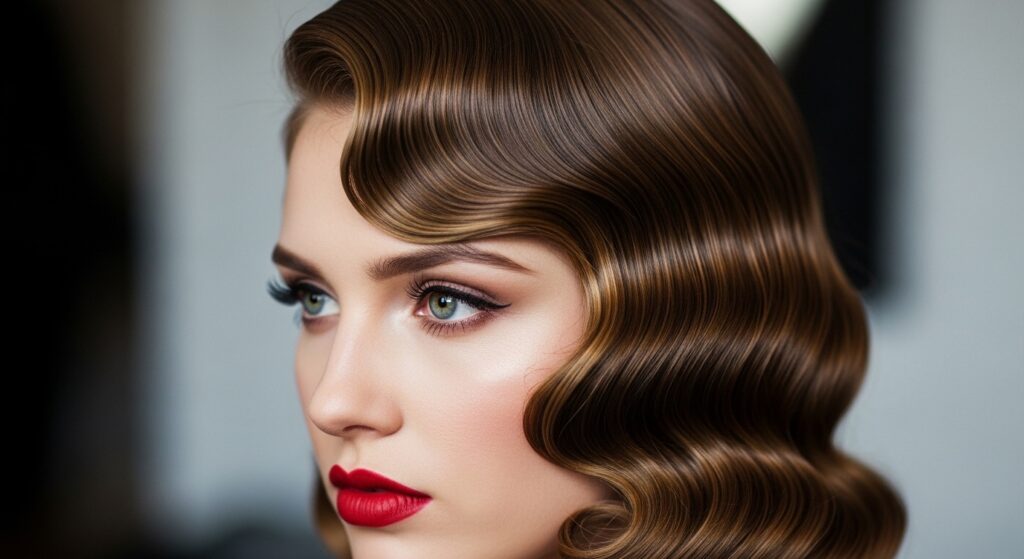
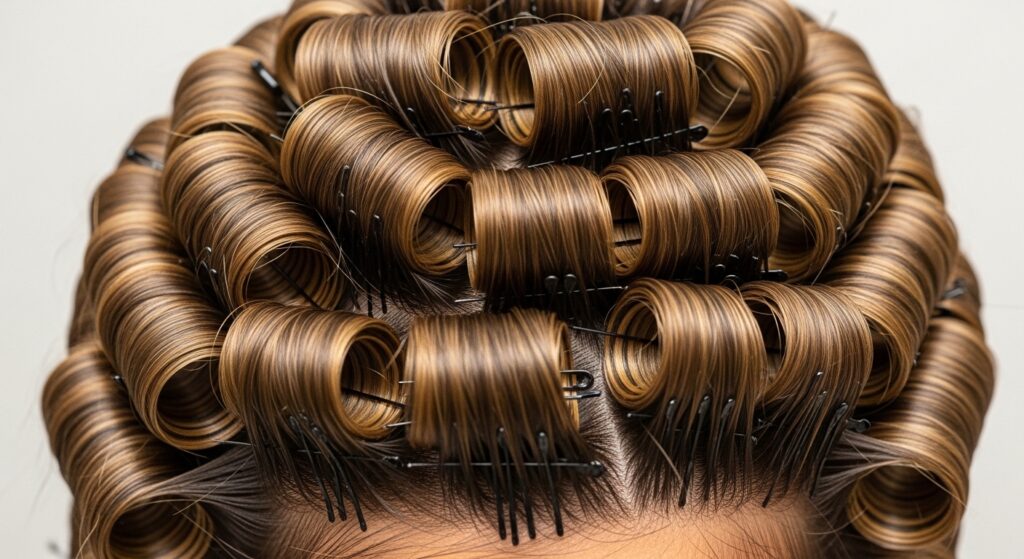
10. Vintage Pin-Curl Waves
Create authentic-looking vintage waves by forming the wave shape with the iron. Clamp a section and bend the iron to form a “C” shape, hold, and release without pulling. Alternate the direction of the “C” on adjacent sections. Set with pins while cool and spray for a hold that would make Old Hollywood proud.
11. Taming Frizzy Flyaways
Use the flat iron as a precision tool. Set it to a lower heat setting. For those stubborn baby hairs and flyaways around the hairline, clamp the iron lightly and gently roll it under or over to blend the shorter hairs into the longer ones. This is more effective and longer-lasting than using hairspray on a toothbrush.
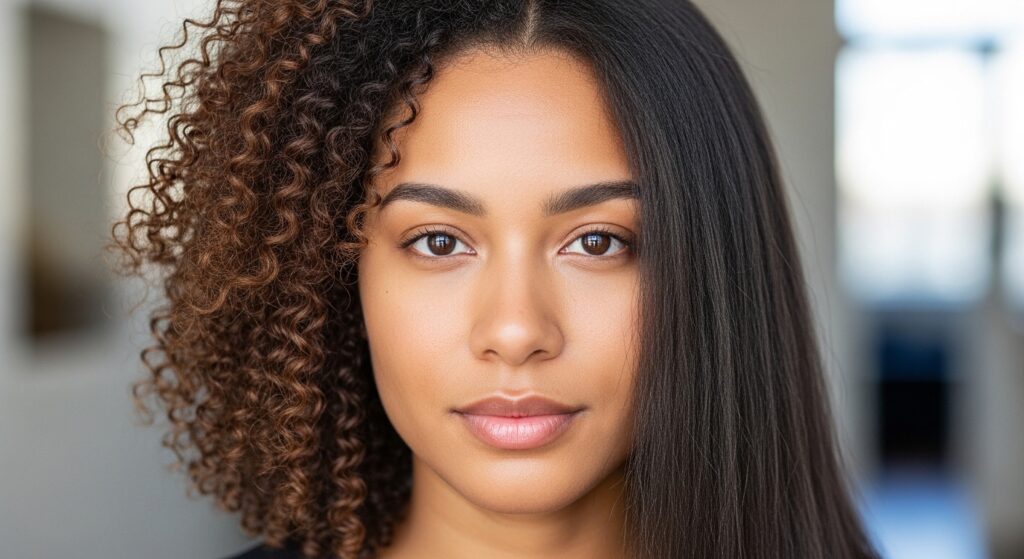
12. Curly Hair Smoothing (Not Straightening)
For curly-haired individuals wanting definition without losing their shape, use a technique called “pulsing.” On low heat, take a small curl clump, clamp the iron lightly at the mid-lengths, and gently squeeze and release (pulse) as you move down, following the curl’s natural pattern. This reduces frizz and enhances the curl without making it straight.
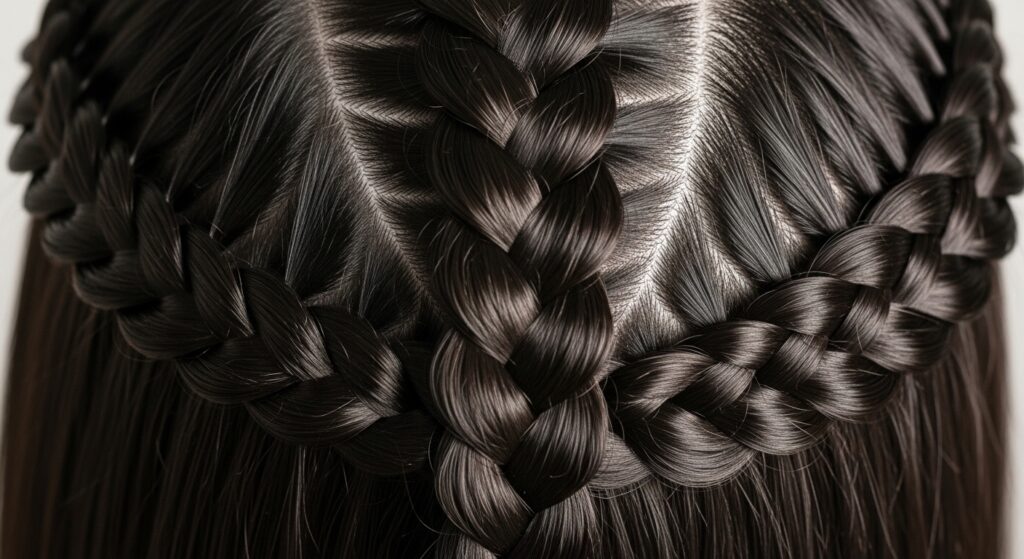
13. Braid Enhancement
Flat iron your hair before braiding for a sleeker, more defined braid (like a Dutch or French braid). Alternatively, for a bohemian look, braid your hair loosely while slightly textured, then the next day, unravel the braid and use the flat iron to smooth and define only the outer edges of the wave pattern for a piecey, artistic finish.
14. Creating a Faux Blunt Cut
Growing out layers or a haircut but miss a blunt hemline? Straighten your hair completely. Then, gather all your hair at the back as if making a low ponytail. Clamp the flat iron horizontally across all the ends at once and press gently. This seals and aligns all the ends together, creating a perfect, temporary blunt line.

15. Piecey, Textured Ends
For an edgy, modern look, avoid uniform smoothness. After styling, take random, small vertical sections from the bottom layers. Twist each section lightly and run the flat iron over the twist, focusing on the last inch. This creates intentional, separated pieces with a slightly bent end, adding movement and attitude.
16. Quick Updo Curls
Need to curl your hair for an updo fast? This is the fastest method. Wrap medium sections of hair around the outside of the hot flat iron plates (like a curling ribbon around a scissors blade). Hold for 5-8 seconds and release. It creates tight, uniform curls perfect for pinning into chignons or bun styles.
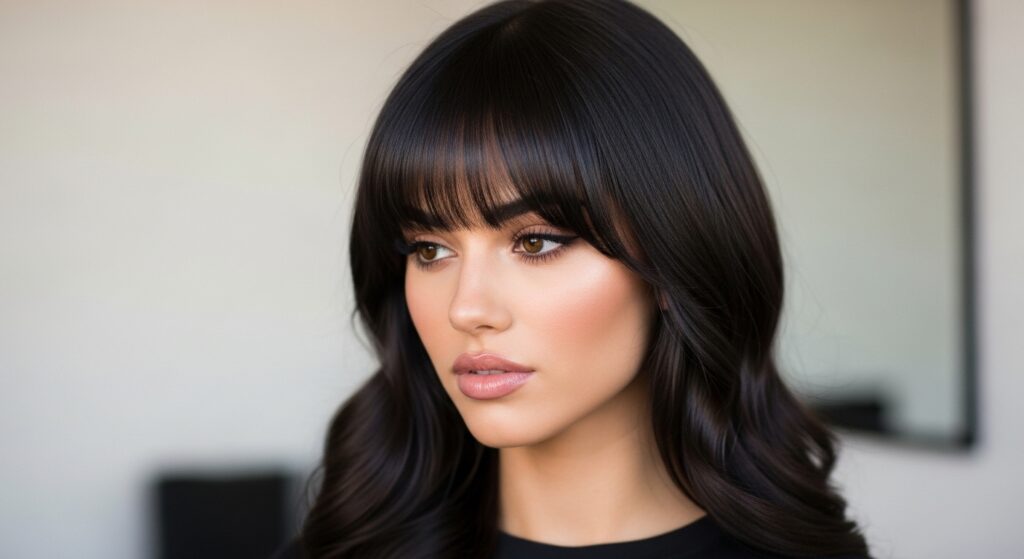
17. Smoothing Fringe/Bangs
Bangs require a specific technique to avoid a flat, triangular shape. Use a small, narrow iron. Start at the root, pull slightly forward to create lift, then curve the iron direction (under or over) as you slide down to the ends. This creates a smooth, shaped fringe that integrates with the rest of your style.
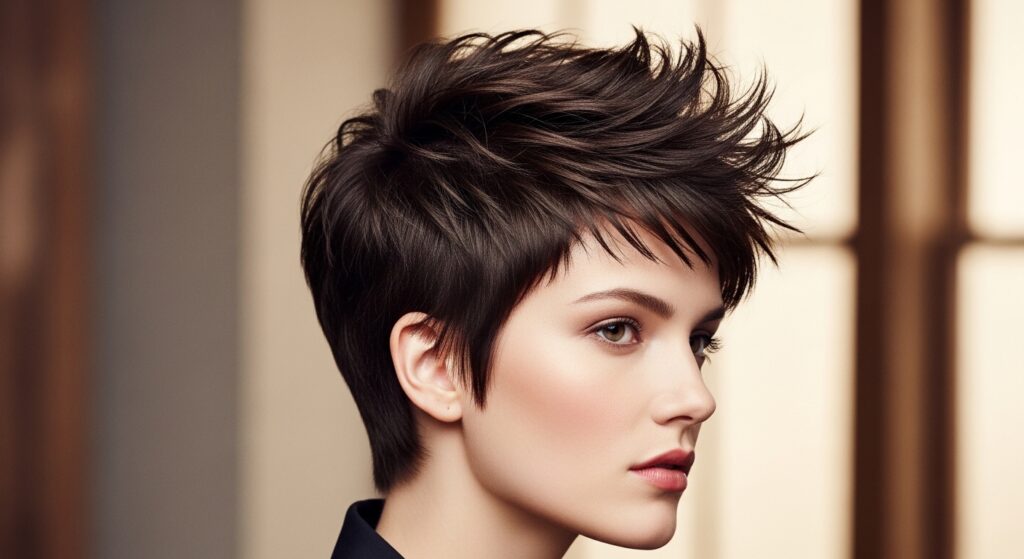
18. The “Bend” for Short Hair
For pixie cuts or short bobs, adding a bend is everything. Take horizontal sections and use the flat iron to create a gentle bend outward or inward. This adds dimension, direction, and personality to short styles, making them look styled rather than just cut.
19. Heatless Wave Set-Up
Use your flat iron to create a heat-set base for longer-lasting heatless waves. Create tight, flat-iron spirals (as in technique #3). Let them cool completely, then braid your hair loosely or put it in a bun. Sleep on it. The next day, you’ll have soft, resilient waves set by heat but perfected without additional heat.
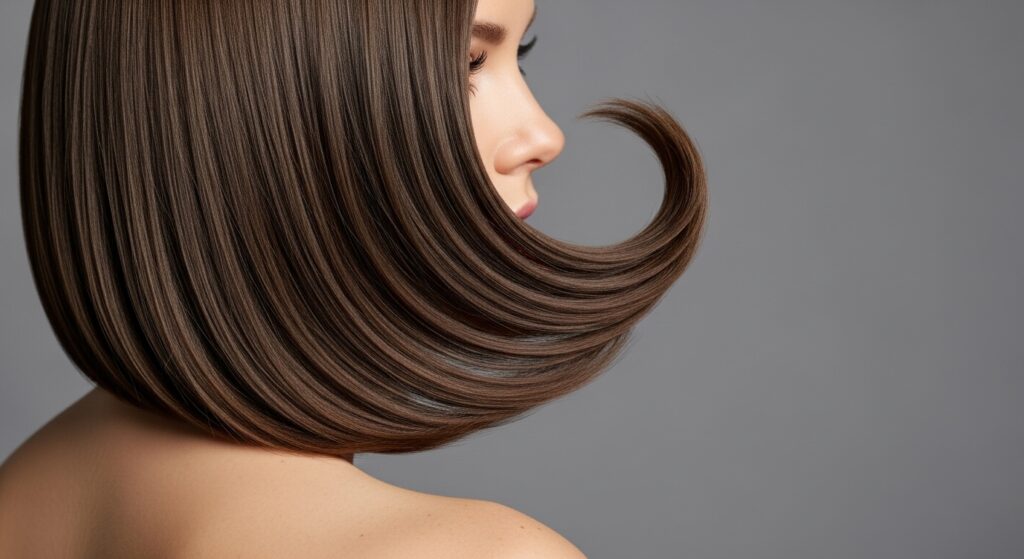
20. Polishing Final Pass
No matter what technique you use, the final pro step is to run the flat iron on a low temperature over the top layer of your hair in slow, deliberate strokes. This step polishes the cuticle, adds incredible shine, and flattens any remaining flyaways, giving you that salon-finished look.
Unlock Your Styling Potential
Your flat iron is no longer just a straightening tool—it’s a curling wand, a volumizer, a texture creator, and a finishing expert all in one. Mastering these 20 flat iron techniques requires practice, but each one opens a new door to styling freedom. Remember to always use a heat protectant and adjust your iron’s temperature based on your hair’s thickness and health. Now, go ahead, plug in that iron, and start experimenting. Your next signature hairstyle is waiting to be discovered.