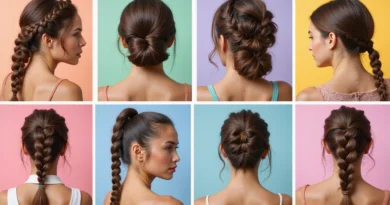
21 Ecaille Color Methods for Organic-Looking Highlights
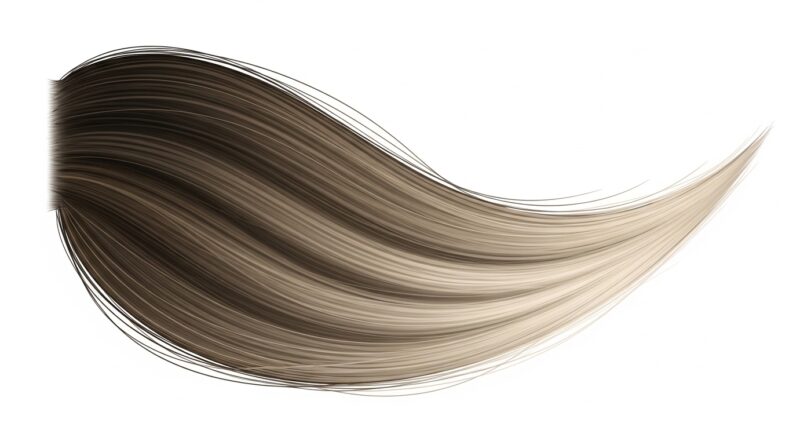
In the world of hair color, few trends possess the enduring elegance and natural beauty of ecaille. Derived from the French word for “tortoiseshell,” ecaille color is the art of creating a multi-dimensional, seamless blend of warm and cool tones that mimics the way sunlight naturally plays on hair. It’s the antidote to flat, uniform color and harsh, stripey highlights. The goal is a soft, diffused, and utterly organic look that grows out gracefully and enhances your client’s natural features.
The Foundation: Understanding Ecaille Color Philosophy
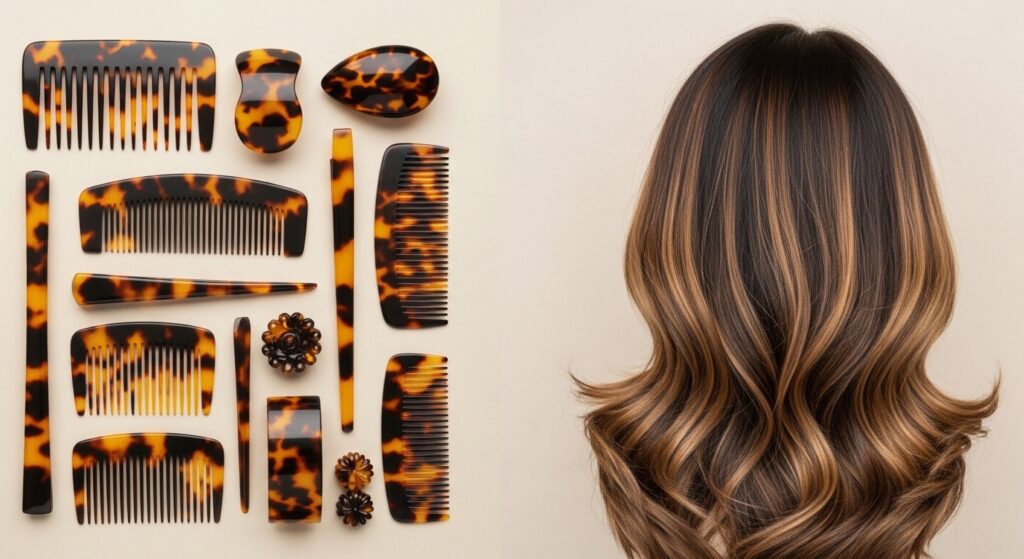
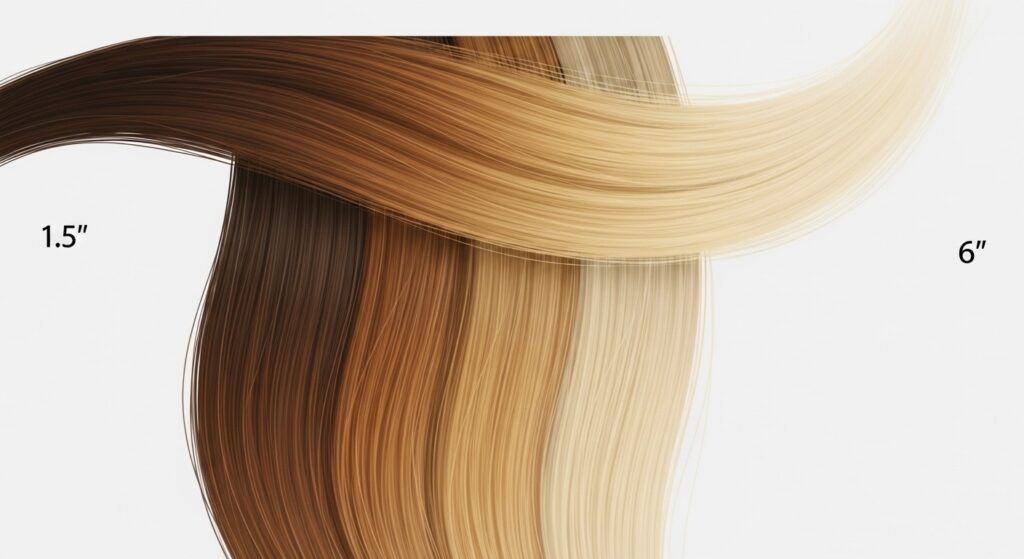
Before diving into the methods, it’s crucial to understand the philosophy behind ecaille. This isn’t about placing highlights; it’s about strategically placing light and shadow. Think of a tortoiseshell comb: it’s not one color, but a rich tapestry of honey, caramel, amber, and chocolate, all melting into one another without clear lines of demarcation.
Ecaille color replicates this by using a minimum of three to four carefully selected shades within the same tonal family. The placement is focused on the mid-lengths and ends, with a softer, slightly darker root that creates a natural regrowth effect. The contrast is low, the blend is impeccable, and the overall impression is one of health, dimension, and effortless beauty.
Section 1: Classic Application Methods for Ecaille Effects
These foundational techniques form the backbone of ecaille coloring. They are about how you physically apply the color to the hair to create that signature blend.
1. Balayage for Ecaille: The quintessential hand-painting method. Paint on a mix of lighteners in varying strengths and placements, concentrating on the mid-shaft and tips, leaving the roots mostly untouched for a soft, lived-in base.
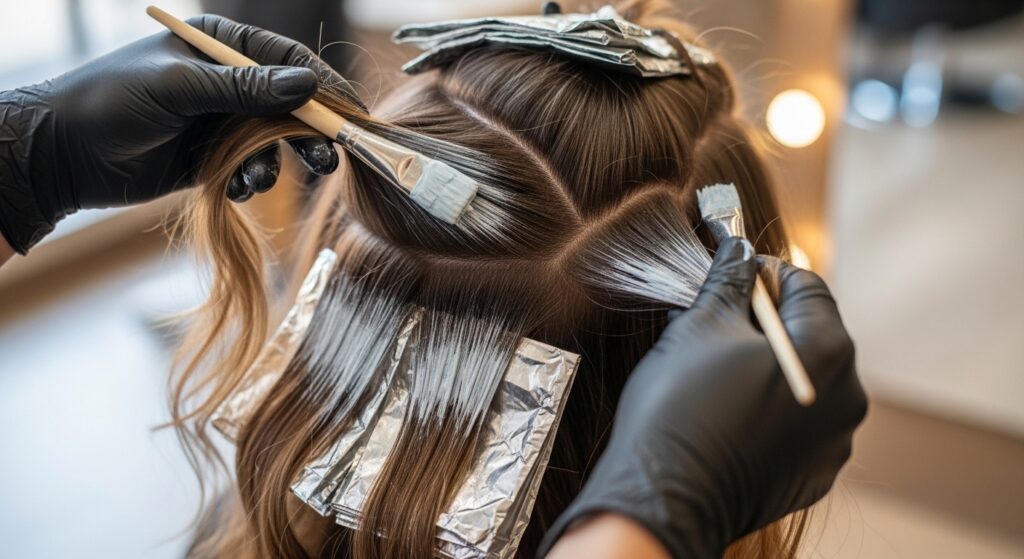
2. Foilyage: A hybrid of balayage and foils. Paint the color onto the hair in a balayage style, then gently wrap the section in a foil. This allows for more controlled lightening and better saturation on thicker hair without compromising the softness of the application.
3. Babylights Throughout: Use ultra-fine, delicate foils around the entire head. This creates a super-fine, all-over brightness that mimics the subtle highlights of a child’s hair, perfect for building a luminous base for ecaille tones.
4. Teasy Lights: Backcomb the root of a subsection before applying color to the mid-lengths and ends. This creates a profoundly soft, diffused root that eliminates any harsh lines, essential for the organic ecaille grow-out.
5. Color Melting: This is often the final, crucial step. Apply multiple gloss or toner shades in succession on the same hair section—typically from darker at the root to lighter at the end—and let them blend (“melt”) together for a seamless, multi-tonal finish.
Section 2: Placement Strategies for Dimension
Where you place the color is just as important as how you apply it. These strategies focus on sectional planning to achieve maximum, natural-looking dimension.
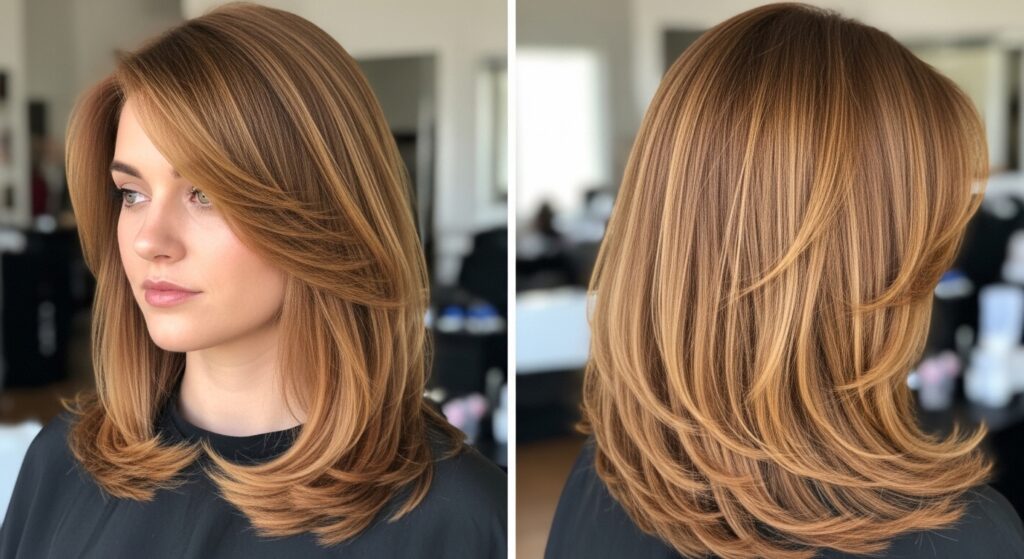
6. Face-Framing Ecaille: Concentrate the lightest, warmest pieces around the face, blending them back into deeper, richer tones. This illuminates the complexion and creates a focal point.
7. Mid-Length & End Focus: Direct the majority of your lightening effort to the mid-lengths and ends, treating them as the “canvas” for the tortoiseshell effect, while the roots remain a supporting, shadowy depth.
8. “Money Piece” Integration: A stronger, statement highlight at the front can be part of an ecaille look if it’s properly blended. Ensure it graduates softly into the surrounding, more subtle ecaille tones.
9. Horizontal Section Painting: Work in horizontal (rather than vertical) sections when painting. This allows for more natural, sun-kissed placement that follows the hair’s fall, preventing an artificial “striped” look.
10. Root Stretching/Smudging: After applying your ecaille gloss or toner, manually smudge a slightly darker shade at the root area with a brush to create an even more gradual transition from the natural root color.
Section 3: Toning & Glossing Techniques for the Perfect Blend
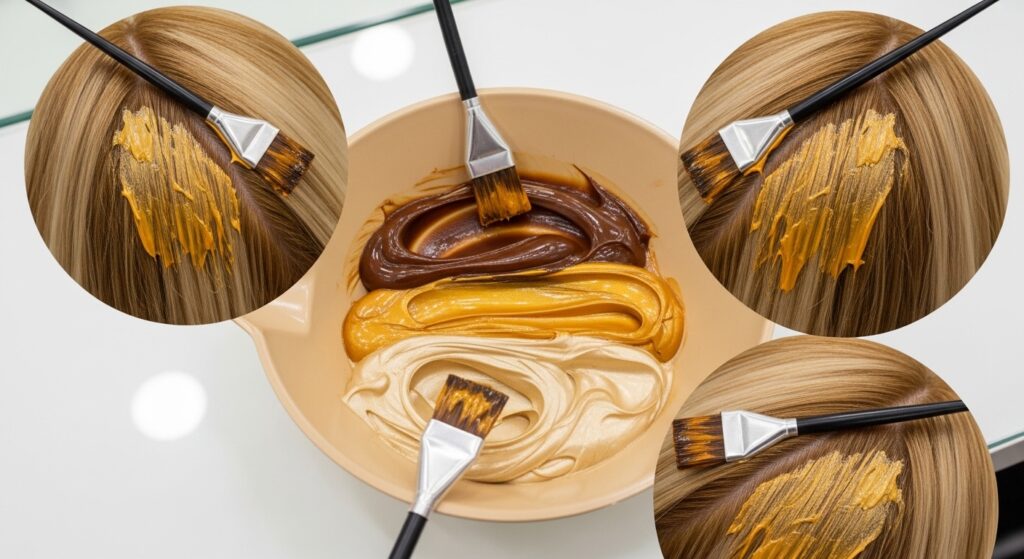
The magic of ecaille happens in the toner bowl. This is where separate highlights become a cohesive, multi-faceted masterpiece.
11. Multi-Tone Glossing: Apply 2-3 different toner shades to different zones of the hair in the same session. For example, a neutral beige on the pre-lightened roots, a golden caramel on the mid-lengths, and a honey blonde on the ends.
12. The “Sandwich” Gloss: Apply a darker toner to the root area, a lighter one to the ends, and then quickly blend them together in the middle by overlapping your brush strokes, creating a perfect melt.
13. Ecaille with a Shadow Root: Intentionally apply a demi-permanent color 1-2 shades darker than the natural root at the base to enhance depth and make the ecaille colors pop, while ensuring a no-line grow-out.
14. Dual-Process Toning: Tone the entire head with a primary shade first, then go back in and selectively paint a secondary, contrasting tone (like a warm gold over a beige base) on random pieces for added complexity.
15. Using Semi-Permanent Color for Sheer Layers: Incorporate direct dyes or sheer semi-permanent colors in copper, rose gold, or ash over your toned base to add a temporary, translucent layer of color that mimics tortoiseshell’s iridescence.
Section 4: Advanced & Textural Methods
For the stylist ready to push creative boundaries, these methods add texture and unique patterns to the ecaille concept.
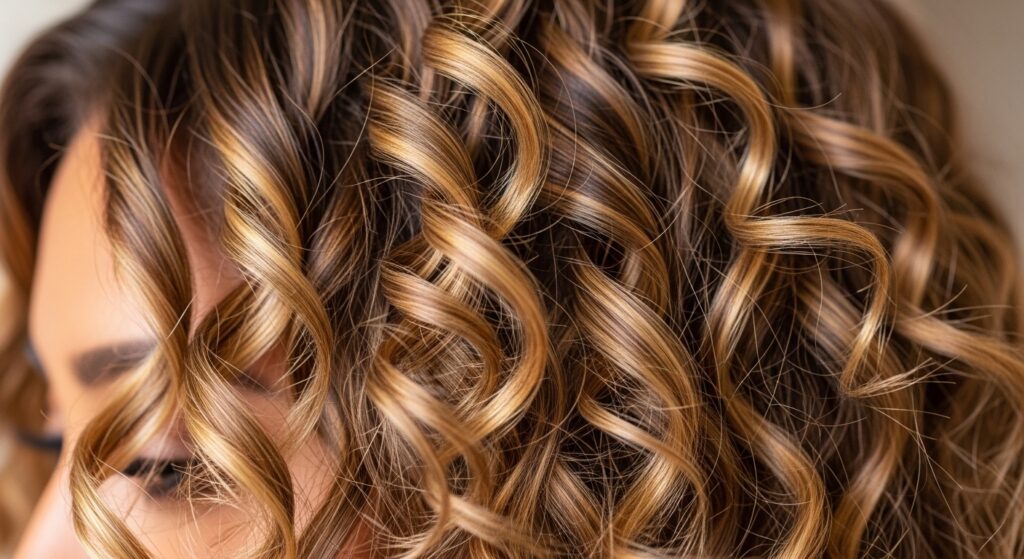
16. Ecaille on Curly Hair: Adjust placement to follow the curl pattern. Highlight the peaks of curls and leave the valleys darker to create incredible, natural dimension that enhances the curl definition.
17. Ribboning: Paint thin, irregular “ribbons” of lightener throughout the hair, avoiding a uniform pattern. This creates a more organic, less predictable highlight placement that is core to the tortoiseshell aesthetic.
18. Lowlight Integration: Weave in subtle lowlights in shades of chocolate or mocha between your ecaille highlights to deepen the contrast and richness, replicating the dark flecks in a tortoiseshell.
19. Pixelated Highlights: Use a very small coloring brush to place tiny dots or “pixels” of lightener in a scattered pattern. When toned, this creates a micro-dimensional effect that catches the light incredibly.
20. Ecaille for Brunettes: Don’t reserve this for blondes! Use rich hues like chestnut, cinnamon, and amber to create a brunette ecaille that is deep, luminous, and full of movement.
21. The “Ecaille Bath”: As a final, unifying step, mix a very sheer, warm gloss and apply it from roots to ends on all hair. This washes the entire creation in a unifying, golden light, tying all the separate tones together.
Bringing It All Together: Your Ecaille Color Roadmap
Mastering these 21 methods is about building a toolkit, not using every tool on every client. Assessment is key. Analyze your client’s base color, hair texture, cut, and personal style. A fine-haired client may benefit from Babylights and a subtle Ecaille Bath, while a thick-maned brunette might need the power of Foilyage and Lowlight Integration.
Always start with a clear vision and a customized color formula. Remember, ecaille is a soft art. It requires a feather-light touch, a keen eye for detail, and the patience to let colors melt and marry. The result—hair that looks naturally luminous, healthy, and effortlessly chic—is worth every meticulous step.
Embrace the philosophy of ecaille: celebrate dimension, worship softness, and create color that looks like it was born from the sun itself.