21 Mousse Application Techniques That Don’t Make Hair Crunchy
For decades, hair mousse has been haunted by a single, unfortunate reputation: the crunch. Many of us recall the stiff, helmet-like hair of the 80s and 90s and have since relegated mousse to the back of the bathroom cabinet, fearing a repeat performance. But here’s the truth the beauty industry doesn’t shout about: crunchy hair isn’t the mousse’s fault—it’s how we apply it.
The Foundation: Pre-Application Rules for a Soft Finish
Success begins before the mousse even touches your hair. These foundational steps set the stage for a flawless, crunch-free result.
1. The Dampness Dial: Application on soaking wet hair dilutes the product, leading to weaker hold and potential frizz. Applying to completely dry hair concentrates it, causing crunch. The sweet spot? Towel-dried, damp hair. Gently squeeze out excess water with a microfiber towel so your hair is moist but not dripping.
2. Shake and Dispense Wisely: Always shake the can vigorously. This mixes the propellant and formula for an even, consistent foam. For medium-length hair, start with a golf-ball-sized amount. You can always add more, but over-application is a primary crunch culprit.
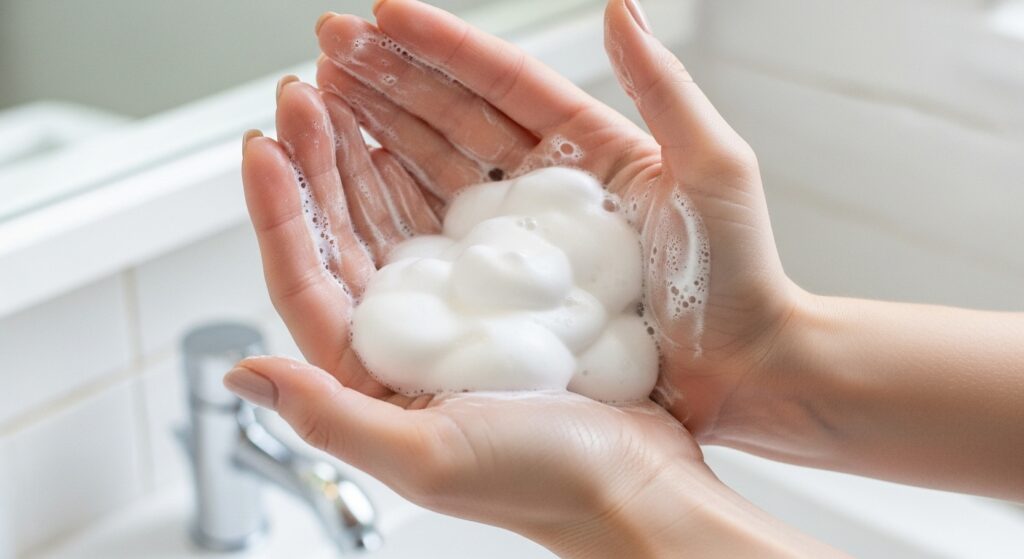
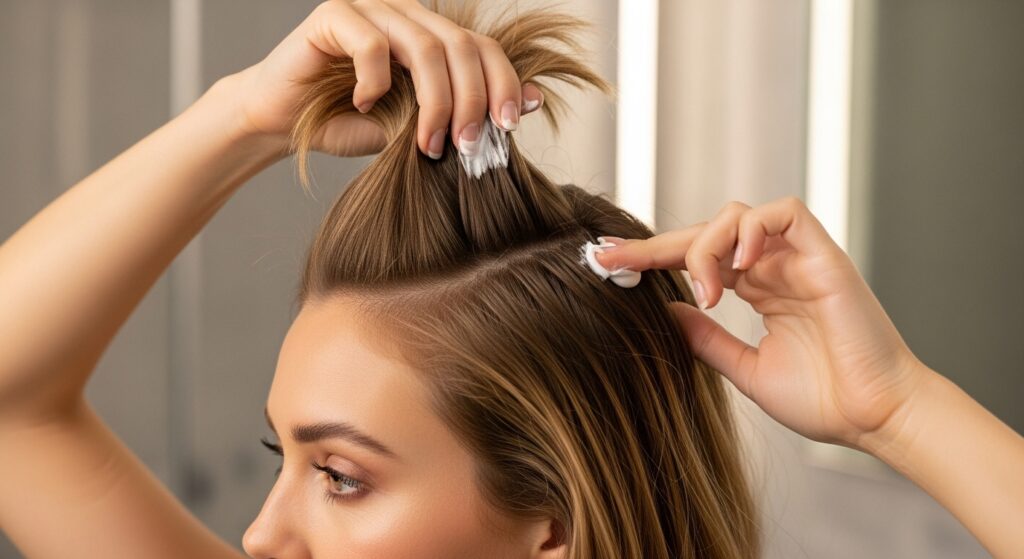
3. Emulsify in Your Hands: Never apply straight from the can to your head. Dispense the foam into your palm, then gently press your hands together to spread it evenly across both palms and fingers. This warms it slightly and prevents concentrated blobs of product.
Application Mastery: Techniques for Every Hair Type
This is where technique truly diverges. Your hair type and desired style dictate your application method.
For Volume and Lift (Fine/Straight Hair)
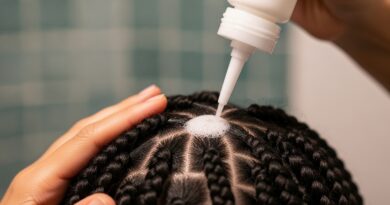
4. Root-Lift Glazing: With mousse on your fingertips, glide them down your part and other root sections, only coating the top layer of hair at the roots. This targets lift without weighing down the underlayers.
5. The “Upside-Down” Diffuse Prep: Apply mousse as usual, then flip your head upside down. Gently scrunch roots with your fingers before blow-drying. This creates natural, tousled volume at the crown.
6. Sectioned Root Boosting: For serious lift, part hair into 2-inch horizontal sections. Lightly apply a tiny amount of mousse directly to the root of each section with your fingertips before lifting with a round brush during the blow-dry.
For Curl Definition and Clumping (Wavy/Curly Hair)
7. The Raking and Shingling Method: With hair very damp, rake mousse through with fingers wide open to distribute. Then, take small sections and gently “shingle” by smoothing the mousse down the length of the curl from root to tip with a flat hand. This encourages beautiful curl clumps.
8. The Prayer Hands Smoother: Perfect for taming frizz. After raking, smooth larger sections of hair between two flat palms (like praying) from mid-lengths to ends. This coats the hair cuticle evenly without disrupting curl pattern.
9. Diluted Mousse for Refresh: Mix a ping-pong ball of mousse with 2-3 sprays of water in your hands. This creates a lighter foam perfect for refreshing second-day curls without buildup or crunch.

For Control and Frizz Taming (Thick/Coarse Hair)
10. Layering with Leave-In: Apply a light leave-in conditioner first. Then, apply mousse. This hydrating base prevents the mousse from over-drying and stiffening coarse strands.
11. The “Inside-Out” Technique: To ensure even distribution in dense hair, apply mousse to the underlayers first. Lift sections and smooth mousse onto the underside, then repeat on the top layers. This prevents a product-heavy top crust.
12. Focus on the Mid-Lengths and Ends: For sleek styles, apply mousse primarily from ears down. This weighs down just enough for control while keeping roots free for movement.

The Styling & Drying Secrets: Locking in Softness
How you dry your hair is just as critical as how you apply the mousse.
13. The Tension-Free Blow-Dry: When using a round brush, maintain gentle tension. Pulling too hard presses the mousse-coated hair into a hard, flat sheet as it dries, leading to stiffness.
14. Diffuse on Low Heat/High Speed: For curls and waves, use a diffuser on medium or low heat with high airflow. Hover the diffuser around the roots until 70% dry, then gently pixie diffuse (cupping curls) to finish. This prevents product from being “baked” into a cast.
15. The Cold Shot Seal: Always end your blow-dry or diffusing with 10-15 seconds of cold air. This helps set the style and close the cuticle, enhancing shine and softness.
16. Air-Dry Scrunching: If air-drying, apply mousse and scrunch gently. Then, do not touch until 100% dry. Once dry, gently scrunch again to break any microscopic cast. This is the “scrunch out the crunch” magic for the softest finish.

Pro Tips and Product Pairings
Elevate your mousse game with these expert combinations and tricks.
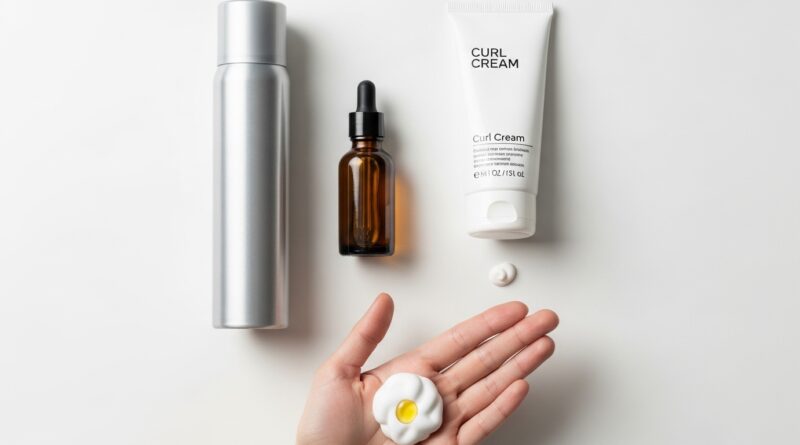
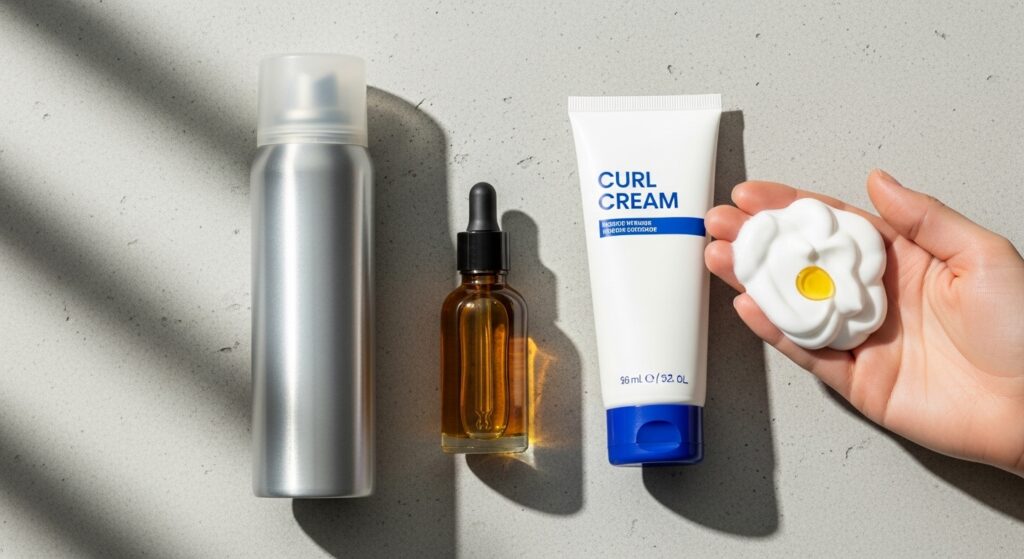
17. The Cocktail Combo: For ultimate soft hold, mix your palm-sized mousse with 1-2 drops of lightweight hair oil or a nickel-sized amount of curl cream before applying. This integrates softening agents directly into the hold formula.
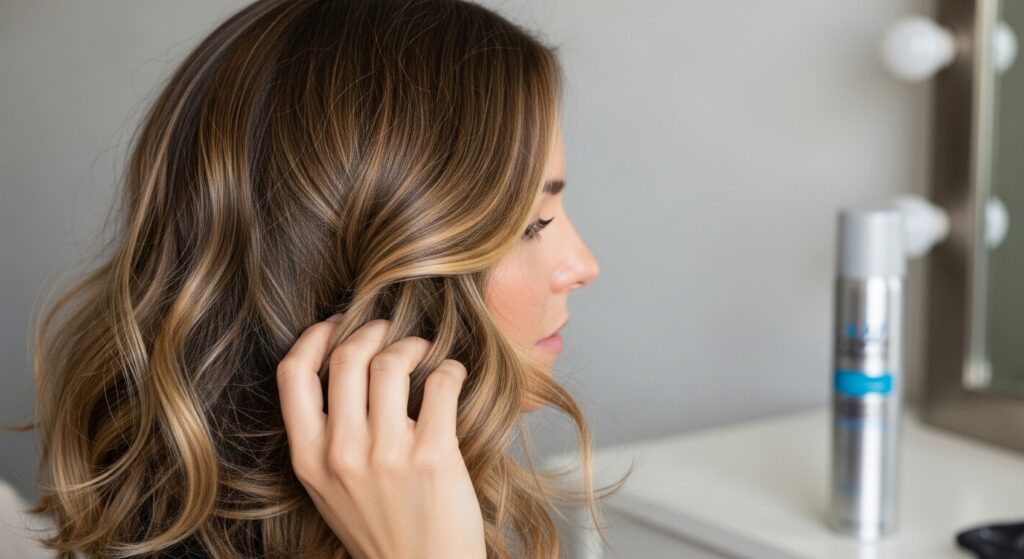
18. Pre-Styling with a Blow-Dry Spray: Apply a heat protectant/blow-dry spray before your mousse. The two products will work synergistically, often allowing you to use less mousse for the same hold.
19. Targeted Application for Updos: When creating braids or buns, apply mousse only to the sections you’ll be working with. This keeps the rest of your hair soft while providing grip where needed.
20. Refresh with Steam: If you feel a slight cast the next day, don’t add water. Lightly steam your hair by hovering a clothes steamer or standing in a humid bathroom, then scrunch. The moisture reactivates the mousse gently for a second-day style.
21. Choose the Right Mousse: Finally, read labels. Look for keywords like “flexible hold,” “soft touch,” “breathable,” and “weightless.” Avoid those that tout “maximum hold” or “ultimate control” if crunch is your fear.
Embrace the Fluffy, Not the Flaky
The journey to crunchy-free mousse mastery is one of unlearning old habits and embracing nuance. It’s about product distribution, strategic drying, and understanding that mousse is a team player, not a solo act. By shifting your approach from “plastering” to “glazing,” from “scrunching and forgetting” to “scrunching and reactivating,” you unlock a world of hold that respects your hair’s natural movement and softness.
So, rescue that can from the back of the cupboard. Experiment with these 21 techniques. Find the two or three that sing with your unique hair type. You’ll soon discover that a perfect, soft-hold mousse application is the secret to hair that looks done, but feels undone—the holy grail of styling we’re all chasing.