21 Twist-Out Techniques That Last for Days Without Losing Definition
Is there anything more frustrating than spending hours on a beautiful twist-out, only to have it lose its shape and definition by day two? You’re not alone. The quest for a twist-out that lasts is a common challenge in the natural hair community. But what if we told you that the secret isn’t just in the products you use, but in the techniques you employ from wash day to styling day?

The Foundation: Pre-Twist-Out Prep for Maximum Hold
Your twist-out’s longevity is determined long before you pick up your styling cream. It starts in the shower. A proper foundation ensures your hair is clean, balanced, and ready to hold a shape for days on end.
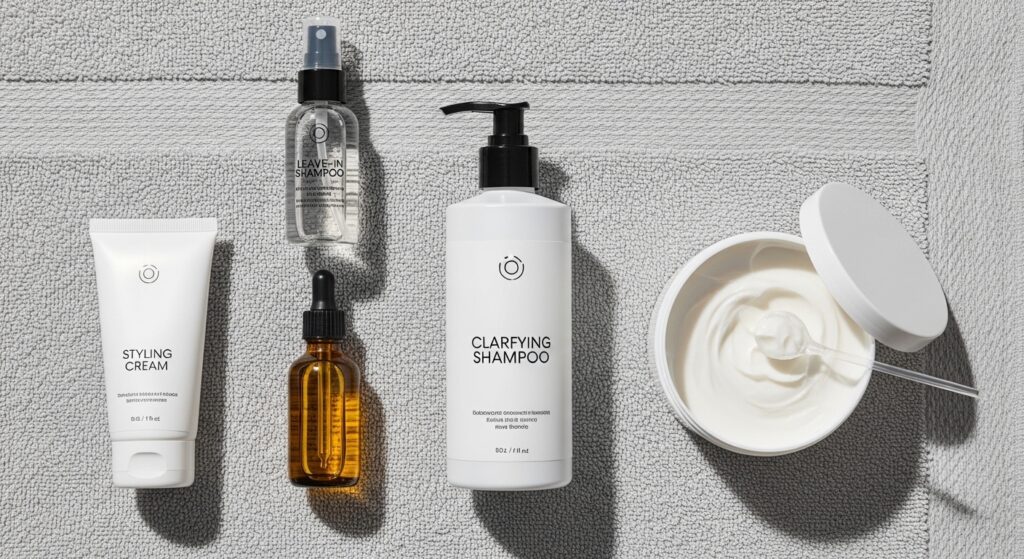
Start with a Clarifying Shampoo (Occasionally): Product buildup is the enemy of definition. Every 4-6 weeks, use a clarifying shampoo to remove all residue. This gives your stylers a clean slate to adhere to, ensuring they can perform at their peak.
Deep Condition with Protein-Moisture Balance: For lasting style, your hair needs strength and elasticity. Alternate between a moisturizing deep conditioner and a light protein treatment. The protein provides structure, helping your twists hold their form, while moisture prevents brittleness.
Detangle on Soaking Wet Hair: Never attempt to detangle on damp or dry hair before styling. Use a slippery conditioner and a wide-tooth comb or detangling brush on soaking wet hair. This minimizes breakage and ensures even product distribution from root to tip, which is critical for uniform definition.
The L.O.C./L.O.C.O. Method is Key: After washing, don’t just slap on a cream. Layer your leave-in conditioner (L), oil (O), and cream (C). For extra dry climates or hair types, add a final oil (O) seal. This layered approach locks in hydration, which keeps your hair from shrinking and frizzing prematurely.
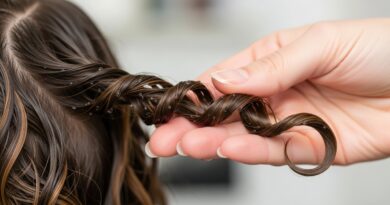
The Technique: Twisting for Unbeatable Definition
This is where the magic happens. How you section, part, and twist your hair directly impacts the final look and longevity of your style.
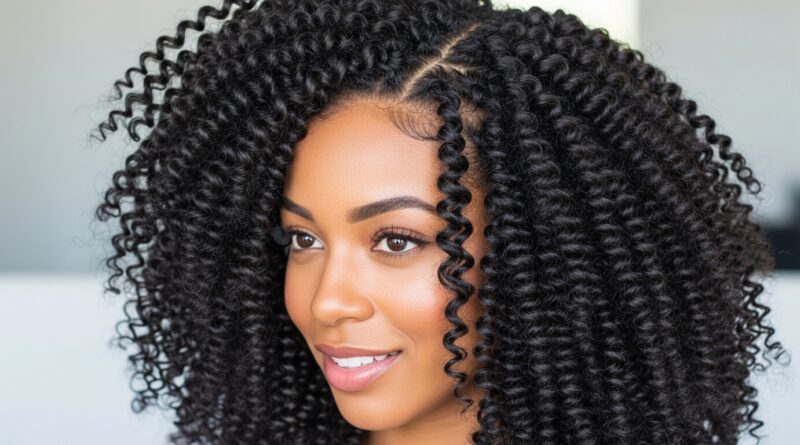
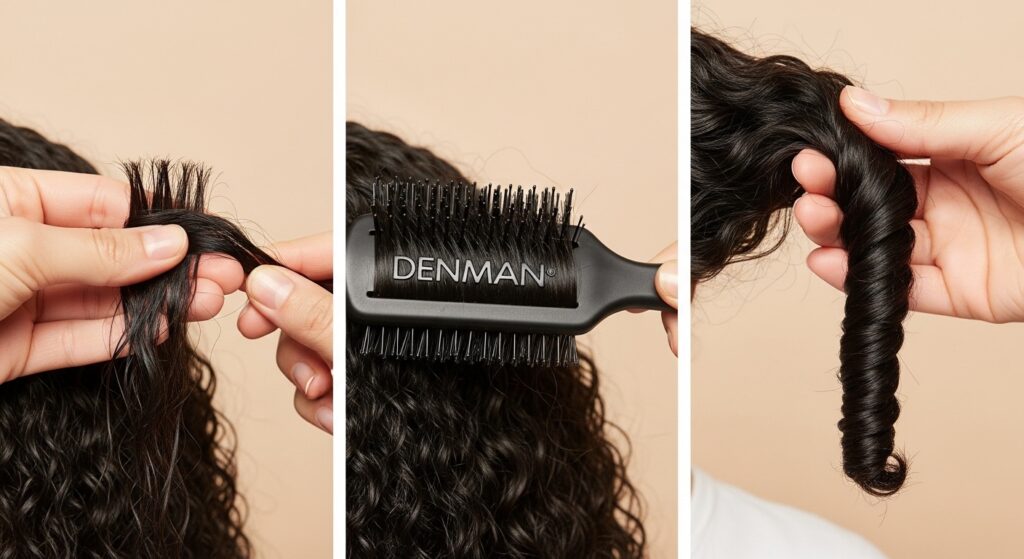
Smaller Sections for Tighter Definition: The smaller the twist section, the longer the style will last and the more defined the curl will be. While large sections are faster, they unravel quicker. For multi-day wear, medium to small twists are your best bet.
Two-Strand vs. Flat Twists: Two-strand twists give a more uniform, spiral curl pattern. Flat twists (like cornrows) create a flatter root and a different curl pattern at the end; they can also help with scalp tension. Consider flat twisting the perimeter for a sleeker look.
The “Rope Twist” Method: Instead of simply twisting two sections together, twist each individual section before you twist them together. This creates a rope-like effect that significantly reduces frizz and interlocking, leading to a cleaner unravel.
Direction Matters: Twist Away from the Head: For maximum volume at the root, twist each section slightly away from your scalp, not tightly against it. This gives the curl room to breathe and expand without looking flat.
Seal the Ends Thoroughly: Frizz often starts at the ends. After applying your styler to the length of the hair, add a tiny dab more to the very ends and twist them between your fingers until they feel smooth and sealed.
Use a Denman Brush or Felicia Leatherwood Brush: For the sleekest, most defined twists, apply your cream, then use a defining brush to smooth each section from root to tip before twisting. This aligns the hair cuticles and eliminates any fuzziness within the twist itself.
Try the “Twist and Pin” Method: Once a twist is complete, gently coil it and pin it flat to your scalp with a bobby pin. This sets the twist in its final curled position as it dries, reducing the need for re-twisting later.
The Dry-Down: Patience is a Virtue
Rushing the drying process is the number one cause of a failed twist-out. Damp hair equals frizzy, undefined hair.
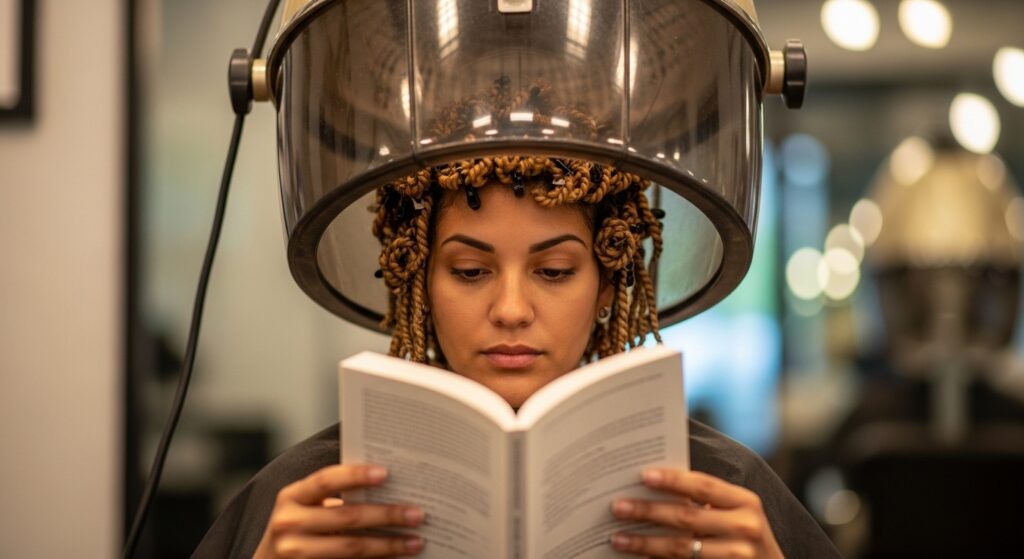
Air Dry for 80%, Then Use Diffused Heat: Let your twists air dry until they are about 80% dry—they should still feel cool to the touch but not wet. Then, use a hooded dryer or a diffuser on low heat and low speed to completely dry the roots and any remaining dampness. This method minimizes frizz.
The “Stretching” Method Under a Dryer: Sit under a hooded dryer for the full dry time. For even more stretch and length, you can sit with your twists pulled up into a loose ponytail or two high pigtails. The heat sets the style with maximum stretch.
Never Unravel Damp Hair: This cannot be stressed enough. Every single strand must be completely and utterly dry. Test a twist in the back—if the core feels cool or damp, keep drying.
The Grand Reveal: Unraveling & Styling for Longevity
How you take down your twists is just as important as how you put them in. A careful unraveling preserves the hard work you’ve just done.
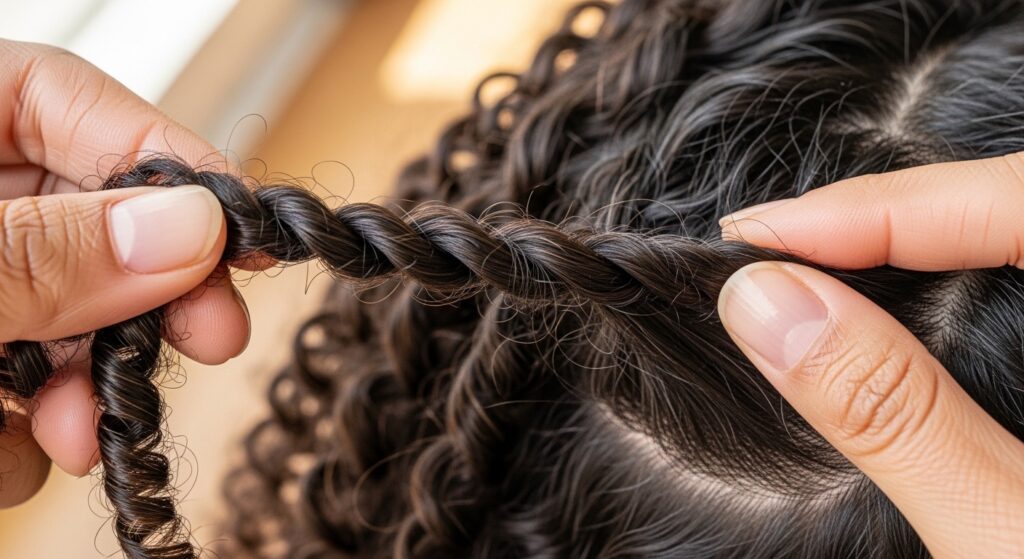
Unravel in the Opposite Direction: Don’t just pull the twist apart. Gently untwist it in the opposite direction you twisted it. This helps the curl pattern separate cleanly without forcing it.
Use a Light Oil to “Break the Cast”: If your stylers created a slight cast, rub a few drops of a light oil (like jojoba or argan) between your palms and gently glaze over your hair. This breaks the cast without creating frizz and adds shine.
Separate with Purpose: Use your fingers to gently separate the twists into larger curl clumps. Avoid raking or combing through your hair, as this will create volume at the expense of definition. For a fuller look, you can separate each twist into 2-3 sections.
Fluff from the Bottom Up: To add volume without destroying definition, flip your head over and gently fluff the roots with your fingertips. Then, turn your head side-to-side, lifting at the roots. Never fluff from the top down.
Nighttime Preservation: The Secret to Multi-Day Hair
Your nighttime routine is what bridges one great hair day into three or four. Neglect this, and you’ll be back to square one.
The Pineapple Method (For Longer Hair): Loosely gather all your hair at the very top of your head and secure with a satin scrunchie. This preserves the curls at the crown and prevents flattening.
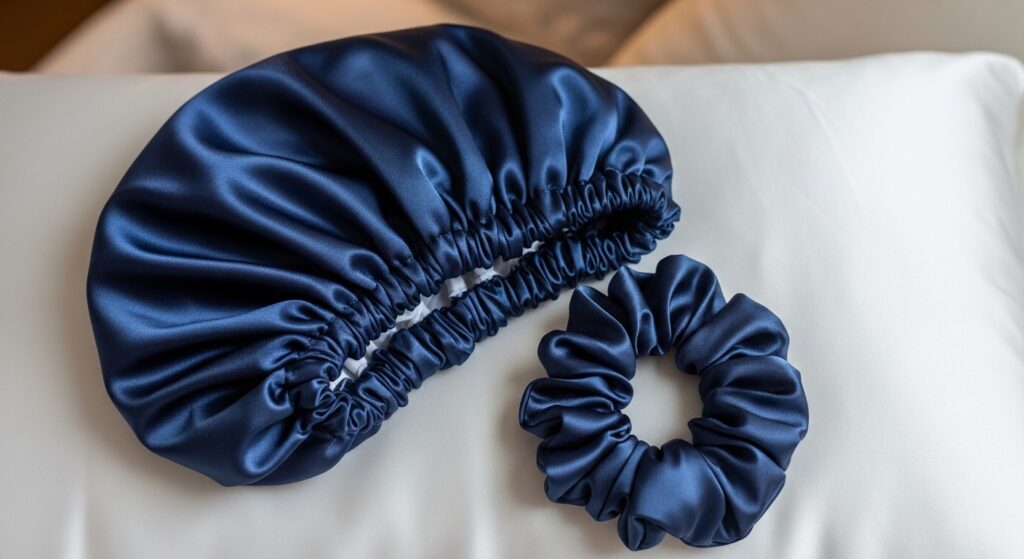
The Satin Bonnet or Pillowcase is Non-Negotiable: Cotton causes friction and sucks moisture. A satin or silk bonnet and/or pillowcase allows your hair to glide as you sleep, minimizing frizz and preserving curl pattern.
Re-Twist Key Sections: If you’re on day 3 or 4 and certain areas (like the nape or front edges) are getting loose, don’t re-twist your whole head. Just lightly dampen those sections with a mix of water and leave-in, add a tiny bit of cream, re-twist, and let them dry. This spot-fixes your style.
The “Medusa” or Loose Pineapple Method: For shorter hair or to preserve volume, create multiple loose pineapples around your head (like snake coils) and pin them, then cover with a large bonnet. This prevents smashing.
Revival & Refresh: Extending the Life of Your Style
Even with perfect preservation, your twist-out will eventually need a refresh. Here’s how to do it without starting over.
The Steam Refresh: In the shower, let the steam from hot water envelop your hair (without getting it wet). Afterwards, gently scrunch your curls. The moisture from the steam will reactivate your products and bring bounce back to your curls.
Targeted Spritzing: Mix water, a little leave-in conditioner, and oil in a spray bottle. Lightly mist areas that have lost definition, then gently smooth and reshape the curls with your fingers, allowing them to air dry.
Pineapple and Go: Sometimes, a simple re-pineappling overnight will redistribute your hair’s natural oils and allow the curls to spring back with a gentle morning shake-out.
Mastering a twist-out that lasts is a journey of understanding your hair’s unique needs and responding with thoughtful technique. It’s about the layered prep, the patient drying, and the gentle preservation. By incorporating even a handful of these 21 techniques into your routine, you’ll move from hoping your twist-out lasts to knowing it will. Your defined, glorious curls are waiting—and now, they’re built to last for days.