22 Flamboyage Placement Ideas for Painted-On Perfection
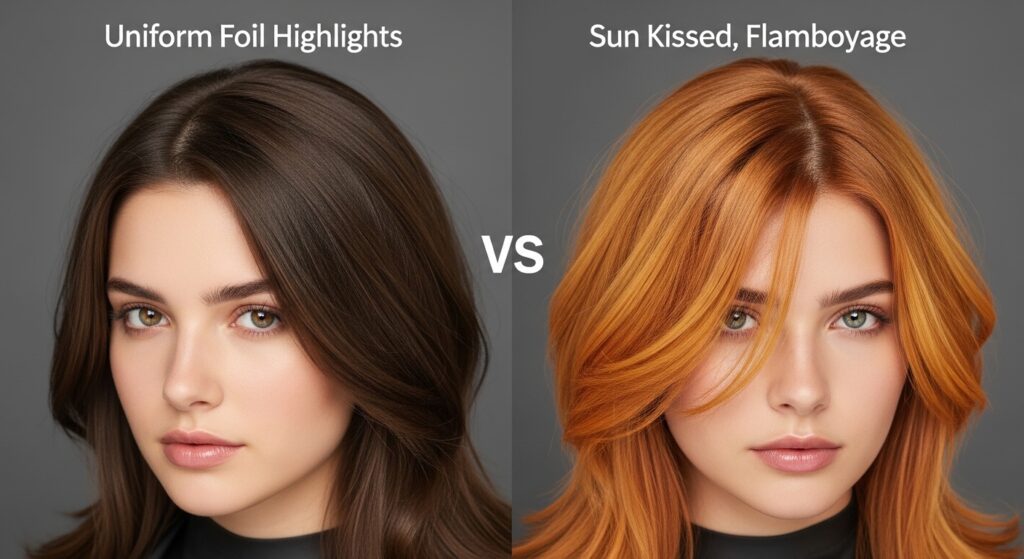
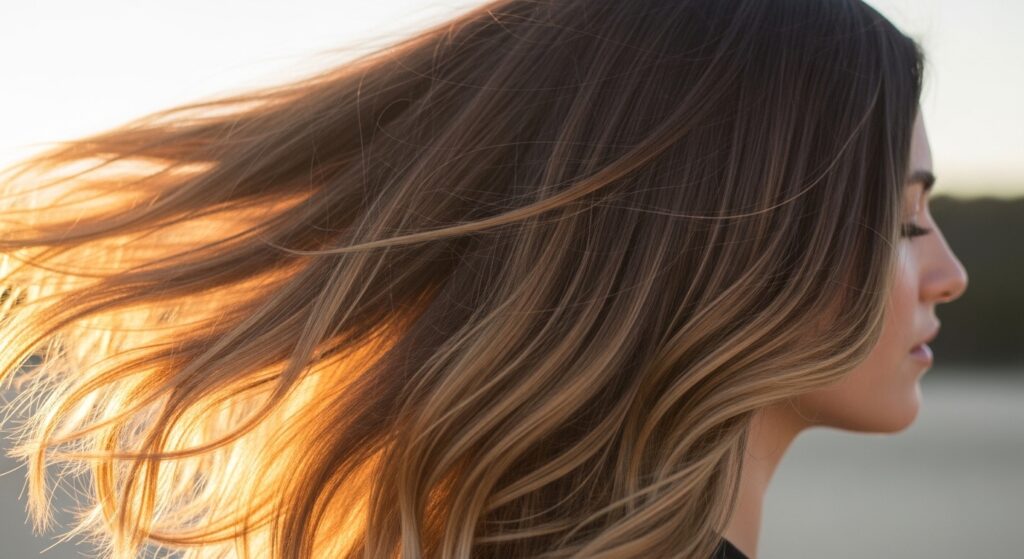
In the ever-evolving world of hair color, flamboyage has emerged as the artist’s secret weapon. Think of it as the love child of balayage and foilayage—a freehand painting technique that uses cling film instead of foil to create seamless, breathtaking, and utterly natural-looking dimension. The magic, however, lies not just in the technique but in the placement. Where you place those painted-on lights is what transforms a good color job into a masterpiece of painted-on perfection.
The Foundation: Understanding Flamboyage Placement
Before we jump into the ideas, let’s establish a core principle. Unlike traditional highlights that can follow a predictable pattern, flamboyage is deliberately irregular. The goal is to mimic how the sun naturally lightens hair. This means concentrating color where light would naturally hit—around the face, on the high points of the hair’s curve (the “crown” and ends), and through the mid-lengths. Strategic placement adds volume, enhances your cut, and frames your features flawlessly.
Face-Framing & Subtle Entry Points
Ideal for first-timers or those who love a low-maintenance grow-out, these placements offer a “wow” factor without the commitment.
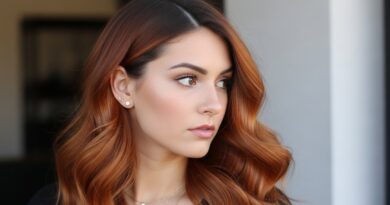
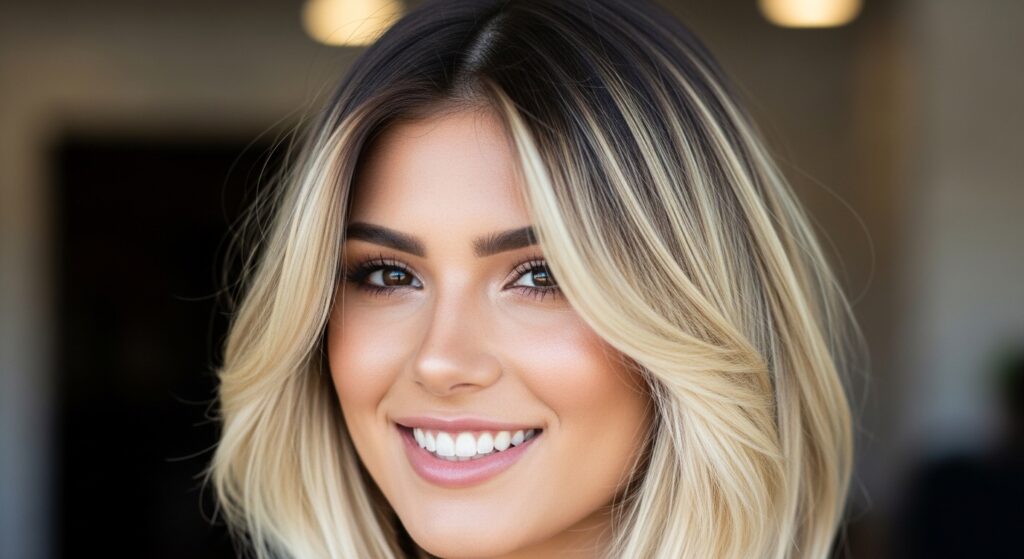
1. The Classic Money Piece: Bold, bright sections right at the front, framing the face on either side. It’s instant glamour and works on any base color.
2. Delicate Curtain Bangs: A softer version of the money piece, where lighter pieces are woven through the bangs and face-framing layers, creating a “curtain” effect that opens up the face.
3. T-Zone Brightening: Focused lightening just around the hairline and part line—the “T-zone” of your head. It brightens your complexion with minimal contrast.
4. Peripheral Glow: Very fine, subtle pieces painted only around the very outer perimeter of the hair, creating a halo of light when hair is down or in updos.
For The Bold & Artistic
Ready to make a statement? These placements use flamboyage as a high-impact artistic tool.
5. Color Melt Underlights: Concentrate vivid or lighter color underneath the top layer. It creates a stunning, hidden surprise when hair moves or is styled in a half-up ‘do.
6. “Earring” Highlights: Strategic placement of a bright, noticeable highlight right where the top of the ear meets the hairline. It’s a chic, modern detail.
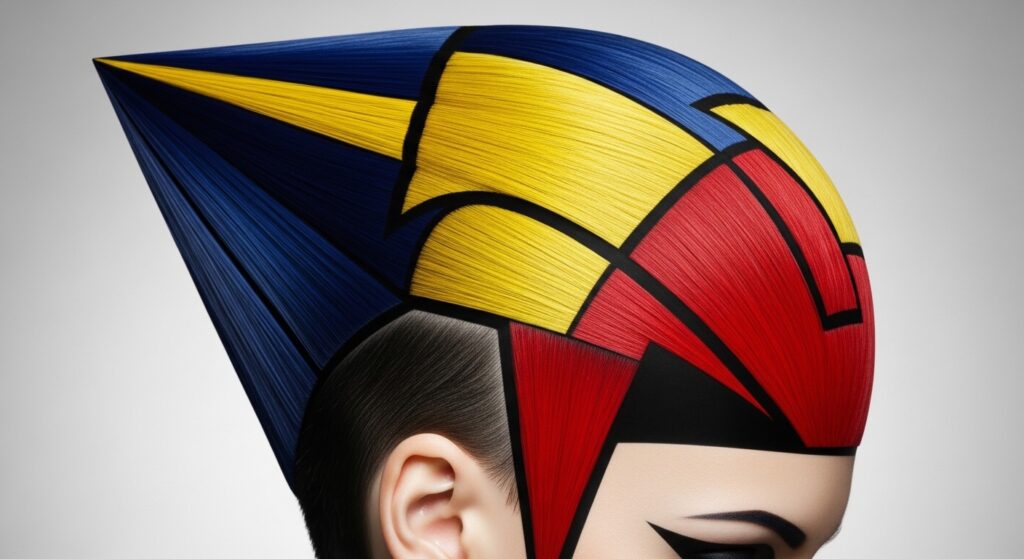
7. Geometric Panels: Instead of soft blending, defined, geometric blocks of light are painted in specific sections (e.g., a triangular section behind the ear).
8. Root Shadow + Flamboyage: Pair a darker root shadow with brightly painted flamboyage pieces that start mid-shaft. This creates incredible depth and a modern, editorial look.
By Hair Length & Cut
Your haircut is the canvas. These ideas work with your length and layers to maximize impact.
For Pixie & Short Cuts:
9. Textured Crown: Focus all lightness on the crown and very top layers to add the illusion of height and texture to short hair.
10. Wispy Ends: Just the very tips of a pixie are lightened, creating a playful, “dipped” effect.
For Bob & Lob Lengths:
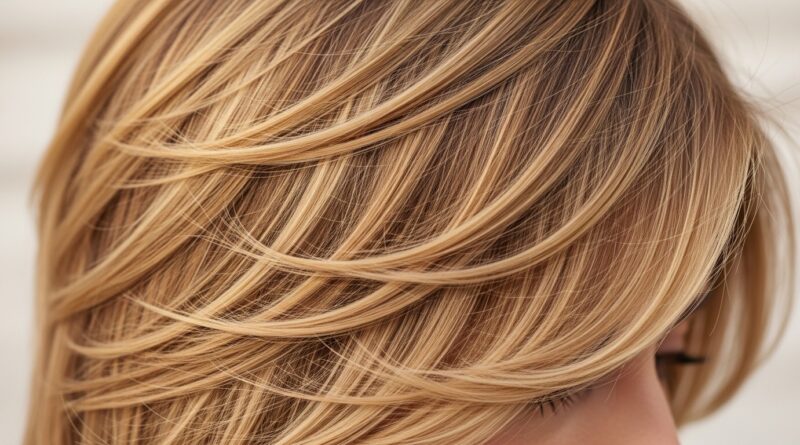
11. Collar-Bone Brightener: Concentrate the lightest pieces where your bob ends, right at the collarbone. It draws the eye and makes the cut look sharper.
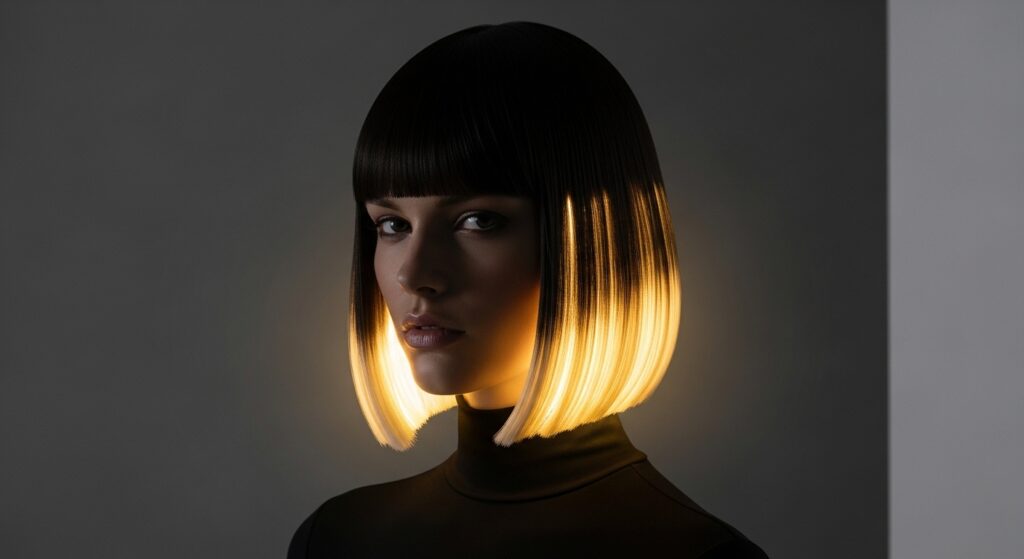
12. Internal Layer Lighting: Painting light primarily on the internal layers of a bob creates a mysterious glow and incredible movement.
For Long & Flowing Locks:
13. The Cascading Effect: Light pieces are painted in diagonal, cascading sections from the part down to the ends, following the hair’s natural fall.
14. Mid-Length Focus: Skipping the roots and ends, the light is concentrated in the mid-lengths for a “band” of brightness that looks sun-bleached.
Dimension & Volume Boosters
Flamboyage is a masterclass in creating the illusion of fuller, thicker hair.
15. Wide-Part Emphasis: If you always wear a deep side part, place the most dramatic, wide pieces along that part line to add lift at the root.
16. Crown Concentrated: A dense but finely woven concentration of light at the crown acts like a spotlight, creating instant volume and a sun-touched apex.
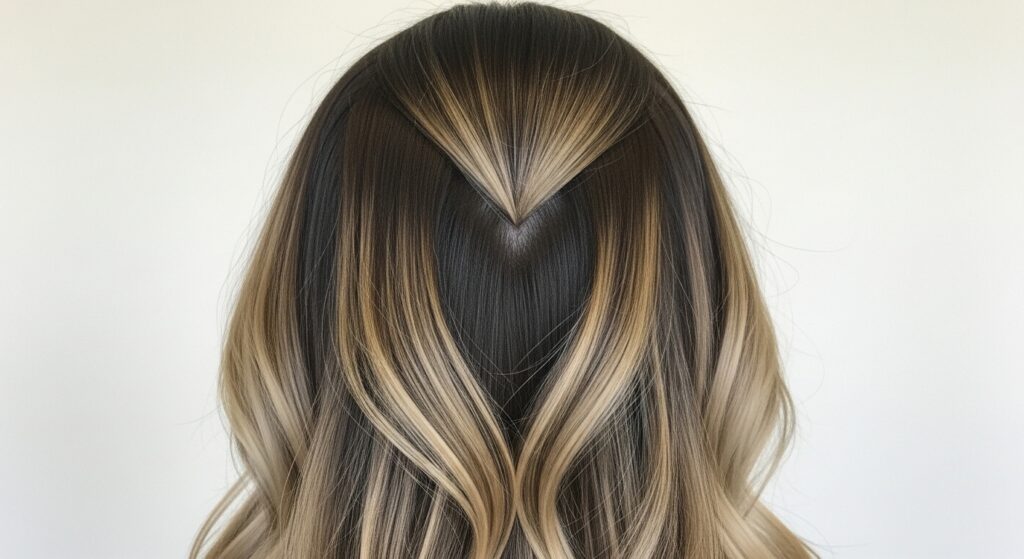
17. “V” Sectioning at the Back: Painting light in a V-shape pattern from the crown down the back of the head adds incredible depth and dimension that’s visible from all angles.
Natural & Sun-Kissed Mastery
The ultimate goal: making everyone believe you were born with this hair.
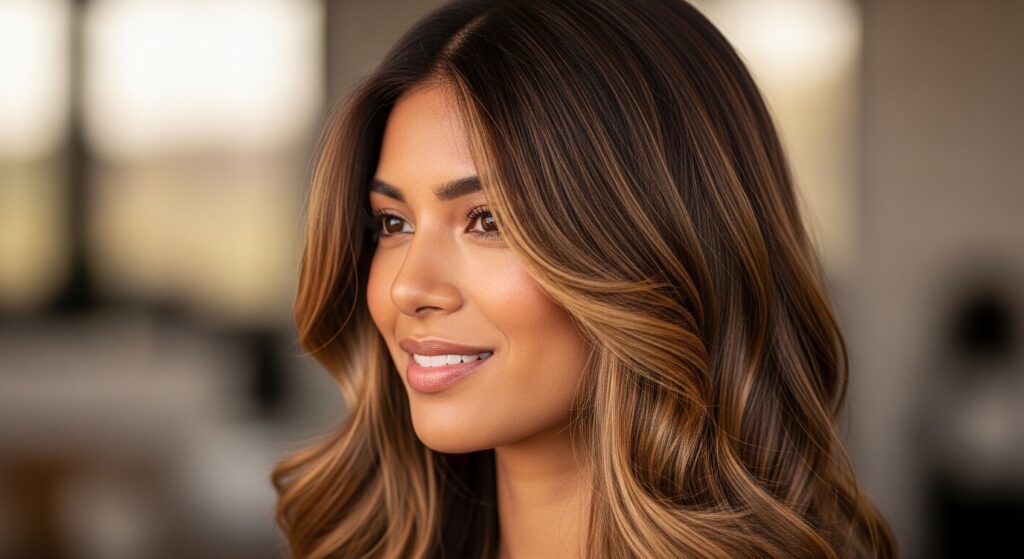
18. The True Balayage Mimic: Irregular, vertical placements that are very sparse at the root and get denser toward the ends, perfectly replicating a summer spent outdoors.
19. Baby Lights Throughout: Using flamboyage to create dozens of super-fine, subtle “baby lights” all over for an all-over brightening without obvious streaks.
20. Temple-to-Ends Flow: Starting very softly at the temples, the light pieces flow seamlessly and become more pronounced down the length, like natural sun progression.
Creative & Unconventional
Push the boundaries and see hair as a true art form.
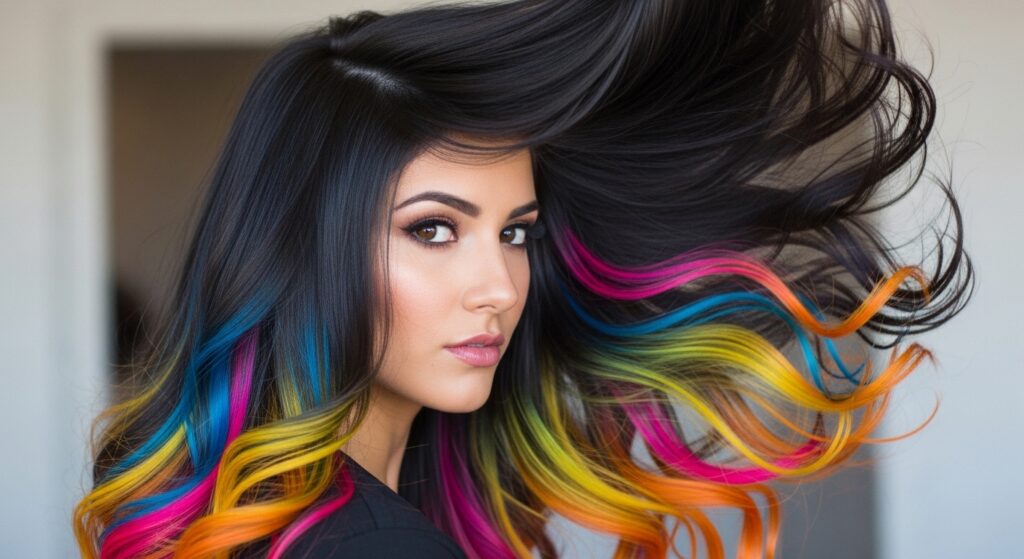
21. Color-Contrast Placement: Use flamboyage to place contrasting colors (e.g., caramel on ash brown, or pastels on blonde) in specific zones for a painted, artistic effect.
22. The “Grown-Out” Intentional: This clever placement starts the light several inches down from the root, but is blended so masterfully it looks like a gorgeous, grown-out color you’ve had for months. Ultimate low-maintenance perfection.
Bringing Your Flamboyage Vision to Life
Now that your inspiration is flowing, the final step is collaboration. Bring clear photos of the placements you love to your stylist. Discuss your lifestyle, maintenance comfort level, and how you usually wear your hair. A skilled colorist will then customize these placement ideas to suit your unique bone structure, hair texture, and personal style.
Remember, flamboyage is the technique, but placement is the strategy. It’s what ensures your color doesn’t just look beautiful in the salon chair, but continues to frame your face, enhance your cut, and grow out gracefully for months to come. Here’s to finding your perfect painted-on perfection!