23 Finger-Detangling Methods That Preserve Curl Pattern
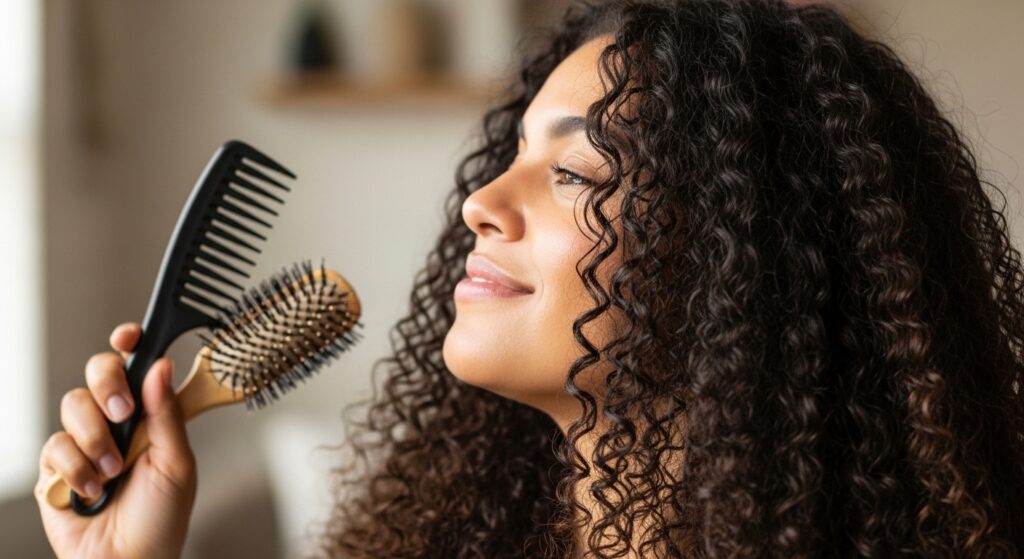
If you have curly hair, you know the daily struggle is real. The battle between wanting knot-free hair and fearing the dreaded frizz or curl disruption can feel endless. Comb and brush horror stories have led many curlies to a revolutionary technique: finger detangling. But not all finger detangling is created equal. Done haphazardly, it can still lead to breakage and pattern loss.
Why Finger Detangling is a Curly Hair Game-Changer
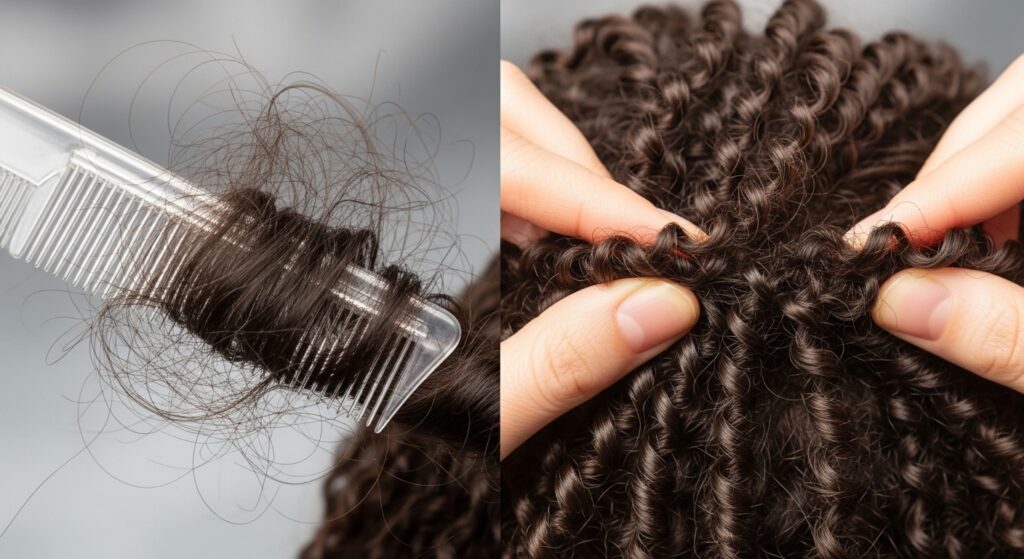
Before we jump into the methods, let’s understand why this technique is so revered. Traditional tools like fine-tooth combs or even some wide-tooth combs can forcefully drag through curls, stretching them out, creating frizz, and breaking the delicate curl clumps that give your hair definition and volume. Your fingers, however, are intelligent tools. They can feel for knots, apply varying pressure, and work with your curl’s natural shape. They separate hairs gently, allowing them to spring back into their natural formation without the harsh mechanical stress. The result? Less breakage, less frizz, more definition, and ultimately, healthier hair that retains its length and integrity.
The Golden Rules of Finger-Detangling Success
No matter which of the 23 methods you choose, these foundational rules are non-negotiable for success.
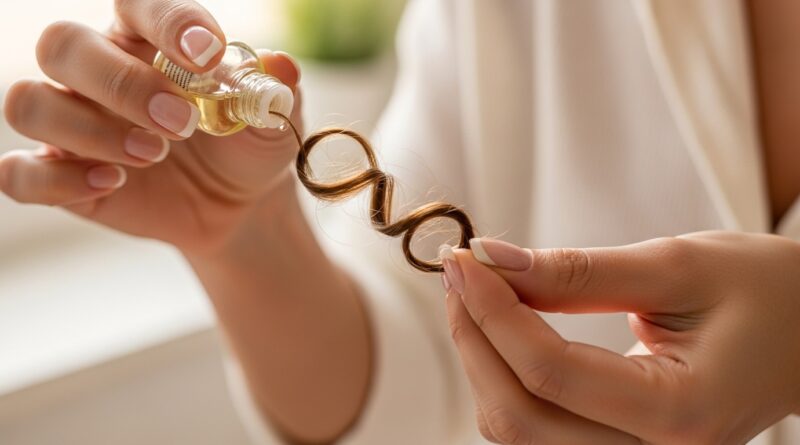
1. Always Use Slip: Never, ever detangle dry hair (unless specifically following a dry method listed later, which has its own rules). Your hair is most fragile when dry. Always apply a water-based conditioner, detangling spray, or a generous leave-in to provide slip. This lubricates the hair shaft, allowing knots to glide apart with minimal resistance.
2. Start at the Ends: This is the cardinal rule of detangling. Begin working on the last few inches of your hair. Once those ends are free of knots, move up an inch or two, detangling that section and incorporating the already-detangled ends. This methodically works upward to the roots, preventing you from pushing large knots into a tangled mess at the ends, which causes breakage.
3. Be Patient and Gentle: Finger detangling is not a race. It’s a mindful practice. Rushing leads to pulling and snapping. Dedicate the time, use gentle pressure, and listen to your hair. If you hit a stubborn knot, don’t force it. Apply more product, hold the hair above the knot to prevent tension on the scalp, and gently work it apart.
23 Finger-Detangling Methods for Every Curly Need
Now, let’s explore the methods. Mix, match, and find the combinations that work best for your curl type and routine.
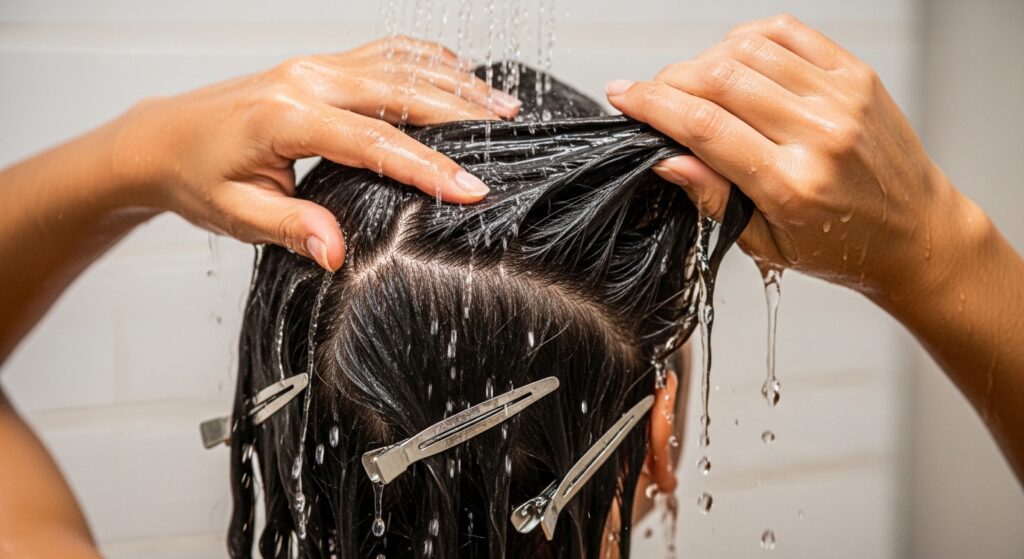
For the Wash Day Warrior (In-Shower Methods)
1. The Conditioner Glide: Apply a generous amount of slippery conditioner to soaking wet hair. Using flat fingers (not raking), gently glide from roots to ends, allowing the weight of the conditioner and water to help separate strands.
2. The Squish to Detangle: While head is upside down, apply conditioner to a section. Cup water in your hands and squish the conditioned hair upwards. The gentle squishing motion helps curls clump while loosening knots.
3. The Rake and Shake (Gentle Version): With conditioner in, use fingers widely spaced to very gently rake through a section from roots to ends, then give a gentle shake at the roots to encourage curl formation.
4. The Sectional Pin-Up: Clip up the top half of your hair. Fully detangle the bottom section, then pin it up. Let down the top section and detangle it separately. This ensures no area is missed.
5. The Running Water Assist: Let the stream of the showerhead run over a section as you gently finger-comb it. The consistent water pressure provides additional slip and direction.
For the Delicate Detangler (Minimal Manipulation)
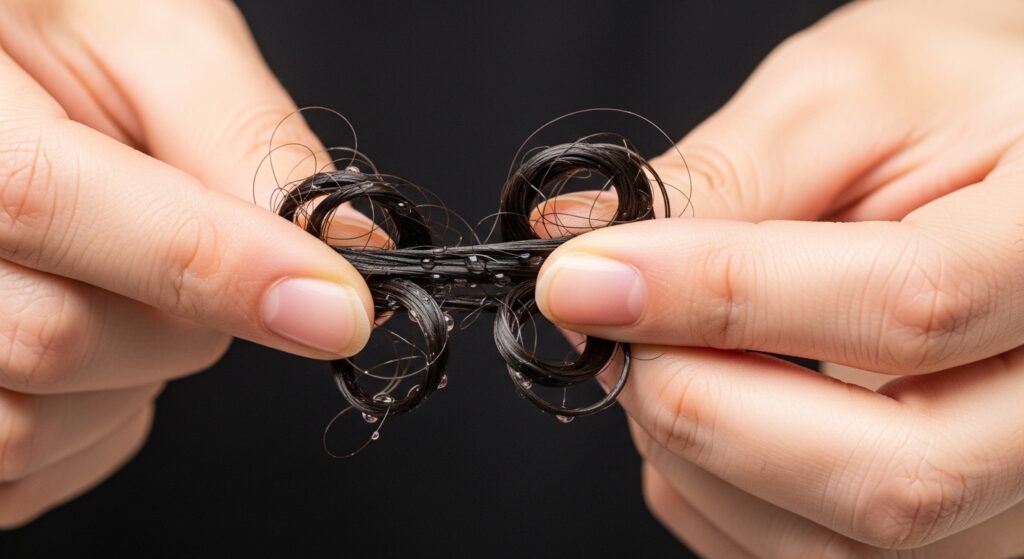
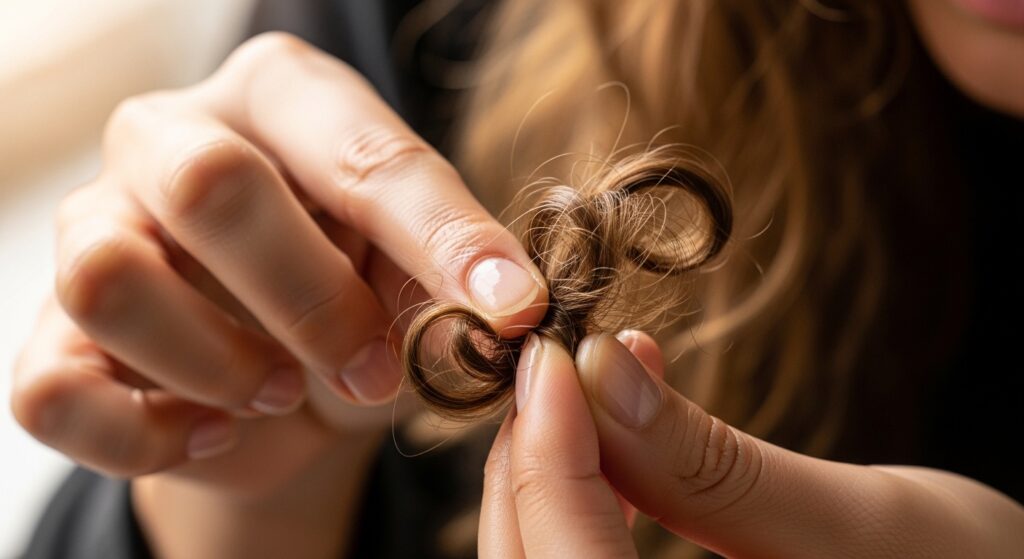
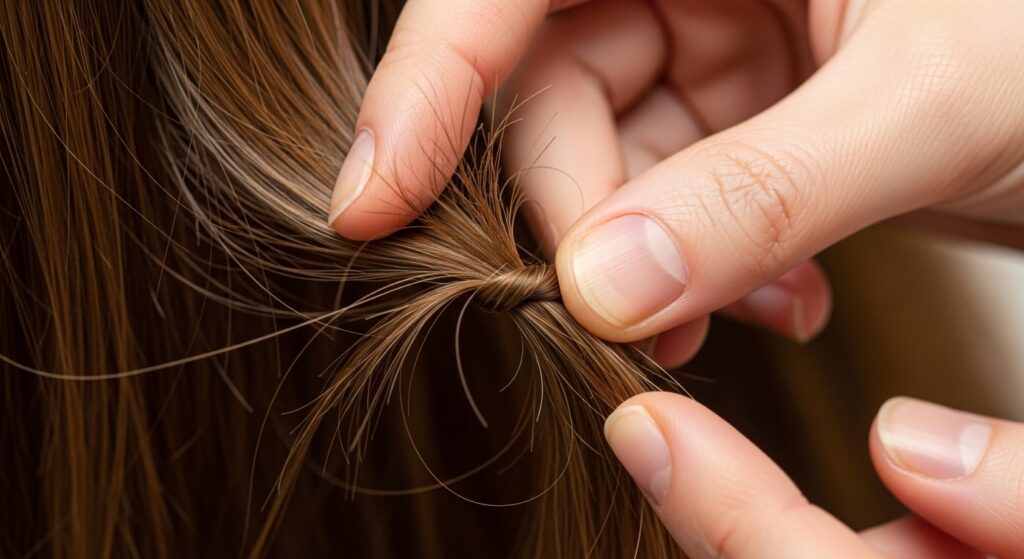
6. The Two-Finger Roll: For a single knot, place it between your thumb and index finger and gently roll it back and forth until it loosens.
7. The Pinch and Separate: Instead of pulling strands apart, take a small clump and gently pinch it at the top, then slowly move your fingers down, allowing the curls to separate naturally.
8. The “Finger Twirl” for Singles: Isolate a single knotted strand. Twirl it gently between two fingers while applying slight downward pressure to ease the knot out.
9. The Root-to-Tip Slide: Place a flat palm against a section at the roots and slowly, with very light pressure, slide it down the length. This is less about separating and more about aligning strands with zero tension.
10. The Prayer Hands Glide: Apply product. Place a section of hair between two flat palms in a prayer position and gently glide hands downward. Excellent for encouraging clumps.
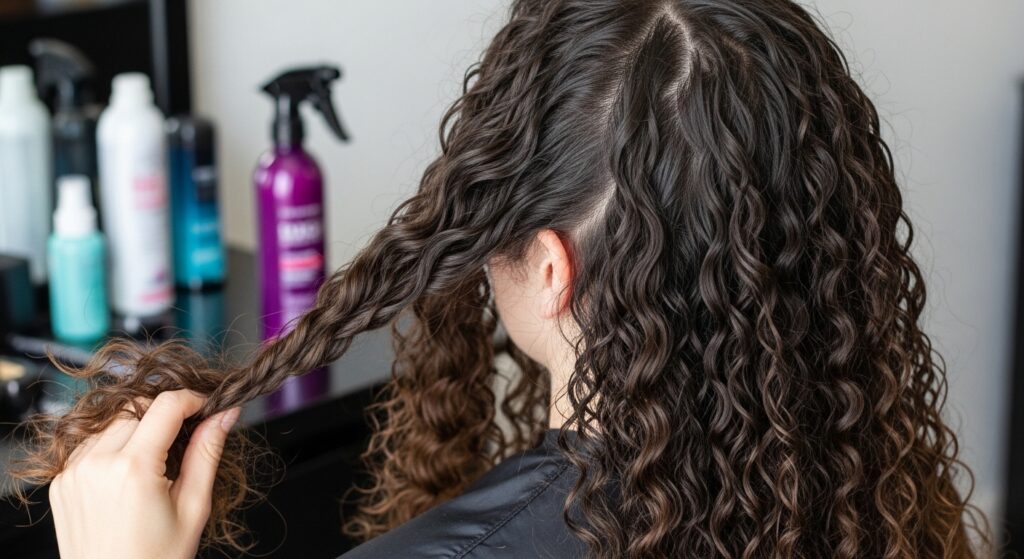
For the Styling Session (Post-Wash Methods)
11. The Damp Rake-Through: On damp (not wet) hair with styler applied, use fingers to gently define and separate any curls that have stuck together, raking with very wide fingers.
12. The Scrunch Out the Crunch Redo: After scrunching out a gel cast, if some curls have matted, apply a tiny bit of oil to your fingertips and gently pinch and separate the stuck curls.
13. The Steam Refresh Detangle: On day 2+ hair, lightly mist with a steamer or warm water until damp. Apply a pea-sized amount of cream or leave-in to your palms, then gently smooth and separate sections with flat hands.
14. The Pre-Poo Oil Detangle: Before washing, apply a lightweight oil (like almond or coconut) to dry or damp hair. Gently finger detangle as a first pass to minimize shedding and breakage during the wash.
15. The Leave-In Layer: After washing, apply leave-in conditioner section by section. Detangle each section immediately after applying the product, while it’s at its most slippery.
For Specific Challenges (Knots & Length)
16. The “Hold Above” Technique for Snarls: For a major knot, always grip the hair above the knot. This takes tension off the root. With the other hand, gently pick the knot apart from the bottom.
17. The Twirl and Pull (For Ends Only): If just your ends are tangled, twirl the end of a section between your fingers to gather it into a point, then gently pull downward. This aligns ends without disturbing the curl above.
18. The “Finger-Comb” in Sections: Divide hair into 4-6 large sections. Secure with clips. Take down one section, detangle fully from ends to roots, then twist or braid it lightly to keep it detangled while you work on the next. A lifesaver for very long or thick hair.
19. The Water Bottle Spritz & Go: Keep a spray bottle of water and conditioner mix handy. When you hit a dry or resistant section mid-detangle, spritz liberally and continue.
20. The Underlayer First Approach: Start detangling the hair at the nape of your neck first. This often-neglected area gets the most tangles. Conquering it first makes the rest feel easier.
Bonus: Advanced & Dry Techniques
21. The Dry Oil Detangle (Caution Advised): For very dry, coarse textures that may shrink excessively when wet. Apply a rich butter or cream to dry hair in small sections. Detangle with extreme slowness and patience, starting from the very tips. Not for fine or low-porosity hair.
22. The “Search and Destroy”: A maintenance method. On dry hair, once a week, slowly feel through your hair for single-strand knots (SSKs) or small tangles. Gently undo them with your fingers before they become bigger problems.
23. The Tension Stretch: For a defined but stretched look (like a blowout alternative). While hair is wet and loaded with product, detangle by holding a section taut with one hand at the root and using the other hand to smooth downward under tension. This elongates the curl with less heat damage.
Building Your Personalized Finger-Detangling Routine
With 23 methods, you don’t need to use them all. Your perfect routine might combine #4 Sectional Pin-Up in the shower with #1 Conditioner Glide, followed by #15 Leave-In Layer for styling. If you have frequent knots, incorporate #22 Search and Destroy weekly. The key is to experiment. Pay attention to how your curls respond. Do they clump better with squishing? Do they feel smoother with the prayer hands? Your hair will tell you what it likes.
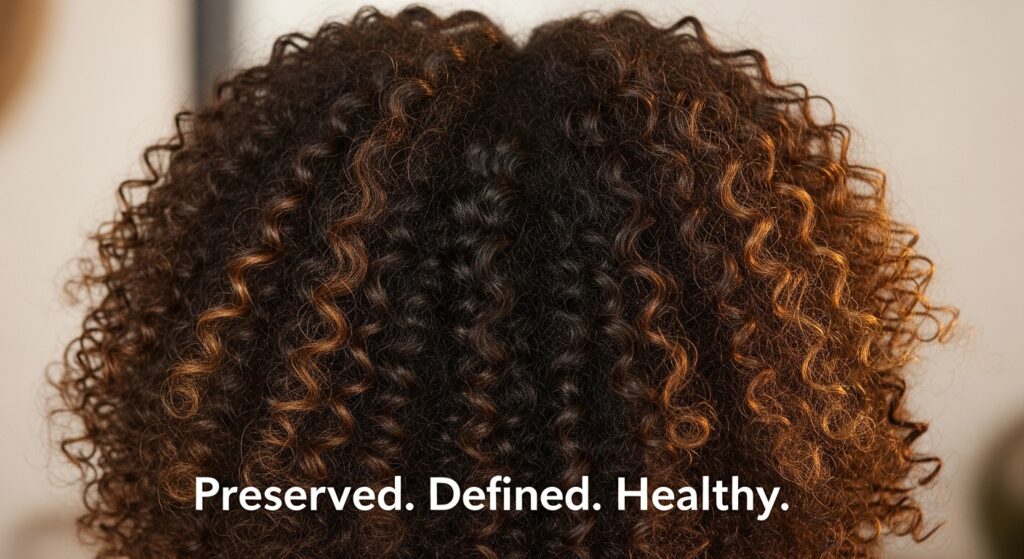
Remember, the goal is not perfectly separated, string-straight strands from root to tip. The goal is knot-free hair that is still in its natural, beautiful curl and wave formation. Embrace the slight variation and volume that finger detangling gives you. It’s a sign of healthy, untouched curls.
Your Curls Deserve the Gentle Touch
Finger detangling is more than a technique; it’s a philosophy of hair care that honors your hair’s natural structure. By choosing to use your hands, you’re committing to a slower, more mindful approach that prioritizes hair health over haste. These 23 methods are your toolkit to freedom from breakage, frizz, and curl confusion. So, the next time you face wash day, ditch the fear and the harsh tools. Lather up with slip, section it out, and let your fingers do the gentle work. Your curl pattern will thank you by springing to life with more definition, bounce, and vitality than ever before.
Ready to transform your routine? Start with just one new method this week. Share your victories and which method became your favorite in the comments below!