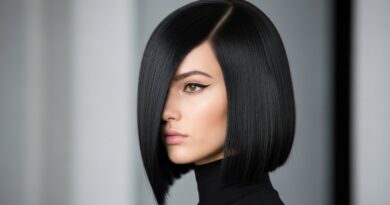
5 Easy braid Ideas for textured Hair You Can Do at Home
There’s something truly magical about braids and textured hair. They are more than just a hairstyle; they are a celebration of culture, a testament to artistry, and a wonderfully protective way to manage your gorgeous coils, kinks, and curls. But let’s be honest, sometimes the thought of intricate braiding can feel daunting, especially if you’re doing it yourself.
What if you could achieve stunning, salon-worthy braided looks without the complexity or the high cost? Good news—you absolutely can. This guide is your go-to resource for easy, beautiful, and achievable braid styles designed specifically for textured hair. Whether you’re a braiding beginner or just looking for some fresh inspiration, these five ideas will empower you to create stunning looks right from the comfort of your home.
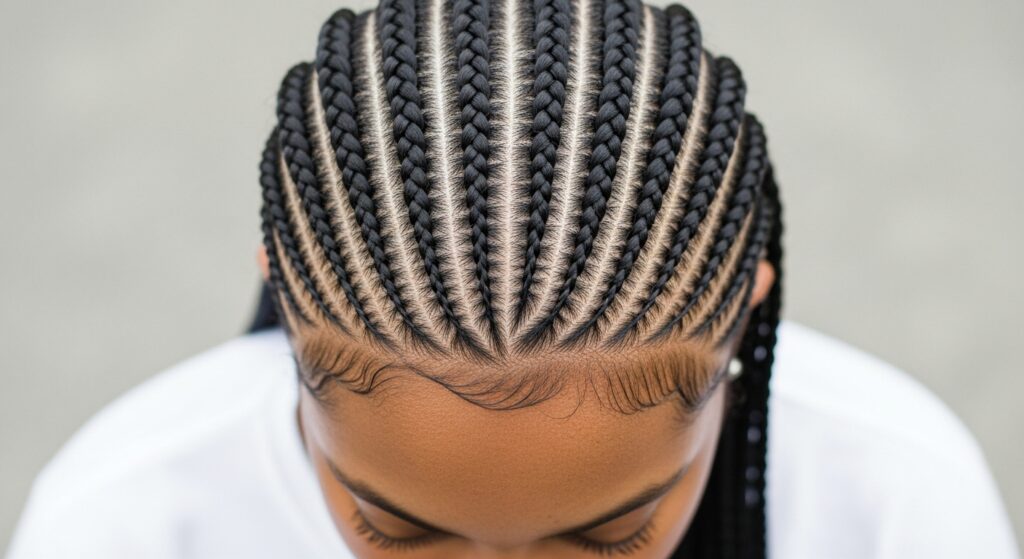
1. The Classic Cornrows
Let’s start with a timeless favorite: cornrows. These sleek, scalp-hugging braids are not only stylish but also incredibly versatile and protective. They lay flat against the head in straight lines, curves, or intricate patterns, making them a perfect foundation for other styles or a stunning look on their own.
How to Achieve Them:
Begin with detangled, slightly damp hair. Using a light holding mousse or gel can help with flyaways. Part your hair into the desired sections. For a simple look, start with a straight part from the front to the nape of your neck. Take a small section at the front and divide it into three strands. Begin braiding underhand (the opposite of a regular braid), adding a small amount of hair from the scalp to each strand as you go. The key is to keep your tension consistent for a neat, uniform look. Continue this process all the way down to the ends and secure with a small elastic.
Pro Tip: If you’re new to cornrowing, practice on dry hair first without adding product. This allows you to get a feel for the tension and technique without the slip of styling aids.
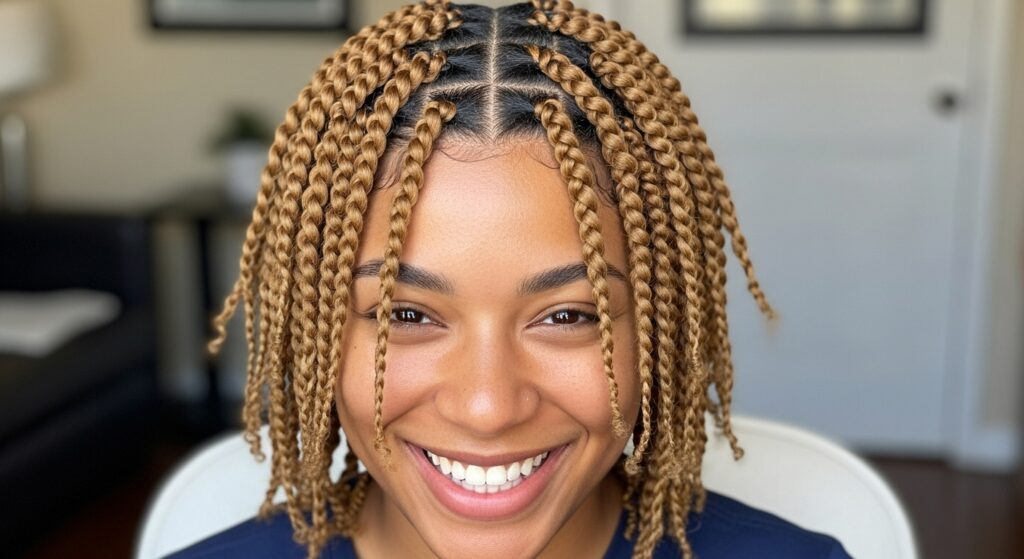
2. The Effortless Two-Strand Flat Twists
If traditional three-strand braids feel tricky, two-strand flat twists are your new best friend. They offer a similar look to cornrows but with a different, often looser and more textured, technique. They are perfect for a quick, stylish look that protects your hairline and can be worn alone or as a precursor to a beautiful twist-out.
How to Achieve Them:
Start with a section of detangled hair. Divide the section into two equal strands. Twist the two strands around each other, but as you do, pick up a small amount of new hair from the scalp with each twist. It’s like you’re rope-twisting while incorporating hair from your head. Continue this process along your scalp until you’ve incorporated all the hair from that section, then continue twisting the remaining length of the two strands together and secure the end. You can create a full head of flat twists or use them as a decorative element along your hairline.
Pro Tip: For a voluminous twist-out, undo your flat twists after they have completely dried. You’ll be left with soft, defined waves that are full of body.
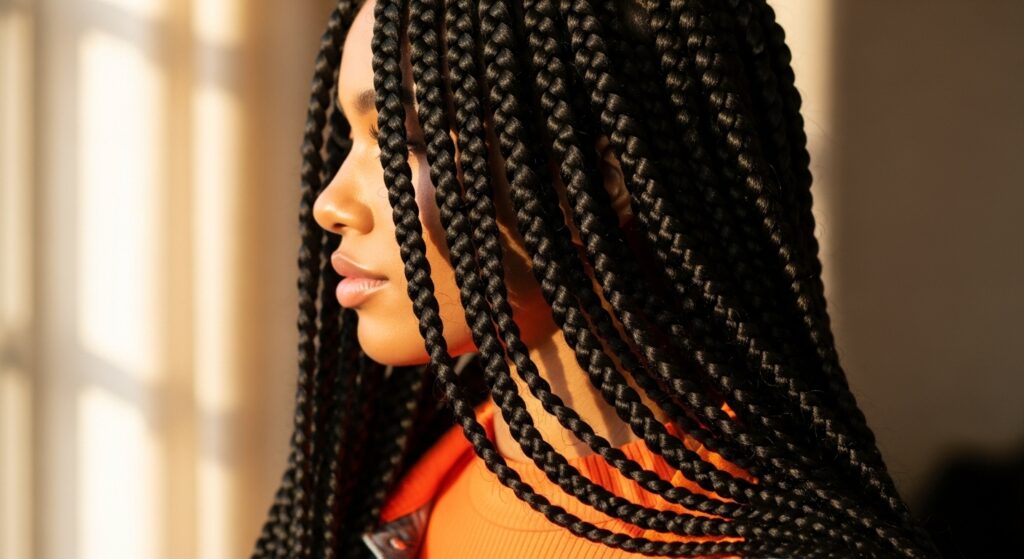
3. The Chunky Box Braids
When you think of protective styling, box braids often come to mind. While the traditional small ones can be time-consuming, chunky box braids are a game-changer. They are faster to install, put less tension on your scalp, and make a bold, fashion-forward statement. Their larger size also means less weight on your hair, making them comfortable for extended wear.
How to Achieve Them:
Section your hair into large, square-shaped (box) parts. The size is up to you, but for “chunky” braids, think 1.5 to 2-inch squares. You can braid with just your natural hair for a organic look, or add braiding hair for extra length and thickness. To add hair, fold a piece of braiding hair in half and loop it over the top of your natural hair section. Divide all the hair into three strands and braid down to the ends. The key to a neat finish is ensuring your initial sections are clean and even.
Pro Tip: Before braiding, apply a lightweight leave-in conditioner to each section to keep your hair moisturized throughout the wear. Always braid with a gentle hand to avoid unnecessary tension at the roots.
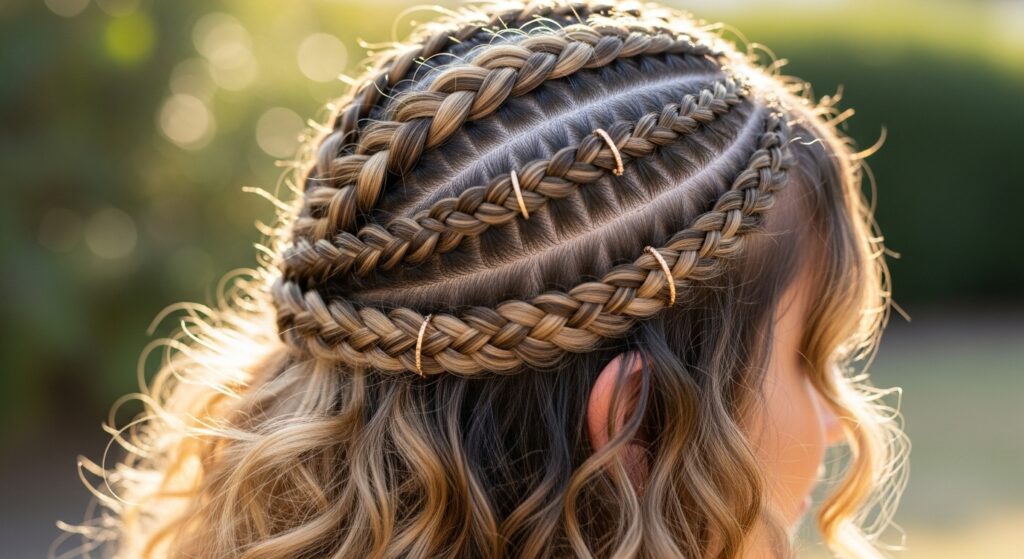
4. The Boho Goddess Braids
Who says braids can’t be soft and romantic? Goddess braids are essentially cornrows that are elevated to an artistic level. This style involves creating a few large, statement cornrows—often two to five—and then accessorizing them with curly hair, beads, or rings to create a “boho” or “goddess” effect. It’s a beautiful way to blend the neatness of braids with the free-spirited texture of curls.
How to Achieve Them:
Create a few large cornrows in your desired pattern—a simple center part with two braids or a more complex crown style works beautifully. Once your cornrows are complete, it’s time for the fun part: accessorizing. Take a few pieces of kanekalon or marley hair in a curly texture. Using a crochet needle, latch the curly hair onto the cornrow at various points. You can also thread beads or gold cuffs onto the braids themselves. The goal is an intentional, artful mix of textures.
Pro Tip: Don’t overdo the accessories. Sometimes, less is more. A few well-placed tendrils of curly hair can have a more impactful and elegant look than covering the entire braid.
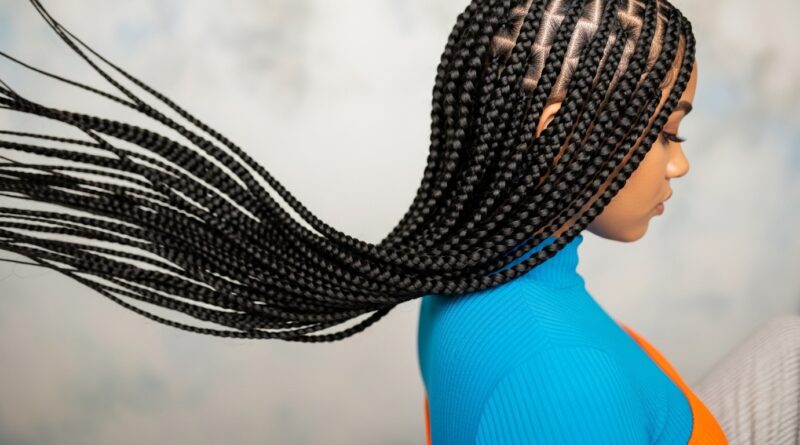
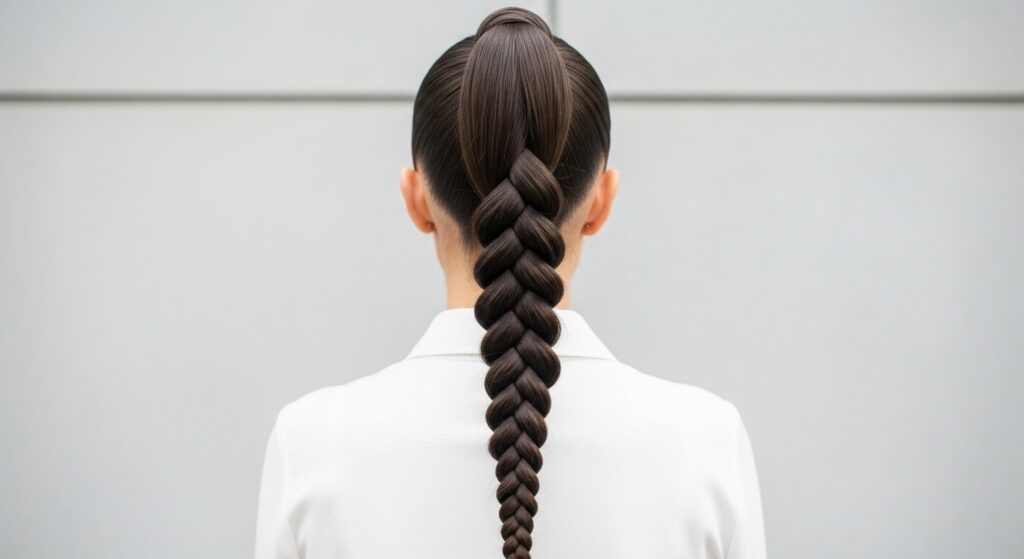
5. The Simple Rope Braid Ponytail
For days when you need a quick, elegant, and put-together look in minutes, the rope braid ponytail is a lifesaver. This two-strand twist is incredibly easy to master and instantly elevates a basic ponytail. It works beautifully on stretched or stretched-looking textured hair and is perfect for protecting your ends for a day or two.
How to Achieve Them:
First, gather your hair into a high, low, or side ponytail and secure it with a hair tie. Split the ponytail into two equal sections. Now, simply twist the two sections around each other. Twist them in one direction (say, clockwise) until the entire length is twisted. Here’s the magic trick: to make the braid hold its form, you then gently twist the two sections together in the *opposite* direction (counter-clockwise). The braid will naturally coil and hold itself together. Secure the end with another elastic.
Pro Tip: For a fuller, more defined rope braid, lightly mist the sections with water or a styling cream before twisting. This helps to smooth the hair and enhances the twist definition.
Prepping Your Textured Hair for the Perfect Braids
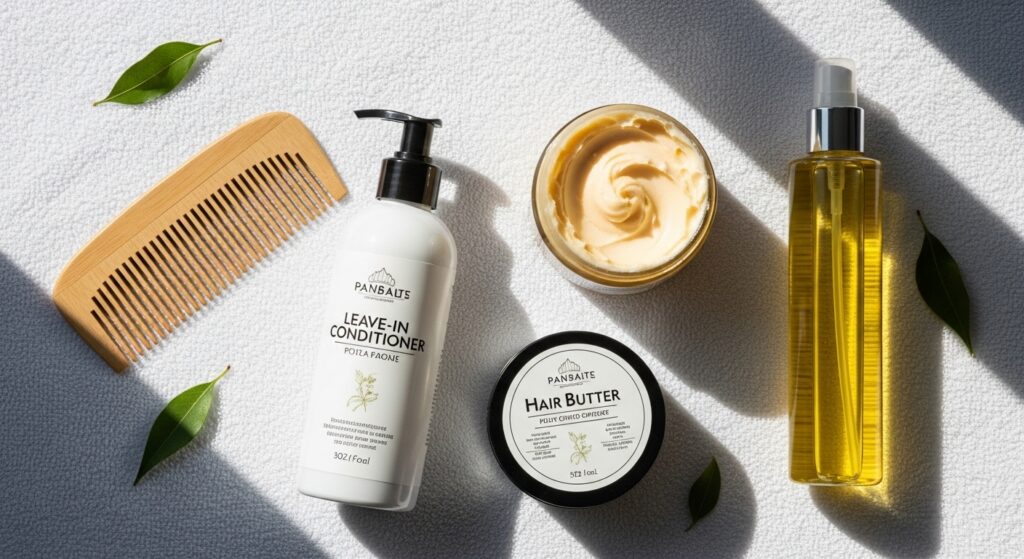
No matter which style you choose, the secret to beautiful, long-lasting, and healthy braids starts with preparation. Never braid dry, tangled hair. This leads to breakage and an uneven, frizzy result.
Start with a thorough wash and deep conditioning treatment. This ensures your hair is clean, strong, and moisturized. After washing, detangle your hair gently with a wide-tooth comb or your fingers, working from the ends up to the roots. Apply a leave-in conditioner and a sealing butter or oil to lock in that moisture. If your hair is highly textured, stretching it via blow-drying on a cool setting or doing stretched styles like banding can make the braiding process much smoother and give you a neater finish.
Most importantly, listen to your scalp. If a braid feels too tight, take it out and redo it. The goal is beautiful hair and a healthy scalp.
Embrace Your Creativity
Braiding your own textured hair is a journey of patience and self-expression. Don’t be discouraged if your first attempts aren’t perfect. Each time you try, your hands will learn, and your confidence will grow. These five easy braid ideas are just the beginning. Use them as a foundation, mix and match techniques, and don’t be afraid to add your own personal flair with accessories, parts, and combinations.
Your hair is your canvas, and with these tools, you are well-equipped to create stunning, protective works of art right at home. So, grab your mirror, your favorite moisturizer, and let your creativity flow. Happy braiding!