7 Subtle Changes That Make Your natural bun Look Brand New
Let’s be honest: the natural bun is the undisputed champion of hairstyles. It’s our go-to for bad hair days, rushed mornings, and those moments when we need to look put-together with minimal effort. It’s reliable, it’s classic—but sometimes… it can feel a little too familiar. If your signature bun has started to feel more blah than beautiful, you’re not alone.
The good news? You don’t need to master a complicated braid or buy an entire drawer of accessories to breathe new life into this classic style. The secret to a truly stunning bun lies in the subtle details. With just a few tiny, almost imperceptible changes, your everyday bun can transform from basic to beautifully intentional.
Why the Natural Bun Never Goes Out of Style

The bun endures because it balances practicality and elegance better than almost any hairstyle.
Why Buns Start to Feel Boring Over Time

Repetition—not the style itself—is what dulls the look.
The Secret Difference Between “Basic” and “Intentional”

The difference is never dramatic. It’s deliberate.
1. Master the Art of Texture and Volume

The leap from accidental bun to chic bun starts with texture.
Why Flat Buns Look Unfinished

Without lift or grit, buns look rushed—even when they aren’t.
How Dry Shampoo Changes Everything

Dry shampoo adds grip, lift, and longevity.
Finger Styling vs. Brush Styling

Fingers keep movement alive; brushes erase it.
2. Rethink Your Part

Your part controls the entire mood of your bun.
Deep Side Part for Instant Drama

A side part adds structure without effort.
Zig-Zag Parts for Soft Volume

Perfect for fine or flat hair.
Center Parts for Modern Minimalism

Clean, modern, quietly confident.
3. Elevate Your Base: The Ponytail Trick

Every great bun starts with a smarter base.
How Bun Placement Changes Your Entire Look

Placement controls energy—elegant or playful.
The Half-Pull Ponytail Volume Hack

Instant fullness without tools.
Why Tight Isn’t Always Better

Over-tightening flattens the final result.
4. The Power of Strategic Tendrils

Tendrils soften everything.
Where to Pull Hair Out (And Where Not To)

Intentional placement matters.
How to Style Tendrils Without Overdoing It

Less curl, more suggestion.
5. Upgrade Your Hair Ties and Pins

Invisible tools = elevated result.
Why Elastic Choice Affects the Final Look

Subtle tools create seamless finishes.
The Pin-and-Slide Bobby Pin Technique

Secure without bulk.
Why Criss-Crossing Pins Works Better

Locked-in hold with zero visibility.
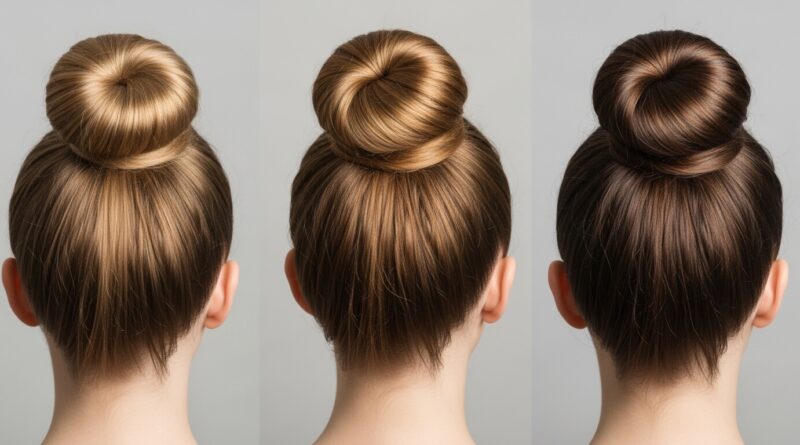
6. Play With the Bun’s Internal Structure

The anatomy of the bun matters.
The Fold-Under Bun for Polished Days

Perfect for work or events.
Braided Buns for Subtle Detail

Quiet complexity, high impact.
Loose Twists for Casual Chic

Effortless without being messy.
7. The Finishing Touch: Polish and Shine

Polish is what makes it look expensive.
How to Tame Baby Hairs Without Going Slick

Control—not stiffness—is the goal.
Using Hair Oil the Right Way

One drop. Never more.
Why Shine Makes Hair Color Look Richer

Healthy shine elevates everything.
Common Bun Mistakes That Age the Style

Perfection can look dated.
How to Customize the Bun to Your Face Shape

Small tweaks create harmony.
When to Embrace Messiness

Messy doesn’t mean careless.
Your Brand-New Bun Awaits

Refreshing your natural bun doesn’t require a complete reinvention—just awareness. Texture, placement, framing, structure, and finish work together to turn a routine habit into a signature style.
The next time you reach for a hair tie, pause for a moment. Choose one small upgrade. That’s all it takes to make your bun feel new again.