90s Crimped Waves Created Easily at Home Now
Okay, confession time. I was deep in a 90s movie marathon last weekend, and it hit me—I desperately missed crimped hair. Not the crunchy, fried-to-a-crisp kind from my middle school photos, but those soft, beachy, textured waves that just scream cool-girl energy.
I thought it was a look lost to time, reserved for old yearbooks. But guess what? It’s totally back and better than ever. And the best part? You can create it at home, easily, without any of the harshness.
This isn’t about strict nostalgia. It’s about taking that iconic texture and making it modern, effortless, and perfect for right now. So, if you’re ready to add some instant volume and playful vibe to your hair, you’re in the right place. Let’s bring those 90s crimped waves into our current rotation.
Why Crimped Waves Are Having a Major Moment
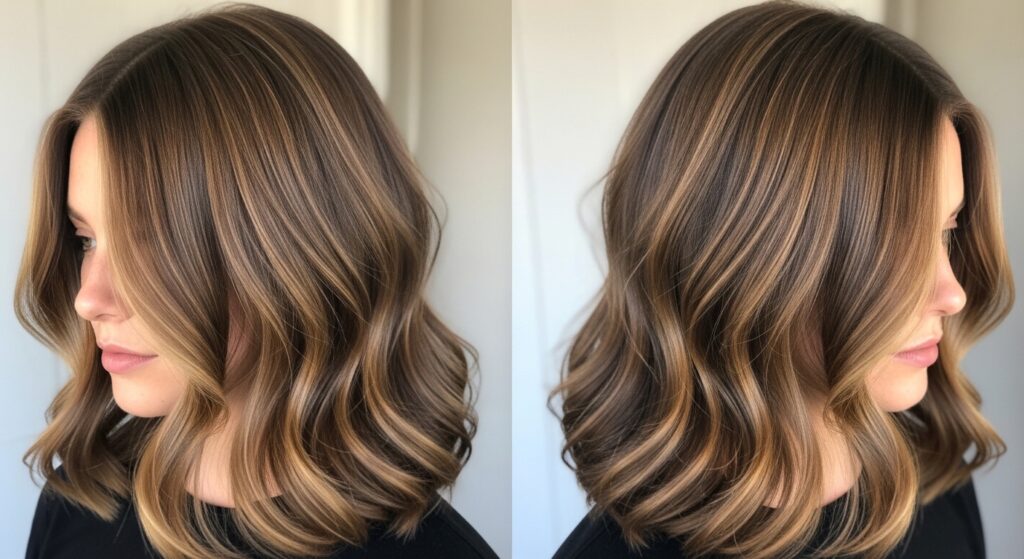
Every few years, a trend circles back with a fresh twist. Right now, we’re seeing a huge love for texture and lived-in volume. Crimped waves deliver exactly that—a cool, undone look that feels both nostalgic and completely of-the-moment.
It pairs perfectly with the “old money hair” aesthetic for a touch of playful rebellion, or adds an edge to a “quiet luxury bob.” It’s that versatile. Think of it as your secret weapon for instant body and a style that looks like you just woke up this cool.
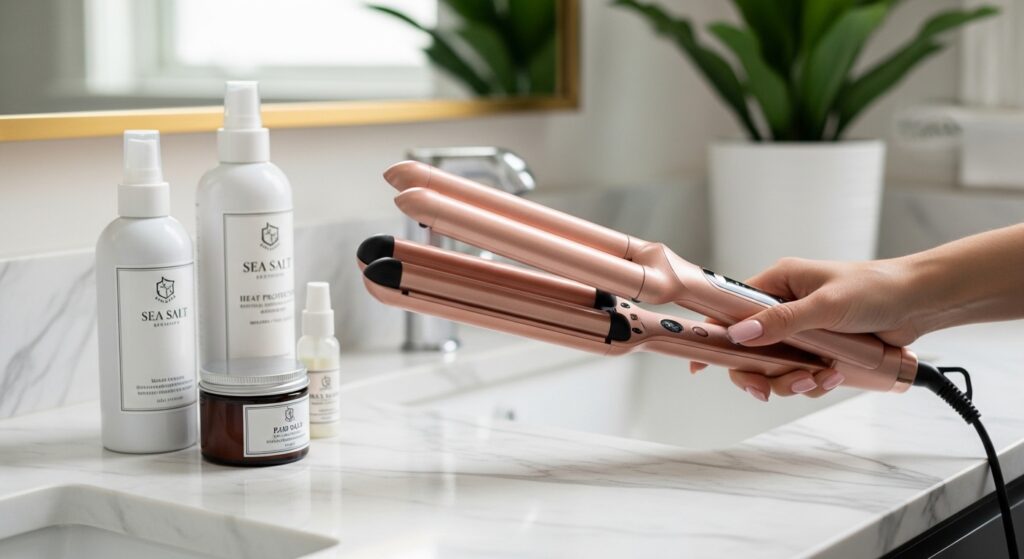
The Modern Tools You Actually Need
Forget the bulky, single-plate crimpers of the past. Today’s tools are designed for comfort and better results. You have two great options for creating this look at home.
- A Wave Crimper: This looks like a curling wand with a zigzag barrel. It creates the crimp pattern quickly and is super easy to use.
- A 3-Barrel Waver: This tool creates a softer, more wave-like crimp. It’s my personal favorite for achieving that beachy, romantic texture without sharp lines.
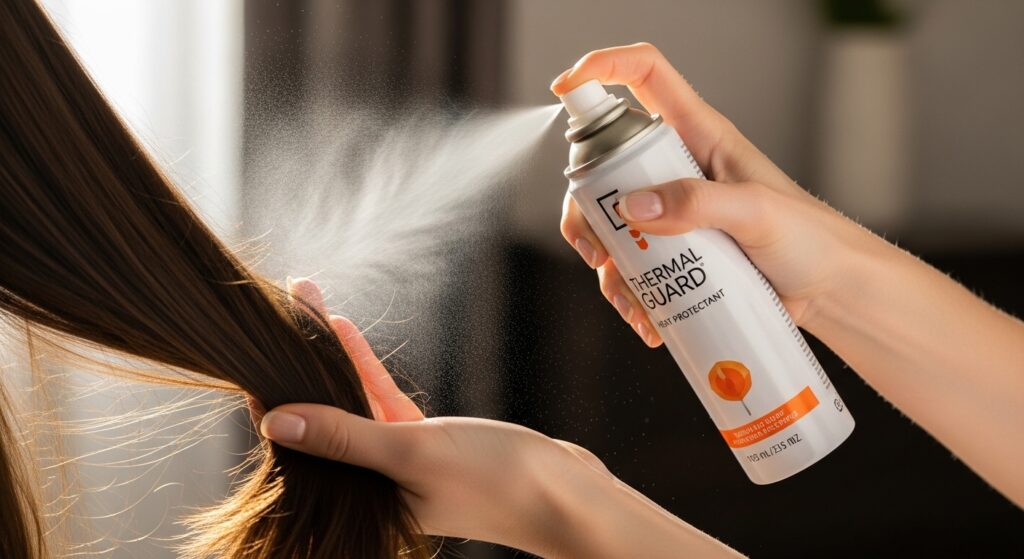
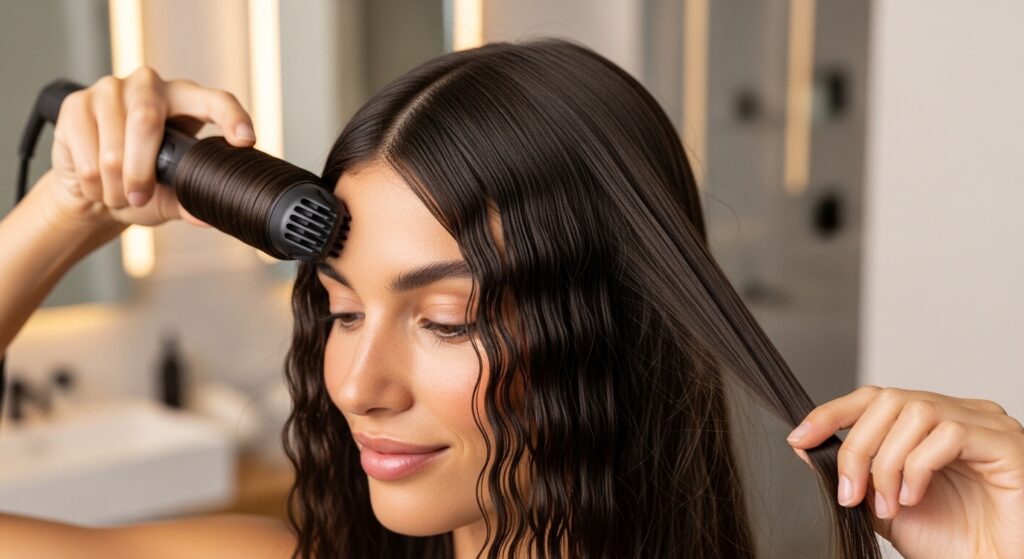
Prepping Your Hair Is Non-Negotiable
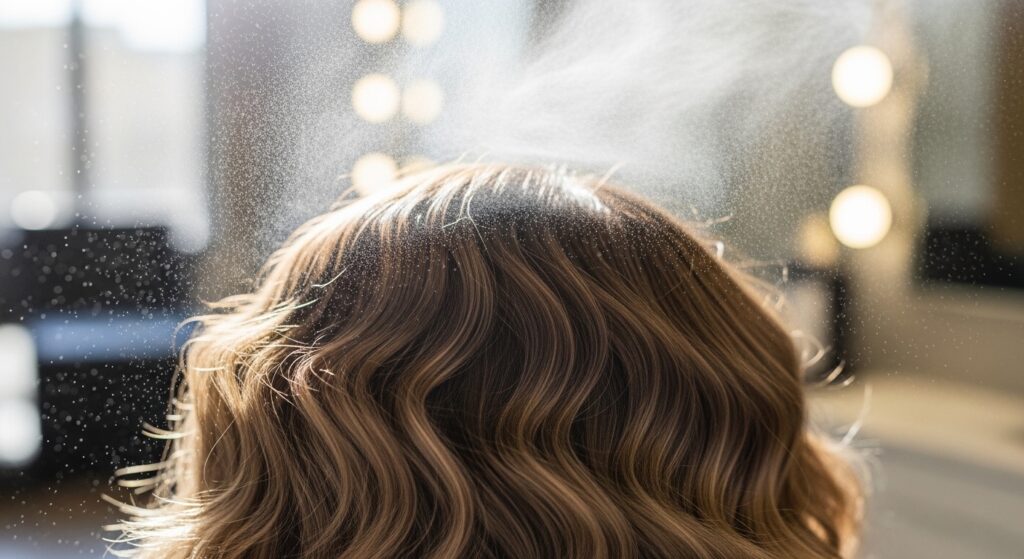
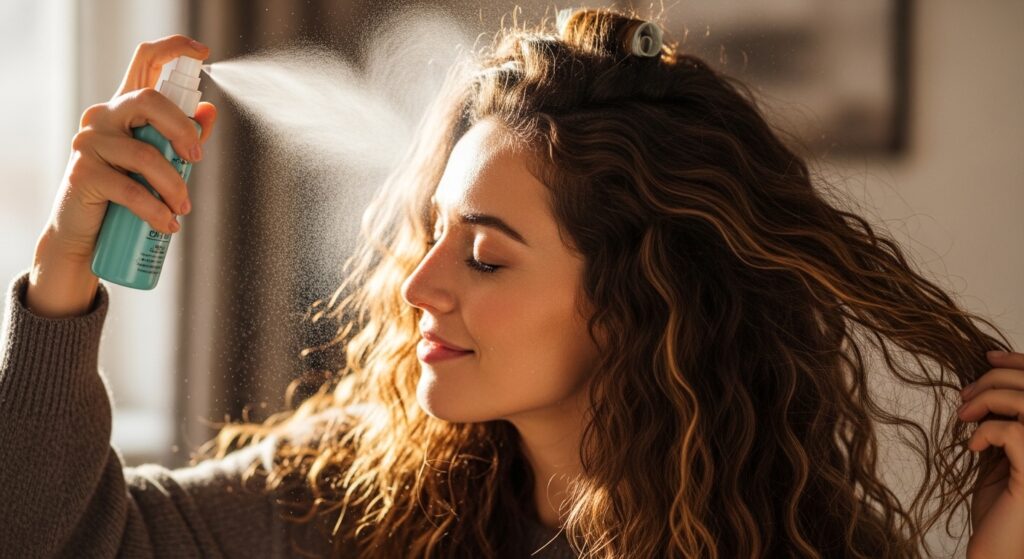
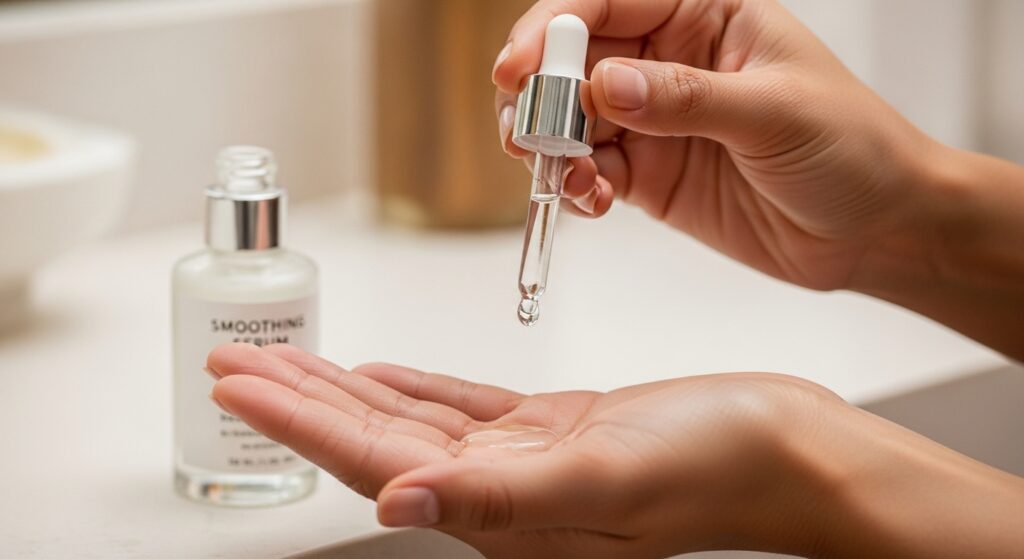
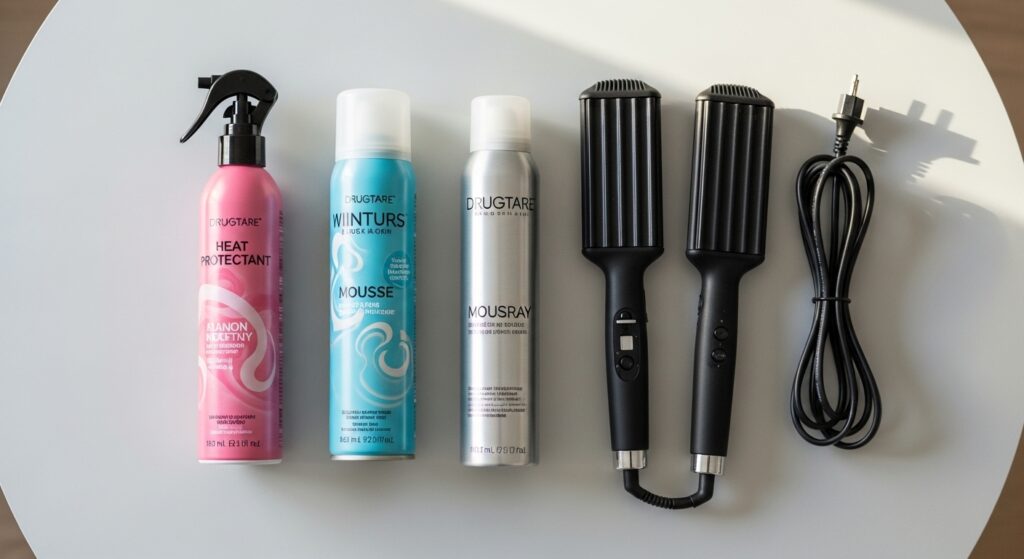
Protection is key. Always start with dry, detangled hair. Apply a heat protectant spray from roots to ends. This creates a barrier against the heat and keeps your hair healthy.
For extra texture and hold, I love using a light-hold mousse or a texturizing spray at the roots. This gives the style something to grip onto and helps the volume last all day. Don’t skip this step!
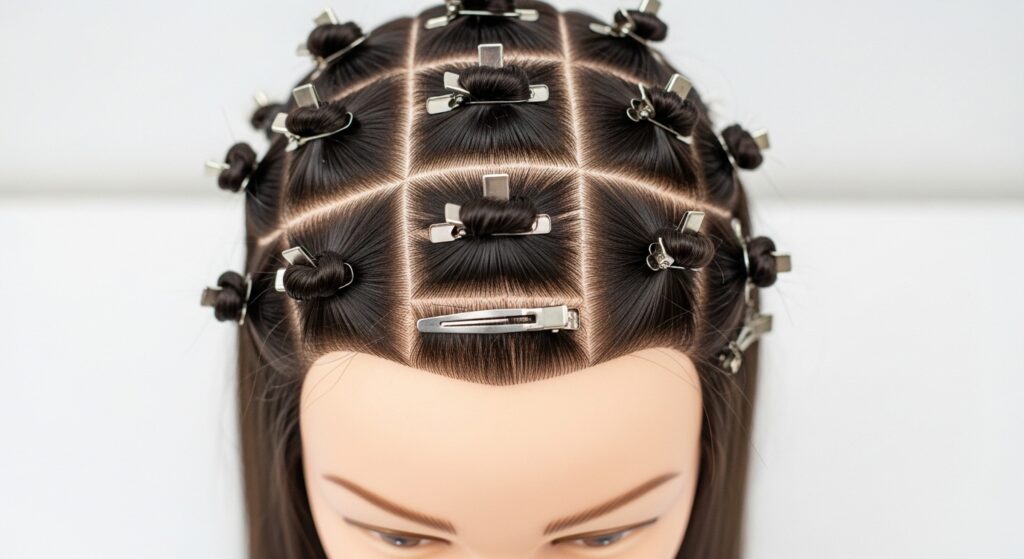
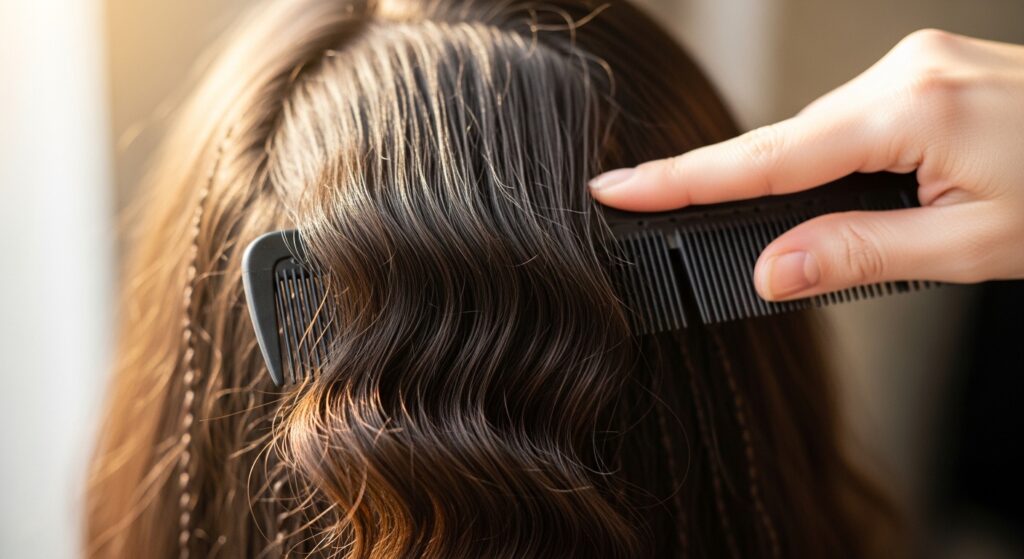
Sectioning for Success: Keep It Simple
Don’t get overwhelmed. Clean sections mean an even result. Start by parting your hair how you normally wear it. Then, clip the top half of your hair up and out of the way.
You’ll work from the nape of your neck upward. Take horizontal sections that are about 1-2 inches thick. This ensures the tool can evenly clamp all the hair in that section for a consistent pattern.
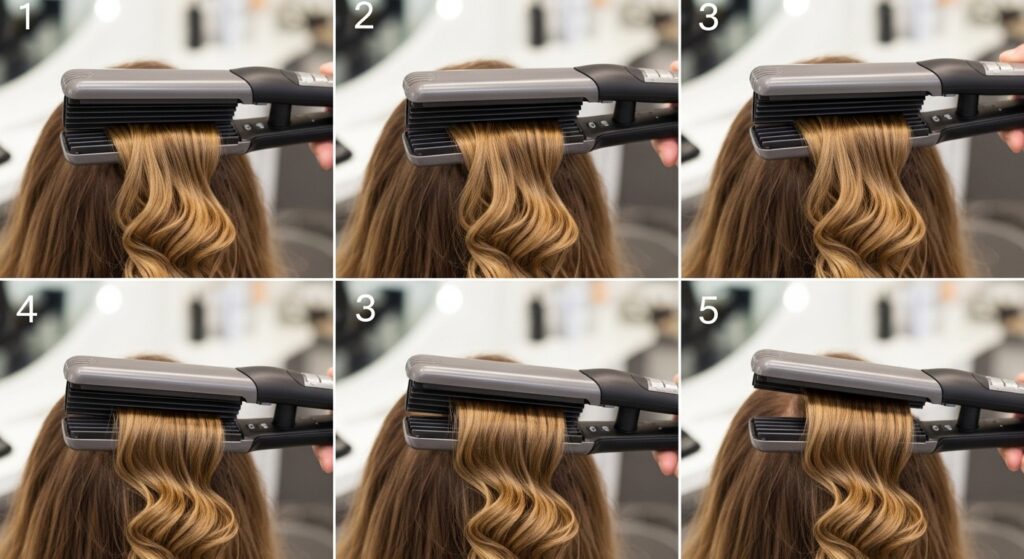
How to Use a Wave Crimper (The Fast Method)
- Take your first section. Clamp the crimper at the root, hold for 5-8 seconds, then release.
- Move down the section, clamping right below the previous crimp. Repeat all the way to the ends.
- Continue this process throughout your head. The key is to follow the natural pattern, not forcing it into a perfect grid.
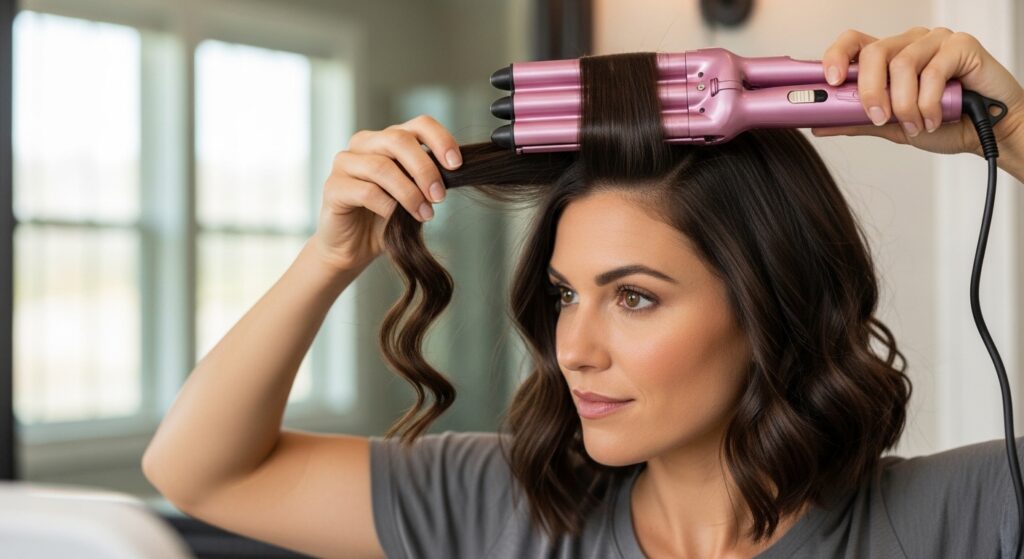
How to Use a 3-Barrel Waver (The Softer Look)
This tool is incredibly intuitive. Take a section of hair and place it into the center of the three barrels. Clamp and hold for 8-10 seconds.
Release, then move down the hair shaft, placing the next section into the barrels so the pattern continues seamlessly. This creates a beautiful, flowing wave with built-in texture, perfect for a “glitchy glam hair” effect.
Focusing on the Mid-Lengths to Ends
For the most modern take, concentrate the most defined crimping or waving from your mid-lengths down to your ends. You can even leave the very top layers of your hair smoother.
This technique prevents the style from looking too “helmety” or dated. It gives you that cool, piece-y finish where the texture is the star, but it feels intentional and fresh.
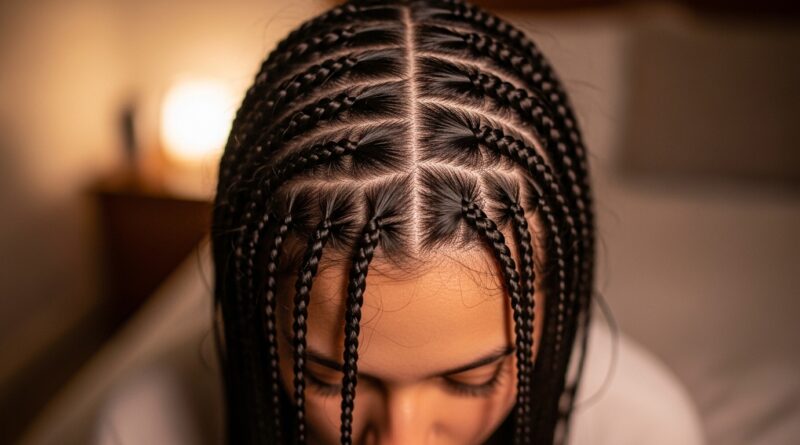
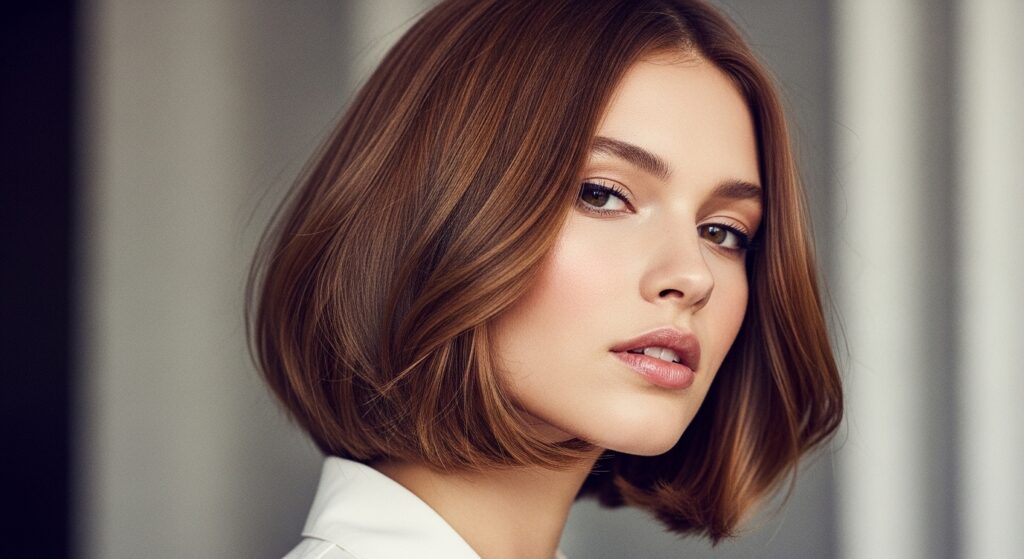
Adding Texture to Short Hair: Bobs & Lobs
This look isn’t just for long hair! If you have a “quiet luxury bob” or an “asymmetrical lob,” adding a little crimp is a game-changer. It gives fine hair unbelievable volume and makes a sharp cut look edgy and cool.
Just work on smaller sections with a smaller-barreled tool. Focus on the underlayers and ends to create a ton of body without losing the shape of your cut.
Styling the Top & Front Sections
Once the underneath is done, let down the top sections. For these, I often use a lighter touch. Maybe just wave the very ends or add a few strategic crimps for frame your face.
You can also use a regular flat iron to smooth the very top for a polished root, leading into the textured ends. This contrast is very chic and aligns with 2026 hairstyles predictions focusing on mixed textures.
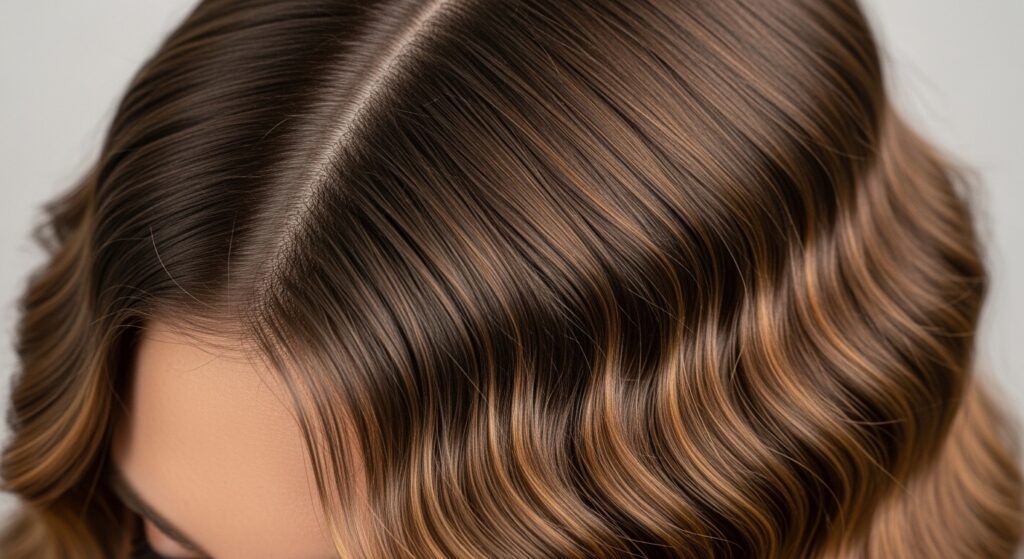
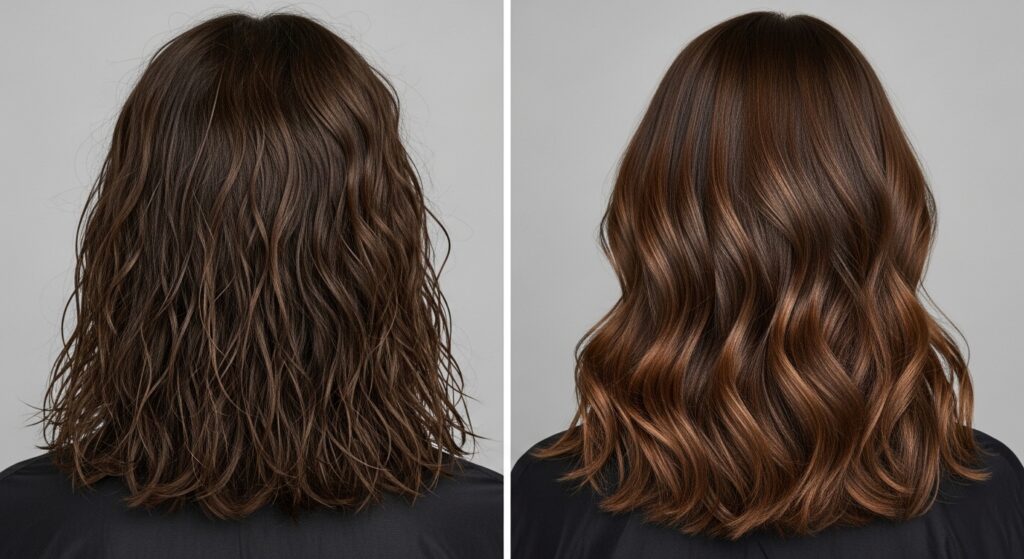
The Magic of Brushing It Out
This is the most important step for the modern look! Once your whole head is cooled, take a wide-tooth comb or a brush with flexible bristles. Gently brush through the waves.
You’ll see the sharp crimp lines soften instantly into beautiful, tousled, voluminous waves. Brush until you achieve your desired level of softness. This makes it look like you were born with amazing texture.
Locking the Style with the Right Products
To make your hard work last, a light-hold hairspray is your best friend. Hold the can about 10 inches away and mist all over. Focus on the mid-lengths where friction might cause frizz.
For a piece-y, separated finish, you can also rub a tiny drop of hair oil or pomade just on the very ends. This adds definition and a touch of shine without weighing down the volume.
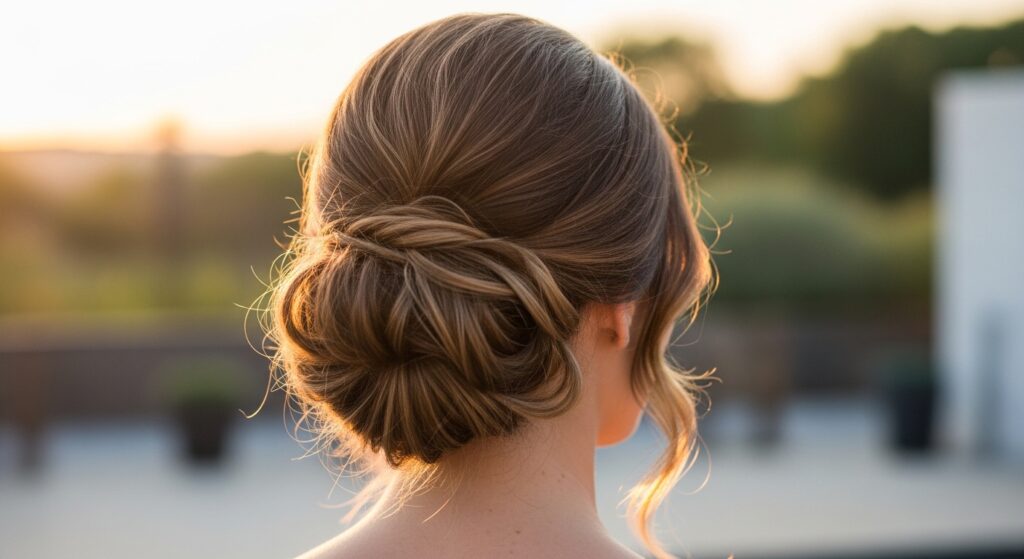
Creating Romantic, Undone Updos
These waves make the best base for updos. Pull your hair into a loose, low bun or a messy ponytail. Let some textured pieces fall around your face.
The crimping gives the updo so much more body and visual interest. It takes a simple style from basic to “romantic goth hairstyles” territory with zero extra effort. It’s effortlessly beautiful.
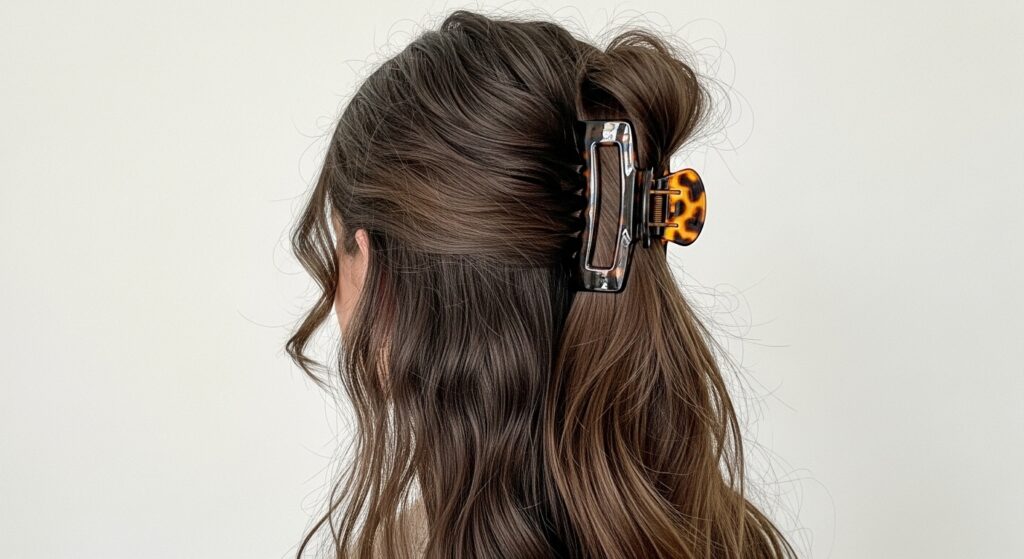
Half-Up, Half-Down Perfection
This is my go-to weekend style. Simply gather the top section of your crimped hair and secure it with a claw clip or a scrunchie at the back of your crown.
Gently pull on the sections around your face and the bun for extra volume. The texture from the crimping makes the half-up style look full and intentional, not flat or sparse.
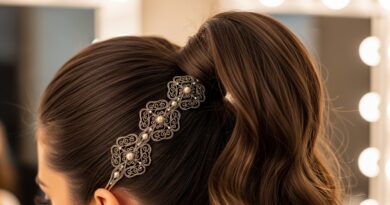
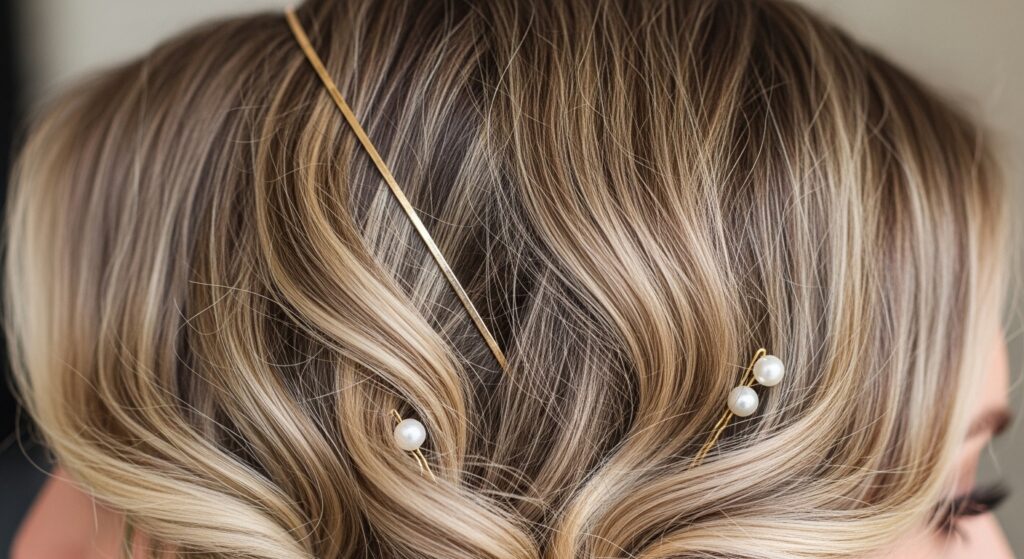
Accessorizing Your Textured Waves
Accessories pop against this texture. Think slim headbands, silk scarves tied as headbands, or even a few well-placed bobby pins. The texture gives accessories something to grip and contrast against.
It’s a great way to lean into different aesthetics, from boho to a touch of “vampire haircut” drama with some dark, ornate clips. Have fun with it!
What to Do with Second-Day Hair
The beauty of this style? It gets better on day two! If your waves have fallen, simply spritz a mix of water and a leave-in conditioner in sections.
Re-crimp or wave a few random pieces, focusing on the top layer and face-framing areas. You don’t need to re-do your whole head. The mix of old and new texture creates incredible depth.
Avoiding These Common Mistakes
- Too Much Heat: Don’t hold the tool too long. Start with a lower temp (around 300°F) and increase only if needed.
- Perfectionism: Uneven sections and slightly varied patterns look better. Embrace the imperfection.
- Skipping Brushing: Please, don’t forget to brush it out! This is what makes it modern.
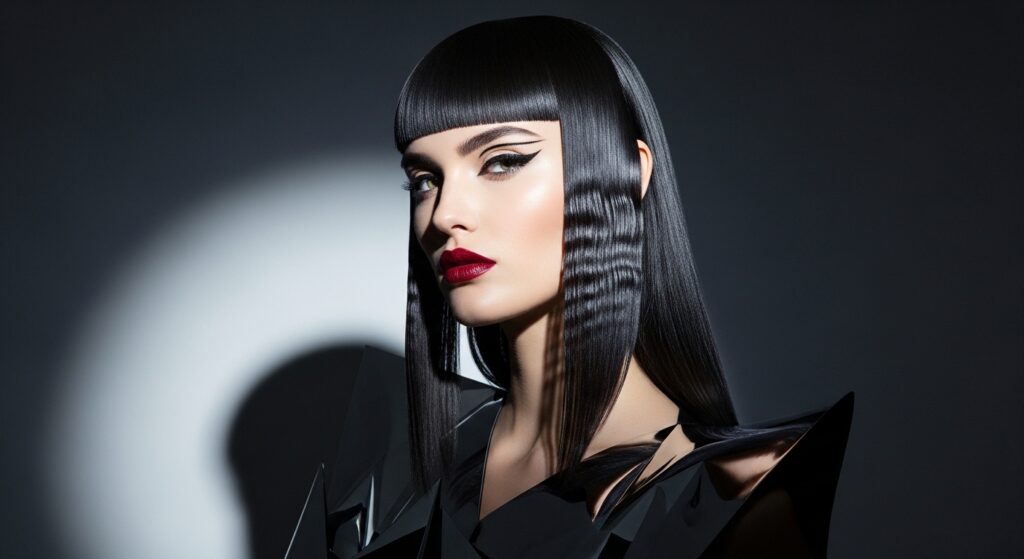
How This Trend Fits with Hime Cuts & Vampire Styles
If you love the dramatic shape of a “hime cut” or the edgy vibe of a “vampire haircut,” adding crimped texture is a phenomenal twist. It amplifies the boldness of the cut.
For a hime cut, crimping the long front sections adds a ton of visual weight and drama. For a shaggy vampire cut, it enhances the layered, piece-y effect perfectly. It’s all about amplifying your chosen style.
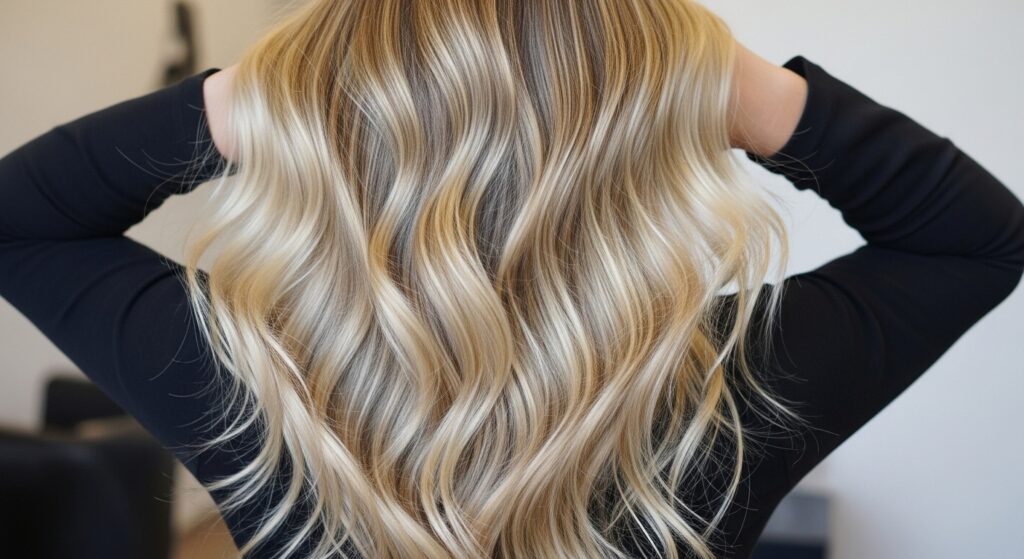
Making Fine Hair Look Incredibly Thick
If you have fine or thin hair, this technique is a miracle worker. The crimping process creates physical volume and texture that lasts. It makes every strand look thicker.
Just be sure to use a volumizing mousse at the roots and avoid heavy products that can weigh hair down. You’ll be shocked at the transformation in your hair’s body.
Taming the Frizz for a Polished Look
If you’re prone to frizz, your prep and finishing products are key. Use a smoothing serum or cream before styling, but apply it only from mid-lengths to ends.
After brushing out, you can run a very small amount of anti-frizz serum over the top layer to polish the look. The goal is controlled texture, not flyaways.
My Favorite Drugstore Products for This Look
You don’t need expensive stuff. A reliable heat protectant, a affordable mousse for grip, and a flexible-hold hairspray are the trio. Brands like Not Your Mother’s, L’Oreal, and Aussie have fantastic options.
For the tool, I recommend the Revlon 3-Barrel Waver or the Bed Head Wave Artist. They’re budget-friendly and get the job done beautifully.
When to Skip Heat: No-Heat Crimping Options
No heat tool? No problem. Try “braid crimping.” After showering, put your hair in several small braids. Let it air dry or blow dry on cool.
When you take them out, you’ll have a softer, more bohemian version of the crimped wave. Spritz with sea salt spray for extra texture. It’s a perfect, healthy alternative.
Your Final Checklist Before You Start
- Hair is completely dry and detangled.
- Heat protectant is applied.
- Tool is heated to the right temperature (300-350°F).
- Hair is neatly sectioned.
- You have a wide-tooth comb ready for brushing out.
- You’ve set aside 30 minutes of fun “you time.”
And just like that, you’ve got a hairstyle that taps into the best of the 90s but feels completely right for today. It’s playful, it’s easy, and it gives you that “I-woke-up-like-this” volume we all dream of.
I love how beauty trends come back around, giving us a chance to relive the fun parts with all the new tricks we’ve learned. This look is a perfect example—all the cool, none of the crunch.
So go ahead, play with texture this week. Twist it, accessorize it, and make it your own. I’d love to hear how it goes for you! Did you try the 3-barrel method or the classic crimper? What’s your favorite way to wear it?
Save this post to Pinterest to keep this guide handy for your next style session. Tag me in your pics—I live for seeing you try these tutorials!