20 Hairstyles That Make Naturally Thin Ends Look More Substantial and Balanced
If your hair looks full at the roots and then quietly disappears somewhere around your shoulders, you are not alone. Thin ends are one of the most common things readers email me about, and honestly, they are one of the easiest things to style around once you know the trick.
The secret is not fighting your hair. It is moving weight, adding texture, and putting visual bulk exactly where your strands get shy.
Below are 20 cuts and styles that make naturally thin ends look more substantial and balanced, from the quiet luxury bob to romantic goth hairstyles to the 2026 hairstyles everyone keeps asking about.
Pick two or three, try them this week, and watch how different your hair feels.
1. Blunt Ends First: The Single Biggest Fix

If you change only one thing, change your hemline. A blunt cut turns thin, see-through ends into one solid, visible line of hair. No taper. No wispy tips.
Ask your stylist for a blunt or soft-blunt cut at your collarbone or shoulders. Want movement? Ask for a touch of softness in the last inch, not layers.
- Best on: fine, straight to slightly wavy hair
- Skip if: your hair is very thick and puffs out
- Maintain: trim every 8 to 10 weeks
2. The Quiet Luxury Bob
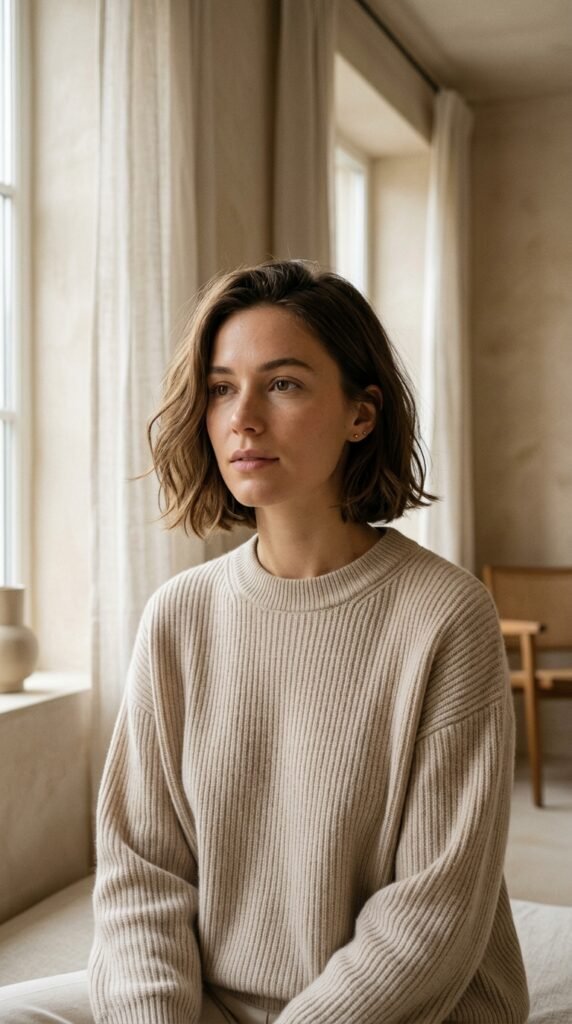
The quiet luxury bob is everywhere right now, and it happens to be perfect for thin ends. It sits above the shoulders, so your hair never has to travel far enough to thin out.
Ask for a chin-to-jaw length bob with a blunt bottom edge and almost no layering. That blunt edge is what reads as expensive and full.
- Style it: blow-dry with a round brush, curl ends slightly under
- Skip the flat iron on the last inch
- Add a middle or slight side part for polish
3. Old Money Hair With Soft, Polished Ends
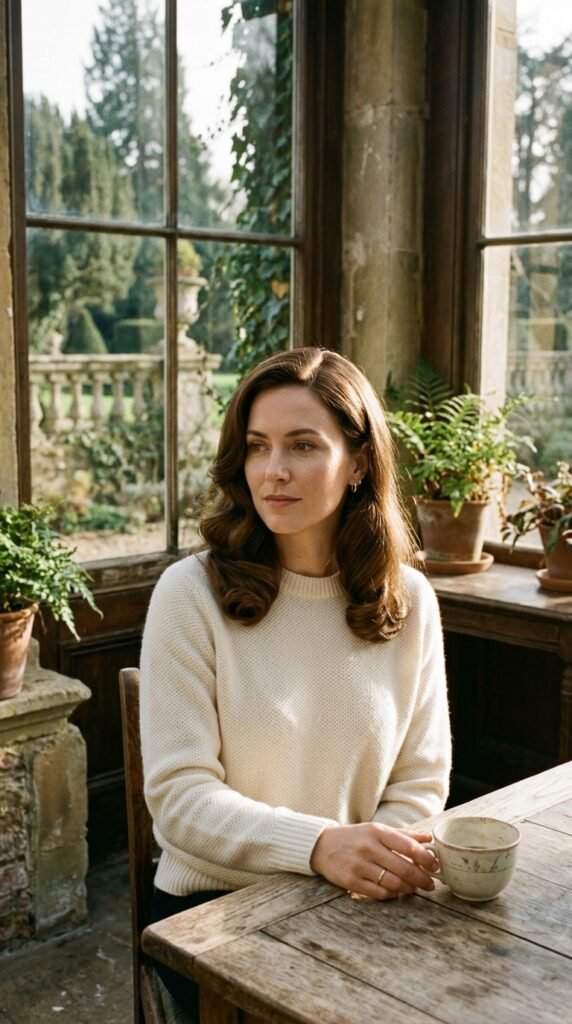
Old money hair is basically one rule: smooth, glossy, and never frizzy. When your ends are thin, shine is your best friend because it makes each strand look thicker.
Go for a one-length cut, then style with a large-barrel iron for soft bends starting at the jaw, not the tips. Keep the ends smooth and heavy.
- Use a heat protectant and a drop of lightweight oil
- Roll ends under and away from your face
- Finish with a light shine mist, never a heavy spray
4. The Asymmetrical Lob for Weight Shifting

An asymmetrical lob is sneaky smart for thin ends. By cutting one side shorter, you create a diagonal line that tricks the eye into seeing more density than there really is.
Ask for a longer front piece that angles down past the collarbone on one side, with blunt edges. The contrast does the work.
- Keep both sides blunt, not layered
- Part slightly off-center
- Great for growing out a bob
5. The Hime Cut for Chunky, Intentional Ends
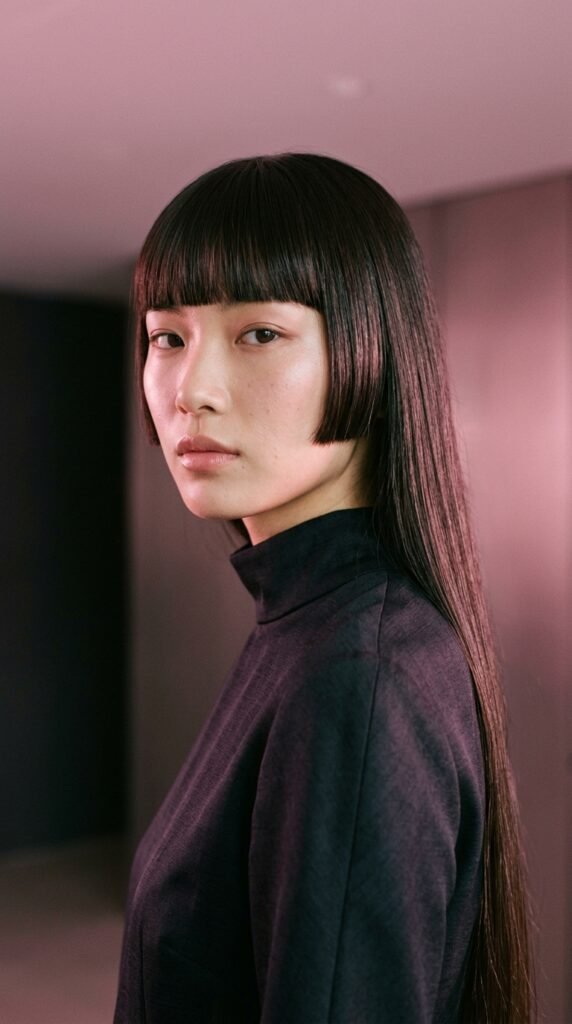
The hime cut is one of the most underrated styles for thin ends. It pairs short, blunt face-framing sidelocks with longer hair in the back, so your eye reads those solid chunky pieces as fullness.
It looks intentional, a little dramatic, and extremely 2026.
- Ask for blunt sidelocks around cheek to jaw length
- Keep the back one length or very lightly layered
- Straight, sleek styling works best
6. The Vampire Haircut for Sharpness and Shape

The vampire haircut gets its name from those sharp, flowing layers around the face. It works for thin ends because most of the volume and weight lives up near your cheekbones and jaw.
The ends stay long, but they are no longer the star of the show. Your face framing is.
- Request long, angled layers starting at the cheekbone
- Keep the perimeter blunt so ends stay solid
- Style with a middle part and soft bend
7. Romantic Goth Hairstyles With Layered Drama
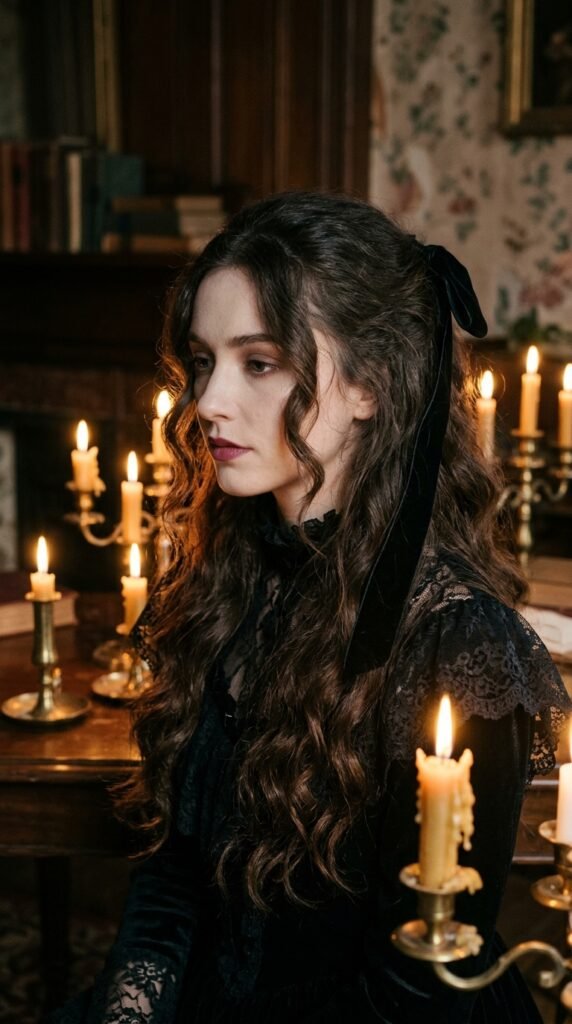
Romantic goth hairstyles are having a moment, and they are surprisingly kind to thin ends. Think soft, brushed-out waves, deep side parts, and ribbons or lace woven through the hair.
The texture itself adds bulk. When hair is wavy instead of stick-straight, every strand overlaps and looks denser.
- Try a deep side part with one side pinned back
- Add a velvet ribbon or small lace clip
- Use a texture spray at the mid-lengths, not the ends
8. Glitchy Glam Hair for Texture and Edge
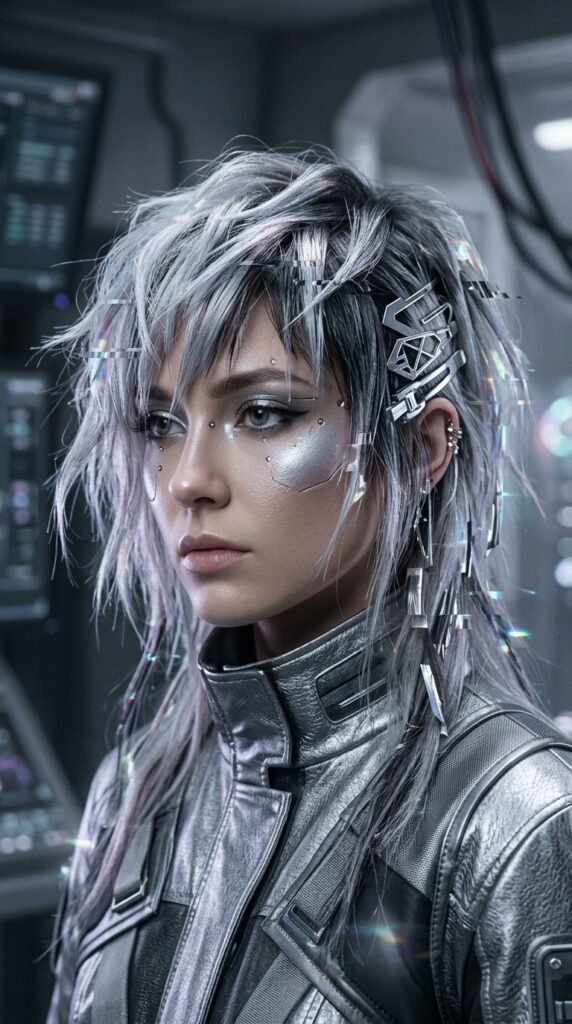
Glitchy glam hair is the fun, slightly chaotic trend that mixes sleek roots with piecey, broken-up texture. For thin ends, that piecey look is gold, because separation reads as volume.
Keep the roots smooth and glossy, then add texture from the mid-lengths down with a light cream or sea salt mist.
- Sleek top, messy bottom
- Add one metallic clip or two
- Scrunch, do not brush, the ends
9. Curtain Bangs to Pull Focus Upward

Curtain bangs are the fastest way to move attention away from your ends. They frame your eyes and cheekbones, so nobody is staring at your tips.
Ask for a long, soft curtain bang that blends into your length. Short, choppy bangs on fine hair can backfire.
- Keep the shortest point at your cheekbone
- Blow-dry them outward with a round brush
- Trim every 4 to 6 weeks
10. The Half-Up Twist That Hides Sparse Ends
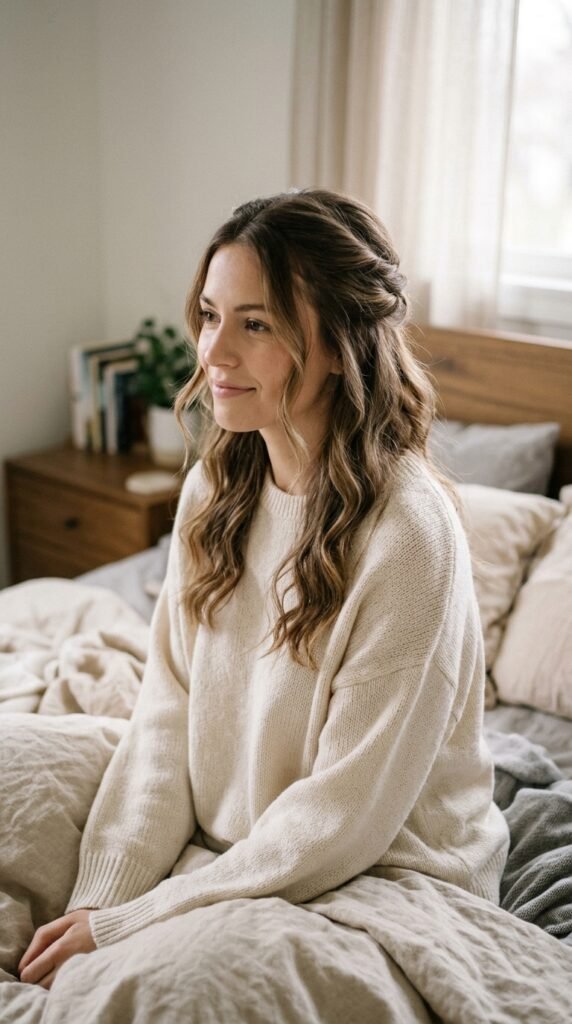
Half-up styles are the quiet heroes here. You gather the top section, twist or braid it, and pin it back, which lifts everything and hides the thin parts near your ends.
It takes about 90 seconds and looks like you tried.
- Take a section from above each ear
- Twist both pieces toward the back
- Pin loosely and pull the crown up slightly
11. Low Sleek Ponytail With a Wrapped Base
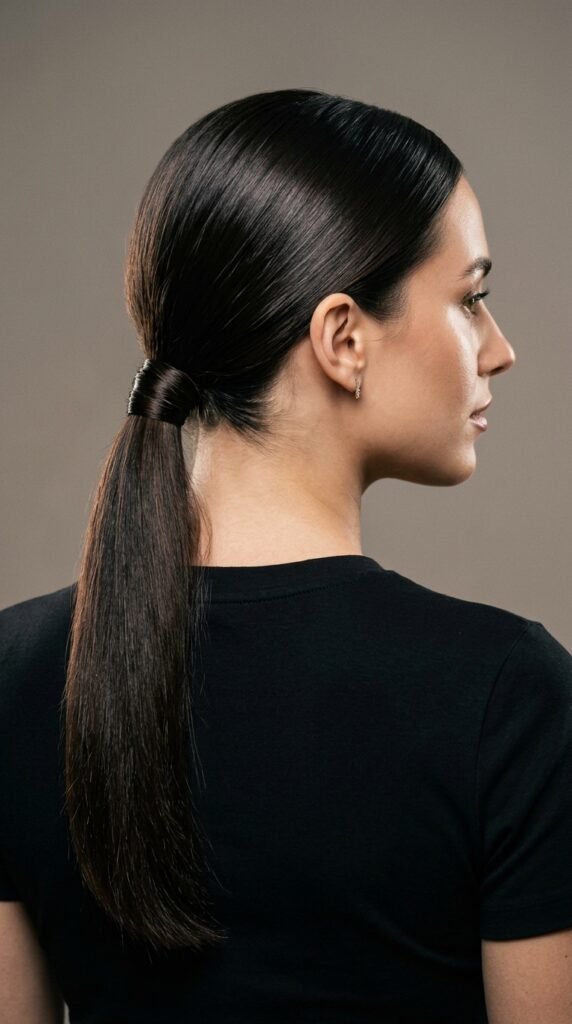
A low ponytail is a classic for a reason, but the wrapping trick is what makes it work for thin ends. Wrapping a strand of hair around the base hides the elastic and adds bulk exactly where you need it.
Keep the ponytail low, smooth, and slightly puffed at the crown so it does not look flat.
- Use a small clear elastic, then wrap a strand over it
- Pin the wrap underneath
- Gently pull the crown up for height
12. Textured Low Bun With Loose Pieces

A low bun gathers every thin end into one spot, and that alone makes your hair look fuller. The trick is keeping it textured instead of tight.
Pull out a few face-framing pieces and gently loosen the bun so it looks fuller than it is.
- Start with second-day hair or add dry texture spray
- Twist, do not smooth, the hair into the bun
- Pin loosely and tug the edges out
13. Claw Clip Twist for Instant Volume
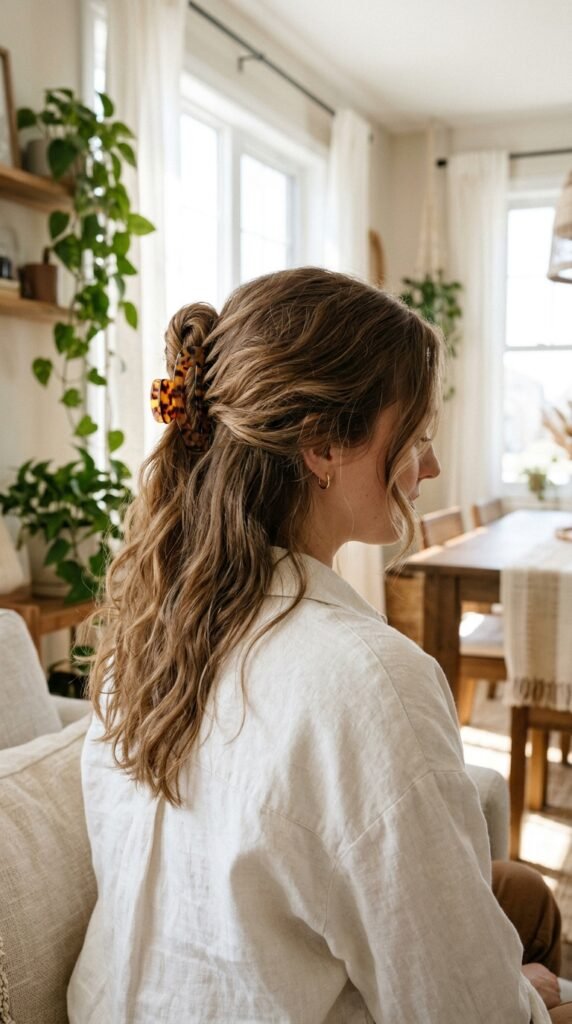
The claw clip twist is my go-to when my ends look sad and I have three minutes. You twist your hair up, clip it, and suddenly everything looks intentional and full.
Bonus: the clip itself adds visual weight near your head, which balances thin ends beautifully.
- Gather hair like you are making a low ponytail
- Twist upward until it folds on itself
- Clip at the base and pull out two small pieces
14. Bubble Braids for Visual Weight

Bubble braids are basically a ponytail with little elastics spaced down the length. Each section puffs out, so the whole style looks thick and bouncy.
They are perfect for thin ends because the elastics create the illusion of density all the way down.
- Use small clear or matching elastics
- Gently pull each section for roundness
- Works on straight or wavy hair
15. Rope Braids and Fishtail Ends

Braids are a cheat code for thin hair. A loose rope braid or a soft fishtail takes every strand and stacks it, so the braid itself looks thick and substantial.
Keep it loose and messy rather than tight and polished. Tension is what makes braids look thin.
- Braid loosely, then gently pull the edges
- Leave a few face-framing pieces out
- Pin the tail under if the ends taper
16. Soft Bendy Curls Instead of Tight Ringlets
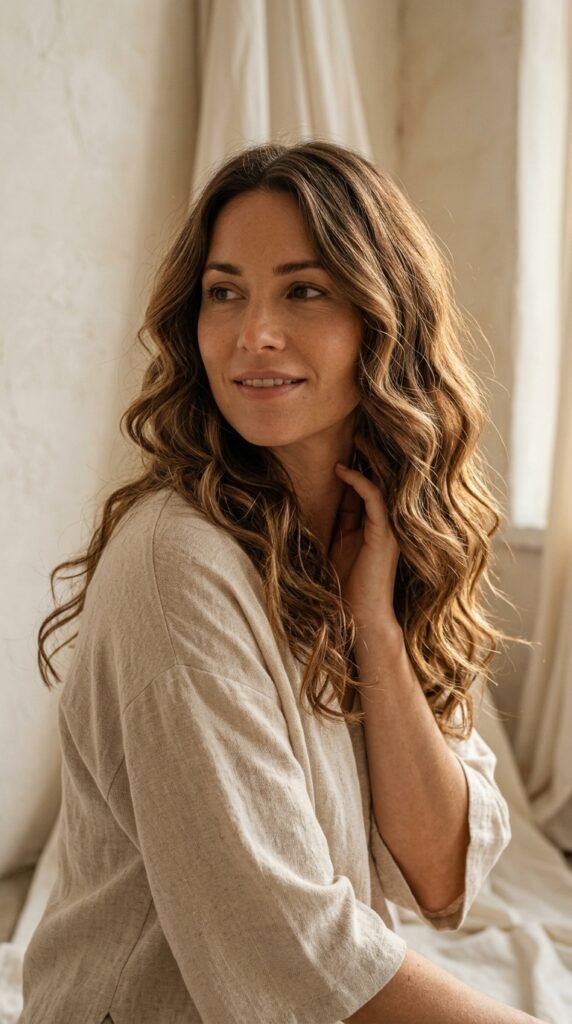
Tight curls on thin hair can look stringy. Soft, bendy waves are the answer. They create width and shadow, which reads as thickness.
Use a one-and-a-quarter inch barrel and wrap from the mid-length down, leaving the last inch alone.
- Wrap away from your face on both sides
- Let curls cool before touching them
- Brush through with fingers for a soft finish
17. Velcro Rollers on the Ends Only
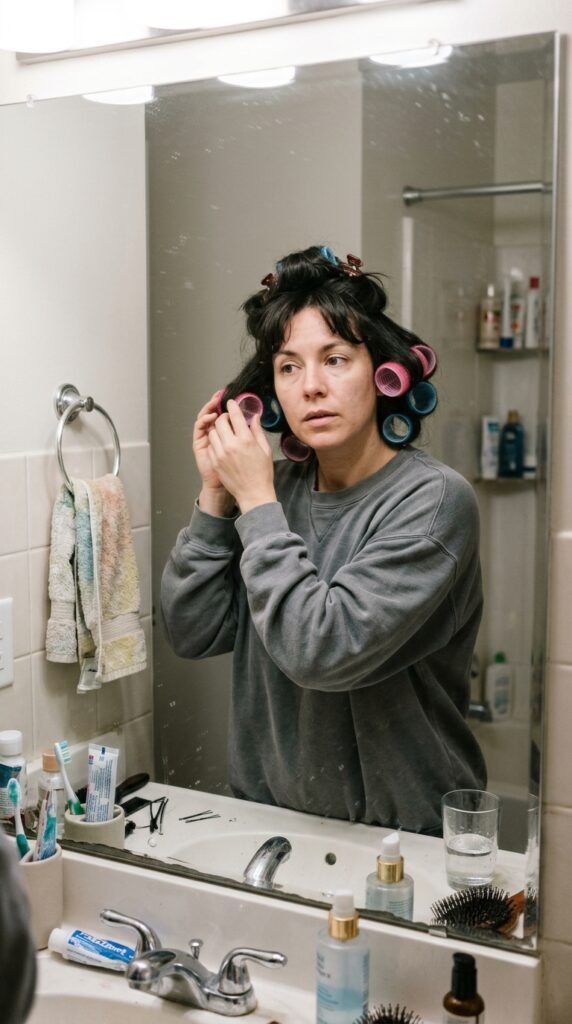
This is the oldest trick in my book and it still works. Velcro rollers on just the last two inches give your ends a soft, thickened bend instead of a flat, wispy finish.
Leave them in while you do your makeup, then take them out and shake.
- Roll the ends under toward your face
- Leave in for 10 to 15 minutes
- Remove and comb through gently with fingers
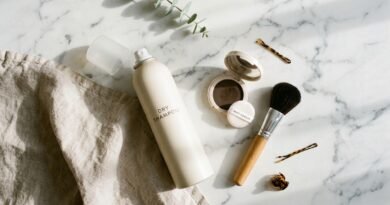
18. Root Lift and Dry Shampoo: Volume Where It Counts
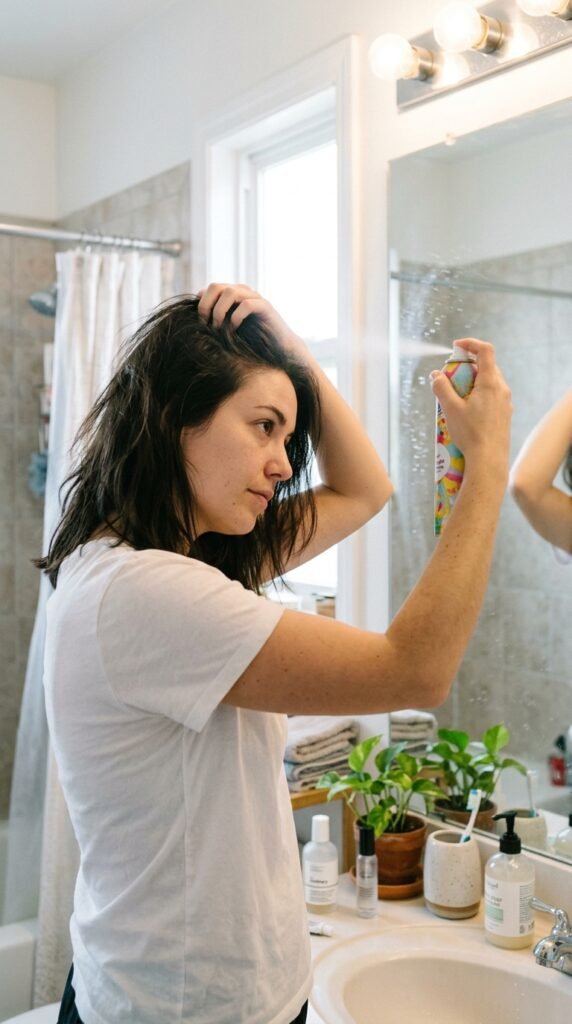
Thin ends look thinner when your roots are flat. Volume up top changes the entire balance of your hair, so the ends feel like a natural taper instead of a problem.
Dry shampoo is not just for greasy hair. It also adds grit and lift.
- Spray at the roots, not the ends
- Wait two minutes, then massage with fingertips
- Blow-dry upside down for extra lift
19. Shadow Roots and Gloss for a Fuller Look
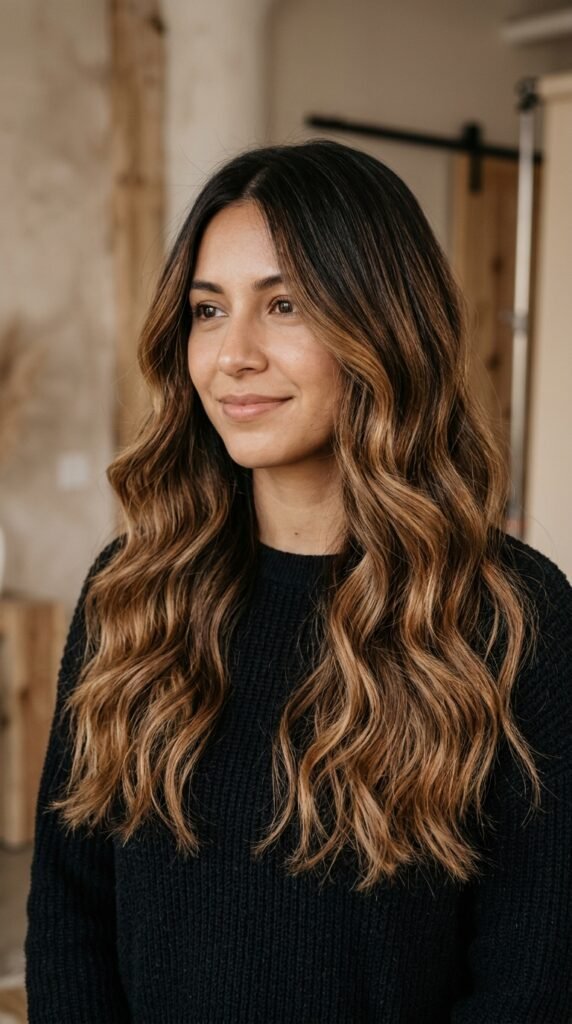
Color can absolutely change how thick your hair looks. High-contrast highlights on thin ends make them look even thinner, but a soft shadow root does the opposite.
Darker roots with a gentle transition into a slightly lighter end keeps your hair looking grounded and full. Add a gloss for shine.
- Ask for a soft root melt, not harsh highlights
- Skip platinum on the ends
- Book a gloss every 6 to 8 weeks
20. Silk Scarves, Barrettes, and Headbands
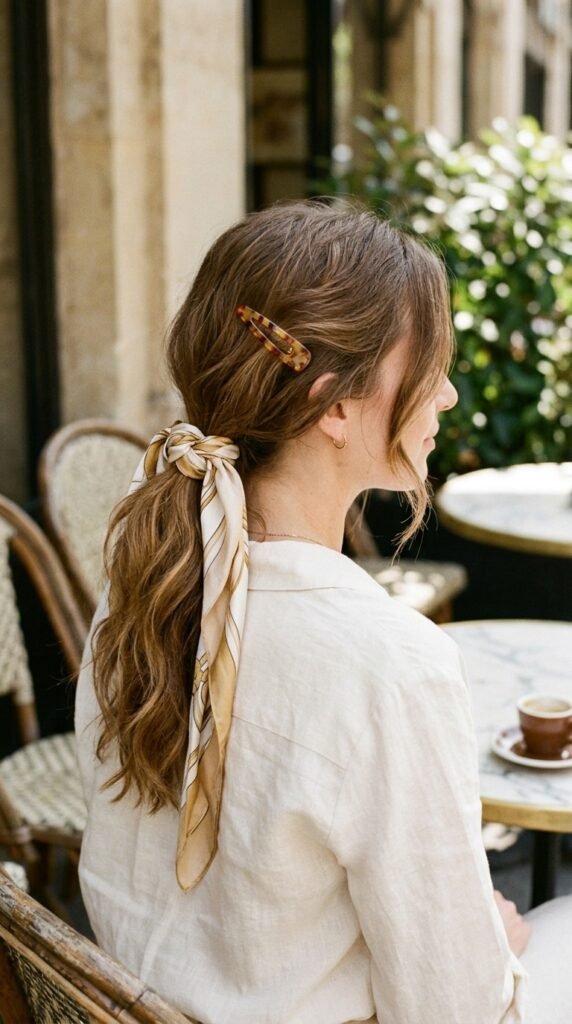
Accessories are the fastest fix of all. A silk scarf, a chunky barrette, or a padded headband adds weight and interest up top, so your eye never lands on the thin parts.
They also make simple styles look styled, which matters when your hair needs a little help.
- Choose accessories with some size, not delicate ones
- Place them at the crown or above one ear
- Match the tone to your hair color for a seamless look
A Little Pep Talk Before You Pick Up the Scissors
Thin ends are not a flaw you have to hide. They are just one detail of your hair, and there are about twenty ways to work with them instead of against them.
Start small. Try a blunt trim, swap your iron for velcro rollers, and see how much changes in a week.
Then if you are ready for a bigger shift, bring a screenshot of the quiet luxury bob or the hime cut to your stylist and ask what would suit your hair texture best.
Save this post to Pinterest so you have it handy next time you book a salon appointment, and tell me in the comments which one you are trying first. I read every single one.