20 Creative Hair Parting Ideas That Change Your Look Without Cutting Length
I used to think a big hair change meant a big chop. Then I learned something that honestly changed my whole routine: where you part your hair does more for your face than two inches off the ends.
The right part can lift your cheekbones, soften a strong jawline, add volume where your hair falls flat, and make the same haircut look brand new. No salon appointment. No scissors. Just a comb and about sixty seconds.
Below, I’m sharing 20 creative parting ideas that change your look without touching your length. We’re talking 2026 hairstyles, old money hair, quiet luxury bob energy, glitchy glam hair, and more.
Grab a mirror and a fine-tooth comb. Let’s find your part.
1. The True Middle Part

The middle part is everywhere in 2026, and for good reason. It’s symmetrical, it’s classic, and it makes almost any haircut look intentional.
It flatters oval and heart-shaped faces because it balances the forehead and chin. It also shows off blunt cuts, a hime cut, or any style with sharp lines.
- Comb damp hair straight back, then split with a comb, not your fingers
- Set with a light mist of hairspray so it stays centered
- Add root lift with a round brush if it falls flat
2. The Deep Side Part (Old Money Hair)

The deep side part is old money hair in one move. It’s polished, grown-up, and instantly makes a simple outfit look expensive.
Place the part two to three inches off center, then sweep everything to one side. The trick is keeping the front smooth and the roots lifted.
- Blow-dry the front section up and over for volume
- Pin the sweep for two minutes while you finish your makeup
- Finish with shine spray, not heavy gel
It looks incredible with a quiet luxury bob or long layers.
3. The Soft Off-Center Part

If a middle part feels too severe and a deep side feels too formal, the soft off-center part is your sweet spot.
You part about half an inch to one inch off center. It looks almost like a middle part, but it gently breaks the symmetry, which is why it flatters so many face shapes.
This is my everyday go-to. It works on curly hair, straight hair, and grown-out bangs, and it hides a cowlick better than anything else.
4. The Zigzag Part
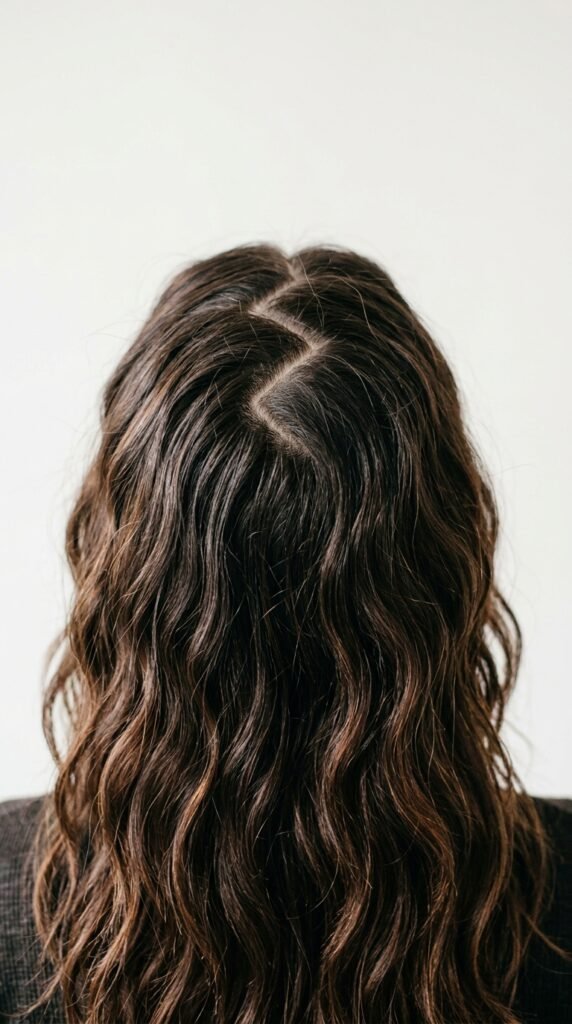
The zigzag part is back for 2026, and it’s softer than you remember. Instead of a sharp line, you create a small switchback pattern with the tail of a comb.
It’s a great trick for hiding a widening part, adding instant root volume, and making hair look fuller at the crown.
- Start at your hairline with the comb tail
- Move up in small zigzags, about an inch at a time
- Fluff the roots with your fingers, then spray
Perfect for fine hair and second-day styles.
5. The Criss-Cross Part
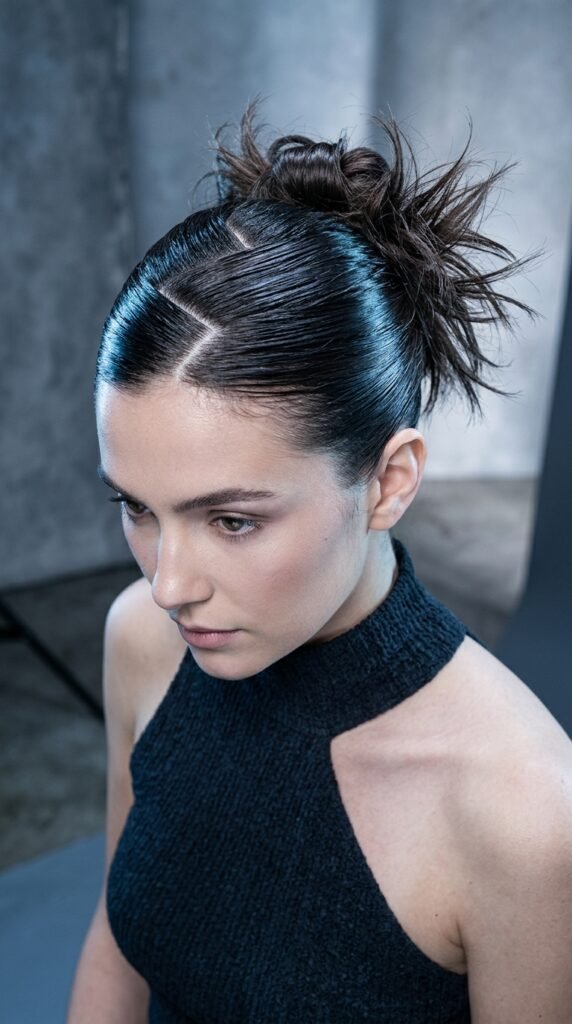
The criss-cross part is the zigzag’s sleeker cousin. You part your hair on one side, then cross over into a second part a few inches back.
It reads as intentional but a little undone, which is exactly the energy behind glitchy glam hair.
Try it with a slick front and a messier back for contrast.
- Keep the front two sections flat and smooth
- Cross at the crown so the switch is hidden
- Use strong-hold gel on the front only
6. The Micro Part
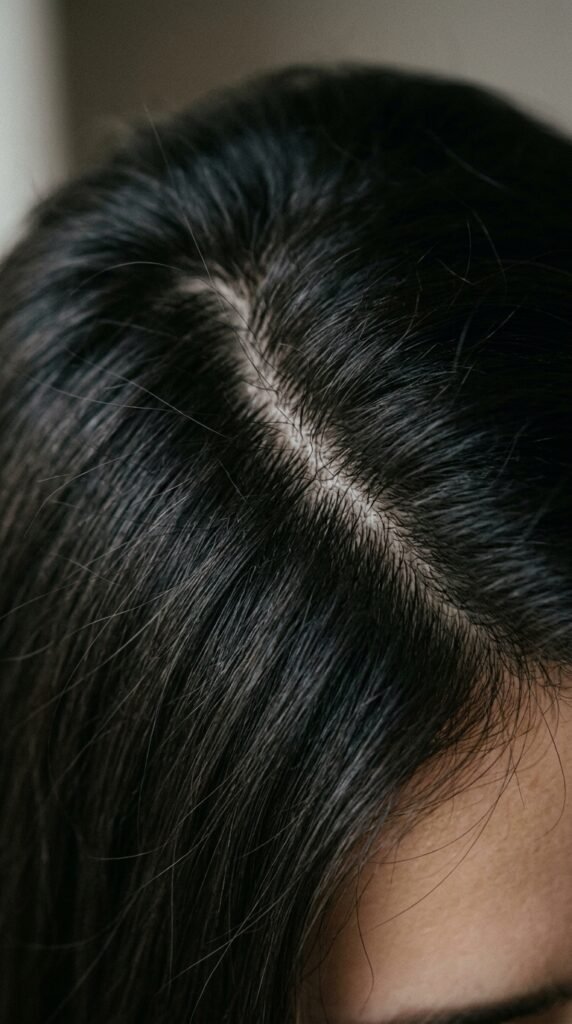
The micro part is a tiny sliver of a part, maybe a quarter inch wide, placed just off center. It’s subtle, but it changes how your hair sits around your face.
Celebrities lean on this one when they want a fresh look without anything obvious. It’s basically invisible styling.
It’s also a lifesaver if you’re growing out a middle part and the hair won’t cooperate yet.
- Use a rat-tail comb for clean lines
- Keep the rest of your hair smooth so the part speaks
7. The Curved Swoop Part
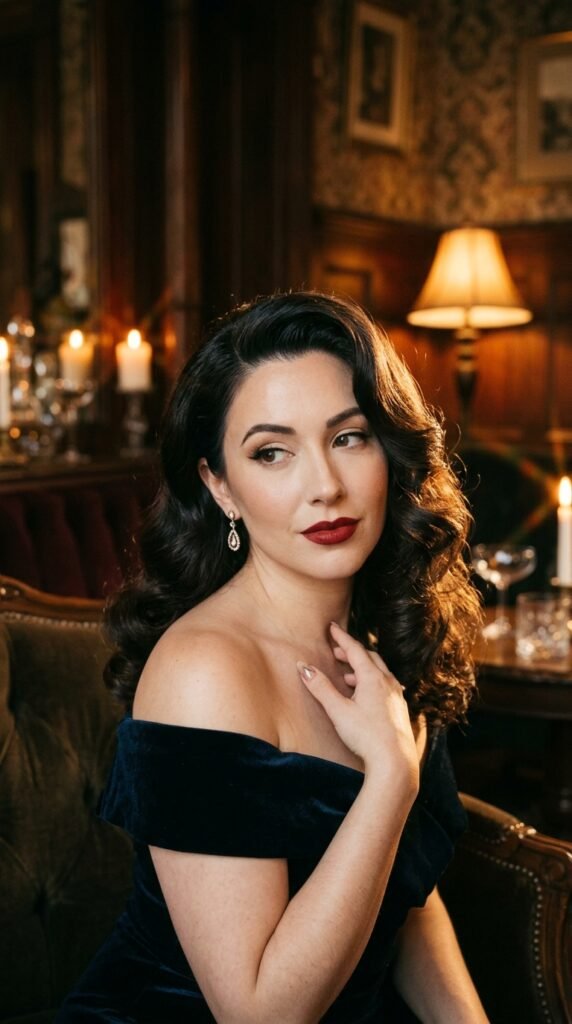
A curved part means the line isn’t straight. It bends gently toward your temple, so you get a soft swoop over the forehead instead of a hard line.
It’s romantic, a little retro, and it works beautifully on round and square faces because the curve softens angles.
- Part your hair slightly off center
- Curve the line with a comb as you move toward your temple
- Blow-dry the front section up and back, then let it fall
8. The Diagonal Part

Instead of a line that goes straight back, the diagonal part angles toward the back of your head. It adds height at the crown and narrows the forehead.
This is a great pick for round faces and short haircuts, because the diagonal draws the eye upward and makes the face look longer.
Pair it with a blowout for the biggest effect.
- Start at your natural part
- Angle the comb toward your crown
- Lift the roots as you dry for volume
9. The Low Part for a Quiet Luxury Bob

A quiet luxury bob lives on clean lines and soft shine. The part that makes it work is usually a low side part, placed just past the arch of your brow.
Why low? Because it keeps the front sleek and lets the cut do the talking. Higher parts can make a short bob look bulky.
- Comb the front flat against your head
- Tuck one side behind the ear
- Finish with a light hair oil for shine, not crunch
Simple, expensive-looking, done.
10. The Hime Cut Part
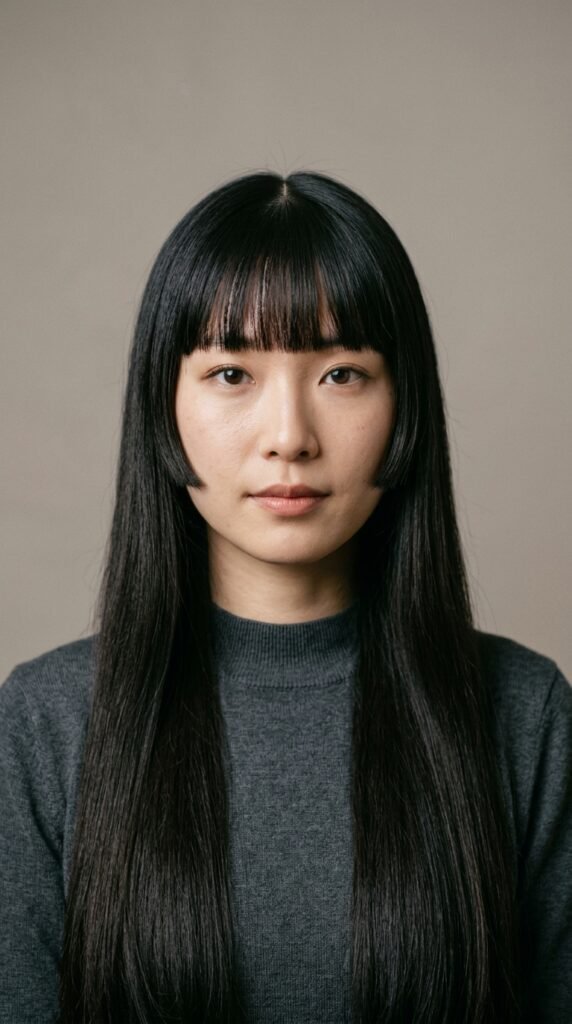
The hime cut is that Japanese-inspired style with blunt cheek-length side pieces and long hair in the back. The part is almost always dead center.
That center line is what makes the whole shape look symmetrical and elegant. If your part is crooked, the blunt side pieces look uneven.
- Flat-iron the side pieces straight down
- Keep the center part crisp with a comb
- Smooth flyaways with a tiny bit of serum
It’s big in 2026 and very photogenic.
11. The Vampire Haircut Part
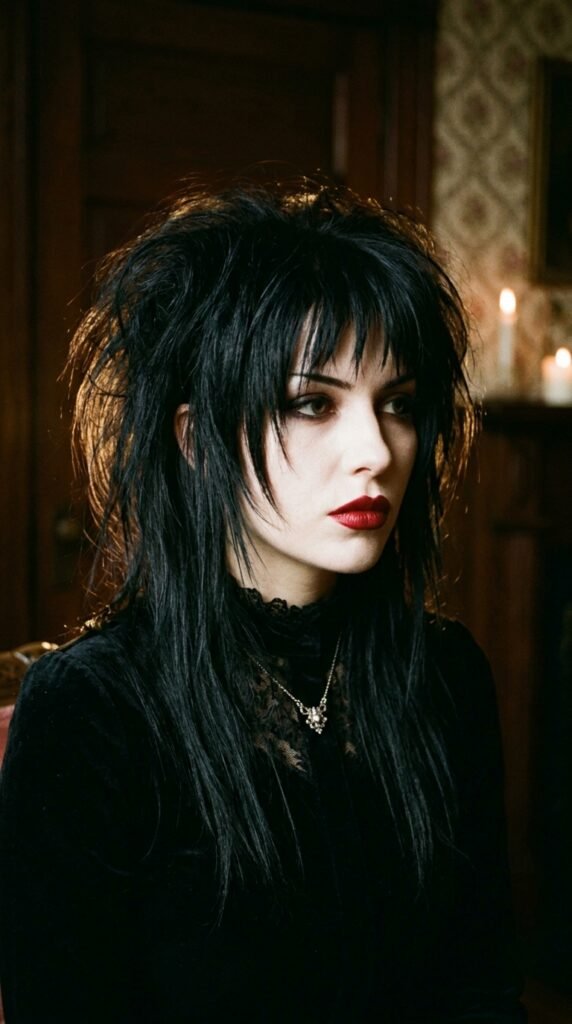
The vampire haircut is all about drama: sharp layers, volume at the crown, and a part that makes the shape feel deliberate. A middle part or a deep side both work.
Go middle for a severe, gothic look. Go deep side for a softer, more romantic version of the same vibe.
- Middle part plus lifted roots equals classic vampire
- Deep side part plus a swoop equals modern vampire
- Either way, keep the ends pointed and defined
12. The Asymmetrical Lob Part

An asymmetrical lob already has different lengths on each side. Your part should highlight that instead of fighting it.
Try a deep side part on the shorter side. It makes the longer side feel intentional and adds movement right around your jaw.
- Part deep on the side with less length
- Sweep the longer side forward
- Use texturizing spray for a lived-in finish
13. The Glitchy Glam Part
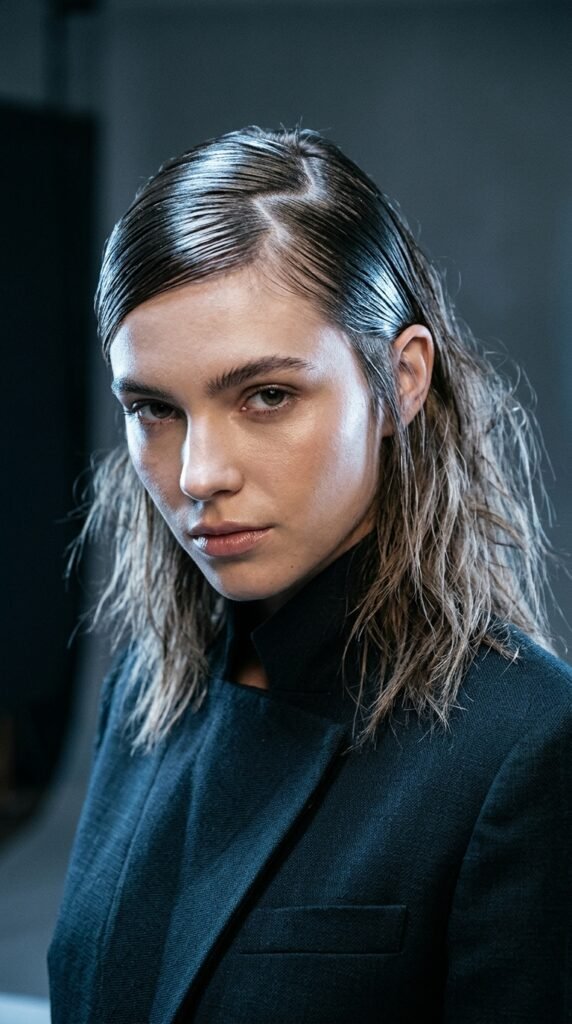
Glitchy glam hair is playful and a little off. The part is part of the effect: slightly crooked, crossed, or split in two spots.
It works best on sleek hair with one messy element. Think glassy front, textured ends.
- Slick the front with gel
- Create an uneven part with your comb
- Scrunch the ends and let them dry wild
It sounds odd, and it looks amazing.
14. The Romantic Goth Part

Romantic goth hairstyles are soft and moody, not harsh. Think velvet textures, loose waves, and a part that frames the face gently.
A middle part with face-framing pieces works beautifully here. So does a low side part with a soft sweep.
- Add loose waves with a large barrel iron
- Keep the part soft, not razor sharp
- Use a shine mist instead of a stiff spray
15. The Wet-Look Sharp Part
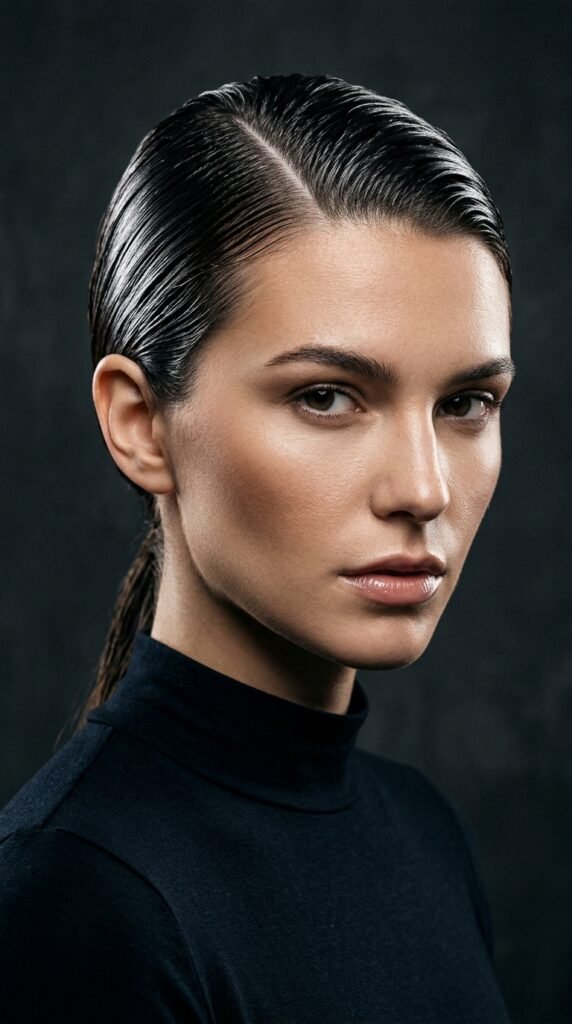
The wet look is everywhere in 2026, and the part is everything. This style only works when the line is clean and straight.
Use a fine-tooth comb and a gel with strong hold. Start at the front and comb back in one smooth motion.
- Work on damp hair, not soaking wet hair
- Comb the part first, then the rest
- Don’t touch it while it dries
16. The Messy “Wrong” Part

Sometimes the best part is the one you didn’t plan. The messy wrong part is off center, slightly crooked, and completely effortless.
It’s the antidote to over-styled hair, and it looks great with bedhead waves or a lived-in shag.
- Use your fingers, never a comb
- Leave a few strands out of place on purpose
- Add dry shampoo for grip and texture
17. The Braided Part

A braided part hides the line completely. You part a small section at the front and braid it back along your scalp.
It keeps hair out of your face, adds texture, and looks way harder than it is. A simple three-strand braid is enough.
- Part a one-inch section at the front
- Braid it along your part line toward the back
- Pin the end and fluff the rest of your hair
18. The Flipped Part
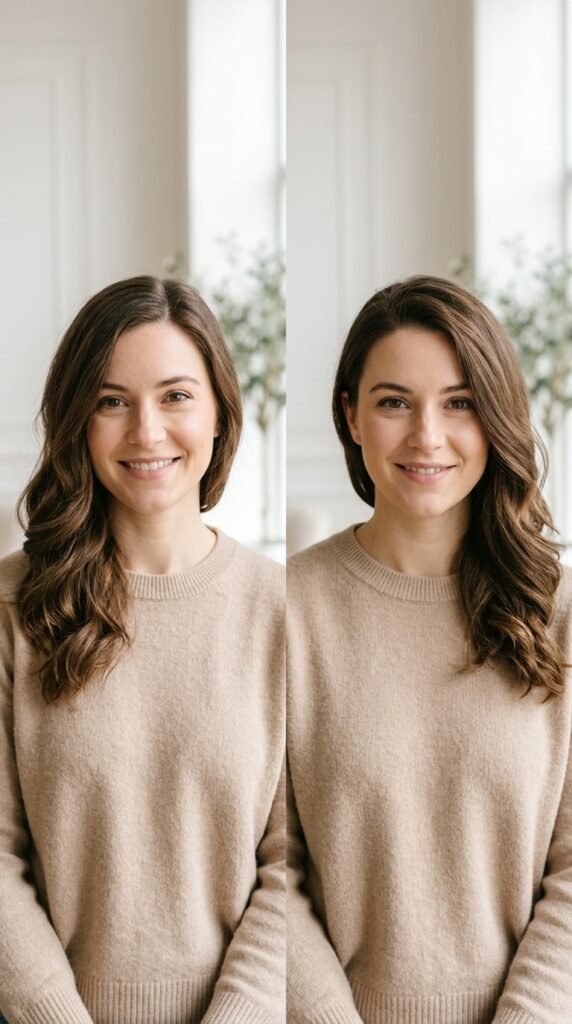
This one is free. Just flip your part to the other side. That’s it. Your hair has been trained in one direction for years, so flipping it gives you instant volume and a whole new face frame.
The first day looks a little wild. The second day looks incredible.
- Flip right after washing, while hair is damp
- Blow-dry the roots in the new direction
- Pin it for 10 minutes if it keeps falling back
19. The Curtain Bangs Split

If you have curtain bangs, your part is doing double duty. A center part makes them split evenly and frame your cheekbones.
A slightly off-center part makes them look softer and more lived-in. Both are great, so switch depending on your mood.
- Center for a polished, 70s-inspired look
- Off-center for a relaxed everyday feel
- Blow-dry bangs outward with a round brush
20. The Slicked Back No-Part
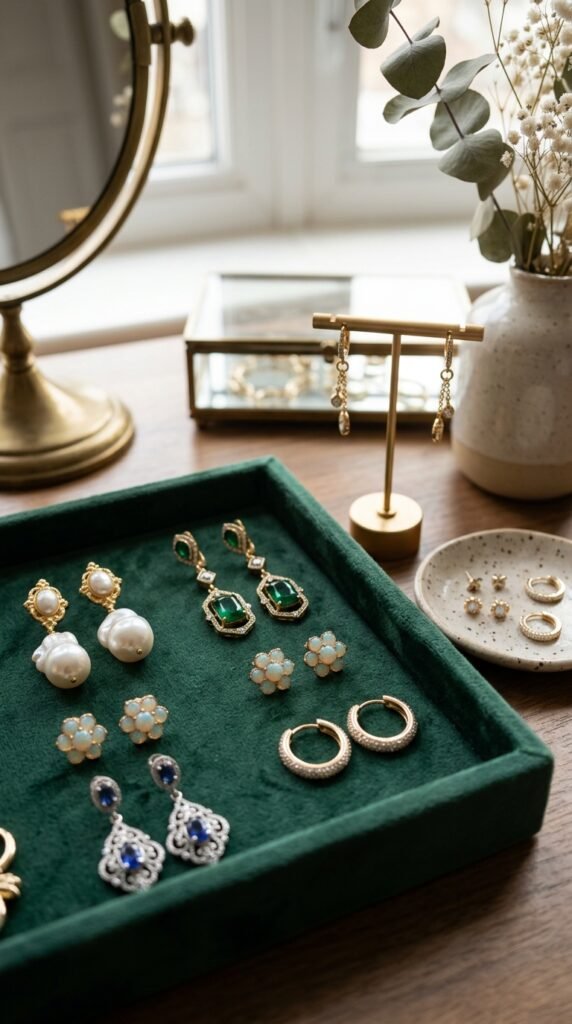
A no-part style means brushing everything straight back with no visible line at all. It’s sleek, modern, and surprisingly flattering.
It shows off your face completely, which is why it looks so good with bold makeup or statement earrings.
- Brush damp hair straight back with gel
- Use a boar-bristle brush for a smooth finish
- Secure with a clip while it sets
Bonus: The Double Part Trick
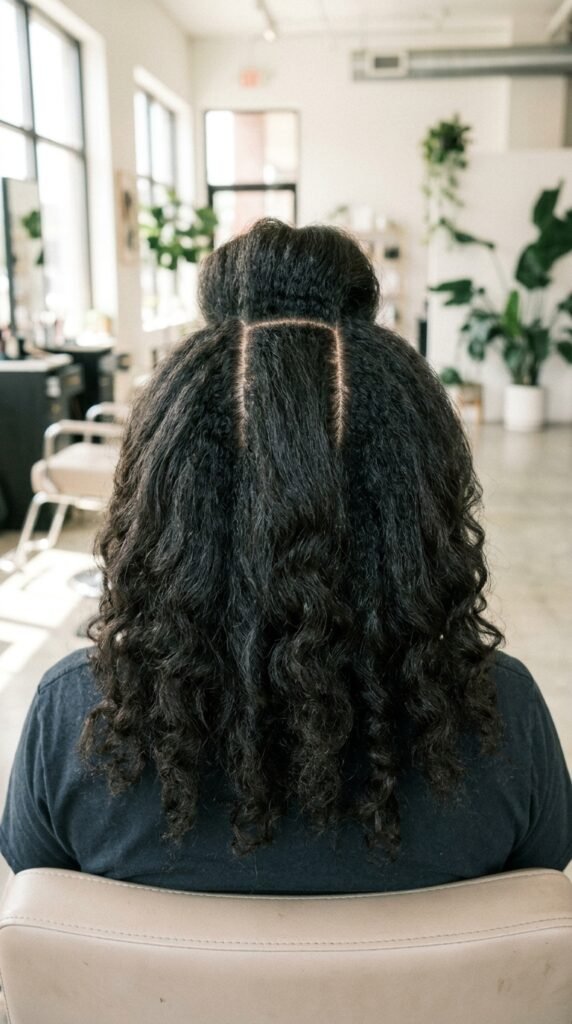
Two parts, one look. You make one part at the front and a second one a few inches back, so the hair between them lifts off your scalp.
It’s an easy way to fake crown volume without teasing, and it works on almost any length.
- Create your normal front part
- Make a second part two inches behind it
- Lift the middle section with your fingers and spray
Bonus: The Clipped Side Part
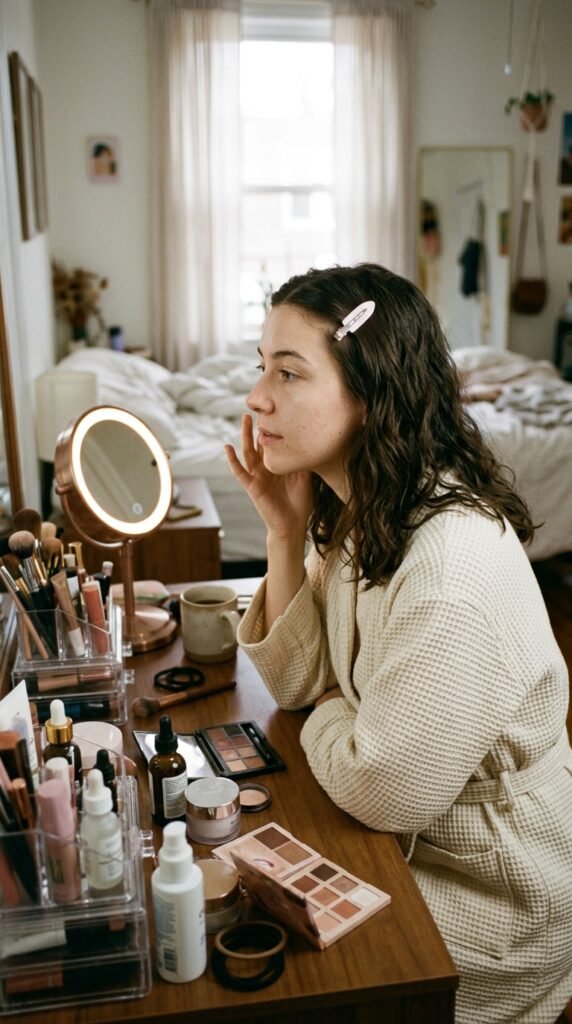
Last one, and it’s the easiest. Take a one-inch section near your part, clip it flat against your head, then let it down after a few minutes. Instant lift, no heat.
Do this while you do your makeup and you’re done. It’s the trick I use when my part looks flat and I’m running late.
- Use a small alligator clip
- Spray the root before you clip
- Release, brush, and go
How to Find Your Best Part in 30 Seconds
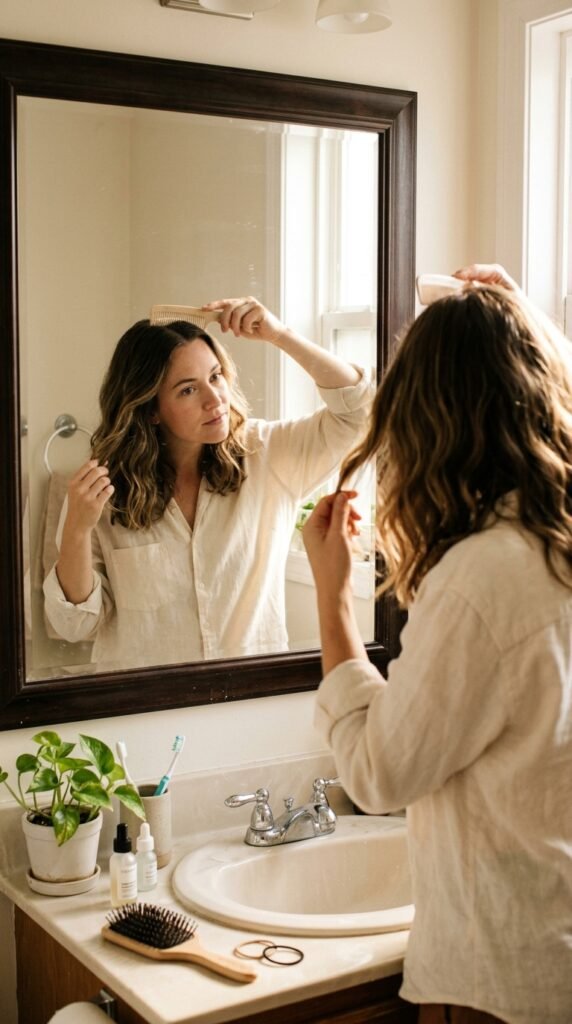
Stand in front of a mirror with your hair down and dry. Use a comb to test three parts: middle, off-center, and deep side.
Look at your cheekbones and jaw, not just your part. The right one will make your face look balanced and your hair look fuller.
- Round face? Try off-center or diagonal
- Long face? Try a middle or low side part
- Square jaw? Try a curved swoop
How to Make Your Part Stay All Day
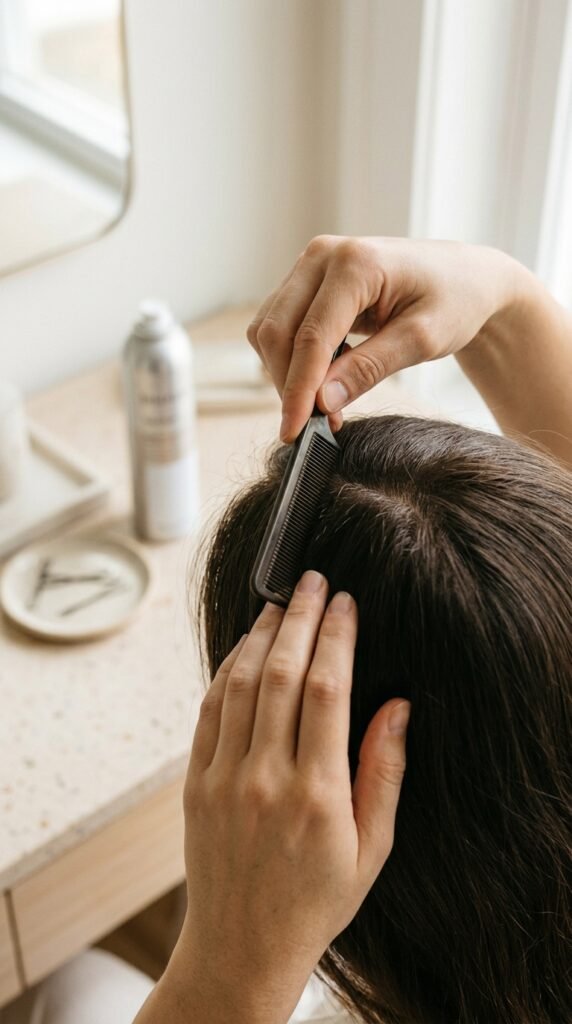
A part that won’t stay is usually fighting your natural growth pattern. You can still make it work with two small steps.
Set the part while your hair is damp, then hit the roots with a light mist. Blow-dry in the new direction for 30 seconds.
- Set the part with a comb, never your fingers
- Spray the roots before and after styling
- Keep a clip on hand for quick fixes
Wrapping It Up
Here’s what I love about all of this: none of these ideas cost money or require a big decision. You can try one today, hate it, and be back to your usual part in ten minutes.
That’s the whole point. Your part is the fastest way to refresh your look, and it works with every length, texture, and haircut you already own.
Start with the flip. It’s free, it’s instant, and it surprises you every time.
Save this post to Pinterest so you can find your favorite part the next time you’re getting ready in a hurry.
And tell me in the comments: which one are you trying first? I read every single one, and I always reply.