27 Messy Bun Variations For Casual Weekends And Running Errands
Some mornings you have exactly four minutes, a hair tie, and zero patience. That is precisely when a messy bun saves the day. It hides unwashed roots, looks intentional even when it is not, and gets you out the door before your coffee goes cold.
I have tested a lot of buns on errand days, gym days, and “I refuse to wash my hair” days. So I pulled together 27 messy bun variations that actually hold up in real life, not just in photos.
Most of these take under two minutes. A few are polished enough for dinner. All of them work with the hair you already have, whether it is fine, thick, curly, or somewhere in between.
Pick one for tomorrow, then come back when you want a fresh one.
The Classic Messy Bun
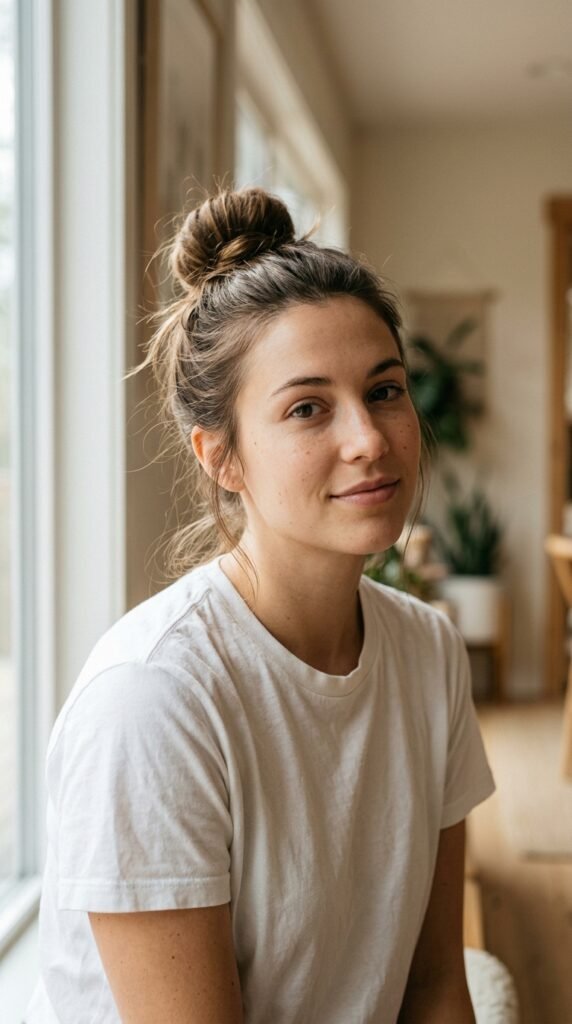
This is the one you can do in a parking lot with one hand and no mirror. It is not supposed to look perfect, and that is the whole point.
Here is the fastest way:
- Gather your hair at the crown like a high ponytail, but do not smooth it down.
- Wrap the hair around the base loosely, twice.
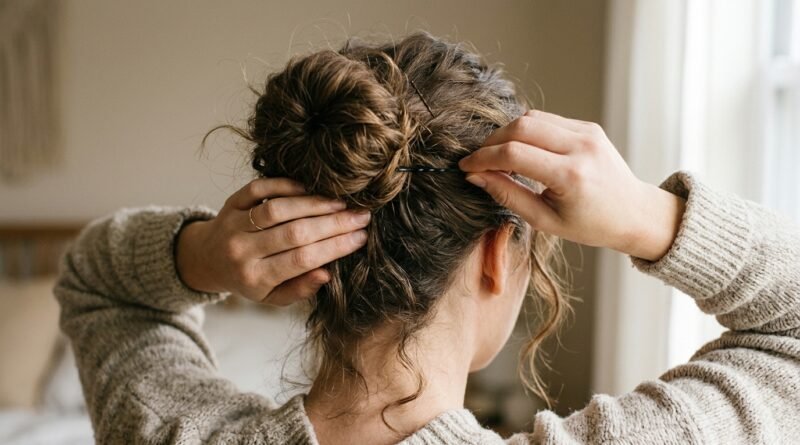
- Pin the tail with two bobby pins and tug a few pieces loose near your ears.
Skip the brush. Texture holds better than neatness. If it looks too tidy, finger-comb it for five seconds and walk out the door.
The Top Knot With Face-Framing Pieces
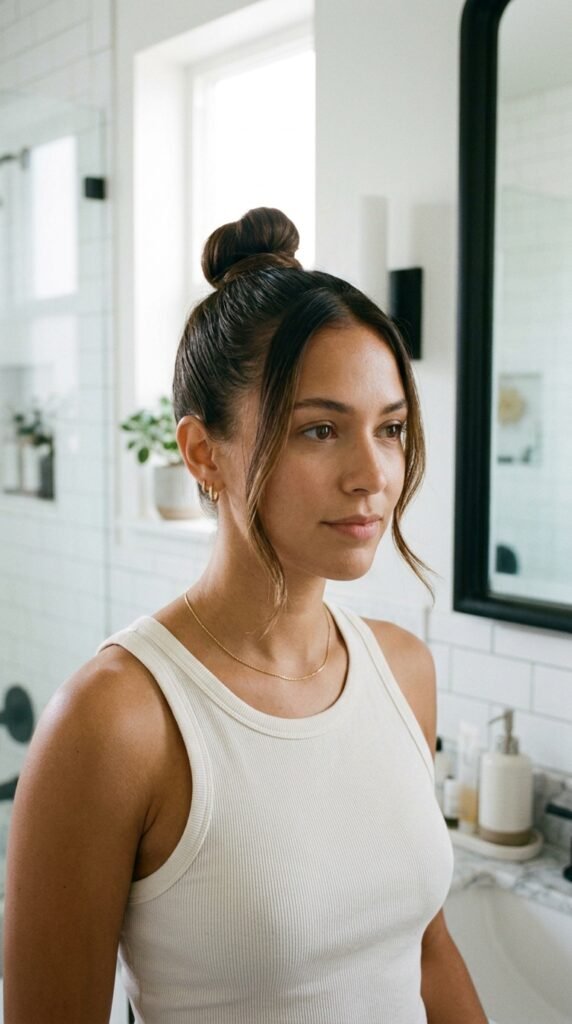
A top knot reads a little sharper than a classic bun, especially when you leave two strands out in front. Those pieces soften everything and make it look styled instead of stressed.
- Pull the bun higher than you think you should, near the top of your head.
- Leave one piece out on each side, about the width of a pencil.
- Curl those two pieces away from your face with a quick wrap around a wand.
If your hair is slippery, mist the front with a little hairspray before you gather. It keeps the knot from sliding down by noon.
The Low Old-Money Chignon
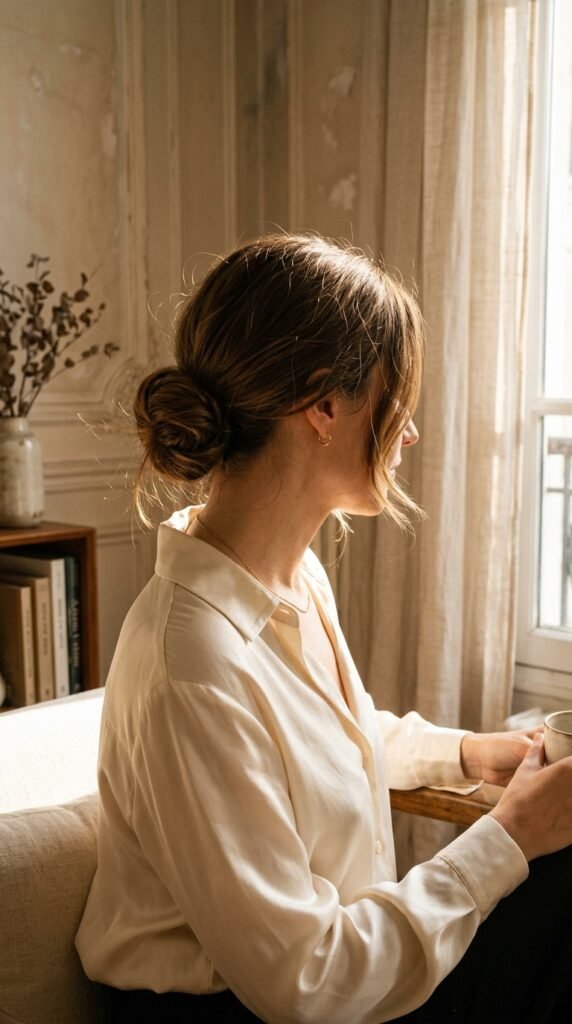
This is the messy bun that whispers instead of shouts. It is the same energy as old money hair, only you are wearing leggings and nobody knows.
- Gather hair low at the nape of your neck.
- Twist it loosely upward and fold the ends under.
- Pin with two or three bobby pins, then gently pull the sides wider for softness.
Keep the front smooth and the back lived-in. A middle part makes it look even more expensive. Pair it with a plain tee and you look like you have your life together.
The Braided Messy Bun
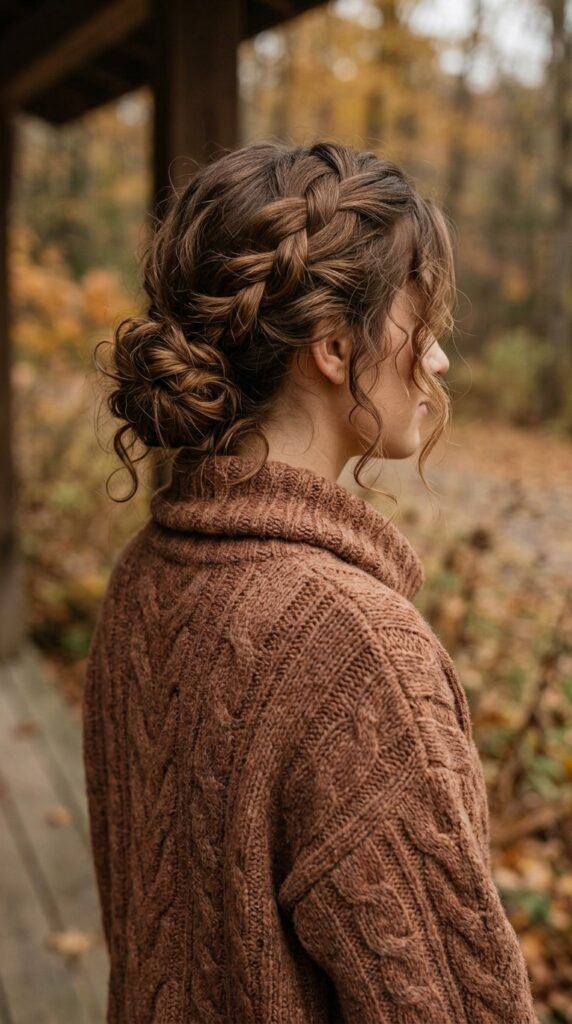
Braiding first gives you grip, which means this bun stays put on long errand days. It also looks like you did way more than you actually did.
- Make a loose three-strand braid at the back of your head.
- Wrap the braid around itself into a bun shape.
- Pin the ends underneath and pull the braid bumps apart for volume.
Do not braid tight. You want soft, stretchy sections, not a rope. If you only have a minute, a single braid across the back of your head works too.
The Half-Up Messy Bun

This one is for days when you want your hair down but also want it out of your face. It is the best of both worlds and it takes about forty seconds.
- Take the top third of your hair and gather it at the crown.
- Loop it into a small, loose bun and pin the tail.
- Leave the rest of your hair loose, or add loose waves if you have time.
This pairs beautifully with curtain bangs. It also works great on day-three hair, because the top half is the part that usually shows the most oil.
The Airy Quiet Luxury Bun
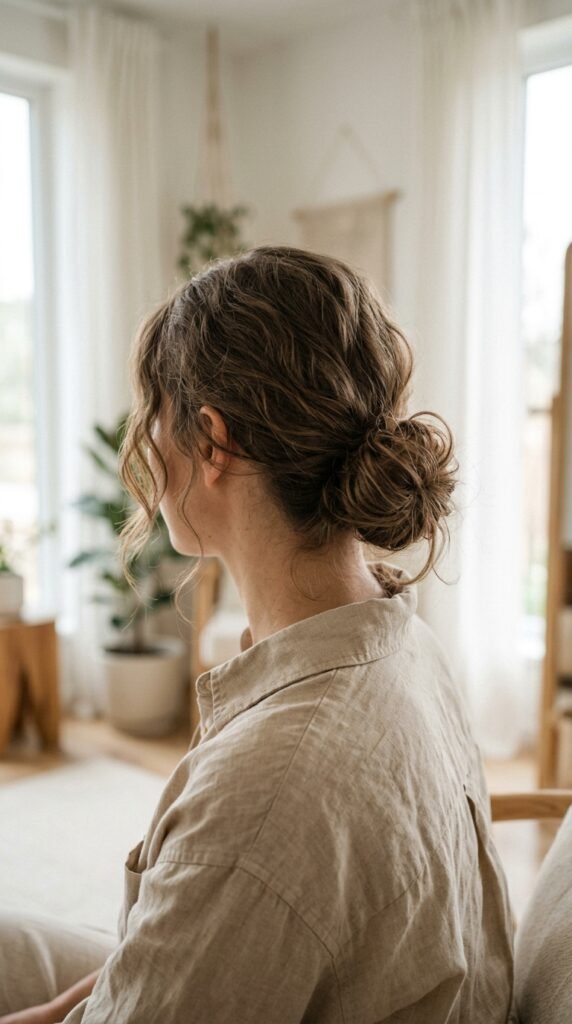
Think minimal, soft, and slightly undone. This is the bun version of a quiet luxury bob: nothing loud, everything intentional.
- Use your fingers only. No brush, no comb.
- Gather hair low and twist it just once.
- Fold the tail up and pin it so no hardware shows.
Pull out two or three thin pieces near your temples. Then stop touching it. The goal is soft volume, not a tight knot. If your hair is short and a bun is not happening yet, a sleek bob is your best friend until it grows.
The Hime Cut Messy Bun
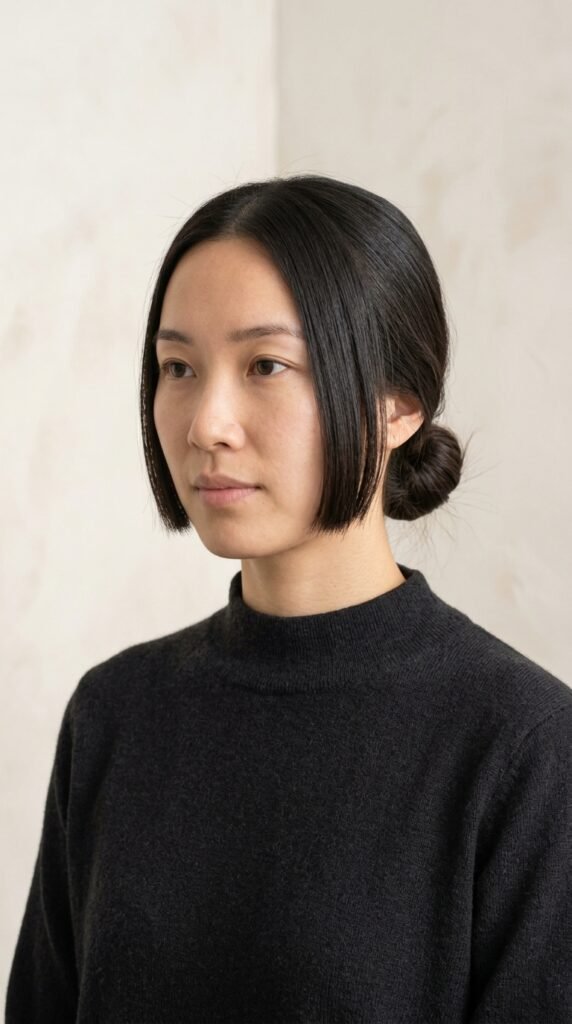
The hime cut is that sharp, blunt side piece look, and it plays surprisingly well with a messy bun. The contrast between clean lines and soft texture is what makes it work.
- Keep the side pieces flat and straight with a quick pass of a flat iron.
- Gather the rest of your hair into a low or mid bun.
- Leave the side pieces completely out and untouched.
Do not curl them. The whole look depends on that crisp, blunt edge next to your soft bun. Add a tiny bit of shine serum so the front pieces catch the light.
The Vampire Messy Bun
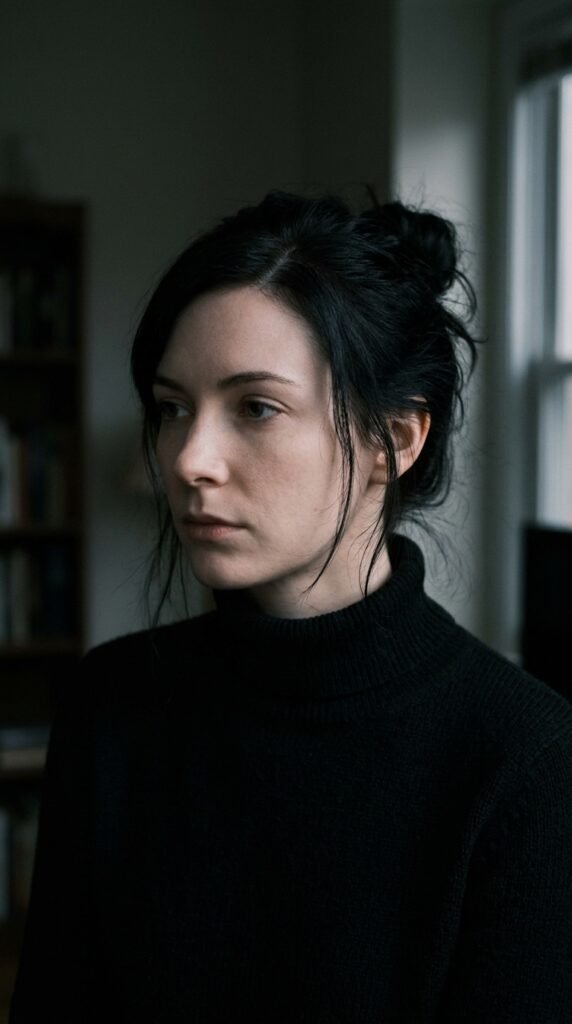
A vampire haircut brings drama, and this bun keeps that drama but makes it wearable for a Tuesday. It is moody, a little undone, and very cool.
- Part your hair deep on one side.
- Gather everything into a low bun, leaving the heavy side piece loose.
- Let one long strand fall across your cheek.
Keep the bun slightly loose so it does not look severe. Dark hair and a matte finish work best here. A little dry shampoo at the roots gives it that lived-in edge without looking greasy.
The Romantic Goth Messy Bun
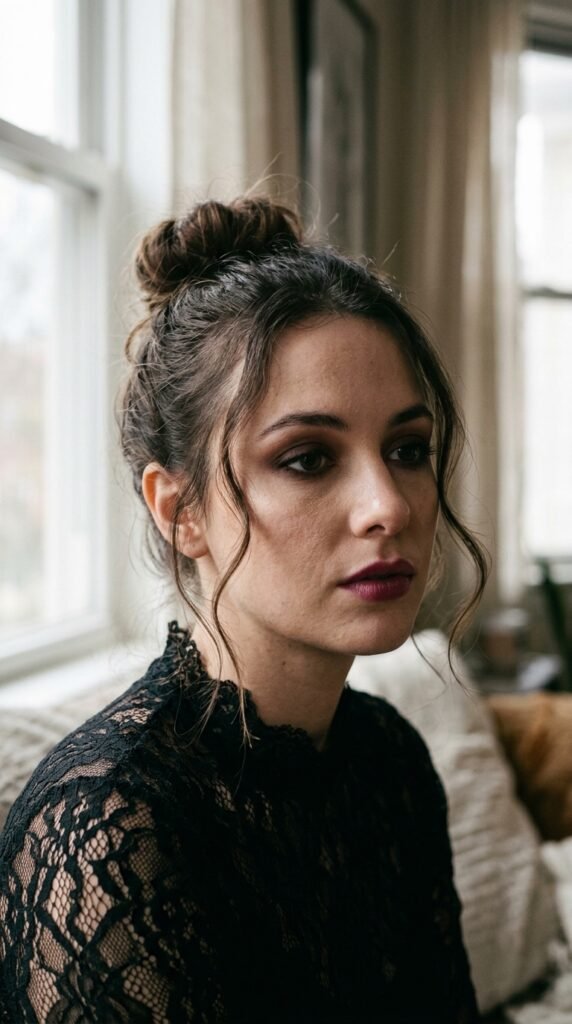
Romantic goth hairstyles are all about softness with a dark twist, and a messy bun fits that perfectly. Think velvet, lace, and gentle waves instead of spikes.
- Gather a low bun and leave it a little loose.
- Pull out several thin tendrils around your face.
- Curl those tendrils softly, then mist with light hold spray.
Add a velvet ribbon or a small black clip at the base for a romantic touch. Keep the rest of your hair soft, not slicked. This one looks especially good with a deep side part and a smoky eye.
The Glitchy Glam Bun
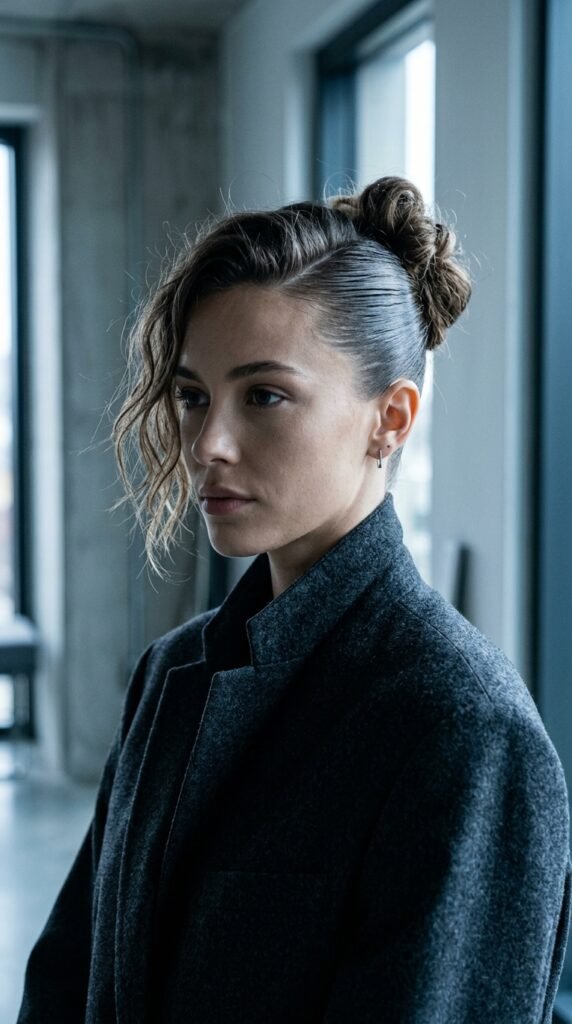
Glitchy glam hair is that intentionally uneven, off-balance look, and it is easier than it sounds. The trick is making the two sides not match on purpose.
- Slick one side back with gel or a strong cream.
- Leave the other side textured and slightly fuzzy.
- Place the bun just off center, not perfectly in the middle.
Add a shiny pin or a metallic clip near the base for a little edge. It looks like you tried, but in an artsy way. Great for concerts, dinner, or any night you want to feel interesting.
The Asymmetrical Lob Knot

If you have an asymmetrical lob, you cannot always make a full bun, and that is fine. A half knot on the longer side looks intentional and modern.
- Pull the longer side back and twist it into a small loose knot.
- Pin it behind your ear.
- Leave the shorter side down and sweep it forward.
This gives you the feeling of a bun without fighting your cut. Use one small clip instead of pins if your hair is thick. It is a great way to stretch a lob between salon visits.
The 2026 Flyaway Bun
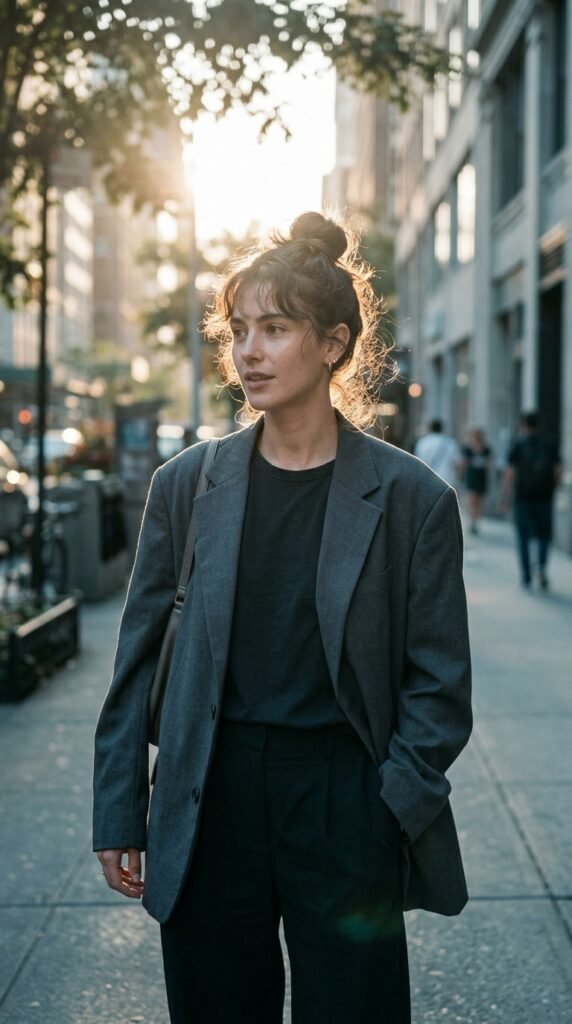
Among the 2026 hairstyles people keep asking me about, this one is the easiest to copy. It is a normal bun with the flyaways left alone on purpose.
- Pull your hair up without smoothing the top.
- Wrap it into a bun and pin it.
- Do not fix the little hairs around your hairline.
Those wispy pieces are the whole look. If your hair is very smooth, rub a tiny bit of texturizing powder between your fingers and ruffle the crown. It should look soft and a little windblown, never sloppy.
The Twist and Pin
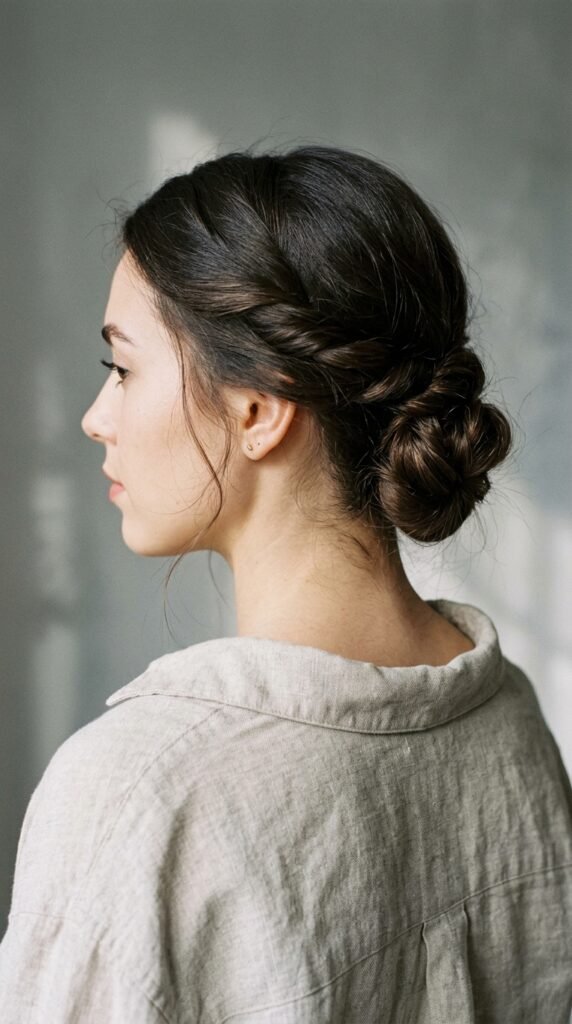
This is my go-to when I want a bun that looks structured but still soft. It uses two twists instead of one wrap, and it holds all day.
- Split your hair into two sections at the back.
- Twist each section and cross them over each other.
- Tuck the ends under and pin with three or four pins.
Pull gently at the edges to make it a little wider and softer. This one works on almost any hair length past your shoulders. It is also the most secure option on this list for busy days.
The Soft Sock Bun
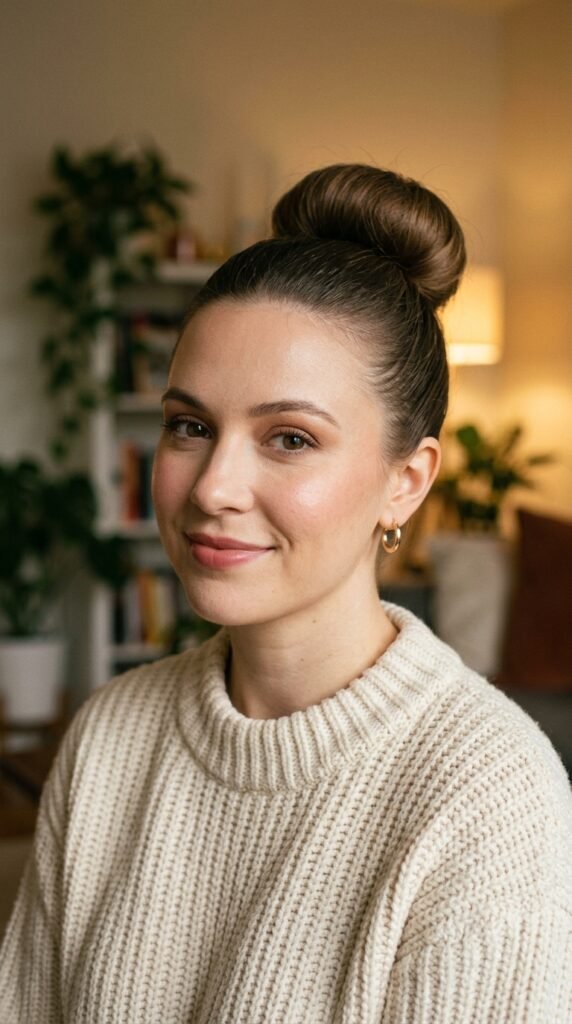
A sock bun gives you volume that thin hair usually cannot get on its own. It looks fuller and rounder, and it is still fast once you practice twice.
- Pull hair into a high ponytail.
- Slide a donut or rolled sock over the ponytail.
- Wrap hair around it, tuck the ends, and pin.
Keep the top smooth and the bun slightly loose so it does not look like a helmet. Pull two small pieces out at your temples. It is a great pick for weddings, showers, or any day you want to look polished.
The Scrunchie Bun
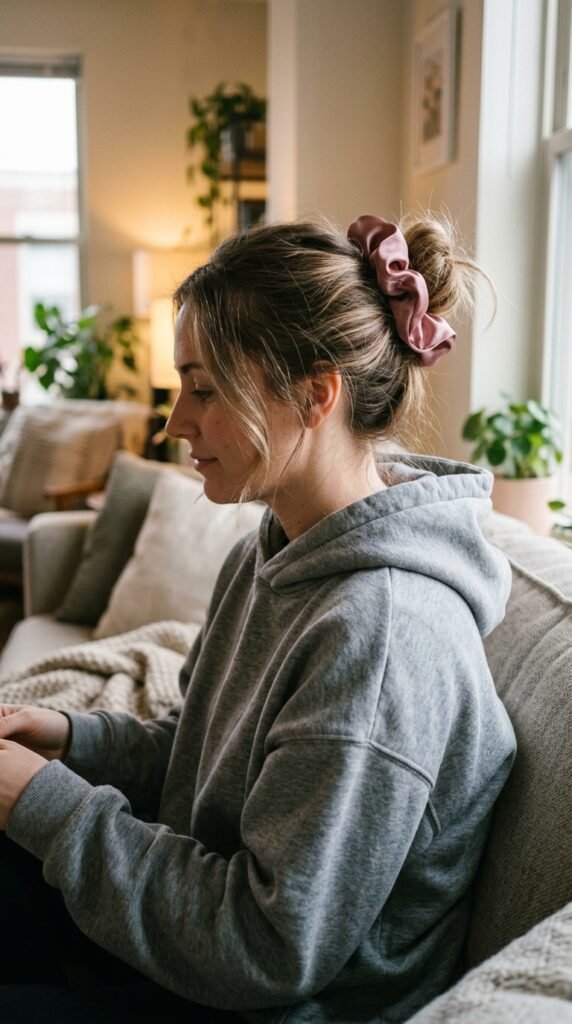
This is the bun you make when you are already late. No pins, no mirror, no stress. A big scrunchie does most of the work for you.
- Wrap the scrunchie around your hair twice.
- On the third wrap, only pull the hair halfway through.
- Fluff the loop with your fingers and adjust the shape.
Satin scrunchies are gentler on your hair and leave less of a crease. Choose a color that matches your outfit or your hair for a cleaner look. It is the fastest option here, hands down.
The Double Bun
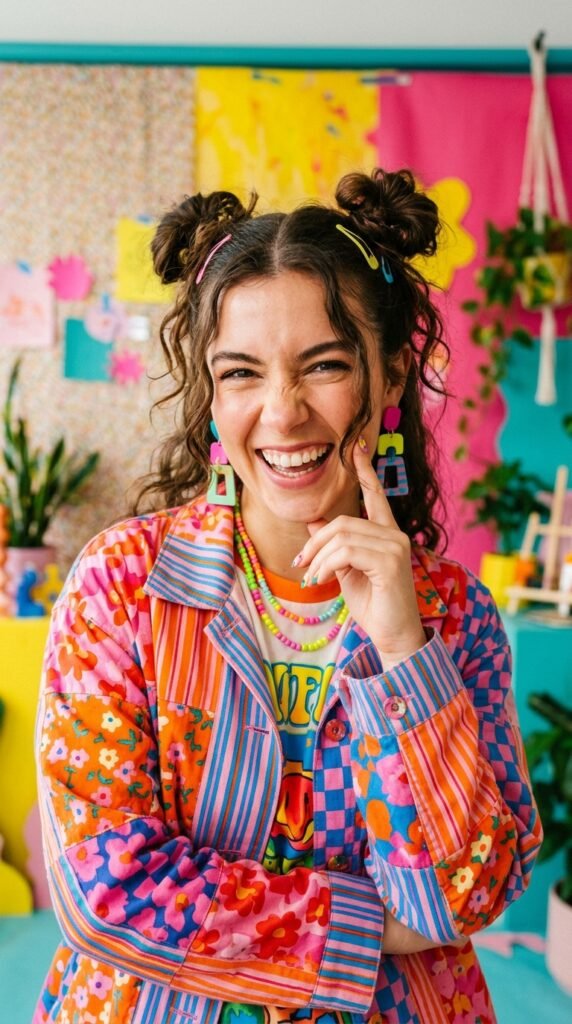
Two small buns look playful and take attention away from roots that need a wash. They also hold better than one big bun because there is less weight in each.
- Split your hair down the middle into two halves.
- Make a small messy bun on each side, high and slightly forward.
- Pull out a few pieces around each bun.
Keep them a little uneven so it looks relaxed instead of childish. This one is fun for weekends, festivals, or a lazy Sunday coffee run.
The Micro Bun With Claw Clip
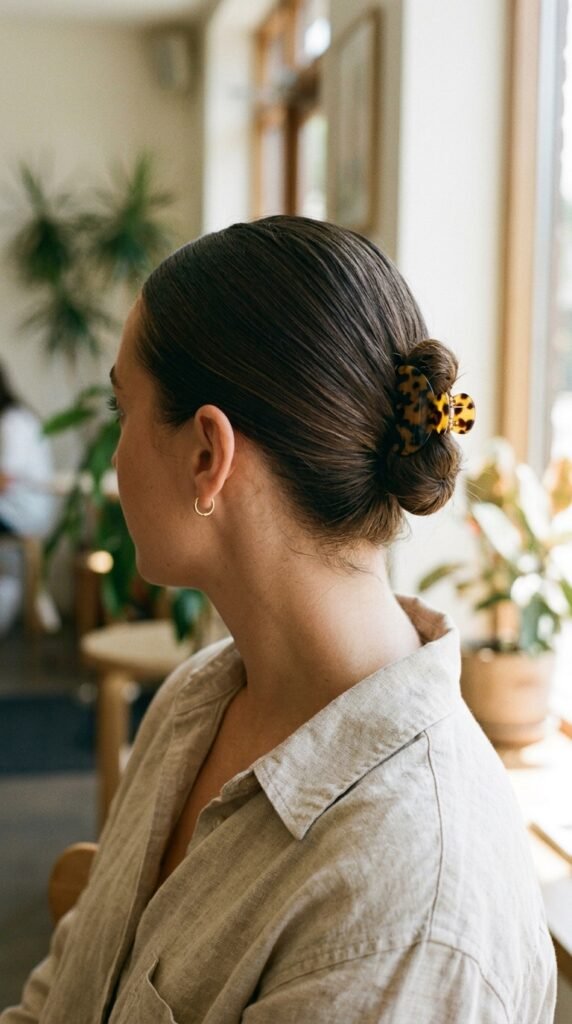
Short hair, meet your new favorite. A micro bun with a claw clip gives you the bun look without needing length.
- Gather the back of your hair into a small twist.
- Fold it into a tiny knot.
- Secure it with a small claw clip instead of pins.
The clip does double duty: it holds everything and it looks like jewelry. Tortoiseshell and matte black go with everything. This is a great option if your hair is growing out from a bob or a pixie.
The Bandana Bun
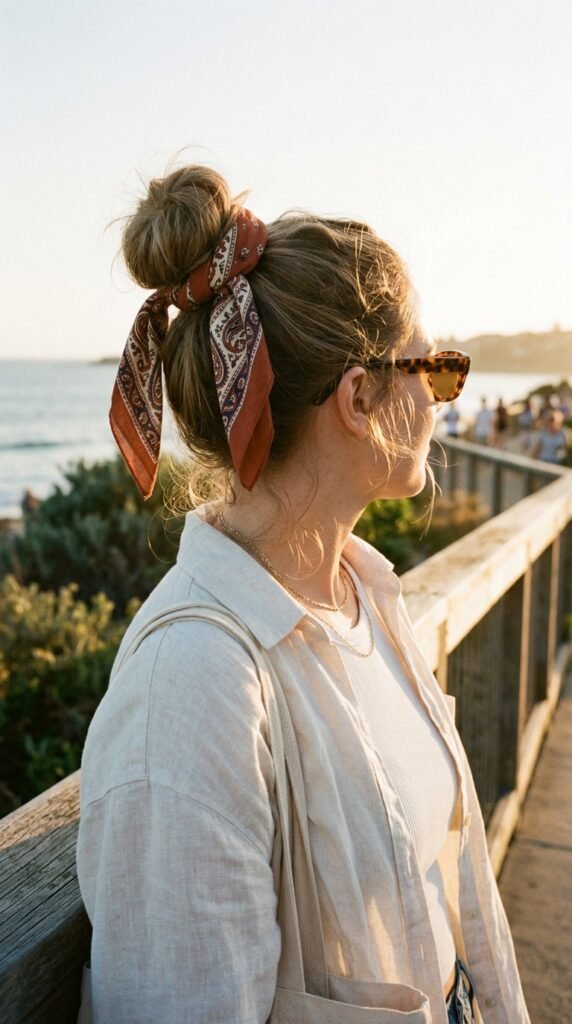
Adding a bandana instantly makes a plain bun look styled. It also hides any weird lumps, which is a win on rushed mornings.
- Make a regular messy bun, high or low.
- Fold a square bandana into a triangle, then roll it into a strip.
- Tie it around the base of the bun and tuck the ends.
Pick a color that pops against your hair. A silk scarf works just as well and looks a little dressier. This is my favorite trick for day-four hair.
The Wet-Look Bun
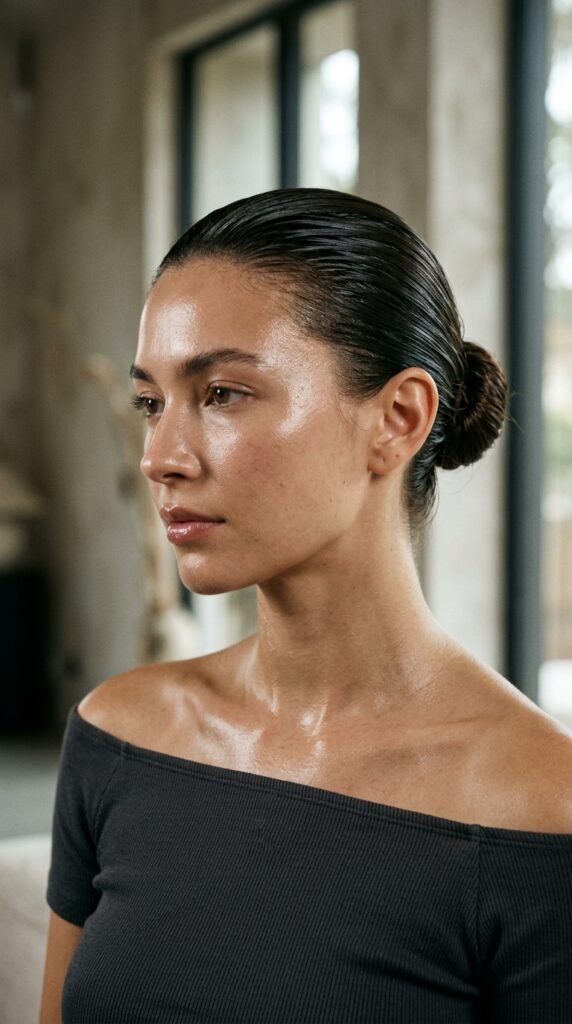
This one is the opposite of soft and fluffy, and that is what makes it so good. It is sleek, shiny, and looks like you came straight from a magazine shoot.
- Comb a generous amount of gel through damp hair.
- Pull everything back into a tight low or high bun.
- Use a soft brush to smooth the front and pin the tail.
Let it air dry or hit it with a cool setting. Keep the shine strong and the edges clean. It looks incredible with big earrings and a plain outfit.
The Curly Girl Messy Bun
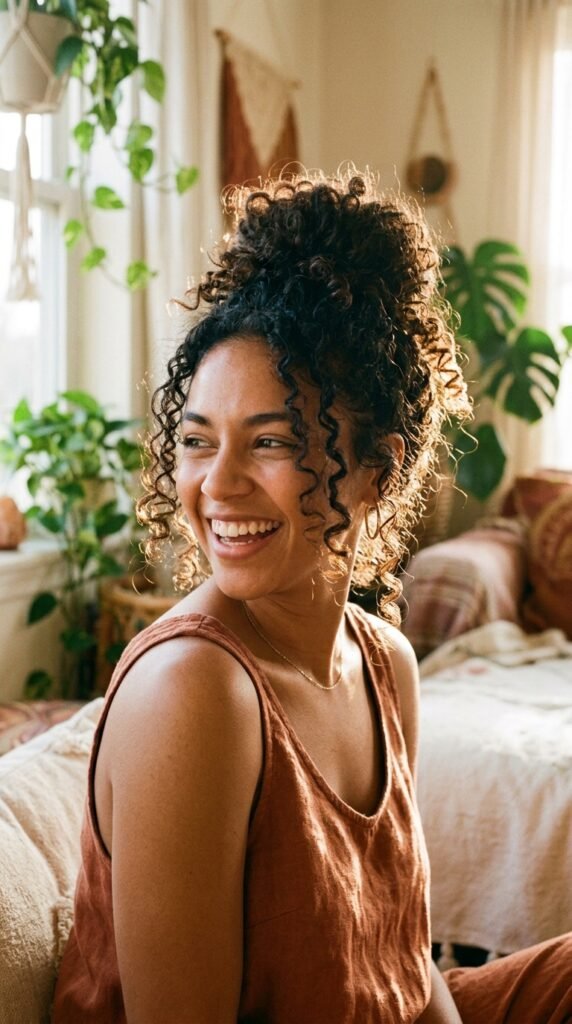
Curls deserve a messy bun too, and the trick is handling them while they are still wet or damp. Dry curls frizz fast when you mess with them.
- Style your hair like normal, then gather it while still damp.
- Use a silk scrunchie instead of a tight elastic.
- Wrap loosely and do not pull the curls straight.
Leave a few curl clumps out around your face for shape. Add a little leave-in cream before you gather so everything stays soft and defined. Never brush it out, just fluff gently with your fingers.
The Second-Day Hair Bun
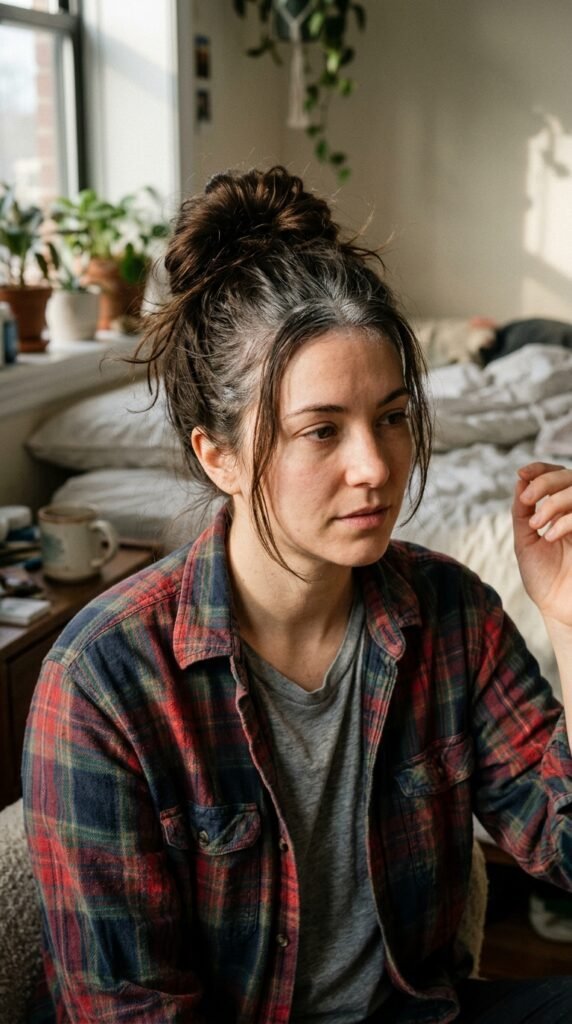
Day-two or day-three hair is honestly the best hair for a messy bun. It has grip, it has texture, and it holds a shape without any work.
- Spray dry shampoo at the roots and wait one minute.
- Massage it in with your fingertips.
- Gather into a bun and pin loosely.
Do not fight the texture. Let it look a little slept-in, because that is the vibe. If the ends look stringy, tuck them under instead of leaving them out. Problem solved.
The Slick Middle Part Bun
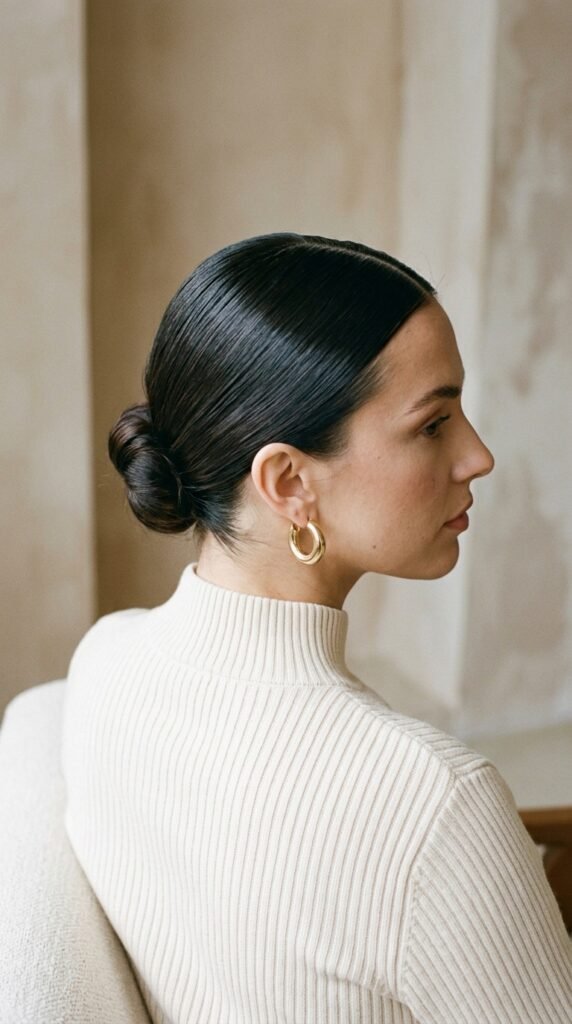
This is the cleanest version of a messy bun, and it always photographs well. The middle part does most of the styling for you.
- Part your hair straight down the middle.
- Smooth the front with a little cream or gel.
- Gather low and wrap into a small bun.
Keep the bun smaller and tighter than usual so the front stays the focus. Pull the sides back flat with a soft brush. It reads polished, modern, and very put together, even with zero effort involved.
The Tendril Bun
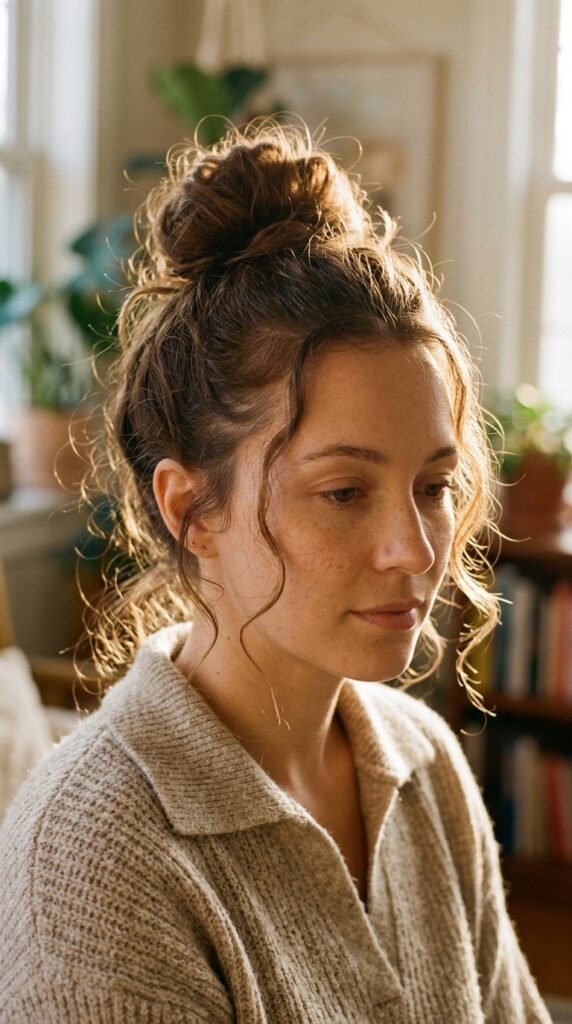
Tendrils are the difference between a bun that looks nice and a bun that looks romantic. They frame your face and soften everything.
- Make your bun, high or low.
- Pull out four to six thin pieces around your face and ears.
- Curl each one quickly and leave them be.
Keep the pieces thin. Thick chunks look heavy, thin whisps look delicate. A tiny bit of oil on the ends helps them stay together and shine. This one works for errands and for date night.
The Bun Under a Baseball Cap
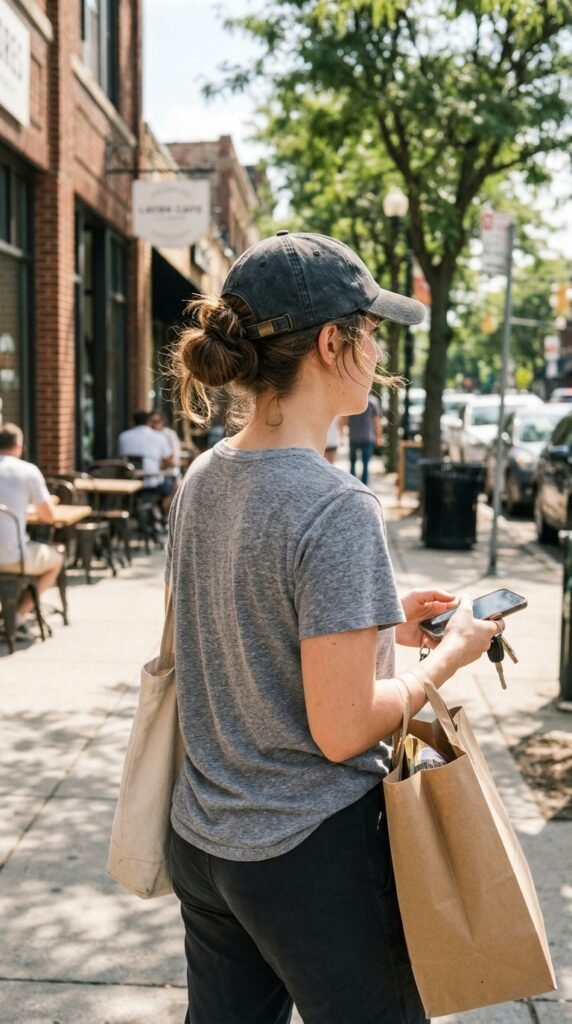
A cap and a bun is the ultimate errand combo. The cap covers the front, the bun handles the back, and nobody sees the parts you skipped.
- Put the cap on first, then gather your hair.
- Make a low bun right below the back opening.
- Pull a couple of pieces out on each side.
Keep the bun low so the cap sits flat. A neutral cap in cream, black, or navy goes with almost everything. This is the fastest way to look put together in under a minute.
The Gym-to-Coffee Bun
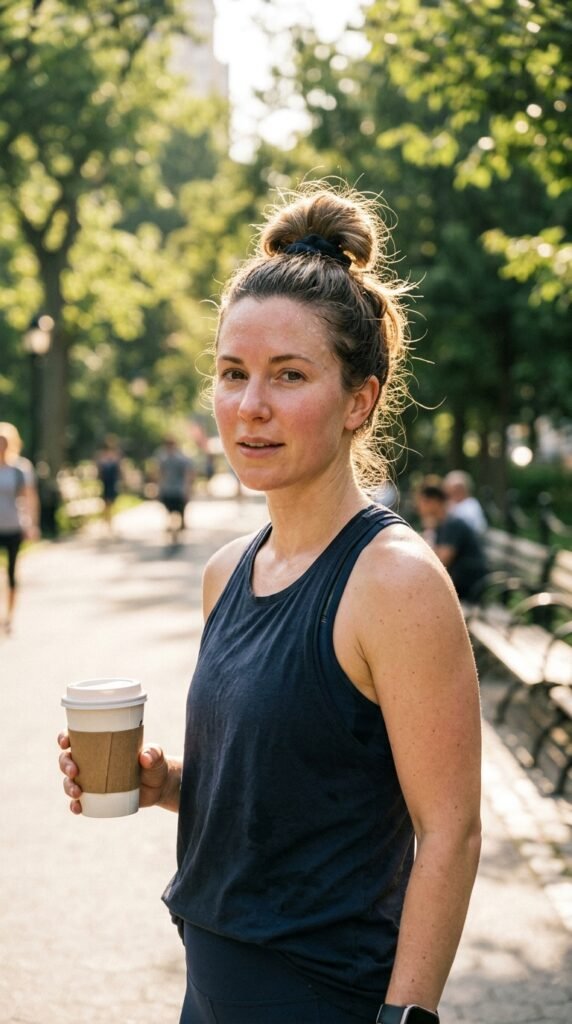
This bun has to survive a workout and still look fine in line for coffee. That means secure at the base, soft on top.
- Use a strong elastic for the base ponytail.
- Wrap and pin the tail with two crisscrossed pins.
- Pull the top loose for volume before you leave.
Avoid gel, since it will not survive sweat anyway. Bring a spare hair tie and a couple of pins in your bag. If it falls, you can rebuild it in thirty seconds without a mirror.
The Rainy Day Bun
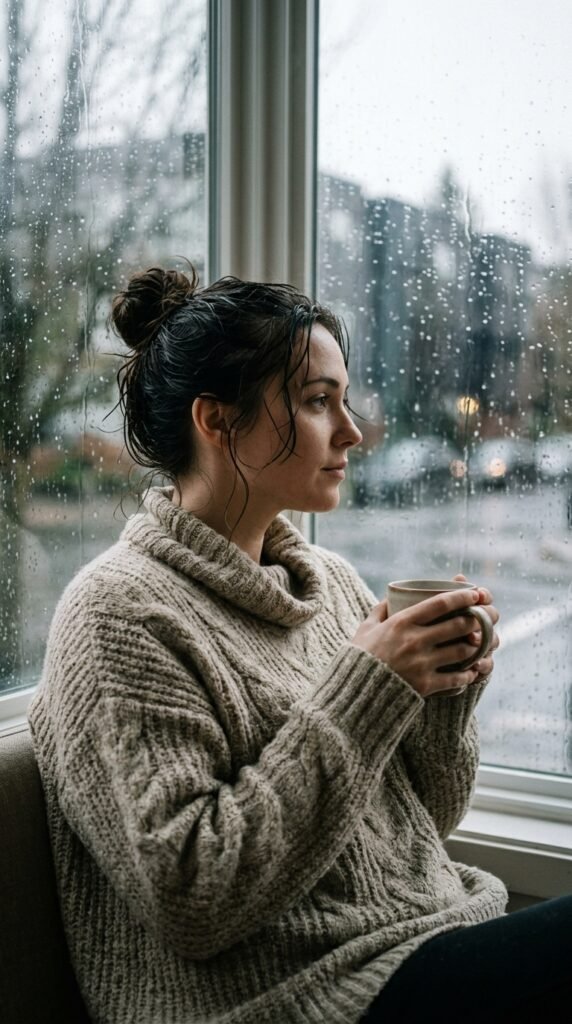
Humidity is the enemy of every hairstyle, but a messy bun actually wins in the rain. The messier it starts, the better it holds when the frizz kicks in.
- Skip the flat iron. Do not fight the weather.
- Add a little cream to smooth the front only.
- Wrap hair loosely and pin, then leave the rest alone.
Tuck the ends all the way in so frizz has nowhere to show. A silk scrunchie helps too. Honestly, this bun looks better after a little drizzle, so let it happen.
How To Make Any Messy Bun Last All Day
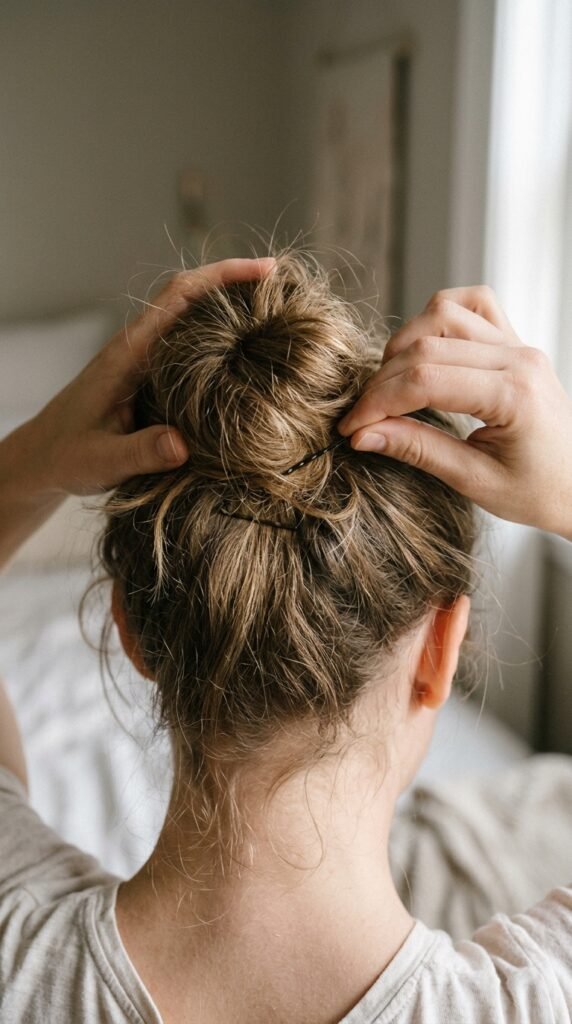
These three habits keep my bun up from morning coffee to dinner without a redo.
- Cross your pins. Two bobby pins in an X hold better than four going the same direction.
- Anchor at the base. Most buns fall because the base is loose, not the wrap.
- Finish with light hold spray. Heavy spray makes it stiff and obvious.
Also, match your elastic to your hair color. If a pin or tie shows, it should blend, not compete. Small details make a big difference.
Three Things Worth Keeping In Your Bag
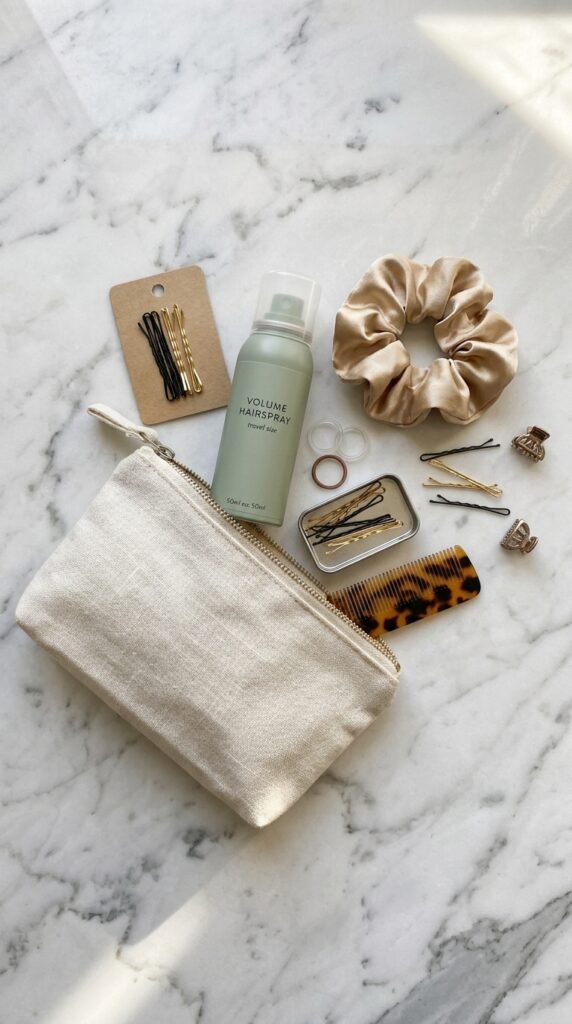
I keep a tiny hair kit in my bag and it has saved me more times than I can count. You do not need much.
- Two bobby pins. They fix almost any bun emergency.
- A silk scrunchie. Gentle, cute, and doubles as a bracelet.
- A mini hairspray or texturizing powder. Instant grip on clean hair.
That is it. No brushes, no combs, no complicated tools. Everything fits in a small pouch and weighs nothing. If you travel a lot, keep a second set packed so you never forget it.
One Last Thing
A messy bun is not about being perfect. It is about getting out the door feeling good with the time you actually have. Some days that means a quick loop with a scrunchie. Other days it means tendrils and a velvet ribbon.
Try one new version this week. Then rotate through the list when you get bored, because the same bun every day gets old fast.
Save this post to Pinterest so your next rushed morning has a plan ready to go.
And tell me in the comments: which bun are you trying first? I read every single one, and I always love hearing what worked for your hair type.