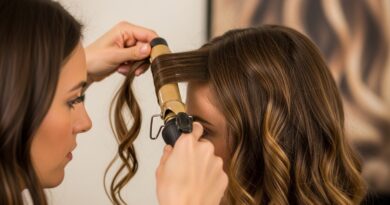
High Volume Blowout Techniques Replicating Expensive Salon Results At Home
I used to think salon blowouts were pure magic. Then I sat and watched a stylist work through my hair, and I realized something kind of freeing: it is not talent. It is order, tension, and heat.
That was the day I stopped paying 80 dollars every time I wanted volume. Not because I don’t love my salon, but because I wanted that look on a random Tuesday too.
So I practiced. A lot. And I figured out the small stuff that actually matters and the expensive-looking steps that are honestly a waste of your time.
Below are the exact techniques I use now. No fancy tools required, no 45 minute routine, and no gatekeeping. Let’s get your hair big, smooth, and salon-level at home.
Why Salon Blowouts Look Different At Home

Here is the honest truth. A salon blowout is not one magic product. It is heat, tension, and drying in the right order. That is genuinely it.
Stylists have two advantages over us. They can reach every section, and they do not quit halfway because their arms are tired. Both of those are fixable.
When you copy the order and add a little patience, you get that bouncy, expensive look. The kind that makes a quiet luxury bob or a big old money hair moment actually look intentional instead of accidental.
The Only Tools You Actually Need
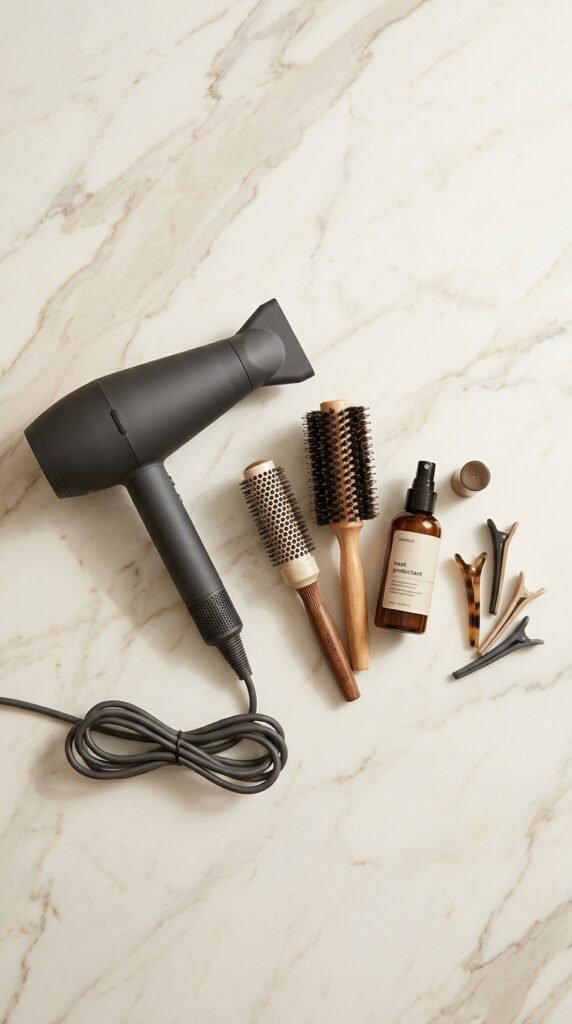
You do not need a drawer full of gadgets. You need four things, and I will fight anyone on this.
- A blow dryer with a concentrator nozzle attached
- Two round brushes: one medium, one large
- Four to six sectioning clips
- A lightweight heat protectant
That is the whole kit. A diffuser is nice if you have curls. Velcro rollers are a bonus we will get to later.
Skip the fancy ionic everything unless you already own it. Technique beats gadgets every single time, and your arms will thank you for keeping it simple.
Prep: The Step That Decides Everything
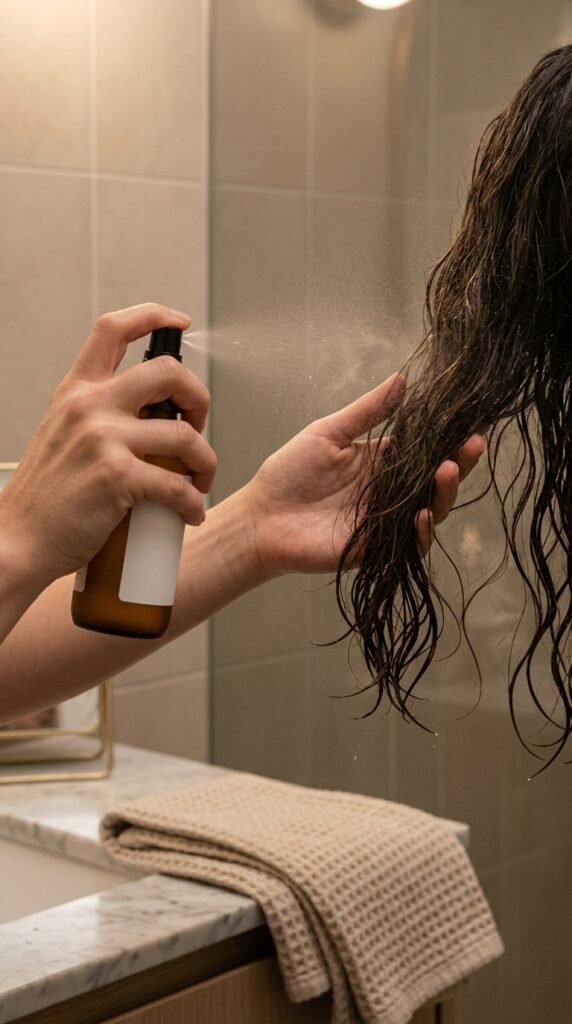
Wet hair, one pump of heat protectant, and a wide tooth comb. That is your start. No exceptions.
Do not load up on heavy oil before drying. It weighs hair down and kills the lift you are about to build. Save the oil for the very end.
Comb everything forward first, then flip back. This gets tangles out without pulling at your roots.
If your hair tangles easily, work in two passes. Root to mid, then mid to ends. Takes thirty extra seconds and saves you a lot of snapping and breakage.
Get Hair 80 Percent Dry First

This is the step people skip, and it is why their arms die before they finish. Rough dry first. No brush. Just your fingers and the dryer.
Tilt your head upside down for a minute. Then side to side. Then upright. You are building the foundation of volume while the hair is still flexible.
Stop when hair feels cool and slightly damp. Around 80 percent dry. That is when you pick up the brush.
If you start brushing soaking wet hair, you are just moving water around and cooking your strands. Not worth it.
Pick the Right Round Brush Size
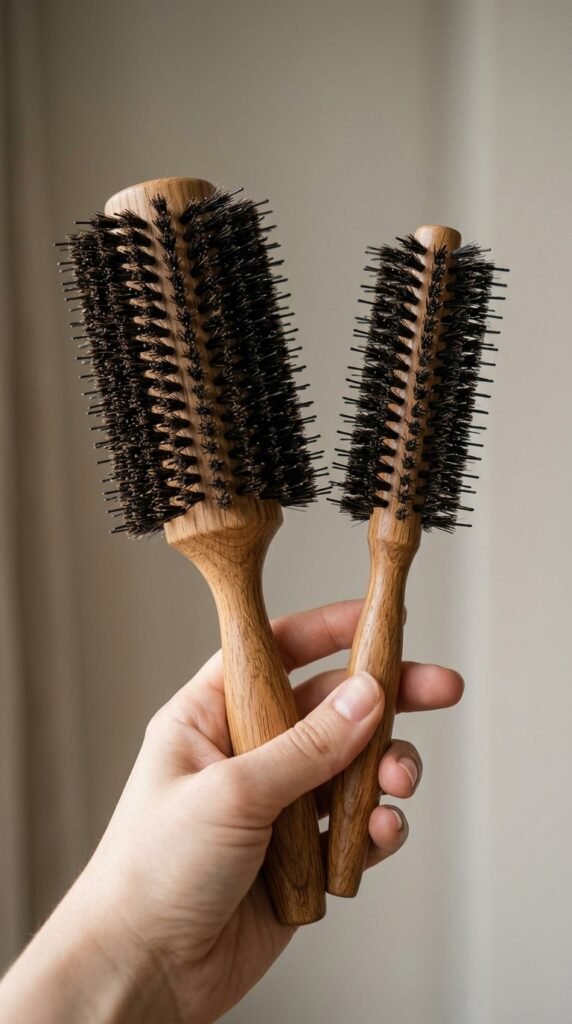
Brush size controls how much bend you get. Bigger brush, bigger bounce. Smaller brush, tighter curl and more root lift.
- Medium brush: shoulders and above, or when you want root lift
- Large brush: long hair, smooth waves, that glossy finish
- Small brush: bangs, face framing pieces, hime cut edges
One rule that changed my life: match the brush to the section, not the whole head. You can absolutely use three brushes in one blowout.
Also check the barrel for snags. A cheap brush that grabs hair will ruin your day and your ends.
The Root Lift Trick for Real Volume
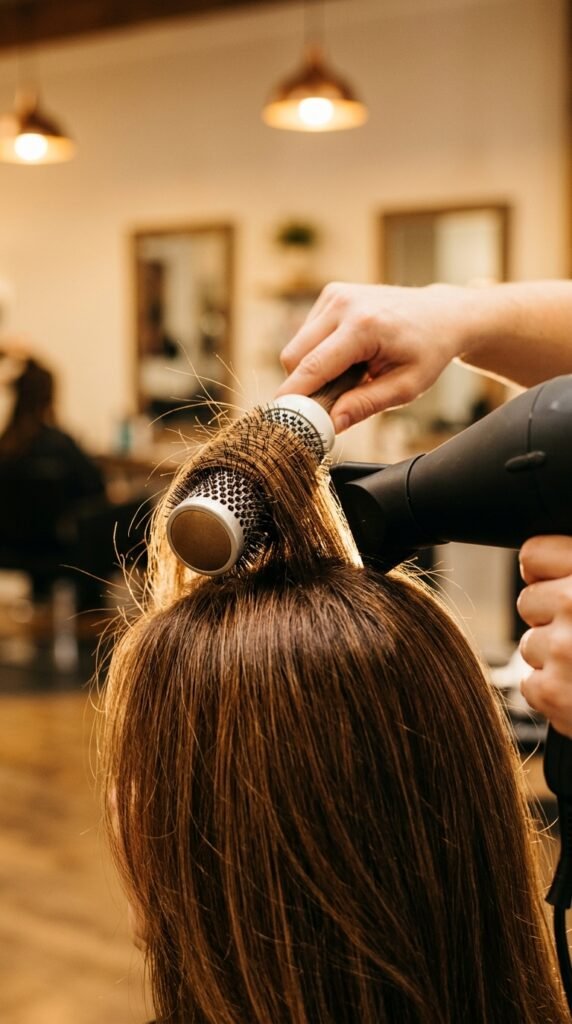
Volume lives at the root. If the root is flat, the rest does not matter. Here is how to get it.
- Place the brush right at the scalp, under the hair.
- Pull up and slightly back, away from your face.
- Hit it with heat for about five seconds.
- Hold it there. Let it cool before you release.
That cooling moment is what sets the shape. Heat bends it, cool locks it in.
Do this on every top section, especially around your part. Those two inches of lift are what separate a home blowout from a salon one.
Sectioning Makes It Weirdly Easy
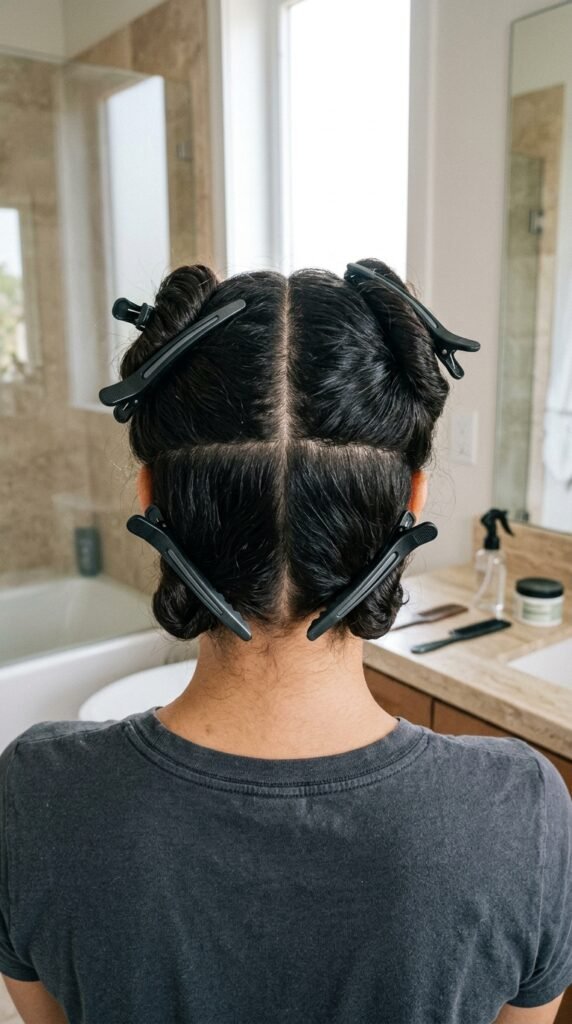
I resisted sectioning for years. It felt fussy. Then I tried it and finished faster than ever. Annoying but true.
- Split hair into four: two sides, top, back
- Clip up everything you are not working on
- Work bottom to top, back to front
- Keep sections no wider than your brush
Small sections dry smooth. Big sections dry frizzy. That is the whole trade.
If you have thick hair, go with six sections instead of four. More clips, less sweat, better result.
How to Blow Dry the Back of Your Head
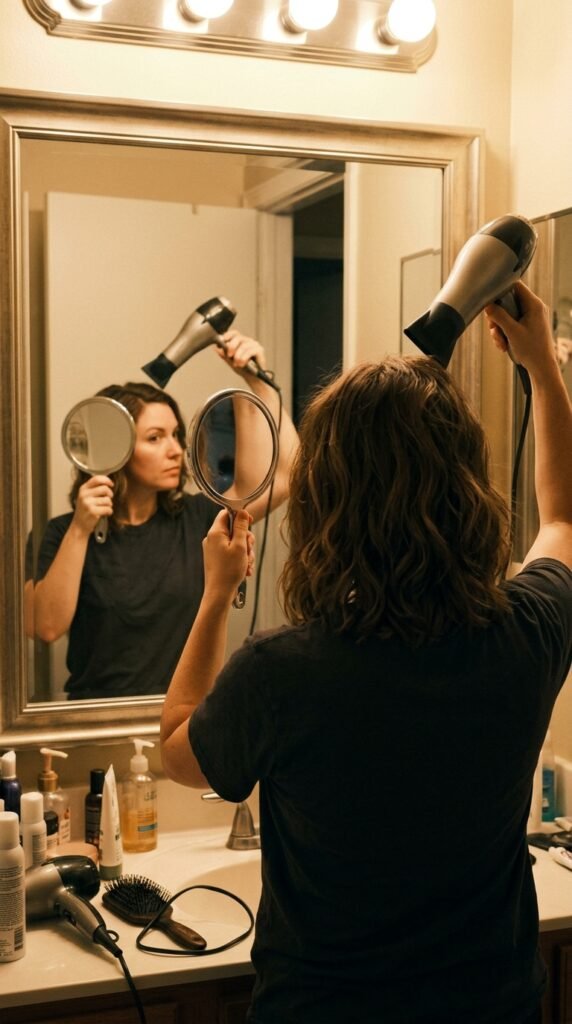
The back is where most of us give up. It is also where flatness shows the most when you turn your head.
Flip your head forward and dry the back sections from underneath first. Then stand up and finish them with the brush pointing down and slightly out.
A cheap second mirror is a game changer. Set it behind you so you can actually see what you are doing.
Do not skip the nape. That little area at the bottom decides whether your hair swings or sits flat against your neck.
The Cool Shot Is Your Volume Sealant
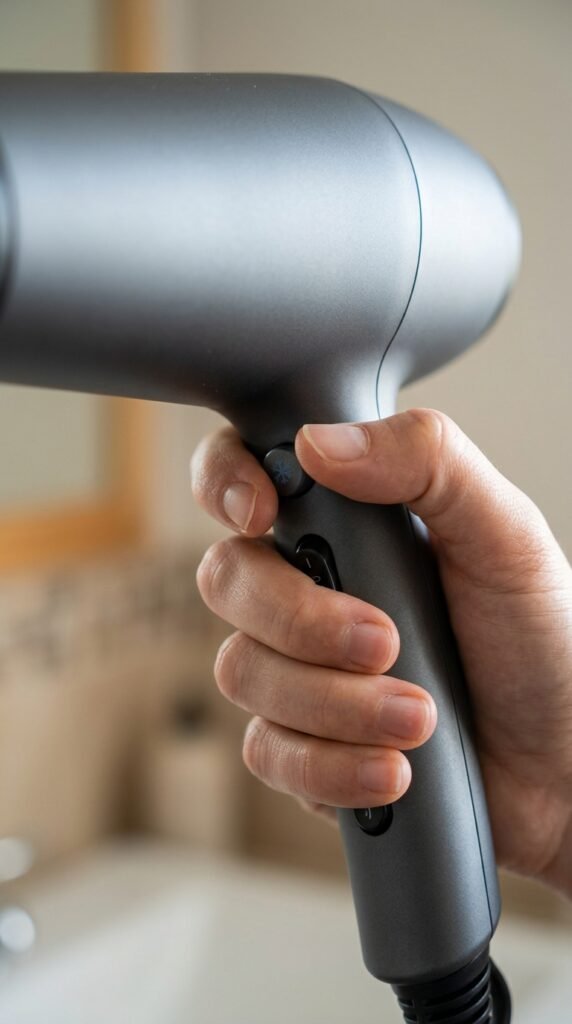
Every dryer has a cool button and almost nobody uses it. That button is the difference between volume that lasts all day and volume that dies by lunch.
After you finish each section, hit it with cool air for three seconds while the brush is still in place. Then release.
This is not a myth. Warmth lets hair take a shape. Cool air sets it. That is literally how stylists make blowouts last.
Do it on the roots, the ends, and anywhere you want the bend to hold. It costs you nothing but thirty seconds.
Velcro Rollers and Old Money Hair

Old money hair is not about being rich. It is about looking polished without looking like you tried. Velcro rollers are the shortcut.
Once your hair is fully dry, roll the top sections up and away from your face. Two or three rollers is usually plenty.
- Leave them in while you do your makeup
- Blast with cool air for five seconds
- Remove gently, then finger comb only
Do not brush after. Brushing flattens everything you just built. Fingers only, and maybe a tiny bit of hairspray at the root.
Clips, Pins, and Setting Your Volume
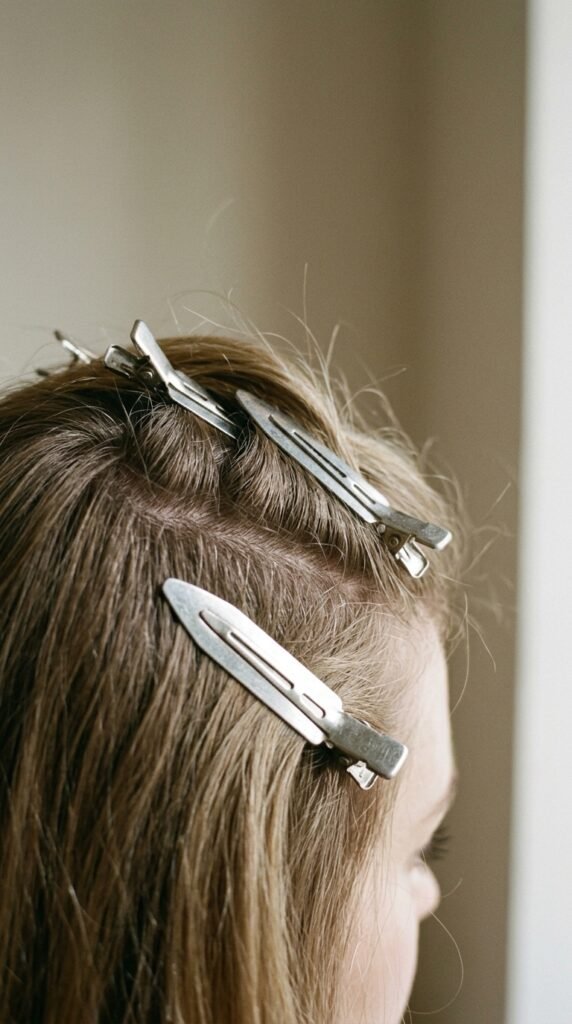
If you want volume around your face that actually stays, use clips. This is a stylist trick that costs about three dollars.
Lift a section at the root, twist slightly, and clip it up while it cools. Work your way around the crown and the front pieces.
Leave them for five to ten minutes. Do your skincare, answer a text, whatever. Then take them out and shake gently.
This works especially well for an asymmetrical lob or a hime cut, where the shape around the face is the entire point.
Mousse, Root Spray, and Where Each Goes
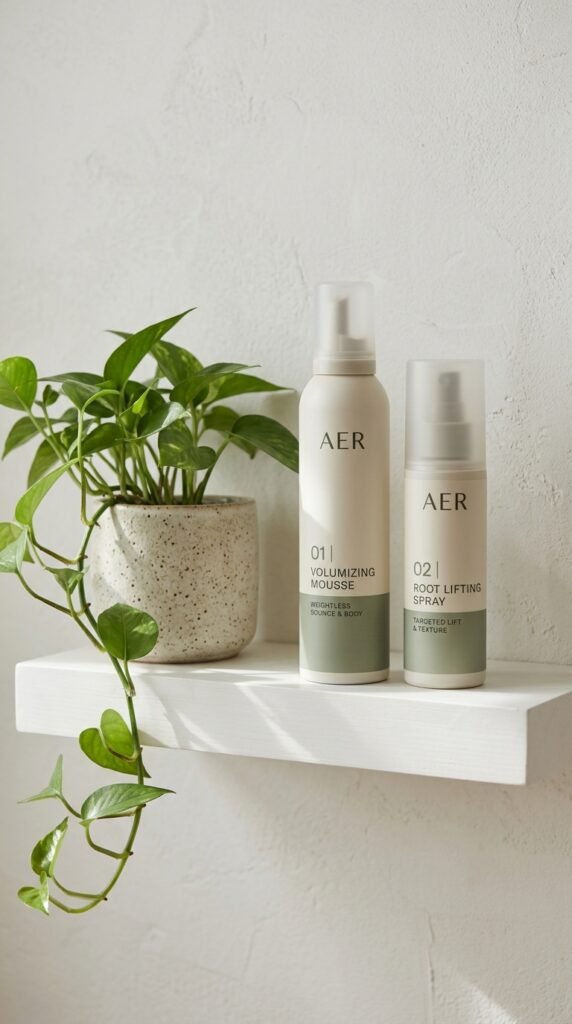
Products are not the enemy. Random product placement is. Here is where each one belongs.
- Mousse: mid lengths and ends, on damp hair, for body and hold
- Root spray: scalp only, on damp hair, for lift
- Sea salt spray: ends, for texture and grip
- Dry shampoo: roots, the morning after
Keep them all away from your scalp unless the label says otherwise. Product buildup at the root is the fastest way to a flat, greasy blowout by day two.
Less is more. Start with a quarter size and add if you truly need it.
Heat Protection Without the Greasy Feeling

Heat protectant should feel like nothing. If your hair feels coated or heavy, you used too much or the wrong formula.
Look for a lightweight mist, not a cream, if your hair is fine. Creams are great for thick, coarse, or highly textured hair.
Spray from about eight inches away, on damp hair, and comb it through. Focus on the ends where heat damage shows up first.
Touching up on day two? A light mist again before any hot tool. Your future self will notice, and so will your ends.
Quiet Luxury Bob Blowout at Home

The quiet luxury bob is the easiest blowout to nail at home because it is all about smooth and simple, not big and bouncy.
- Rough dry until 80 percent dry.
- Section into four and work bottom up.
- Use a medium brush, pointing the nozzle down the hair shaft.
- At the ends, turn the brush under and hold for five seconds.
- Cool shot, then release.
Finish with a drop of light oil on the ends only. No root volume needed here. Flat and shiny is the whole look.
Asymmetrical Lob and Hime Cut Blowouts

An asymmetrical lob and a hime cut both live or die by clean lines. Frizz is your enemy here, not flatness.
Dry the short side first, brushing it forward and down. Then the long side, brushing it straight and slightly away from your face.
For a hime cut, keep the blunt sides razor straight with a flat brush or a small round one. Then add soft volume only at the crown.
Go light on product. Anything heavy will break up the sharp edges that make these cuts look so expensive.
Romantic Goth Hairstyles with Big Volume

Romantic goth hairstyles need softness and drama at the same time. A big blowout does both better than any hot tool.
- Rough dry upside down for maximum root lift
- Use a large brush for soft, sweeping movement
- Keep the ends barely bent, not curled tight
- Finish with a light mist of flexible hold spray
The trick is keeping it soft. Tight curls read as costume. Loose, glossy, slightly undone volume reads romantic.
Pull two face framing pieces out and leave them wavy. That tiny bit of mess is what makes the whole thing feel intentional.
Glitchy Glam Hair Without the Frizz

Glitchy glam hair is glossy, sharp, and a little futuristic. It sounds complicated but it is really just a very smooth blowout with sculpted pieces.
Get the hair as sleek as you can with a downward pointing nozzle and a large brush. Shine is the whole point of this look.
Then take two or three small sections near the face and press them straight with a flat iron on low. That contrast between soft volume and sharp edges is the vibe.
Finish with a high shine mist or a single drop of serum. No hairspray. Stiff kills the effect.
Vampire Haircut Volume Tricks

The vampire haircut is all about layers, a deep side part, and volume that frames the face. Blowout technique matters more than the cut here.
- Set a deep side part while hair is damp.
- Dry the smaller side first, brushing back and up.
- On the larger side, sweep everything away from the face.
- Lift the crown with clips and let it cool.
That deep part with lift on one side is what makes the whole thing look dramatic instead of just messy.
Keep the ends smooth. This cut looks best when the volume is up top and the ends stay sleek.
Making Your Blowout Last to Day Three

A good blowout should give you at least three days. If it dies overnight, one of these is usually the problem.
- You did not use the cool shot
- You used too much heavy product
- You brushed it too much on day one
- You slept on it wet or damp
On day two, spray dry shampoo at the roots before bed, not in the morning. It absorbs oil while you sleep instead of sitting on top of your hair.
Flip your head over in the morning and shake it out. That alone revives most of the volume.
How to Sleep on a Blowout

Sleep is where blowouts go to die. But you can protect yours with two small changes.
First, switch to a silk or satin pillowcase. Cotton grabs hair and roughs up the cuticle while you sleep.
Second, do a loose pineapple. Gather hair on top of your head with a soft scrunchie, not tight, and let it sit high.
If your hair is short, skip the pineapple and just clip the front pieces up and away from your face before you lie down. Takes ten seconds and saves your whole look.
Five Minute Fixes for a Flattened Blowout
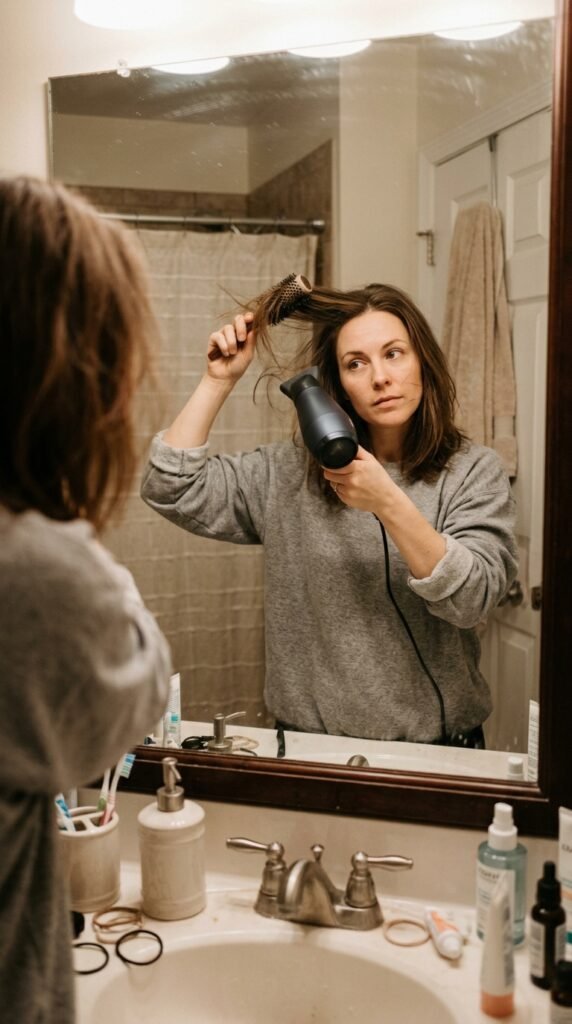
Day three and your hair looks tired? You do not need to redo the whole thing. Try these in order.
- Flip head upside down and shake for ten seconds.
- Dry shampoo at the roots, then rub in with fingertips.
- Blast roots with heat for five seconds, then cool.
- Smooth the top layer with a large brush and low heat.
That last step is the one that makes it look fresh again instead of just bigger.
Do not add more product on top of old product. That is how you end up with crunchy, dull hair by dinner.
2026 Hairstyles That Need This Blowout

A lot of the 2026 hairstyles we are seeing live and die by volume and shine. This routine covers nearly all of them.
- Old money hair: smooth, glossy, subtle bend
- Quiet luxury bob: sleek with turned under ends
- Asymmetrical lob: clean lines, one side swept
- Hime cut: blunt edges with soft crown lift
- Romantic goth and glitchy glam: drama plus shine
The good news is that one solid blowout technique gets you most of the way to all of them. You are not learning five routines. You are learning one, then tweaking the finish.
Mistakes That Kill Volume
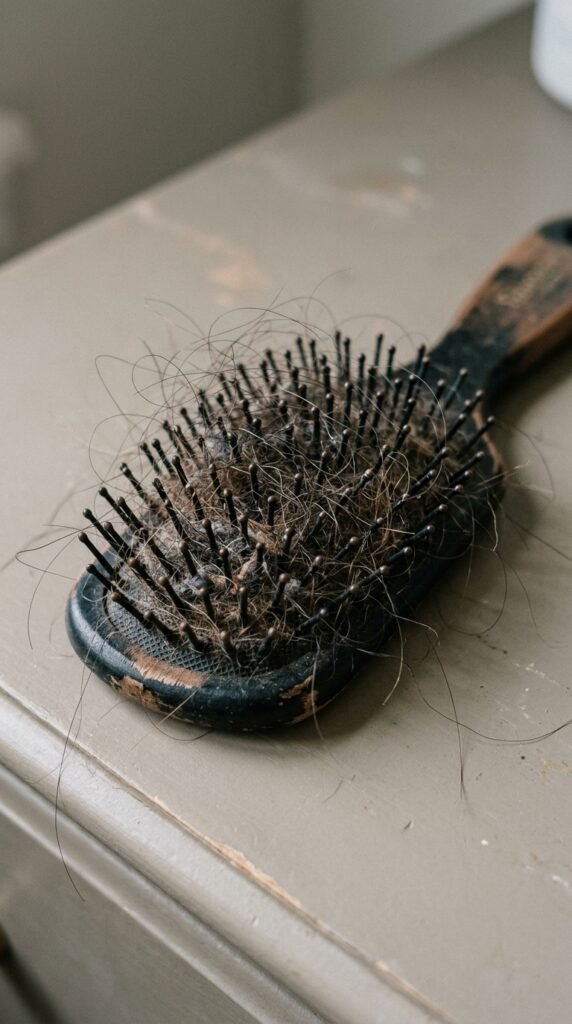
I have made every one of these mistakes, so this is a judgment free zone.
- Starting with the brush on soaking wet hair
- Skipping the cool shot
- Using too much oil before drying
- Brushing the blowout right after finishing it
- Pointing the nozzle the wrong way up the hair shaft
That last one is sneaky. Always point the airflow down the hair, from root to tip. Going against it roughs up the cuticle and creates frizz.
Fix two of these and you will already see a difference. Fix all five and people will start asking who does your hair.
When to Book the Salon Instead
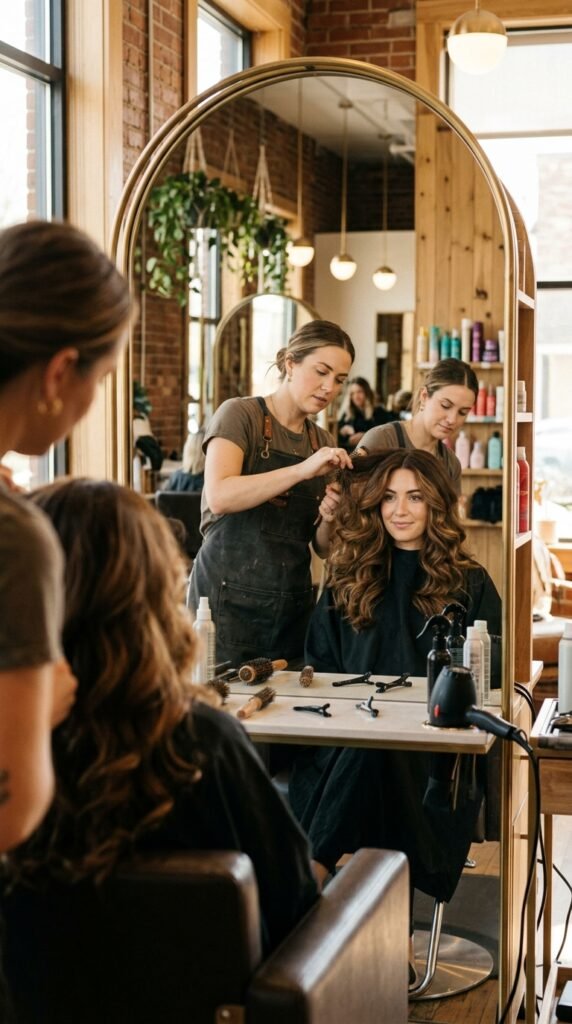
I am not anti salon. I am anti paying for something you can do yourself on a normal week.
Book in when you have a big event, when you want a cut or color change, or when your hair is damaged and needs professional handling. Also book in when you are just tired. That counts.
For everyday volume, though, this routine holds up. Once you do it three or four times, it becomes muscle memory and takes about 20 minutes.
Keep your salon visits for the stuff that actually needs a pro. Save the blowouts for your bathroom.
A Little Send Off
Here is what I want you to take from all of this. Salon results are not a secret. They are a sequence, and you can learn it.
Start with the prep and the rough dry. Add root lift and the cool shot. Then protect it while you sleep. Those four things do about 80 percent of the work.
Give it three tries before you decide it does not work. The first one is always a little clumsy. By the third, you will be shocked at what your own hands can do.
Now go make your hair big, smooth, and entirely yours.
Save this post to Pinterest so you have the steps handy next wash day. And tell me in the comments: which technique are you trying first, the root lift or the velcro rollers? I read every single one.