27 Polished Long Haircut Layers Emphasizing Healthy Reflective Hair Shine
Long hair with layers can either look expensive or look like it needs a rescue mission. I have lived on both sides of that line, so I know the difference is rarely about the cut itself. It is almost always about shine.
Here is the good news. You do not need a salon budget or an hour of styling to get that polished, reflective finish. You need smart layer placement and a few honest habits.
Today I am sharing 27 polished long haircut layers that put healthy shine first. Think old money hair, a soft quiet luxury bob grown out long, even romantic goth hairstyles with layers.
Every idea is simple, wearable, and easy to ask your stylist for. Let’s find your next look.
Why Long Layers Look So Polished Right Now

Long layers are everywhere because they do two jobs at once. They keep your length, but they take the heavy, one-shape weight off the bottom. That small bit of movement is what makes hair catch the light.
In 2026, the polished version is soft, not choppy. Think long, blended layers that flow into each other instead of hard steps. If you can see exactly where a layer starts, it is too sharp.
- Keeps length, adds movement
- Makes shine more visible
- Grows out gracefully
The Shine Rule That Changes Everything
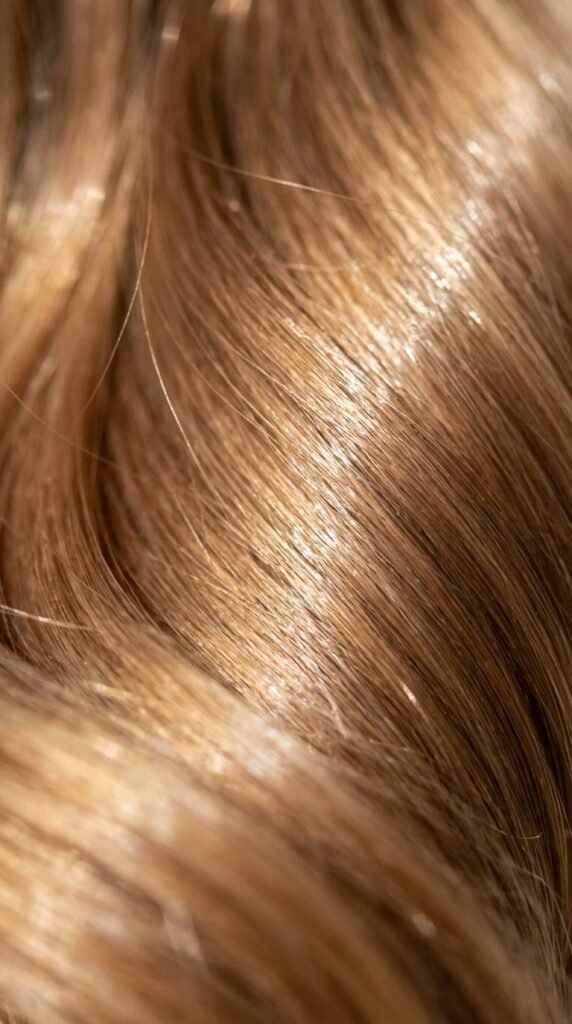
Shine is really just reflection. For hair to bounce light back, the outer cuticle has to lie flat and smooth. Rough, lifted cuticles scatter the light, so hair looks dull even right after washing.
So before you book anything, ask one question. Are my ends healthy enough to reflect? If they are crunchy or splitting, layers will only spotlight the damage.
- Trim first, layer second
- Smooth cuticles equal visible shine
- Healthy hair holds shape longer
Face Framing Layers That Flatter Everyone

Face framing layers are the quiet hero of long haircuts. They start around your cheekbone or jaw and soften the whole shape without touching your length.
Ask for them to be blended, not blunt. A good stylist will slide the scissors so the pieces melt into your hair instead of sitting on top of it like curtains.
- Cheekbone start for round faces
- Jaw start for longer faces
- Chin start for square jawlines
These layers also make a simple blowout look intentional, which is exactly the energy we want.
The Quiet Luxury Bob, Grown Out Long

The quiet luxury bob is one of my favorite 2026 hairstyles, but I know not everyone wants to cut short. Good news. You can borrow the look and keep your length.
Ask for a long, collarbone-skimming shape with minimal layers and a blunt-ish perimeter. It reads clean, calm, and expensive. Then keep the finish glossy and smooth.
- Blunt ends, soft interior layers
- Middle or slight side part
- Gloss treatment every six weeks
Old Money Hair: Soft Layers, Zero Fuss
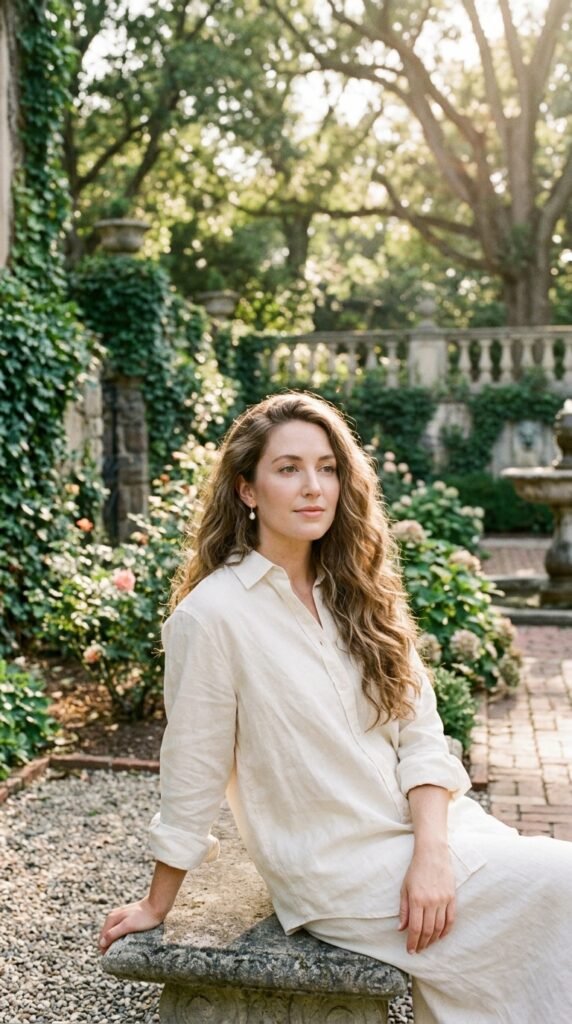
Old money hair is not about effort. It is about looking like your hair simply behaves. The cut is long, softly layered, and always healthy at the ends.
Ask for long layers that start below the chin and blend into your length. Nothing dramatic. The shine does the talking.
- Long, invisible layers
- Loose bends instead of tight curls
- Deep side part or clean middle part
Pair it with a silk scarf and you are basically set for life.
Romantic Goth Hairstyles With Long Layers

Romantic goth hairstyles work beautifully on long layered hair. The trick is contrast. Keep the cut soft and flowing, then let the color and finish do the dramatic work.
Think long layers with a deep side part, soft undone waves, and a high-shine finish. Glossy black or dark espresso reflects light in a way that matte hair never will.
- Long blended layers
- Glossy finish, not matte
- Soft waves over tight curls
Glitchy Glam Hair for Long Hair

Glitchy glam hair is playful and a little futuristic, and it translates surprisingly well to long layers. The idea is shine with an edge.
Ask for long layers with a sharp face frame, then add a gloss in a cool tone. Silver, ash, or icy beige reflect light differently than warm shades, which gives that digital, reflective feel.
- Sharp face frame, soft length
- Cool toned gloss
- Sleek straight finish
The Asymmetrical Lob as Your Grow-Out Step

If you are growing out a short cut, the asymmetrical lob is your best friend. It keeps things interesting while your length catches up.
Ask for one side slightly longer than the other and long layers through the back. It looks intentional, and it photographs beautifully from every angle.
- One side 1 to 2 inches longer
- Long layers in the back
- Deep side part for balance
The Vampire Haircut, Long and Layered

The vampire haircut is dramatic, sleek, and honestly one of the most flattering long cuts out there. It usually means a strong middle part, sharp face framing, and long layers that taper toward the ends.
The finish matters here. This look only works when the hair is reflective and smooth, so lean into gloss and a good flat iron.
- Sharp cheekbone layers
- Long tapered ends
- Glossy, glass-like finish
The Hime Cut With Long Layers

The hime cut is having a real moment, and it pairs beautifully with long layers. You get blunt side pieces near the cheek and long, flowing length behind.
Ask your stylist to keep the side pieces crisp and blunt, then add soft long layers through the back so the hair still moves.
- Blunt side pieces at cheek level
- Blunt fringe optional
- Soft long layers in back
Keep it sleek and shiny for the full effect.
How to Ask Your Stylist for Layers

Most layer disappointments come from vague requests. So bring photos and use clear words. It saves everyone time and protects your length.
- Say “long layers starting below the chin”
- Ask for “blended, not choppy”
- Show where you want the shortest layer to sit
- Mention how you style it at home
Also tell them how much length you are willing to lose. Even half an inch matters when you have been growing it out.
Long Layers for Fine Hair
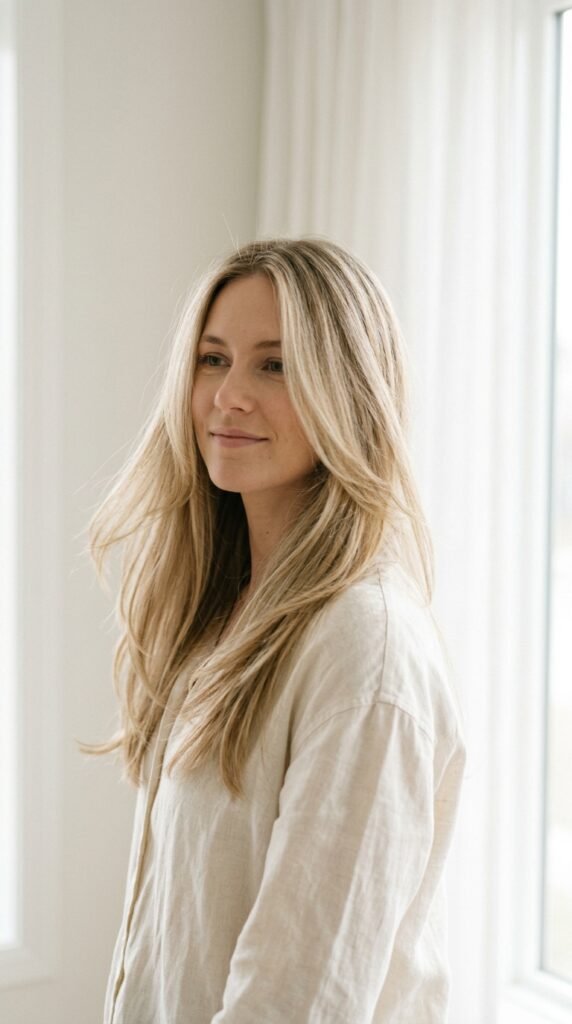
Fine hair needs layers that add movement without stealing density. The rule is simple. Keep the layers long and few.
Ask for long layers that start around your collarbone and go lighter toward the ends. Avoid short, heavy layers near the crown, because they thin out the top and kill the shine.
- Long layers only
- Minimal face framing
- A blunt perimeter for fullness
A gloss treatment also helps fine hair look thicker and more reflective.
Long Layers for Thick Hair
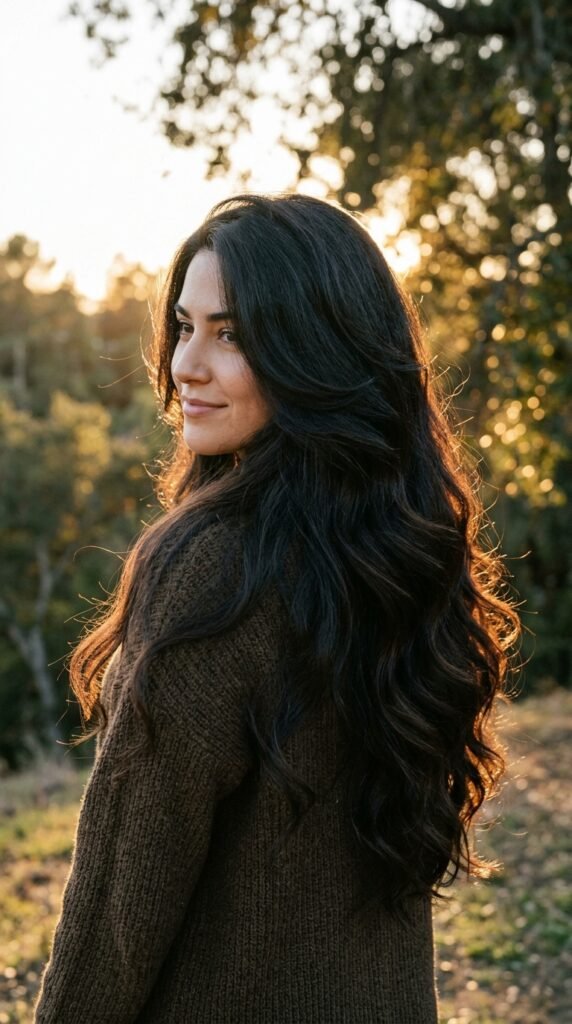
Thick hair can handle more layers, and honestly it needs them. Without layers, thick long hair turns into one heavy shape that hides all your shine.
Ask for long layers that start higher, around the jaw or chin, with lots of interior blending. This removes bulk and lets light hit different parts of your hair.
- Start layers at jaw level
- Remove interior weight
- Keep ends soft, not thinned out
Say no to aggressive thinning shears. They create frizz and dullness.
Long Layers for Curly and Wavy Hair

Curls and layers are a match made in heaven when they are cut right. Curly hair should be cut dry, curl by curl, so the shape is balanced.
Ask for long layers that follow your curl pattern rather than fighting it. The goal is a rounded shape with movement, not a triangle.
- Cut dry, curl by curl
- Long layers for definition
- No blunt thinning
Shine comes from moisture here, so hydration is your best styling tool.
Blowout Tips for Mirror Shine
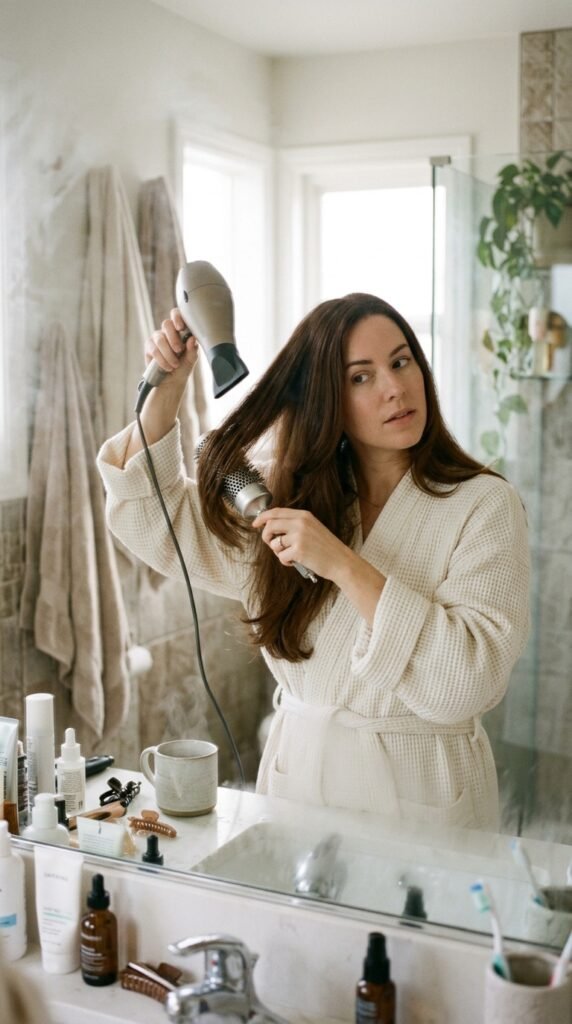
A good blowout is the fastest route to reflective hair. It smooths the cuticle and locks in that glassy finish.
- Start on damp, not soaking, hair
- Add heat protectant first
- Blow dry downward to close the cuticle
- Finish with a blast of cold air
The cold shot is the step everyone skips, and it is the one that makes the biggest difference. It sets the shape and boosts shine instantly.
The Right Brush Makes a Real Difference
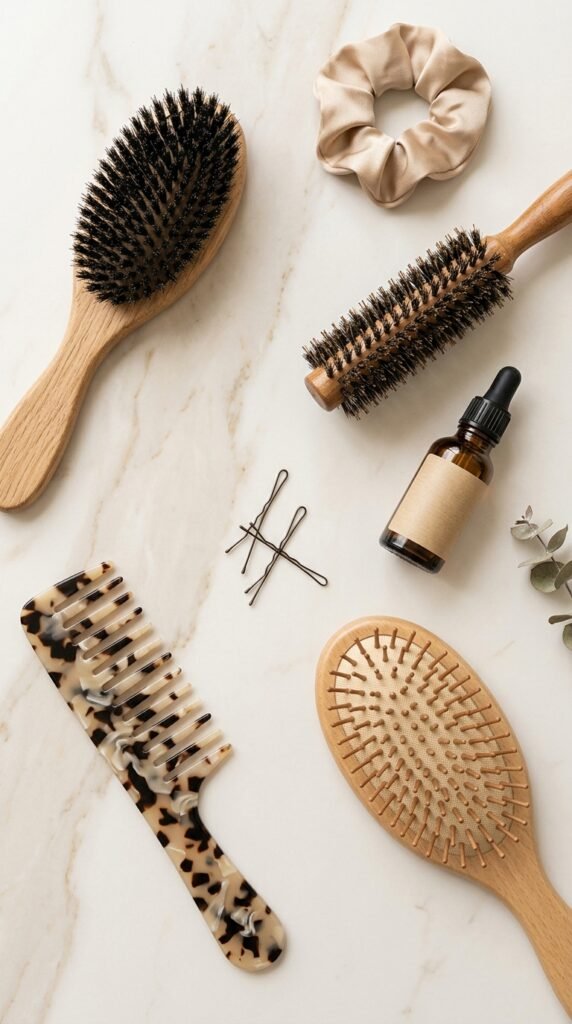
Not all brushes are equal when shine is the goal. A boar bristle brush is your secret weapon because it spreads your natural oils from root to tip.
Use a round brush for blowouts and a wide tooth comb on wet hair. Never rip through tangles with a fine tooth comb.
- Boar bristle for shine
- Round brush for smooth blowouts
- Wide tooth comb for wet hair
Clean your brushes monthly. Product buildup transfers right back onto clean hair.
Gloss Treatments and Shine Rinses
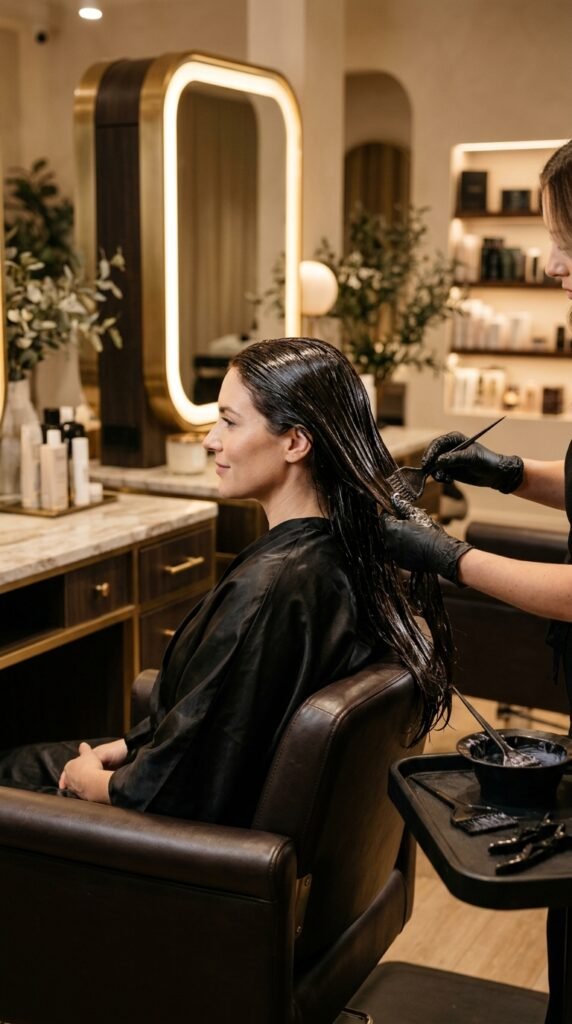
If you want instant shine, a gloss is the answer. It coats the hair, smooths the cuticle, and adds a sheer tint at the same time.
Salon glosses last about four to six weeks. At-home glosses are great in between and only take twenty minutes in the shower.
- Salon gloss for big events
- At-home gloss monthly
- Clear gloss if you love your color
This is the single easiest upgrade for dull long hair.
Heat Protection Without the Grease
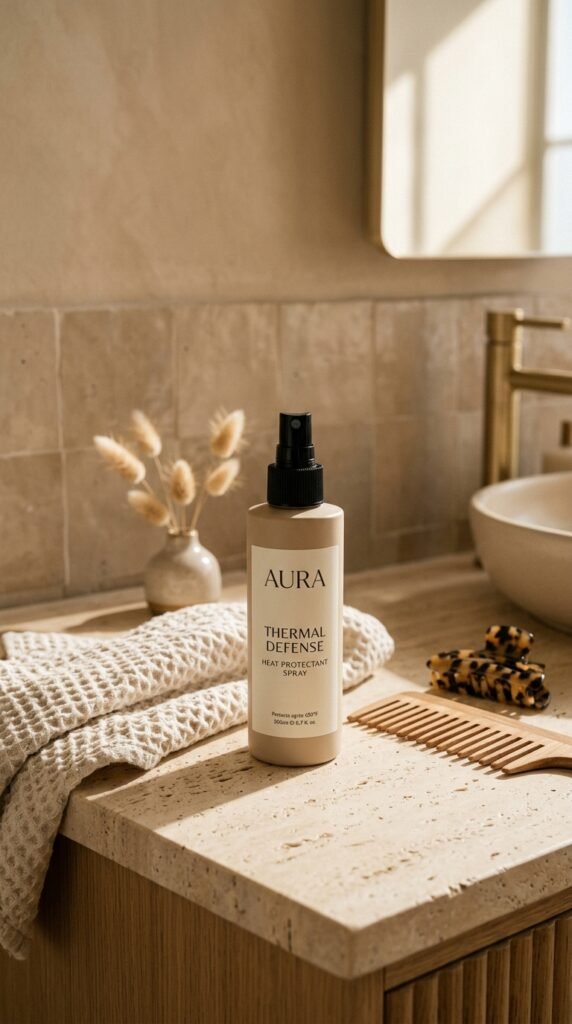
Heat is the fastest way to dull your shine. Every hot tool session chips away at the cuticle, so protection is non negotiable.
Spray a lightweight protectant on damp hair before blow drying and again on dry hair before flat ironing. Yes, twice. It sounds like a lot, but it works.
- Apply on damp hair
- Reapply before direct heat
- Keep irons under 380 degrees
Choose a mist over a cream if your hair gets greasy fast.
Oils and Serums: How to Use Them Right

Oils add shine, but too much turns hair stringy. The secret is placement and amount.
Use two or three drops, rub them between your palms, and press them into your ends only. Stay away from your roots unless your hair is very dry.
- Two to three drops max
- Ends only
- Apply on damp hair for softness
- Apply on dry hair for shine
Lightweight oils like argan and camellia work for almost everyone.
Deep Conditioning That Actually Works
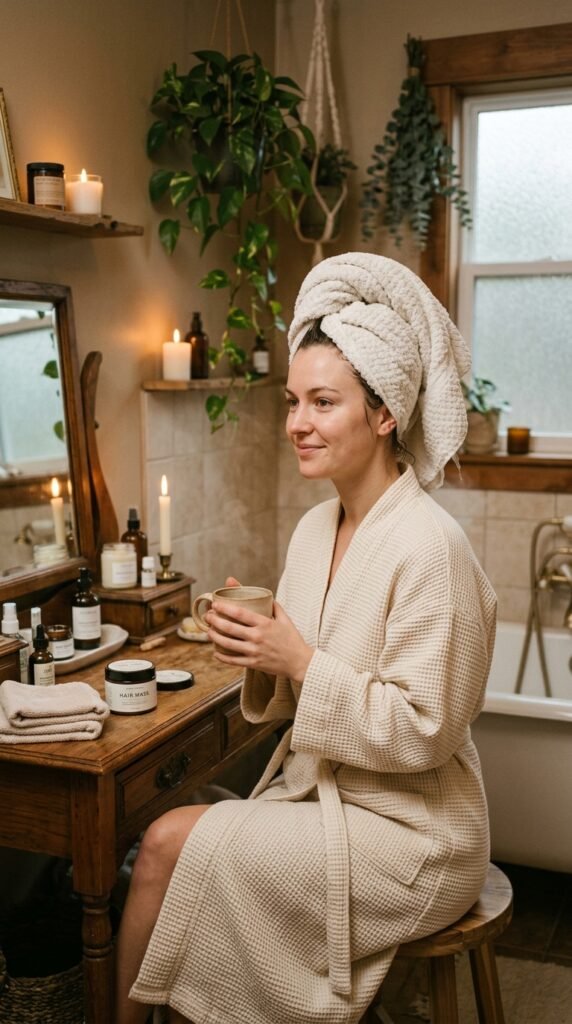
Healthy shine starts with moisture. If your hair feels rough or straw-like, no gloss will fix it long term.
Use a deep conditioning mask once a week. Leave it on for ten to twenty minutes, and use a wide tooth comb to distribute it evenly.
- Once a week is plenty
- Focus on mid lengths and ends
- Rinse with cool water
Cool water closes the cuticle, which means more reflection and less frizz.
Trims: The Quiet Secret to Shiny Ends
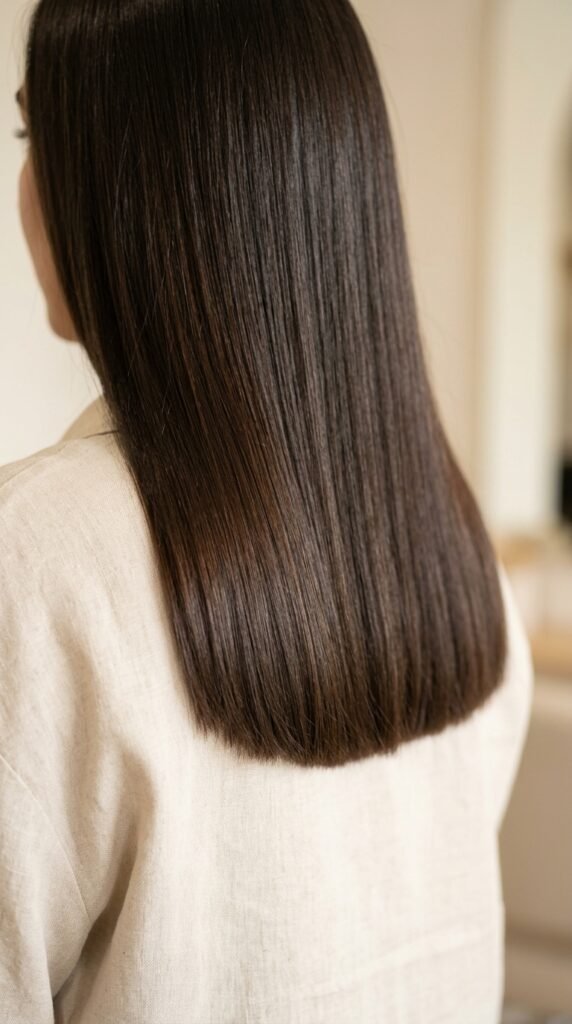
You cannot have shiny long hair with split ends. It is that simple. Split ends scatter light and travel upward if you ignore them.
Get a small trim every eight to twelve weeks. You only need a quarter inch, and your length will still grow.
- Trim every 8 to 12 weeks
- Quarter inch is enough
- Dusting cuts between visits
This one habit keeps long layers looking sharp all year.
Sleep Habits for Shiny Morning Hair
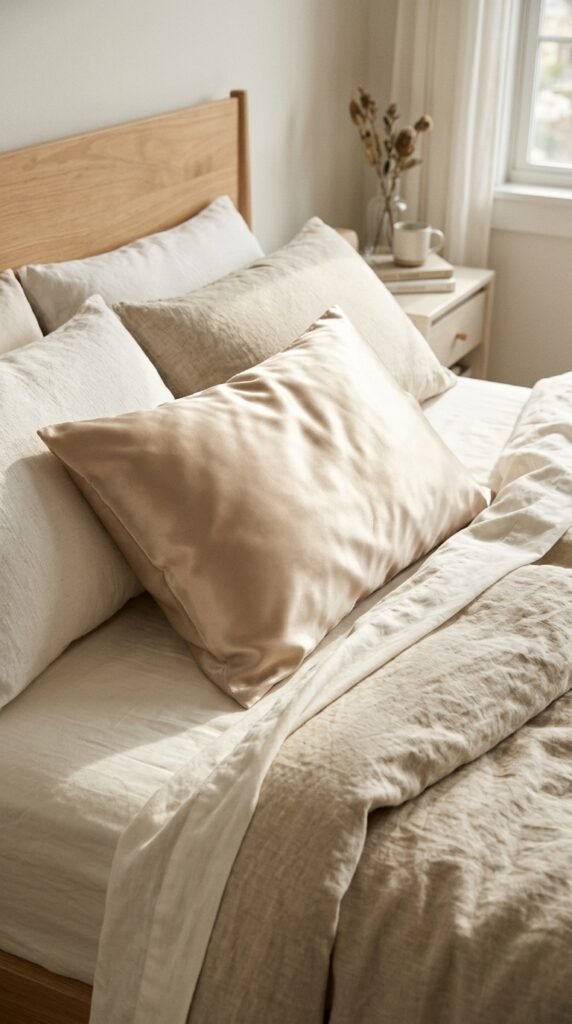
What you sleep on shows up in your hair. Cotton pillowcases create friction, which roughs up the cuticle and causes frizz.
Switch to silk or satin, and try a loose braid or a silk scrunchie at night. Your morning hair will need way less fixing.
- Silk or satin pillowcase
- Loose braid before bed
- Silk scrunchie, never tight elastics
Small changes, big difference. I promise.
Five Minute Styling for Long Layers
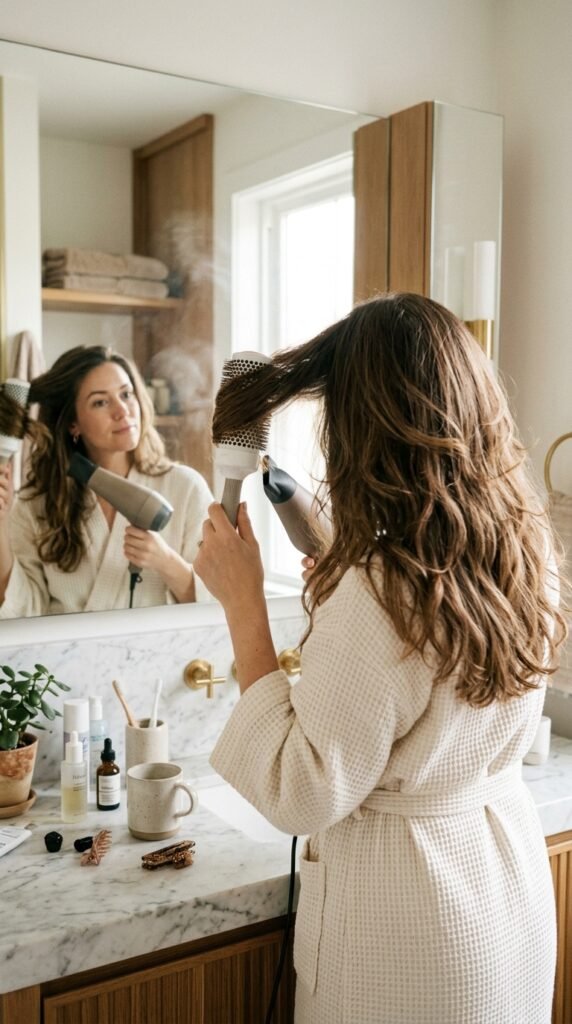
Polished hair does not need an hour. Here is my go-to routine on busy mornings.
- Spray heat protectant and dry roots first
- Rough dry the length to 80 percent
- Use a round brush on your face framing pieces
- Add two drops of oil to your ends
- Finish with cold air
Five minutes, and your layers look intentional. The face framing step is what makes it read polished instead of undone.
Products Worth Your Money in 2026
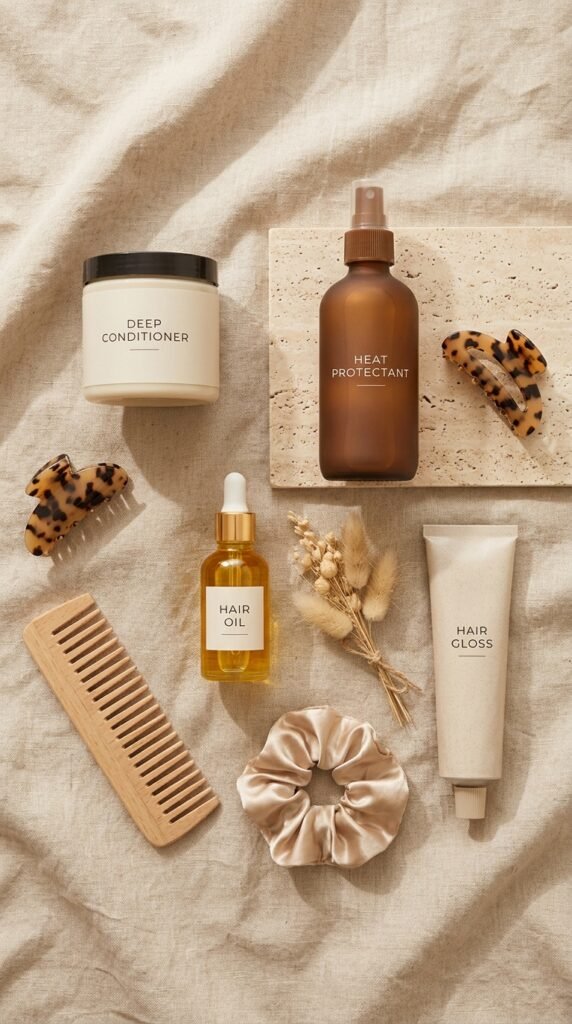
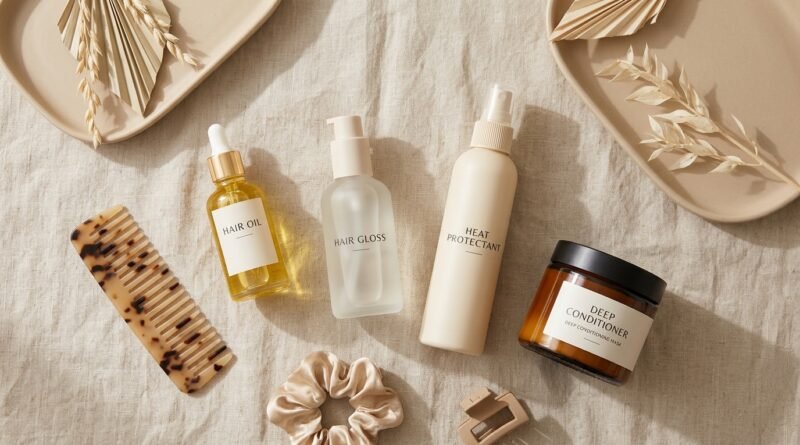
You do not need twenty products. You need four that work together.
- Lightweight heat protectant mist
- Shine oil for ends
- Weekly deep conditioning mask
- At-home gloss for between salon visits
That is the whole lineup. Everything else is optional.
Spend on the gloss and the mask first. Those two carry most of the shine load.
My Last Little Pep Talk
Polished long hair is not about having perfect genes or endless free time. It is about a good cut, healthy ends, and a few small habits you actually keep.
Start with one thing this week. Book the trim, grab the gloss, or swap your pillowcase. Tiny moves stack up faster than you think.
Your hair already has shine in it. We are just clearing the way for it to show up.
If you try any of these long layer ideas, I would love to know which one. Tell me your hair type and your favorite look in the comments, and I will help you pick your next appointment.
Save this post to Pinterest so you have your layer notes ready for your next salon visit.