27 Polished Long Haircut Layers Emphasizing Healthy Reflective Hair Shine
Long hair with layers can either look like a salon ad or like it just survived a wind tunnel. The difference almost always comes down to shine.
I’ve spent years testing cuts on my own fine, frizz-prone hair, and the ones that actually stick around are the ones that make light bounce. That’s the whole goal of polished long layers: soft movement that catches light instead of choppy ends that read dry.
Below are 27 long haircut layers built for reflective shine, from the quiet luxury bob that grows out beautifully to the hime cut and the vampire haircut. Each one comes with who it suits and how to style it fast.
Skim the list, screenshot your favorites, and bring them to your stylist.
1. Why Polished Layers Read as Healthy Hair
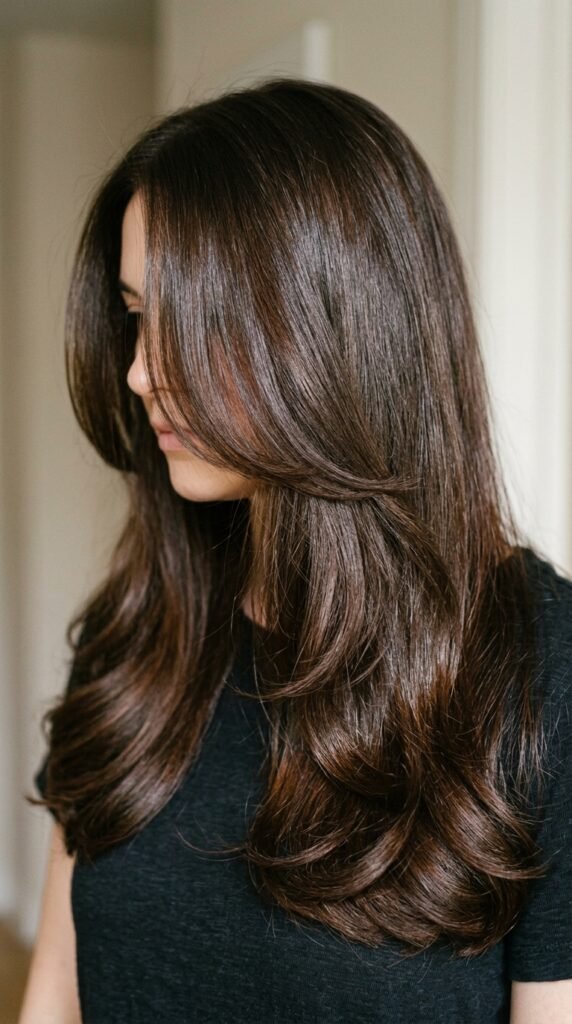
Shine is a shape thing before it’s a product thing. Layers that are cut too thin or too high create shadows and frizz, which instantly reads as damage even when your hair is perfectly healthy.
Polished layers work differently. They sit low, stay connected, and let the surface reflect light in one smooth sheet.
- Keep interior layers long and blended
- Ask for point cutting, not heavy thinning
- Leave the perimeter fuller for reflection
Once the shape is right, shine gets easy.
2. Quiet Luxury Bob, Grown Into Long Layers

The quiet luxury bob is the cut everyone asked for last year, and now it’s grown out. Good news: that grow-out is the perfect long layered starting point.
Ask your stylist to keep the perimeter blunt around your collarbone and soften only the interior. You get that old money hair look without starting over.
Style it with a round brush at the ends and a tiny drop of oil on the last two inches. It’s one of the easiest 2026 hairstyles to live with.
3. Soft Face-Framing Layers That Light Up Your Cheeks

Face-framing layers start at your cheekbone or jaw and taper down. They’re the fastest way to look polished without touching your length.
The trick is keeping them wide, not wispy. Thin, stringy face frames go limp by noon and make hair look tired.
- Start the shortest layer at your jaw, not your eye
- Blend into the length over at least three inches
- Style with a small round brush for a soft bend
4. Asymmetrical Lob With Mirror Shine
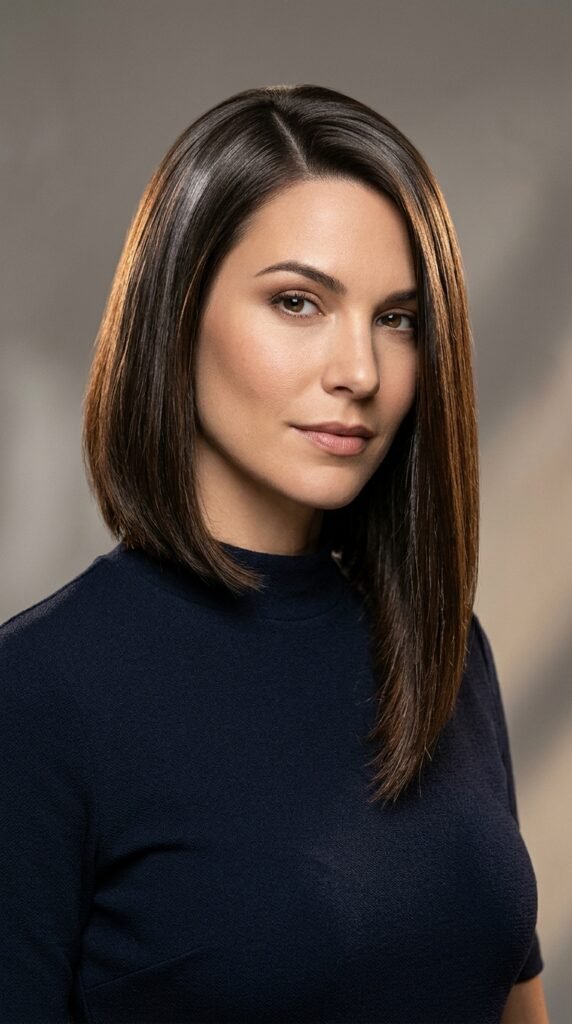
An asymmetrical lob is the shortcut to looking styled with zero effort. One side longer, one side shorter, and hair that looks almost wet with shine.
The shine comes from the blunt cut. Clean lines reflect light better than razored edges every single time.
Ask for a slight angle, not a dramatic slant, then finish with a shine serum on damp ends. This is the cut I recommend when you want old money hair energy but shorter than mid-back.
5. Old Money Hair: Blunt Ends, Whisper-Soft Interior Layers
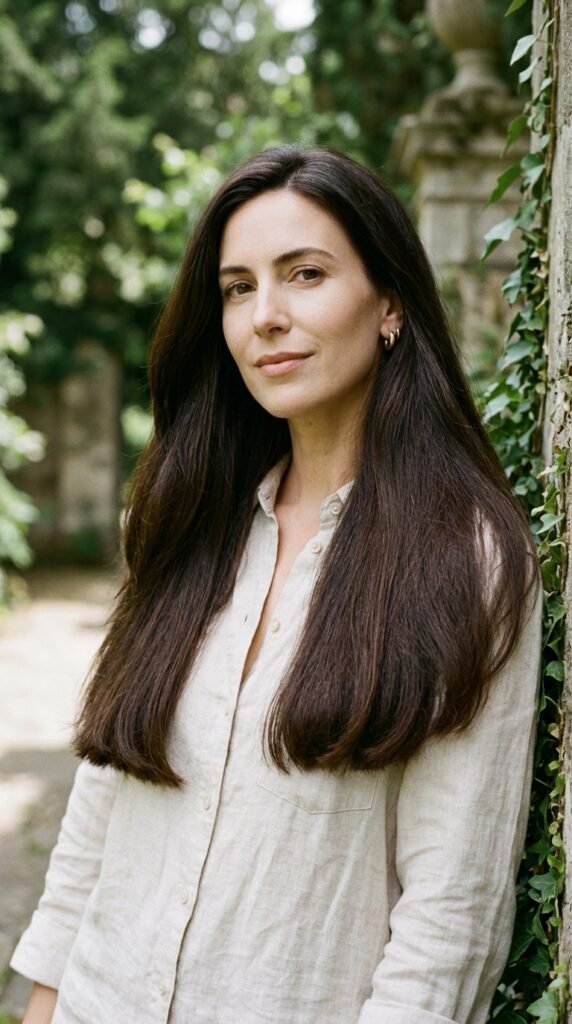
Old money hair is less about length and more about condition. The formula is a healthy blunt perimeter with barely-there interior layers for movement.
Nothing choppy, nothing obvious. Just weightless, glossy motion.
- Keep the bottom inch fully blunt
- Add long layers only below the shoulders
- Gloss every six to eight weeks
Pair it with a middle part and a five-minute blow-dry. That’s it.
6. The Hime Cut With a Glass Finish
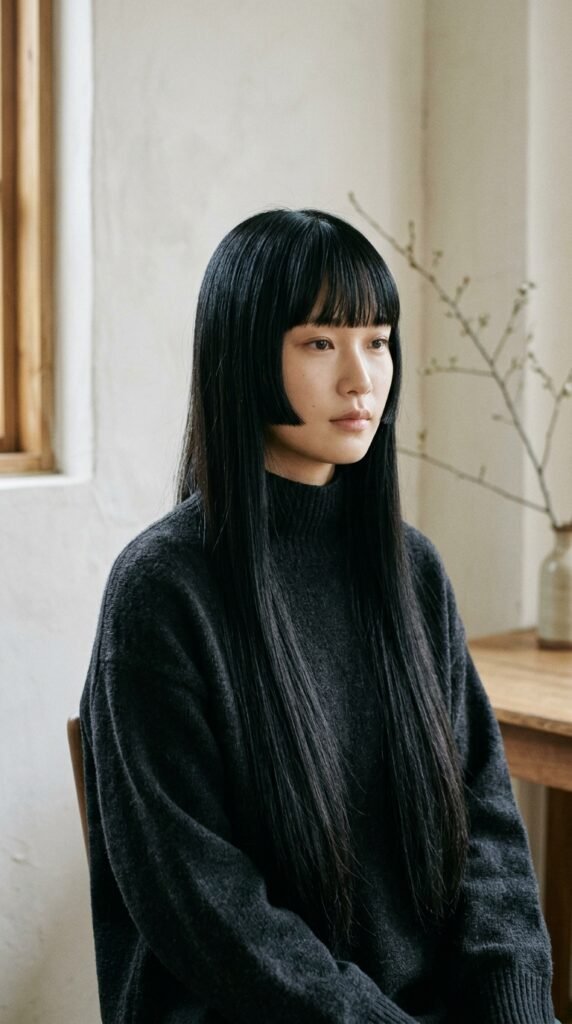
The hime cut is two blunt side sections at the cheek and a full length behind. It’s structural, a little dramatic, and incredibly shiny when done right.
The catch: blunt lines show every bit of frizz. Flat-iron the side pieces with a light pass and finish with a glossing spray.
If you have fine hair, ask for the side panels slightly wider so they don’t look thin. This one’s a head-turner in 2026.
7. Romantic Goth Hairstyles With Long Shine Layers
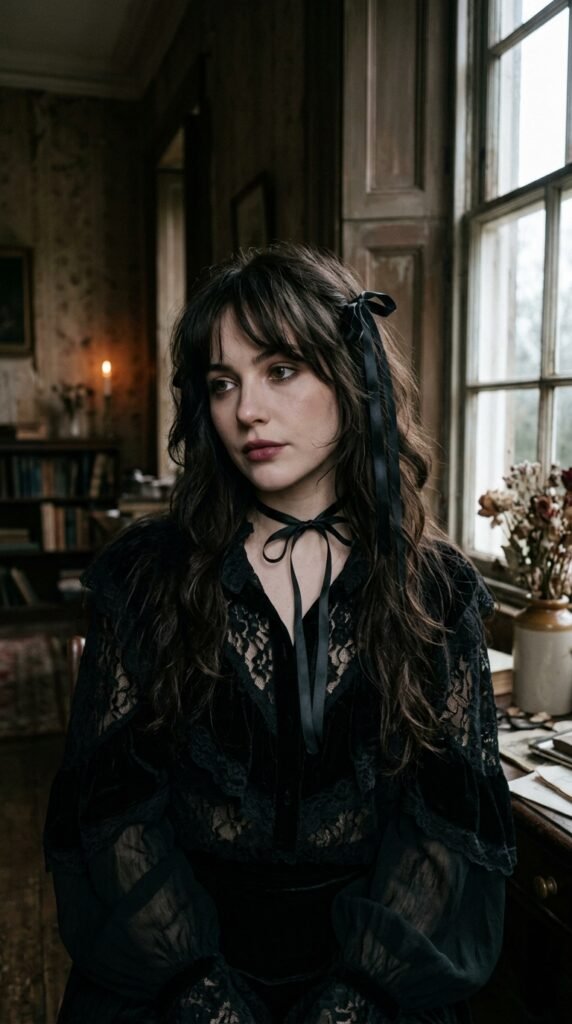
Romantic goth hairstyles are having a moment, and long layers make them wearable for everyday. Think soft waves, deep tones, and a mirror-like finish.
Ask for long layers starting below your collarbone so the length stays heavy and dramatic.
- Air-dry with a light mousse for texture
- Add a shinier serum to the ends for a glossy finish
- Keep the face frame soft, not sharp
8. Glitchy Glam Hair: Sliced Layers for 2026
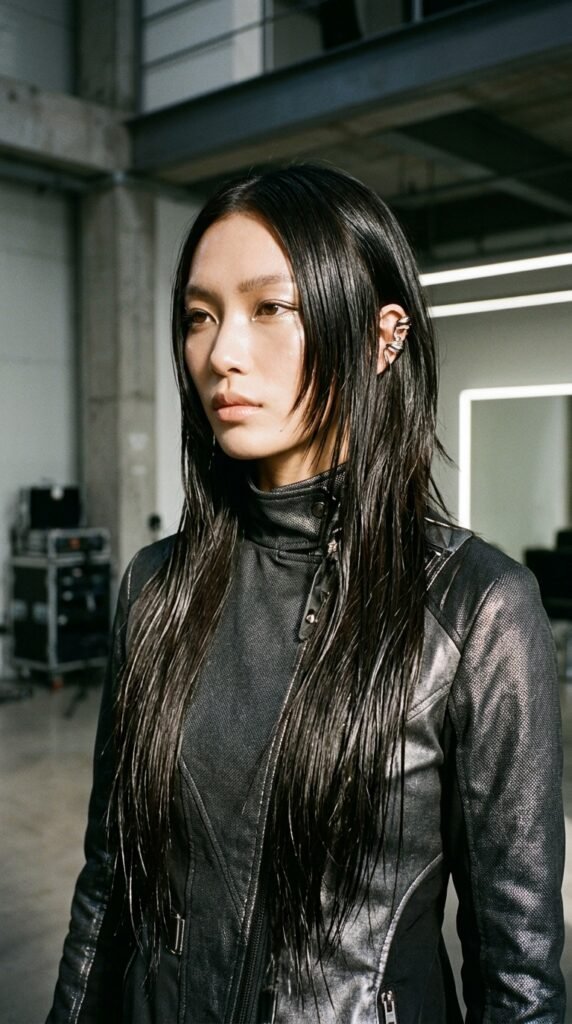
Glitchy glam hair is the playful cousin of polished layers. It uses visible slicing and uneven lengths, but the finish stays glossy so it reads intentional instead of messy.
Ask for slice cutting on dry hair so your stylist can see exactly where each piece lands.
Keep it in the interior and face frame, never the perimeter. That’s how you get the edge without losing the shine.
9. The Vampire Haircut, Grown Past Your Shoulders
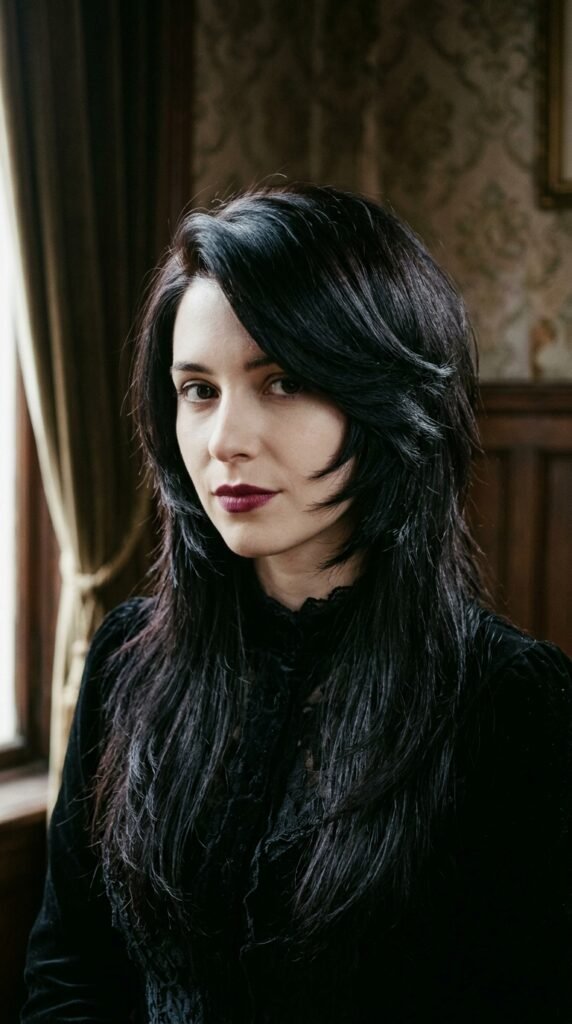
The vampire haircut is a deep side part with dramatic, sweeping face layers. It’s moody, a little glam, and surprisingly flattering on long hair.
The shine lives in that sweeping section, so keep it conditioned and brushed forward when you style.
- Deep side part, dramatic sweep
- Layers start at the cheekbone
- Finish with a light oil for gloss
It’s one of my favorite 2026 hairstyles for anyone bored of a middle part.
10. Butterfly Layers Without the Frizz
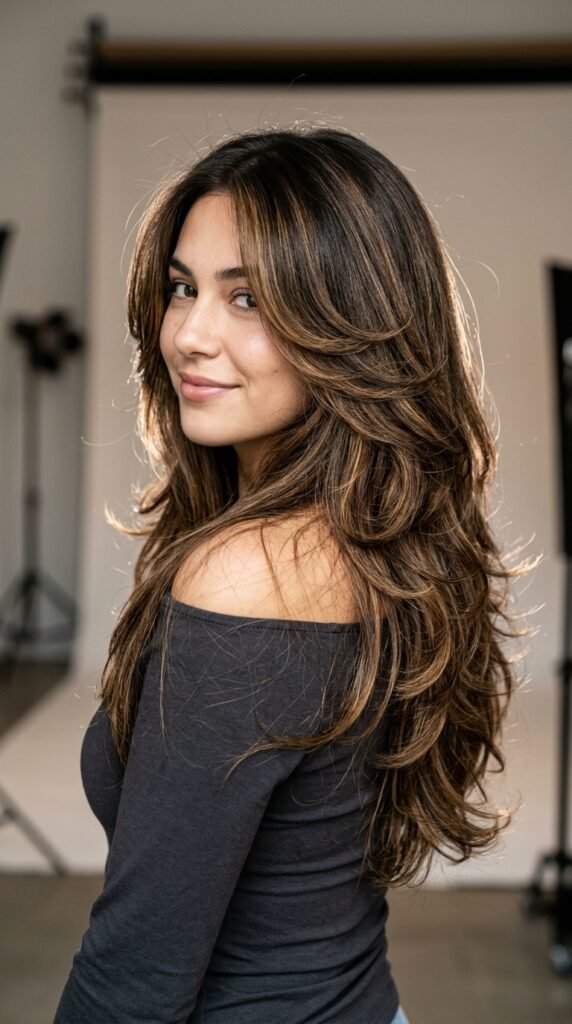
Butterfly layers give that bouncy, rounded shape around the face. Gorgeous, but they can turn fuzzy fast if the ends are thinned out.
Ask for the ends left solid and only the interior textured. That keeps the shape puffy and the surface smooth.
Style with a large round brush and cool shot to seal the cuticle. Cool air is the most underrated shine tool in your bathroom.
11. Curtain Bangs Meet Long Layers

Curtain bangs plus long layers is the most forgiving combo on this list. The bangs hide any grow-out awkwardness, and the layers keep the length from looking flat.
Ask for bangs that start at the center of your brows and sweep outward.
- Blow-dry bangs first, length second
- Use a velcro roller while you do your makeup
- Trim bangs every three weeks
Easy, soft, and always polished.
12. The Rounded 90s Blowout Cut

The 90s blowout is back and it loves long layers. The shape is round at the crown, smooth through the mid-length, and gently flipped at the ends.
Your stylist should cut this shape with volume in mind, meaning shorter layers around the crown and longer ones through the body.
At home, rough-dry to 80 percent, then round-brush section by section. Finish with a light shine spray, not hairspray.
13. Soft U-Cut Layers for Thick Hair
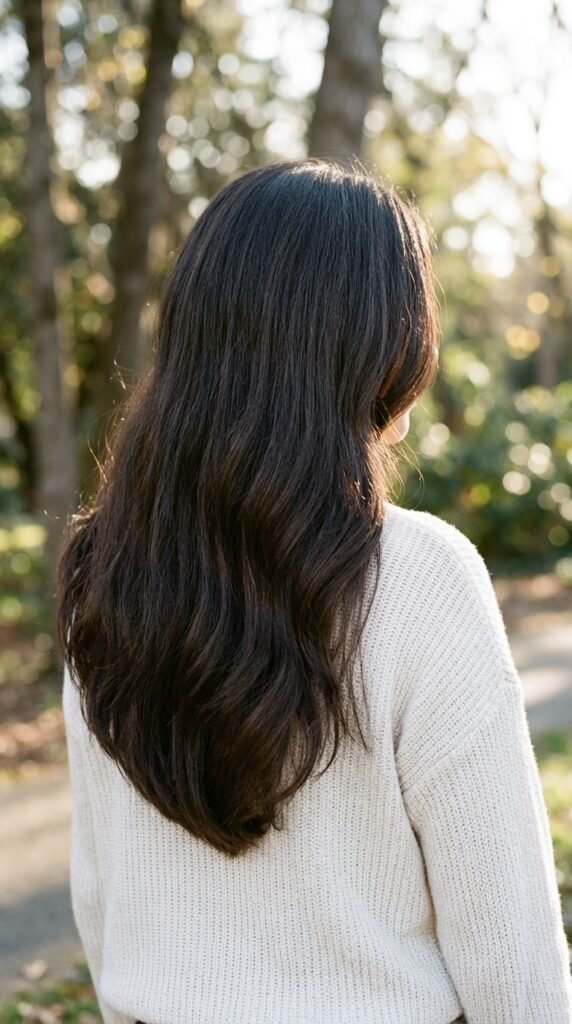
If your hair is thick, heavy layers can make it collapse. A soft U-cut with barely-there layers keeps the weight where it belongs.
The U shape rounds out the bottom so your ends look full instead of blunt and blocky.
- Keep layers below the shoulder
- Ask for slide cutting on the interior only
- Skip razors entirely
Thick hair shines best when it’s given structure, not thinned out.
14. Ladder Layers for Fine Hair

Ladder layers are evenly spaced, gentle steps that create movement without removing bulk. Fine hair loves them because nothing gets hollowed out.
Ask for the steps one to two inches apart and keep the perimeter solid.
Style with a texturizing spray at the roots and shine serum on the ends. That combo gives fine hair body up top and gloss at the bottom, which is exactly what polished long layers need.
15. Collarbone Face Frame on Long Hair
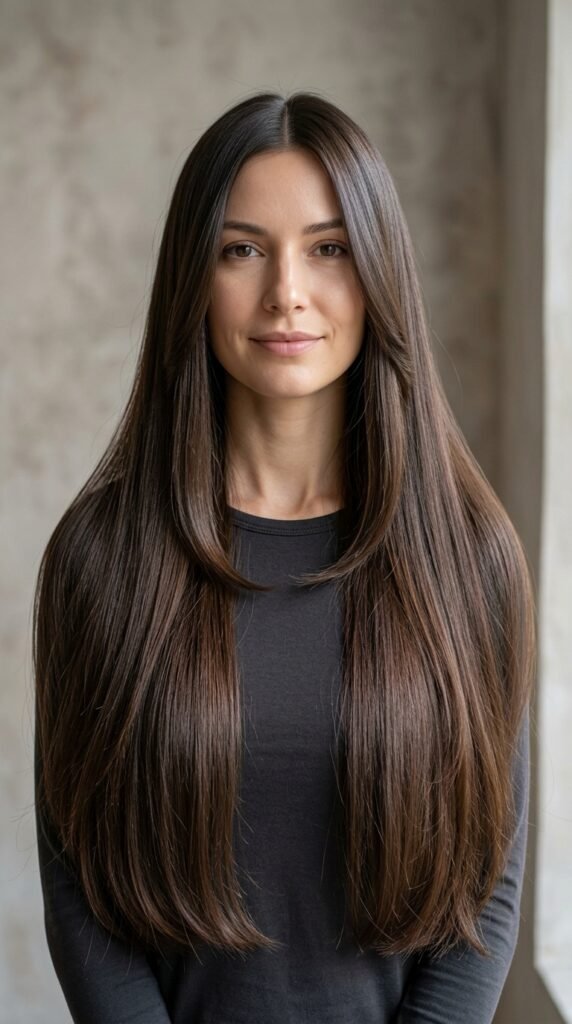
This is the low-commitment face frame. Instead of short cheek pieces, the frame starts at your collarbone and blends into your length.
It’s perfect if you want a change without losing your long hair. It also grows out invisibly, which honestly is the best part.
- Frame starts at the collarbone
- Blend over four to six inches
- Works on straight, wavy, and curly hair
16. Invisible Layers for One-Length Loyalists
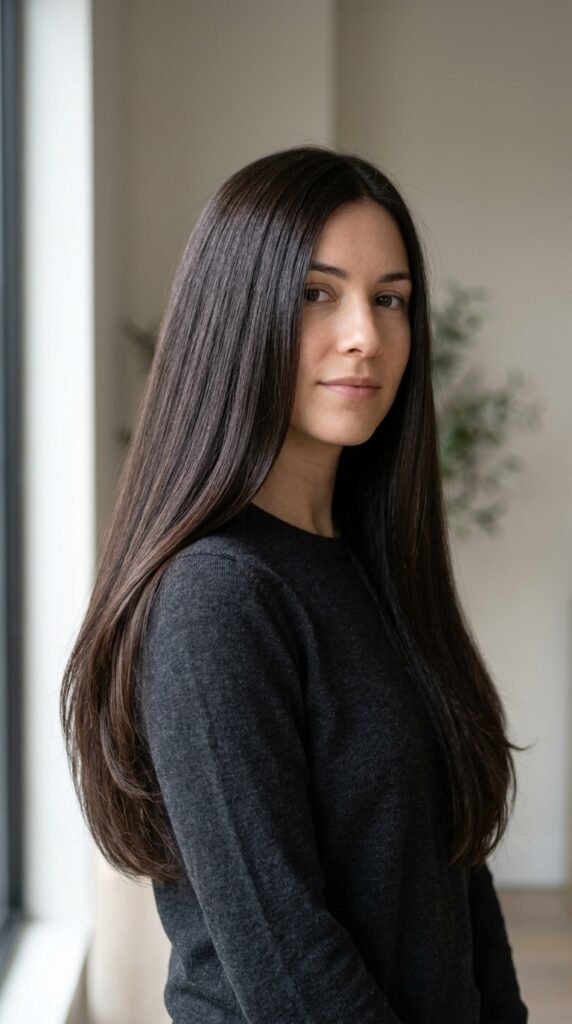
Invisible layers are exactly what they sound like. Hair looks one length, but it moves like it has layers.
Your stylist cuts them entirely inside the hair, never touching the surface. The result is shine that stays intact from root to end.
This is the cut I’d pick for anyone who loves their long hair but wants it to feel lighter and more alive. Zero styling commitment, all the movement.
17. Sleek Center Part With Micro Layers
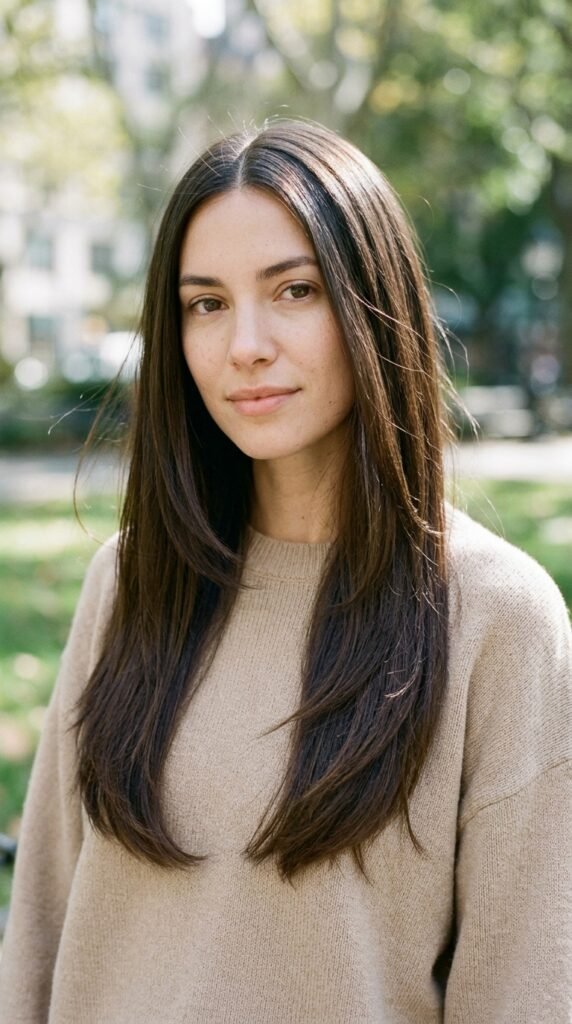
A center part with micro layers is the quiet luxury bob’s long-haired sibling. It’s sleek, simple, and looks expensive in any lighting.
The layers are tiny, just enough to stop the hair from looking heavy and flat on either side of your face.
Blow-dry your part with a brush for a crisp line, then smooth the surface with a light glossing cream. Done in eight minutes.
18. The Polished Long Shag

Shags used to mean messy. The polished version keeps the shag shape but leaves the ends clean so light still reflects.
Ask for a shag with weight removed at the crown and solid ends below.
- Keep the shortest layer below the chin
- Point cut the interior, not the perimeter
- Air-dry with a light cream for texture
You get the cool-girl shape minus the bedhead.
19. Waterfall Layers for Wavy Hair

Waterfall layers cascade in a smooth, continuous flow. On wavy hair, they create that soft, romantic shape without any choppiness.
Cut these on dry, styled hair so your stylist can follow your natural wave pattern. That detail is everything.
Style with a curl cream on damp hair and a shine oil on the ends. Let it air-dry if you can. Wavy hair holds gloss better when you leave it alone.
20. Blunt Hairline With Tapered Ends
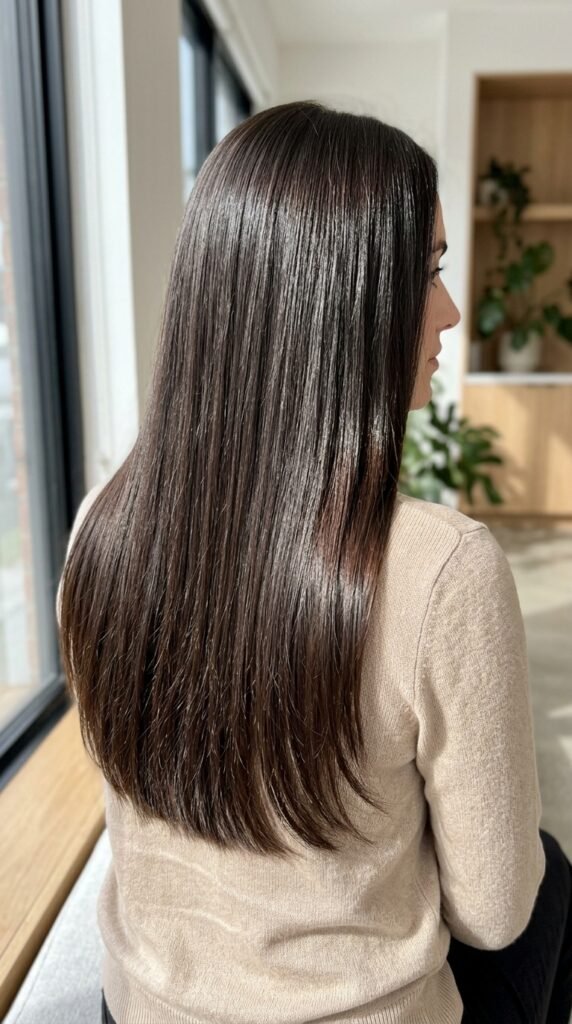
This is the shine hack of the group. You keep a blunt, solid perimeter for maximum light reflection, then taper the very ends for softness.
It’s the best of both worlds: strong shape and gentle movement.
- Blunt cut around the bottom
- Light tapering on the last inch
- No thinning shears, ever
Ask for it by name and show a photo. It’s subtle enough that words alone can get lost.
21. Long Layers With a Glossy Money Piece

A money piece is the bright face frame that makes hair look lit from within. On long layers, it pulls attention right to your eyes.
Keep it subtle. Two shades lighter is plenty, and the glossy finish is what sells it.
Ask your colorist for a gloss on top of the lightening. That’s the step that takes it from highlights to old money hair.
22. How to Blow-Dry Layers for Maximum Reflection
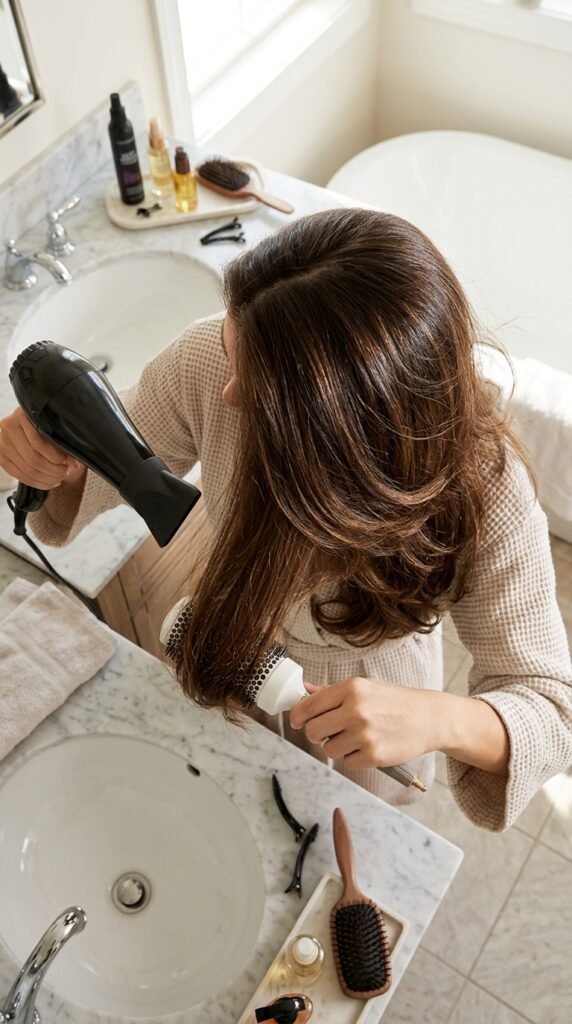
Shine is mostly heat styling done in the right order. Here’s the routine I use when I want glassy layers.
- Spray heat protectant on damp hair
- Rough-dry roots until 80 percent dry
- Section into four parts
- Round-brush each section downward, nozzle pointed down
- Finish with a blast of cool air
Downward airflow smooths the cuticle. That’s the whole secret, and it costs nothing extra.
23. The Gloss Treatment That Makes Layers Pop
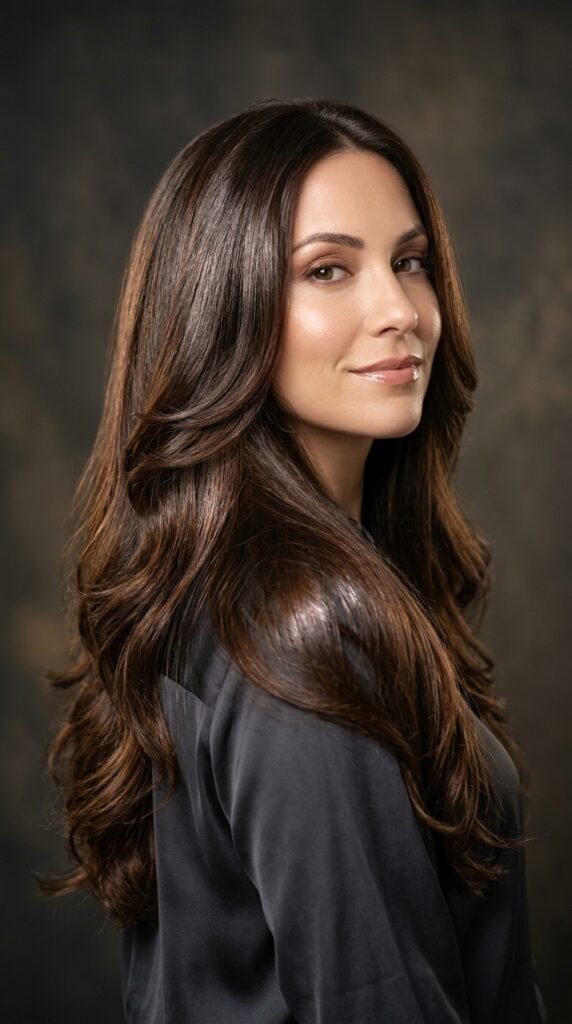
A gloss is the fastest way to fake perfect hair health. It fills the cuticle, adds a sheer layer of tone, and makes layers look defined instead of fuzzy.
You can get one at a salon or use an at-home glaze once a week. Both work. The salon version just lasts longer.
- Salon gloss: every six to eight weeks
- At-home glaze: weekly, five minutes
- Always follow with a light oil
24. Trims and Dusting: Keeping Layers Sharp
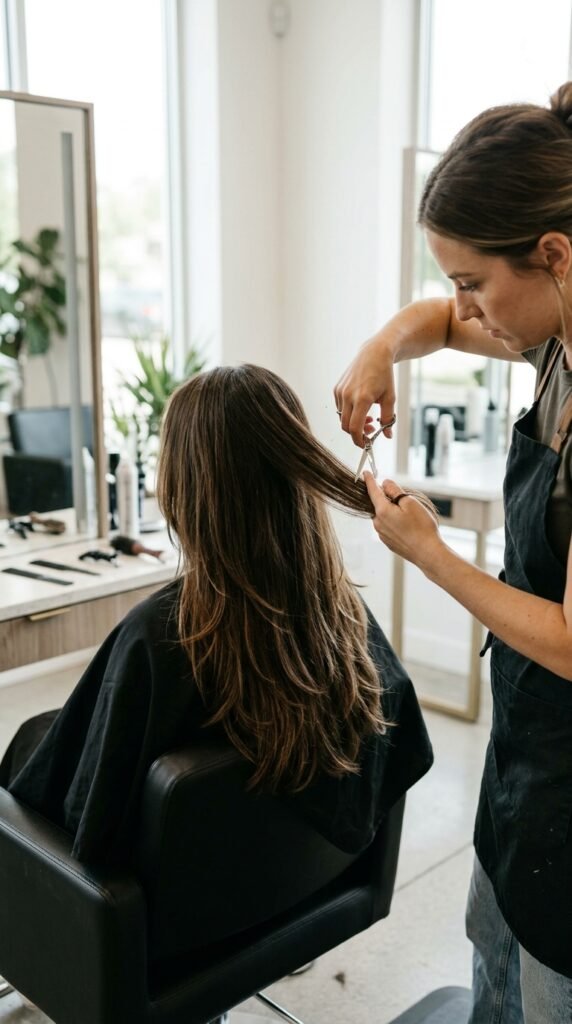
Polished layers don’t stay polished without maintenance. A trim every ten to twelve weeks keeps the ends solid and the layers defined.
If you’re growing your hair, ask for a dusting instead. It’s a tiny trim that removes only the split tips.
- Trim every 10–12 weeks
- Dusting every 6–8 weeks if growing
- Skip thinners on already-thin ends
25. Shine Products That Never Weigh Hair Down
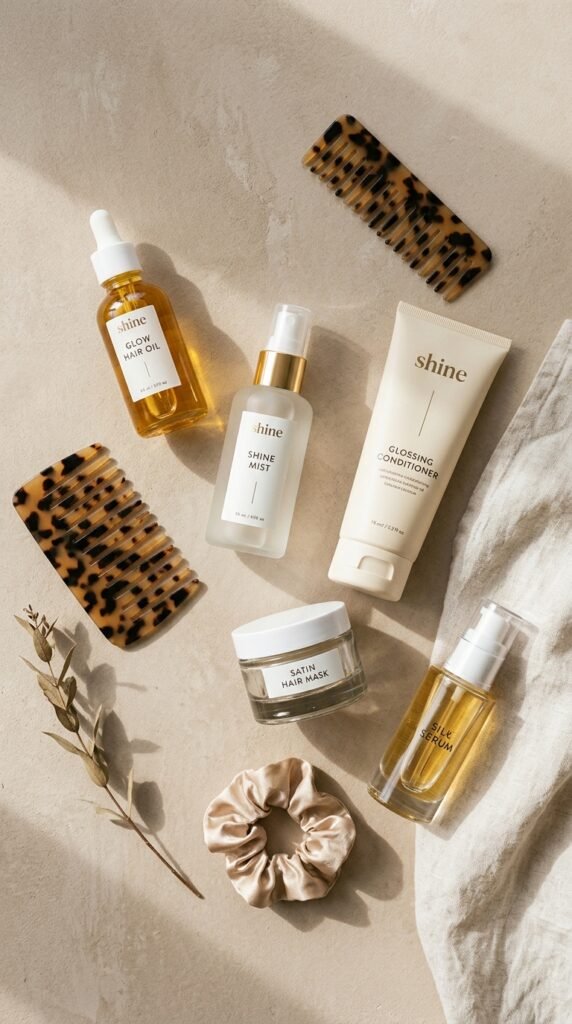
Too much product kills shine. The trick is light layers of the right things.
- Lightweight leave-in on damp ends
- Shine serum only on the last two inches
- Glossing spray for the final finish
- Dry shampoo at the roots only
Apply everything from mid-length down, and keep the top of your head clean. Root shine is what makes hair look greasy, not glossy.
26. Heat Protection Habits for Layered Ends
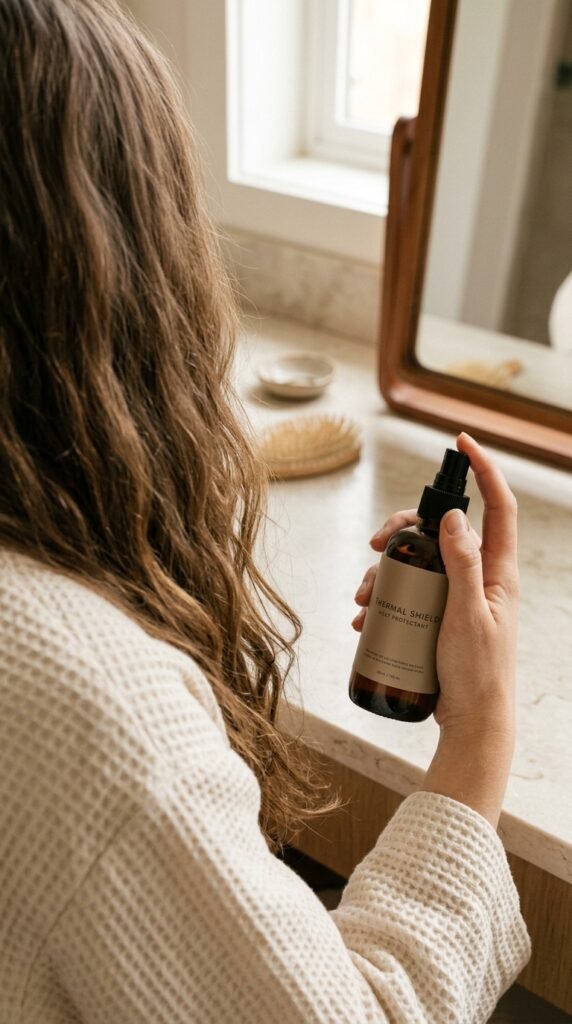
Your ends are the oldest part of your hair, so they show damage first. Layers put them on display, which means they need a little protection.
Never flat-iron above 350 degrees, and always use a heat protectant. One pass is enough. Two passes on the same section is how splits start.
Also, brush from the ends up, not the roots down. You’ll break way less hair that way.
27. Night Routine: Silk, Braids, and Morning Shine

What you do at night shows up in your shine by morning. This routine takes two minutes.
- Brush gently from ends to roots
- Add a drop of oil to the ends
- Loose braid or silk scrunchie
- Silk pillowcase, always
Cotton pillowcases grab moisture and create frizz. Silk lets your hair glide. That one swap made a bigger difference for my layers than any expensive serum I’ve tried.
A Little Glow to Take With You
Polished long layers aren’t complicated. Pick a cut that keeps the perimeter solid, keep the interior soft, and protect the shine with gloss, gentle heat, and a good pillowcase.
Start with one section of this list that matches your hair type, screenshot the photo prompt, and bring it to your stylist. You don’t need a whole new look. You need a better shape for your natural shine.
And if you try one, tell me which. I read every comment and I’m always collecting new inspiration from you.
Save this post to Pinterest so you have all 27 ideas ready at your next appointment. Then drop a comment below and tell me: are you team blunt ends or soft face-framing layers?