27 Polished Long Haircut Layers Emphasizing Healthy Reflective Hair Shine
A good long haircut isn’t really about taking off length. It’s about light. The cuts that look expensive in 2026 are the ones where hair catches the light as you move — soft, glossy, and alive instead of heavy and flat.
I’ve tested layered cuts on real hair, not just salon photos, and the difference always comes down to one thing: how the layers are placed. Too many and hair goes stringy. Too few and it hangs like a curtain.
So here are 27 polished long haircut layers built around shine first. Healthier ends, softer movement, and that reflective finish you see in photos and can never quite name.
Every cut here has a hair type and face shape it loves. Find yours, screenshot it, and bring it to your stylist.
1. Layers Are the Secret to Reflective Shine
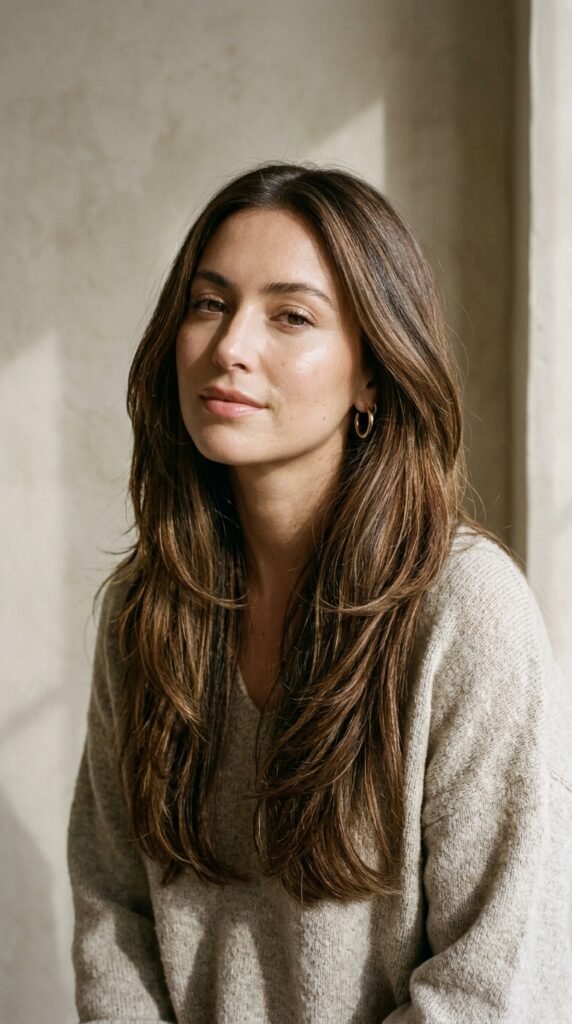
Shine is really just light bouncing off a smooth surface. When long hair is all one length, it bunches up and casts tiny shadows on itself, which reads as dull even when your hair is perfectly healthy.
Layers fix that. They let hair sit flatter, move in one direction, and reflect light along the cuticle. That’s why a well-layered cut looks glossier than a blunt one using the exact same products.
- Layers should remove bulk, not thickness
- Blended ends reflect more light than blunt walls of hair
- The goal is movement, never a choppy, piecy look
2. Do the Shine Check Before You Book
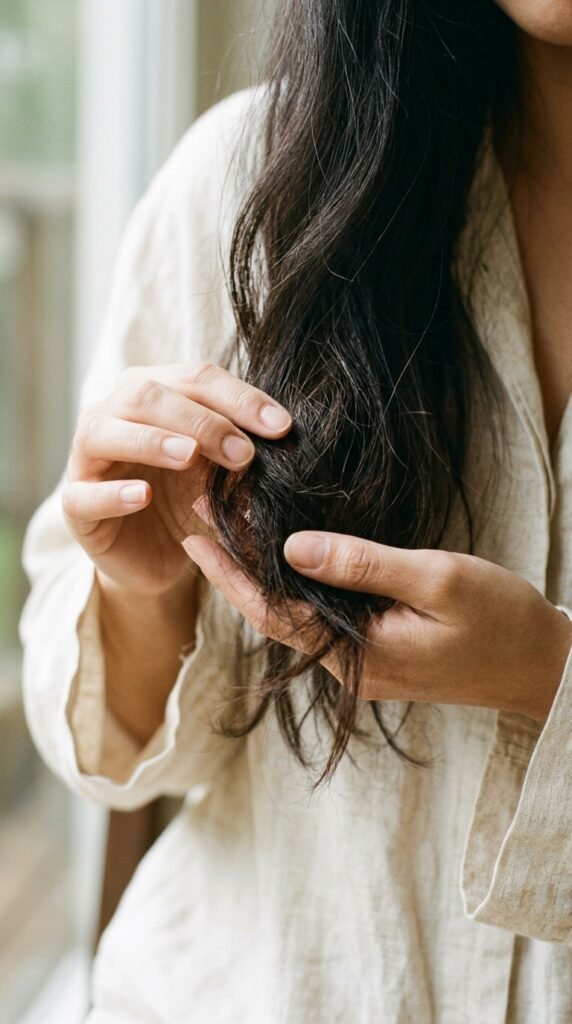
Before you pick a cut, look at your ends in real daylight. If they look see-through, fuzzy, or lighter than the rest of your hair, you need a trim more than you need layers.
Layers on damaged ends look stringy, and stringy never reads polished. Get the health right first, then shape the hair around it.
- Hold a small section up to a window
- Check for split ends and white dots
- Run your thumb down the strand — smooth means healthy
3. Long Layers With Face-Framing Pieces
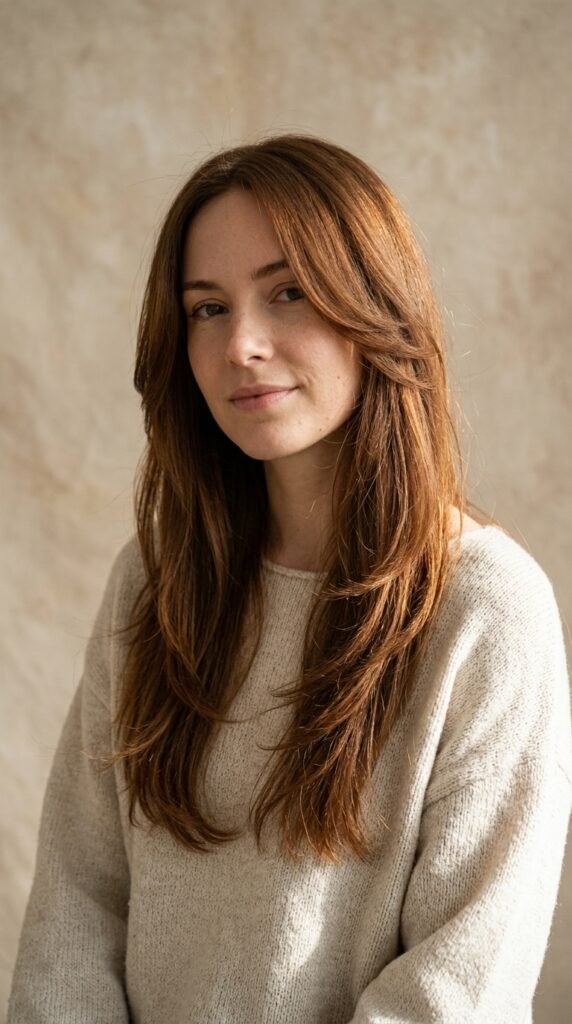
This is the safest, most flattering place to start. Your stylist keeps the back long and adds two or three soft pieces around the cheekbones and jaw.
Those front pieces do the work. They catch light near your face, soften your features, and make the whole cut look intentional instead of accidental.
- Ask for pieces that start at the cheekbone
- Keep them blended, not blunt
- Great on fine to medium hair
4. Old Money Hair: Soft Rounded Layers
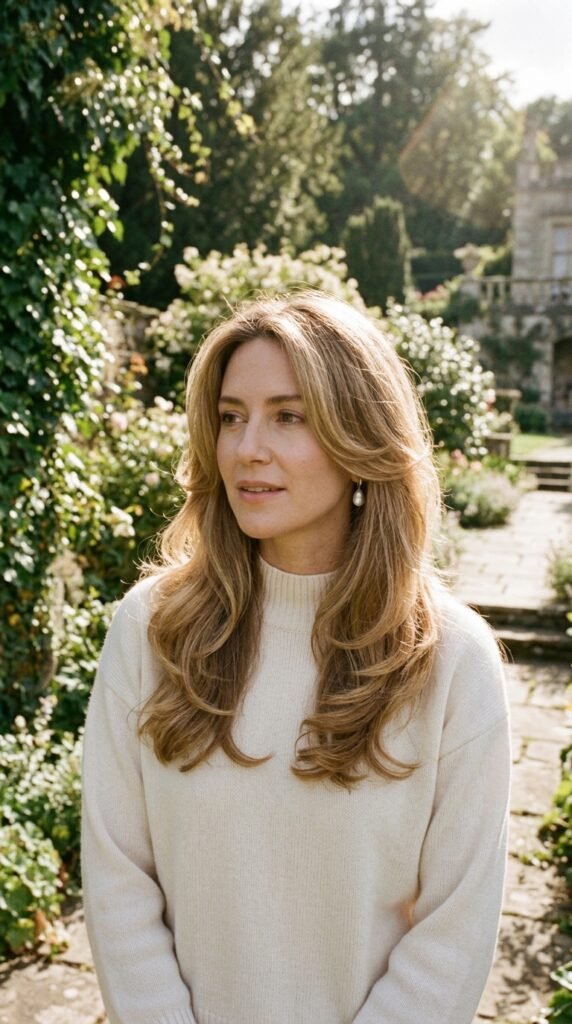
Old money hair is less a cut and more a feeling — smooth, brushed, and slightly rounded at the ends. Nothing sharp, nothing trendy for the sake of it.
Ask for long layers that curve gently inward at the bottom, with the shortest layer sitting below the chin. It photographs beautifully and grows out gracefully.
- Blow-dry with a round brush for the bend
- Finish with a light shine serum, not oil
- Pairs perfectly with a middle part
5. Quiet Luxury Layers That Read Expensive
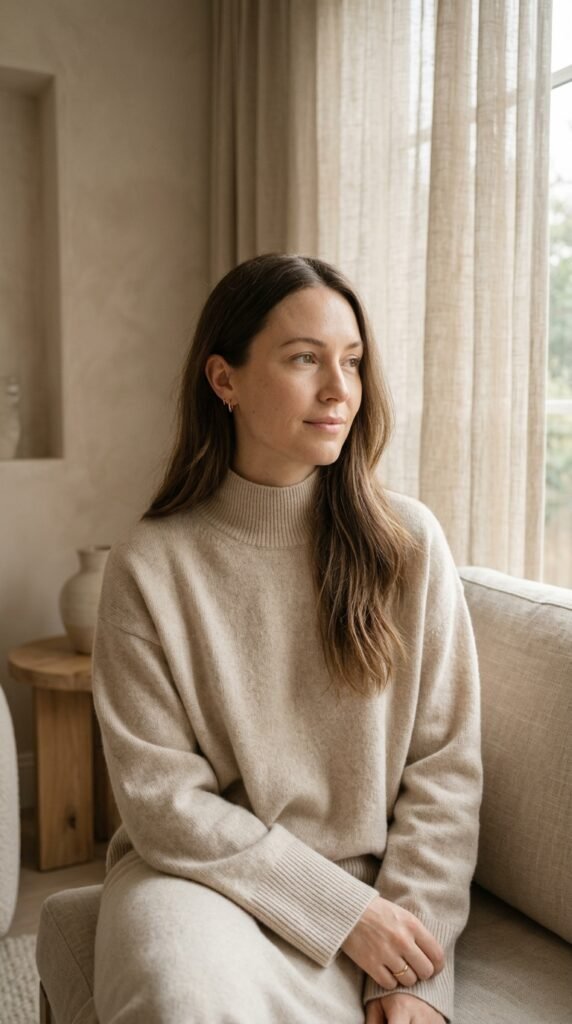
The quiet luxury bob gets all the attention, but the long version is just as good. It’s about invisible layering — so subtle nobody can point to where the layers start.
You get movement and shine without obvious steps. It’s the cut that makes people ask if you got a gloss, even when you didn’t.
- Ask for invisible or “ghost” layers
- Keep the perimeter blunt for shine
- Best on medium to thick hair
6. The Asymmetrical Lob, Long Version
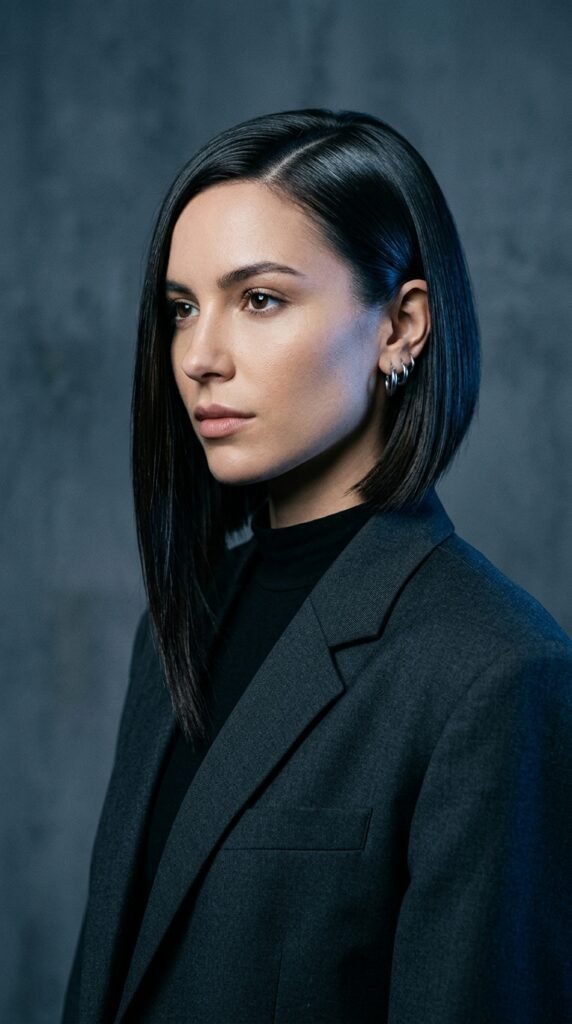
An asymmetrical lob sounds short, but you can ask for a longer version — one side grazing the collarbone and the other dropping past it. It’s a great bridge if you’re growing out a bob.
The asymmetry adds shine because the light hits two different angles. It also makes fine hair look fuller instantly.
- Keep the long side smooth and blunt
- Add only one or two layers for movement
- Style with a side part to show it off
7. The Hime Cut: Glass Shine on Purpose
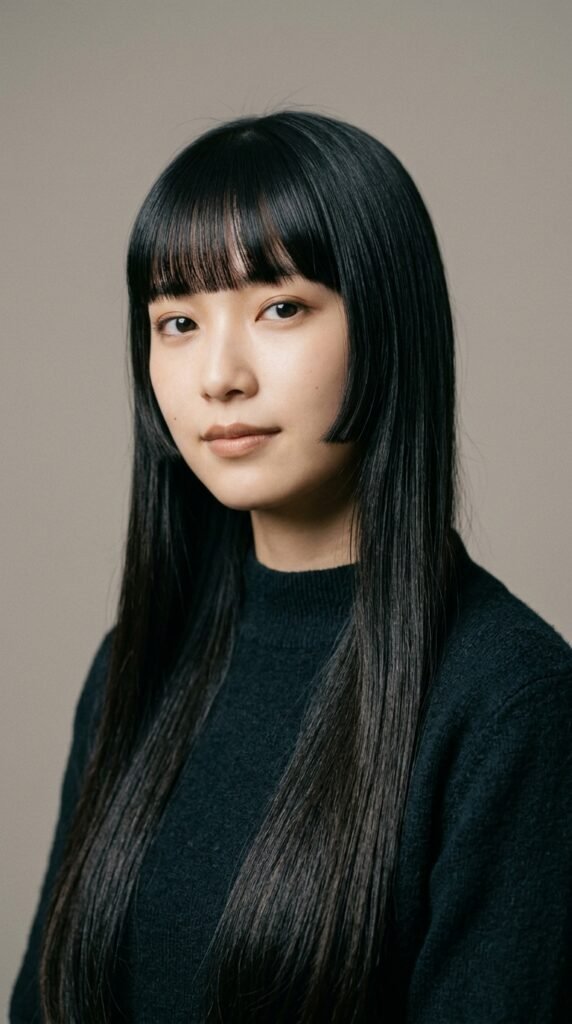
The hime cut is having a real moment again. It’s blunt side pieces at cheek or jaw length with the rest of the hair kept long and straight.
This cut is a shine machine. All those clean, flat surfaces reflect light like glass, which is exactly why it looks so striking in person and on camera.
- Blunt pieces must be cut clean, no point-cutting
- Flat-iron with a heat protectant for the finish
- Best on straight or gently wavy hair
8. Romantic Goth Hairstyles With Long Layers
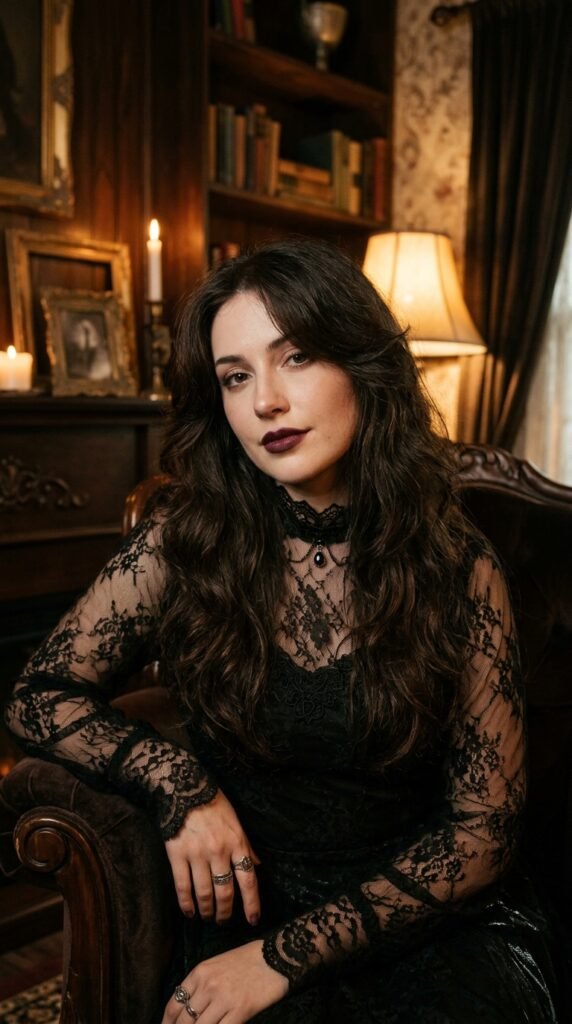
Romantic goth hairstyles work best when the hair looks healthy, not fried. Long layers with soft, blended ends give you that moody, flowing look without the crunch.
Keep the shortest layer below the chin so it still reads elegant. The shine comes from a good gloss, not from heavy product.
- Deep side part for drama
- Loose waves set with a large barrel iron
- Finish with a shine spray, not hairspray
9. Glitchy Glam Hair: Blunt Layers, Sharp Shine

Glitchy glam hair is the opposite of soft. Think clean lines, blunt ends, and a mirror-like finish that looks almost digital.
The trick is contrast. You want blunt layers that step slightly, plus a shine serum pressed through the mid-lengths. It looks futuristic without looking costume-y.
- Ask for blunt layers at two or three lengths
- Straighten in small sections for the finish
- Use a lightweight serum, never heavy oil
10. The Vampire Haircut, Grown Out and Glossy
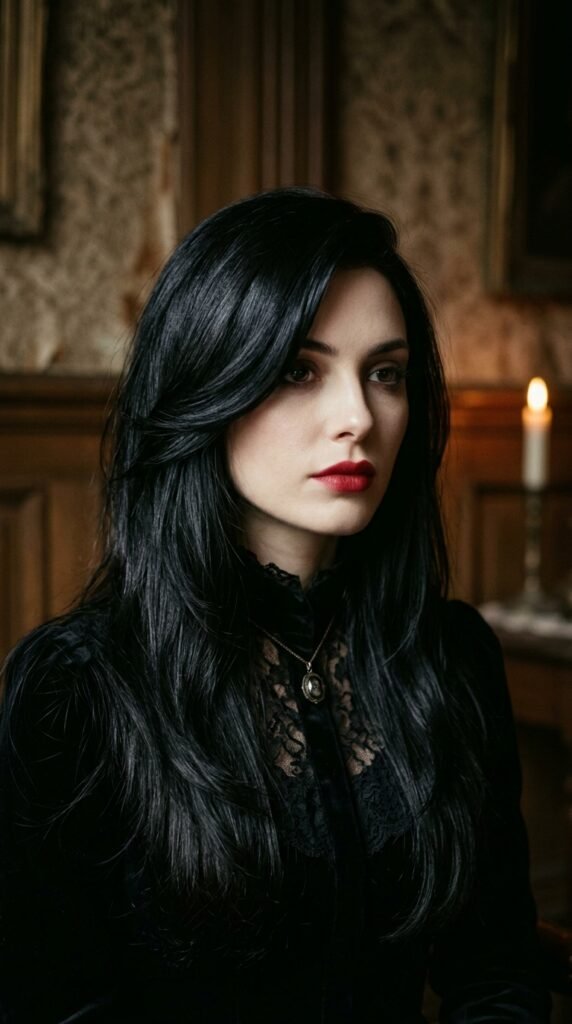
The vampire haircut is all about face-framing drama — sharp pieces around the cheekbones with long, healthy length behind. Grown out, it becomes a gorgeous layered long cut.
Ask for strong but blended face framing and keep the back long. The shine comes from how the front pieces sweep across the face.
- Keep the shortest piece at cheek level
- Blend it into the length, not a hard step
- Style with a deep side part
11. Deep U-Cut Layers for Weightless Ends
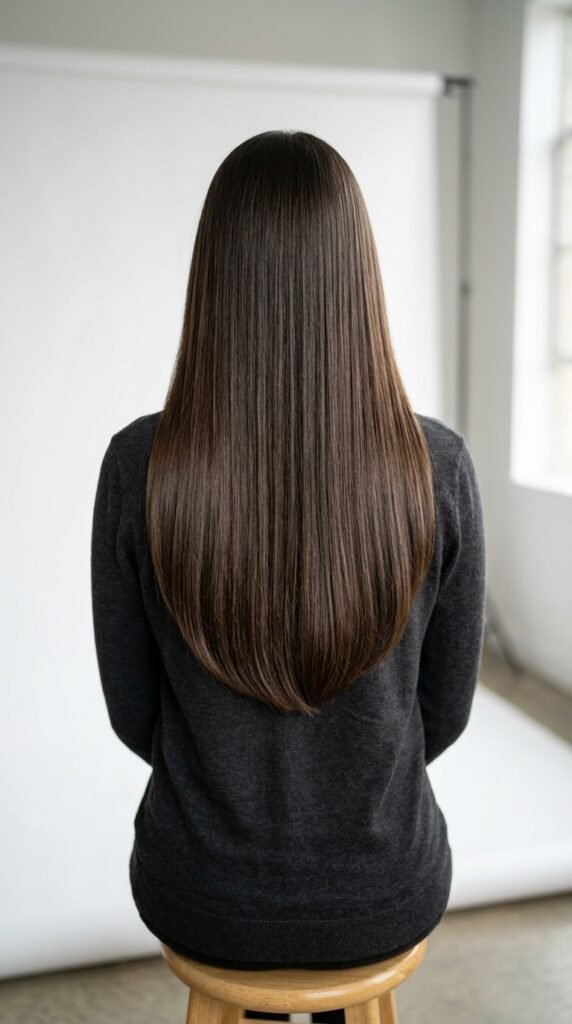
A deep U-cut shapes the perimeter into a soft curve, so the ends lift instead of dragging. Add a few long layers inside and the hair looks lighter immediately.
It’s a favorite for thick hair because the shape keeps the length while removing the heavy triangle effect.
- Great for thick, straight hair
- Keeps length while thinning visual weight
- Style with a round brush for a soft inward curve
12. The Refined Butterfly Cut
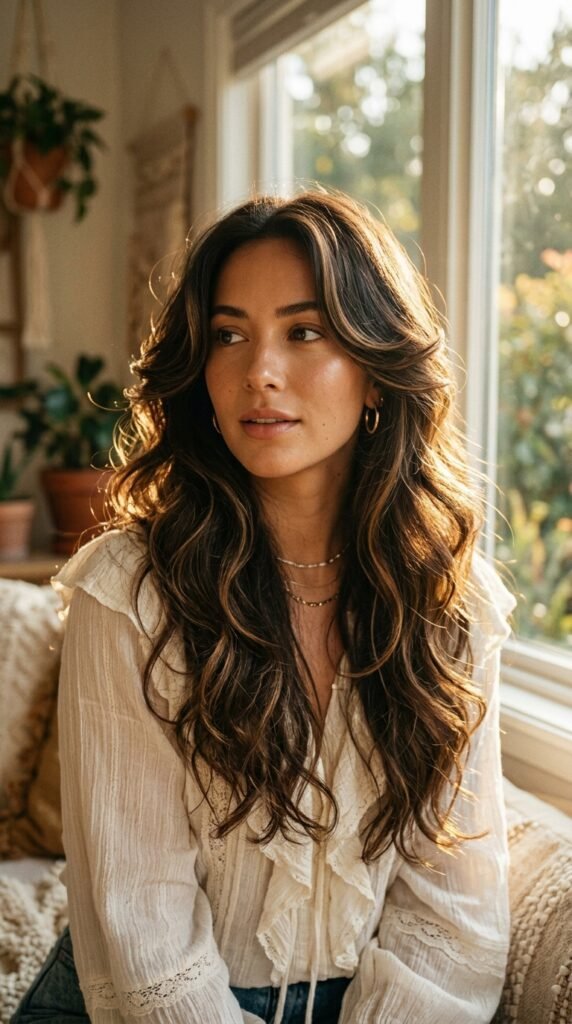
The butterfly cut gets a bad reputation from overly dramatic versions. Done softly, it’s just shorter face-framing layers blended into long waves.
Ask for the shortest layer at chin level and the rest blended gently. You get bounce and shine without looking like two haircuts stacked on top of each other.
- Keep layer gaps wide, not tight
- Blow-dry with a round brush for volume
- Perfect for medium to thick wavy hair
13. Curtain Layers With Curtain Bangs

Curtain bangs plus long layers is still one of the most requested combinations. The bangs frame the face while the layers carry shine down the length.
Ask for bangs that taper into the layers so nothing looks disconnected. That blending is what makes it look expensive.
- Bangs should start at the cheekbone
- Blend them into the front layers
- Style with a round brush and a light cream
14. Fine Hair: Invisible Layers
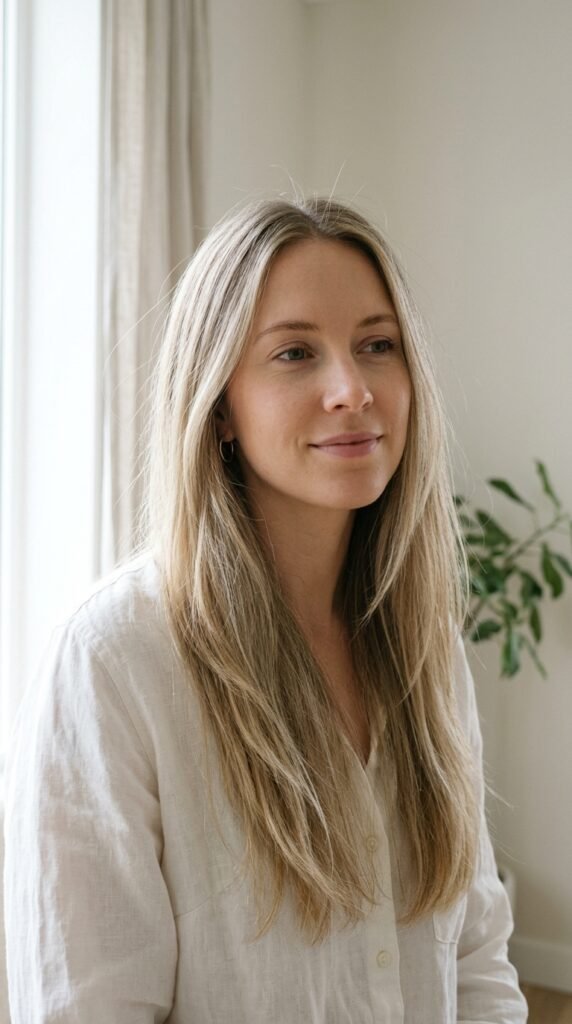
Fine hair needs the opposite of what most people think. Heavy layers make it look thinner, so you want invisible layers that barely remove any weight.
Ask for long layers only in the last few inches, plus a blunt perimeter. That combination makes fine hair look denser and much shinier.
- Never let layers start above the collarbone
- Keep the perimeter blunt
- Use dry shampoo at the roots for lift
15. Thick Hair: Weight-Removing Layers
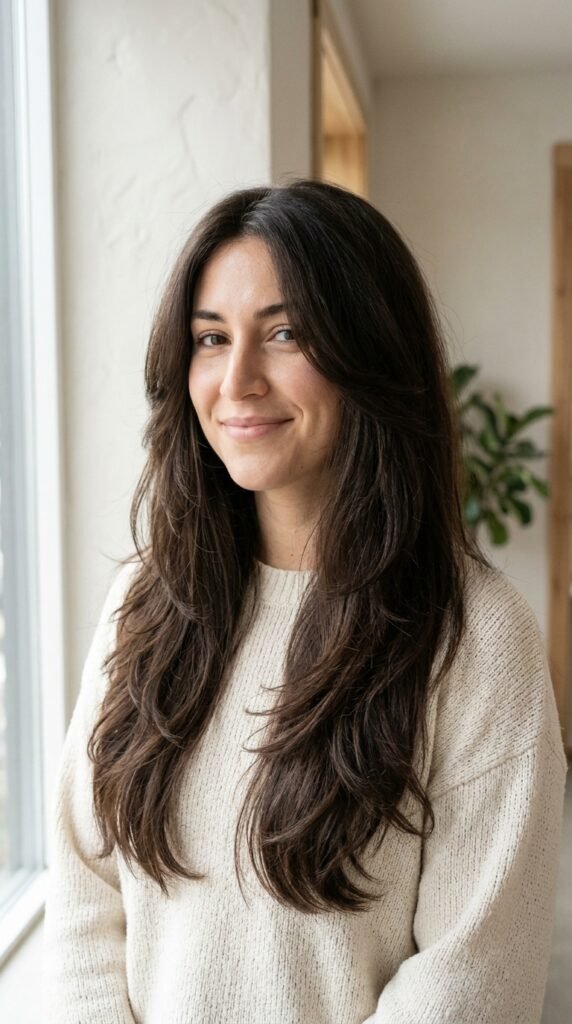
Thick hair has the opposite problem. All that weight pulls the hair down and makes it sit flat at the root while the ends look bulky.
Ask for internal layers to remove weight without thinning the surface. Your stylist should blend them so the outer layer stays smooth and reflective.
- Focus layering on the underneath sections
- Keep the top layer intact for shine
- Avoid heavy thinning shears near the ends
16. Curly Long Layers With Wet-Look Shine
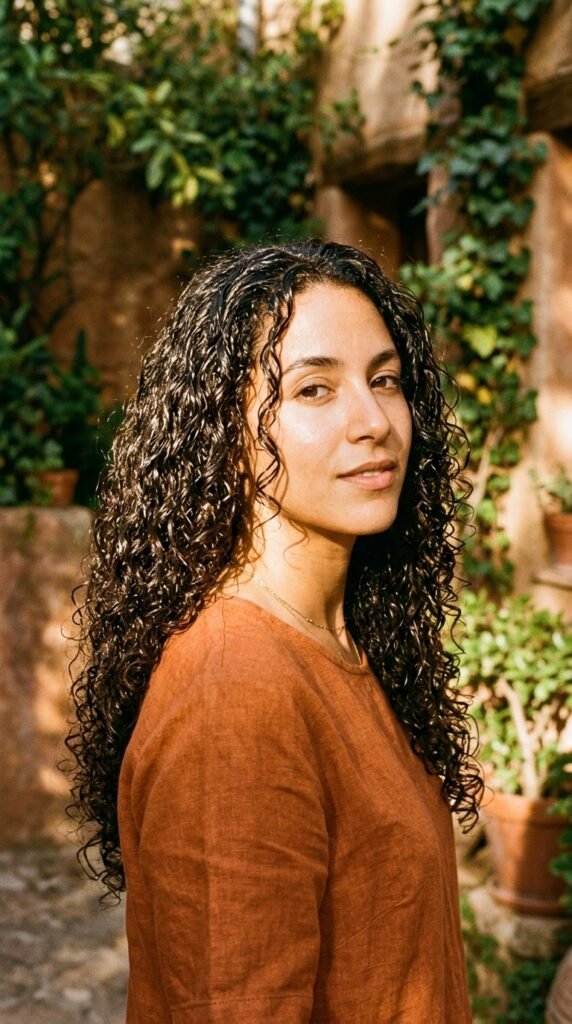
Curly hair shines differently, so the layers need to follow the curl pattern, not cut across it. Ask for layers cut dry so your stylist can see how each curl falls.
For a glossy finish, use a gel or cream on soaking-wet hair, then don’t touch it while it dries. That’s where the shine comes from.
- Always cut curly hair dry
- Layer around the curl pattern
- Finish with a light oil on the ends only
17. Wavy Long Layers With a Soft Bend

Wavy hair is the easiest to make look shiny because the bend already catches light. You just need layers that don’t fight the wave.
Ask for long layers starting below the chin, blended so the waves flow into each other. Skip anything too short near the crown.
- Layer placement matters more than amount
- Air-dry with a light cream for natural shine
- Refresh with water, not more product
18. Sleek Blunt Long Cut With Micro Layers
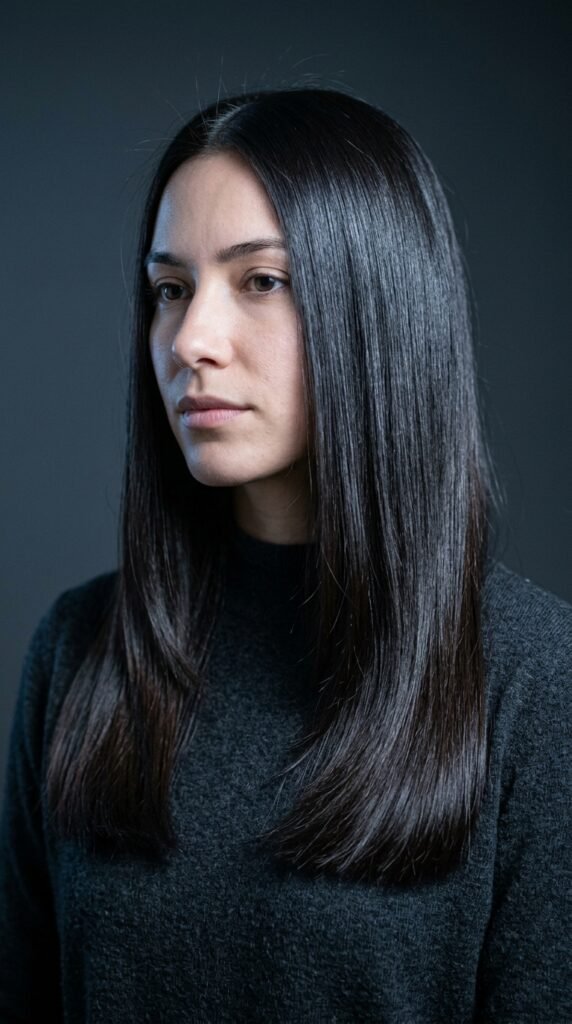
If you love the blunt look but your hair sits flat, micro layers are the fix. They’re tiny, invisible cuts that add just enough movement to reflect light.
You keep the clean blunt perimeter and get shine along the length. It’s the most subtle option on this list.
- Ask for micro layers or “surface” layers
- Keep the perimeter perfectly blunt
- Style with a flat iron and shine spray
19. The Polished Long Wolf Cut
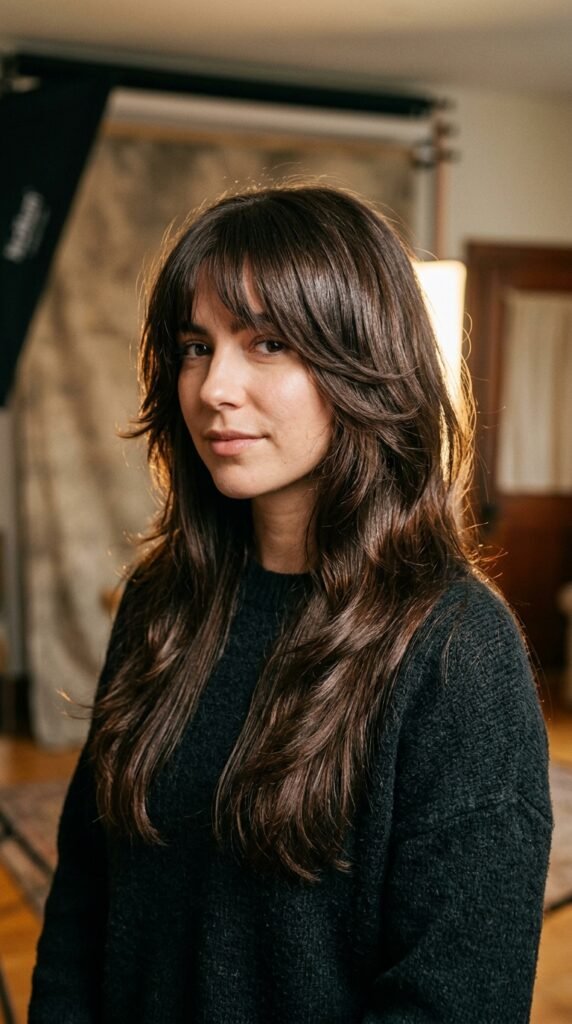
The wolf cut started edgy, but the polished long version is genuinely wearable. It’s short face-framing pieces layered into long, soft lengths.
The key is keeping the ends healthy. Shaggy cuts show damage fast, so book a trim every eight weeks to keep the shine.
- Ask for soft, blended shag layers
- Keep the longest layer well past the shoulders
- Style with a texture spray plus shine serum
20. 2026 Hairstyles: The Glossy Flip Layer
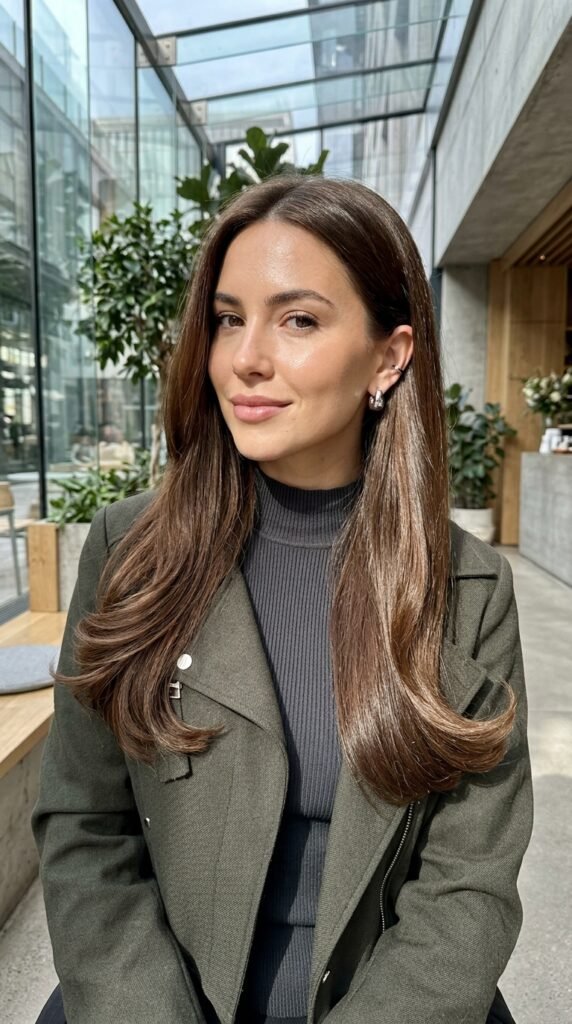
One of the biggest 2026 hairstyles is the glossy flip — long layers that flick outward at the ends instead of curling under.
It looks fresh because it shows off healthy ends. Ask for long layers with a slightly blunt finish so the flip holds its shape.
- Keep layers long and blended
- Flip the ends with a flat iron
- Use a medium-hold spray to lock it in
21. Layers for Round Faces

For round faces, length is your friend. Keep layers long and starting below the chin, with face-framing pieces that angle downward.
Avoid anything that ends right at the cheek — it widens the face. Long, angled layers create the illusion of length and shine.
- Start layers at the collarbone or lower
- Angle front pieces toward the jaw
- Try a slight side part for balance
22. Layers for Oval and Long Faces
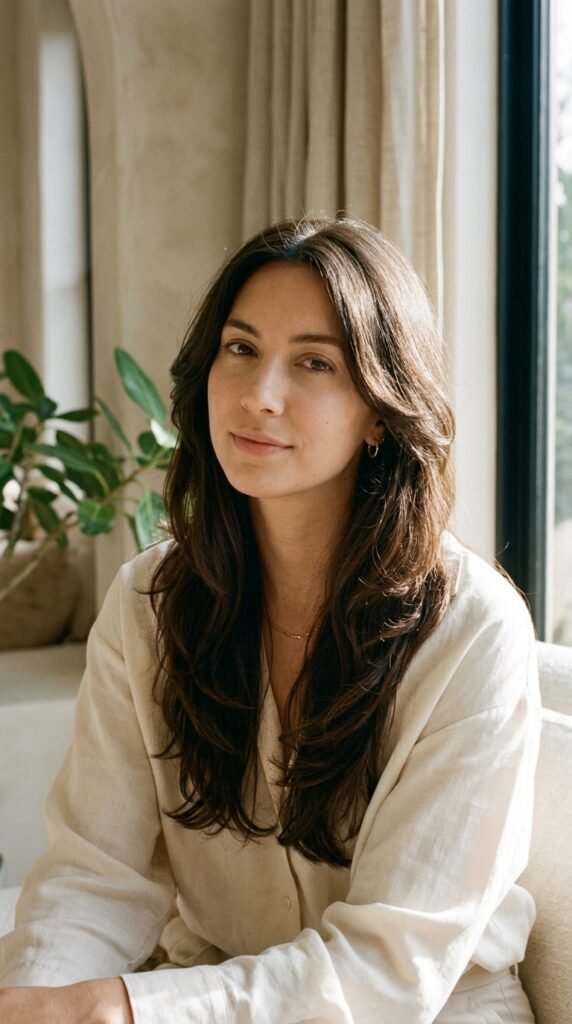
Oval faces can wear almost anything, which makes choosing harder. Go for soft layers that add width around the cheekbones instead of dragging the face down.
Long faces should keep layers shorter around the face and add a fringe or curtain bangs to balance the length.
- Oval: soft, blended all-over layers
- Long: add width at the cheekbones
- Curtain bangs balance a longer face
23. Layers for Square Faces
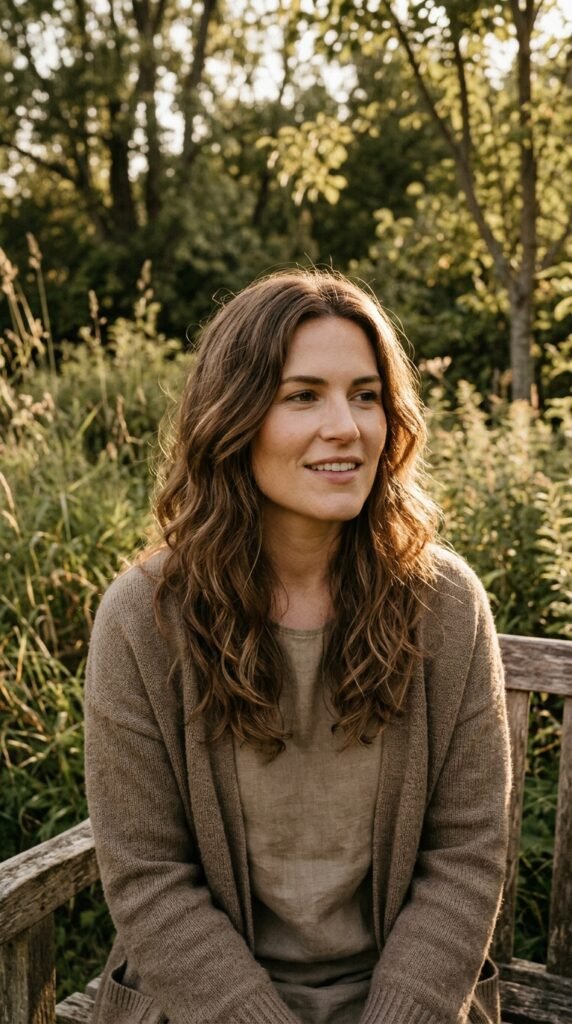
Square faces look beautiful with soft, rounded layers that mirror the jaw rather than fight it. Think gentle curves, not sharp steps.
Ask for layers that curve inward around the jawline and blend softly into the length. Avoid blunt, chin-length pieces.
- Soften the jaw with curved layers
- Skip hard, blunt cuts at the chin
- Waves add softness instantly
24. Glass Hair Layering for a Salon Finish
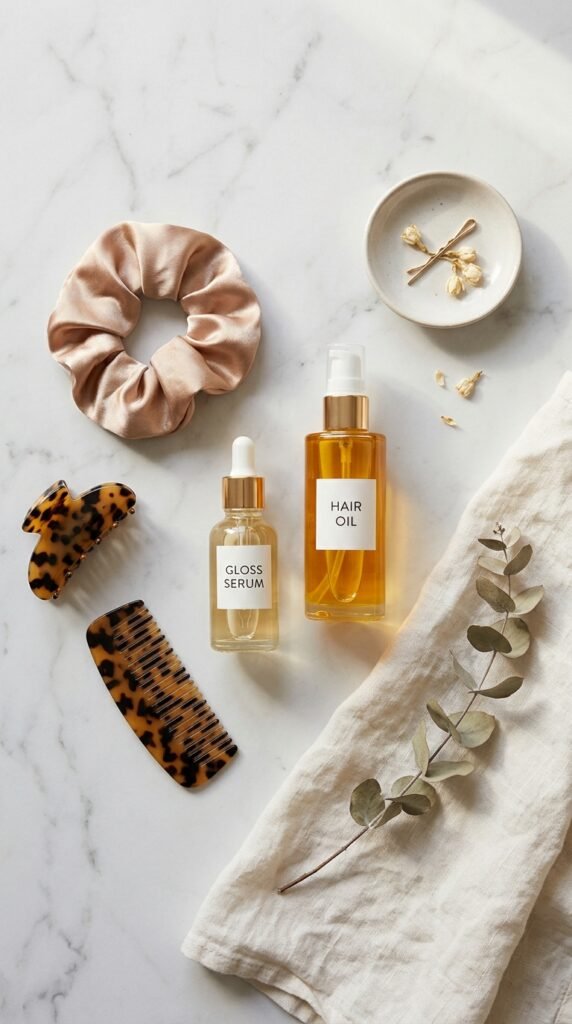
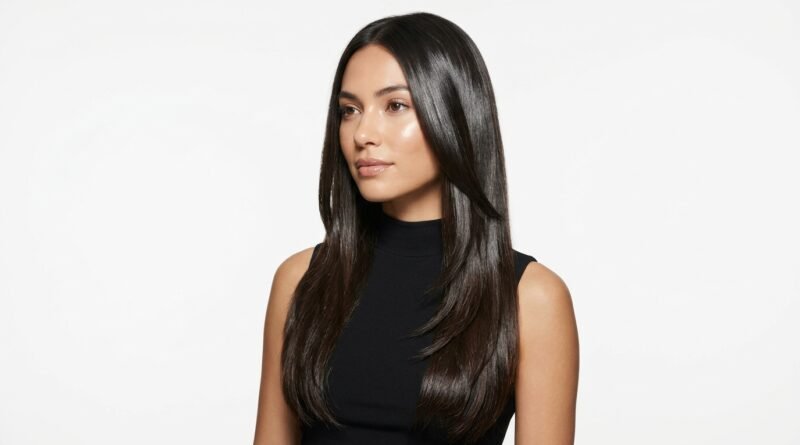
Glass hair is the look everyone screenshots. It’s long, straight, and so shiny it reflects like a mirror — and layering is what makes it move instead of hang.
Ask for long layers with a blunt perimeter, then commit to a gloss treatment every six to eight weeks. That’s the real secret.
- Book a gloss or glaze treatment
- Blow-dry downward to smooth the cuticle
- Finish with a drop of shine serum
25. How Often to Trim for Lasting Shine
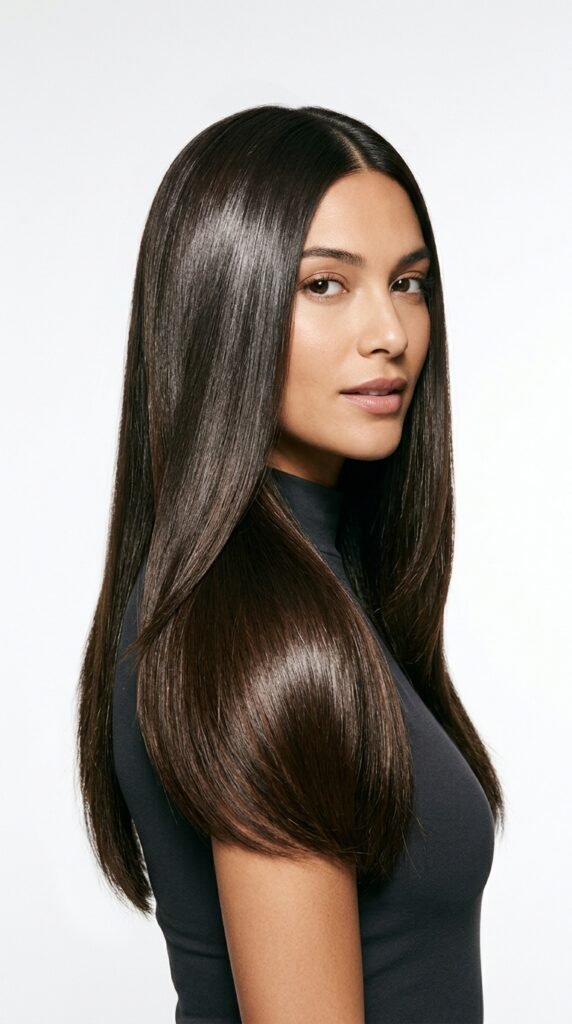
Layers only look polished when the ends are clean. For most people, that means a small trim every eight to twelve weeks.
Fine or color-treated hair needs closer to eight. If you heat style often, keep it consistent — split ends travel up and dull the whole cut.
- Fine or colored hair: every 8 weeks
- Thick, healthy hair: every 10 to 12 weeks
- Ask for a dusting if you’re growing it out
26. The At-Home Gloss Routine
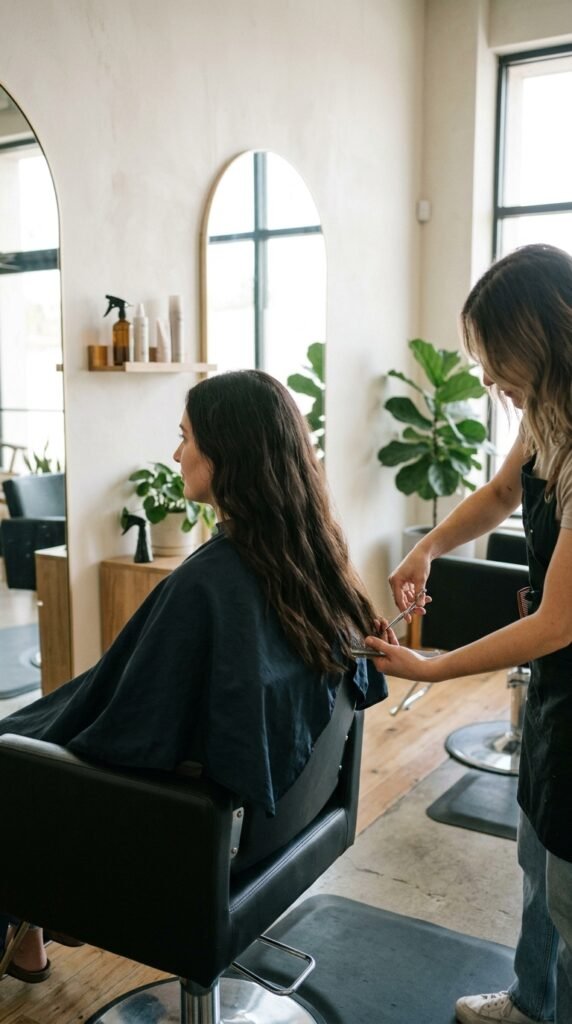
You don’t need ten products. You need three: a sulfate-free shampoo, a lightweight leave-in, and a shine serum used only on the ends.
Wash less often, dry gently with a microfiber towel, and finish with cool air. That last step seals the cuticle and makes the biggest difference.
- Shampoo two to three times a week
- Apply leave-in to damp mid-lengths
- Blast cool air over the ends to seal shine
27. What to Tell Your Stylist

Bring two photos — one of the cut and one of the shine. Say what you love about each and what you don’t want. Vague requests get vague haircuts.
Ask for layers that remove bulk, not thickness. And tell them how much time you’ll actually spend styling, because that changes everything.
- “Long layers, blended, starting below the chin”
- “Keep the perimeter blunt for shine”
- “I have five minutes to style, so keep it easy”
A Last Little Note on Shiny Hair
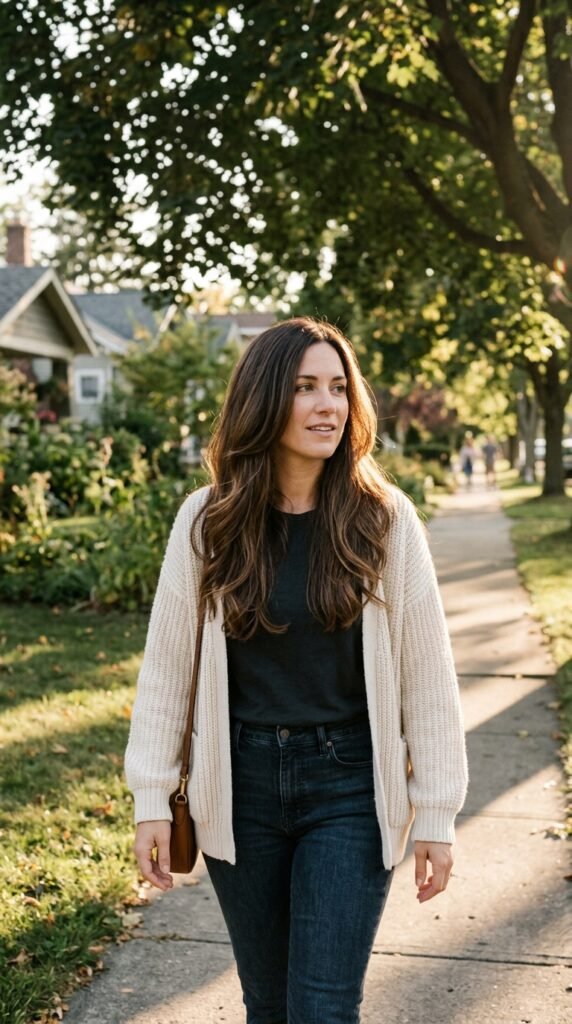
Good hair isn’t about chasing a trend. It’s about picking the cut that fits your hair type, your face, and your actual morning routine.
Start with healthy ends, add layers slowly, and let shine do the rest. The polished look really is that simple.
Pin It and Come Back to It
Save this post to Pinterest so you have it ready at your next salon appointment — your stylist will thank you for the photos.
And tell me in the comments: which number are you trying first? I read every single one and I’m always happy to help you pick.