27 Face Framing Layers Hairstyles for Bridesmaids That Celebrate Your Natural Texture
Getting asked to be a bridesmaid is a genuine honor. Figuring out what to do with your hair for the big day is… less of an honor, honestly. Especially when you have waves, curls, or coils that don’t love being bossed around by a curling iron.
Here’s the good news: 2026 hairstyles are finally built around natural texture instead of fighting it. And face framing layers are the easiest way to look polished without looking like you tried too hard.
I’m sharing 27 face framing layer looks that actually work for bridesmaids — from old money hair to romantic goth hairstyles and everything in between. Every single one keeps your texture intact.
Skim this, screenshot your favorites, and bring them straight to your stylist. Easy.
Why Face Framing Layers Flatter Everyone
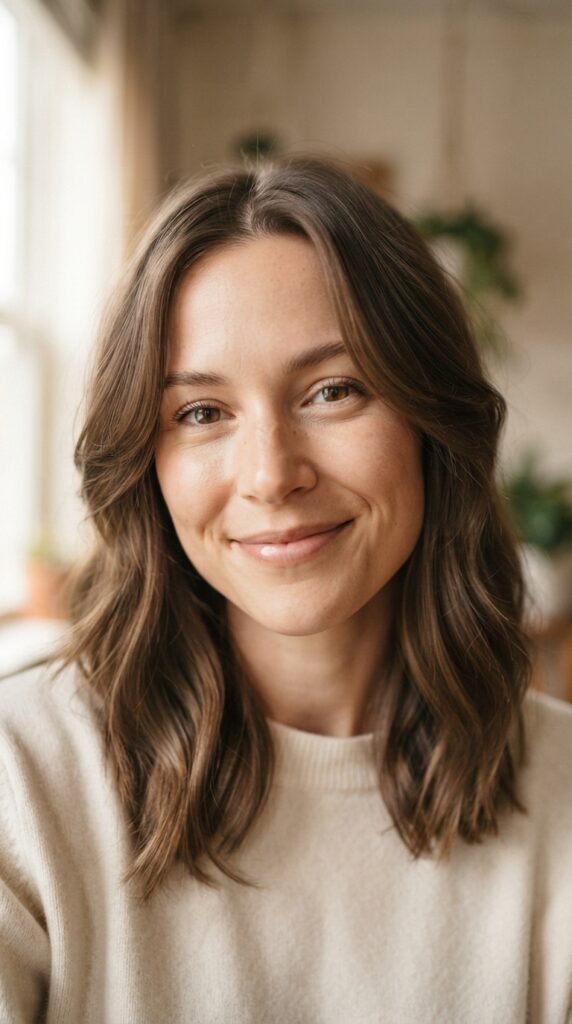
Face framing layers are the pieces that fall around your cheeks, jaw, and chin. They’re the difference between “nice hair” and “wait, what did you do?”
Here’s why they work so well for bridesmaids:
- They soften updos without adding bulk
- They make fine hair look fuller and thick hair look lighter
- They draw attention to your face, not just your dress
- They look intentional even when you air dry
You don’t need a full haircut overhaul. You need the right three or four pieces around your face.
Soft Bend Layers for Curly Girls
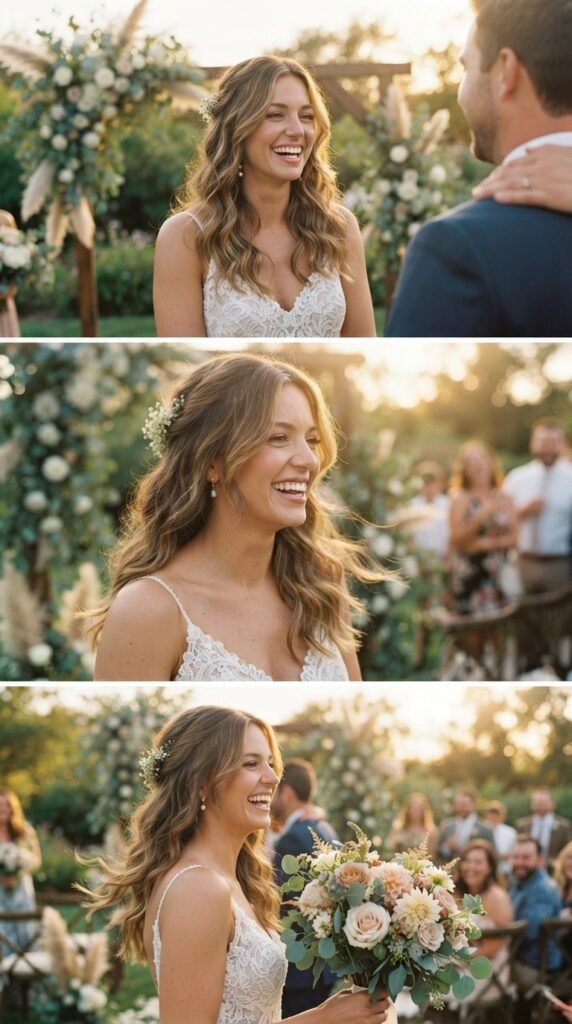
If your curls lean wavy rather than tight, ask for layers that start right at your cheekbone and blend down. Your stylist should cut them dry so your natural bend does the work.
Skip the diffuser entirely. Air dry, then use a light cream to smooth the ends only.
- Best for: 2B to 3A waves
- Length: shoulder to mid-back
- One tool: a 1-inch iron for touch-ups only
This is the look that photographs beautifully in motion — soft, romantic, and totally you.
The Quiet Luxury Bob With Face Framing Pieces
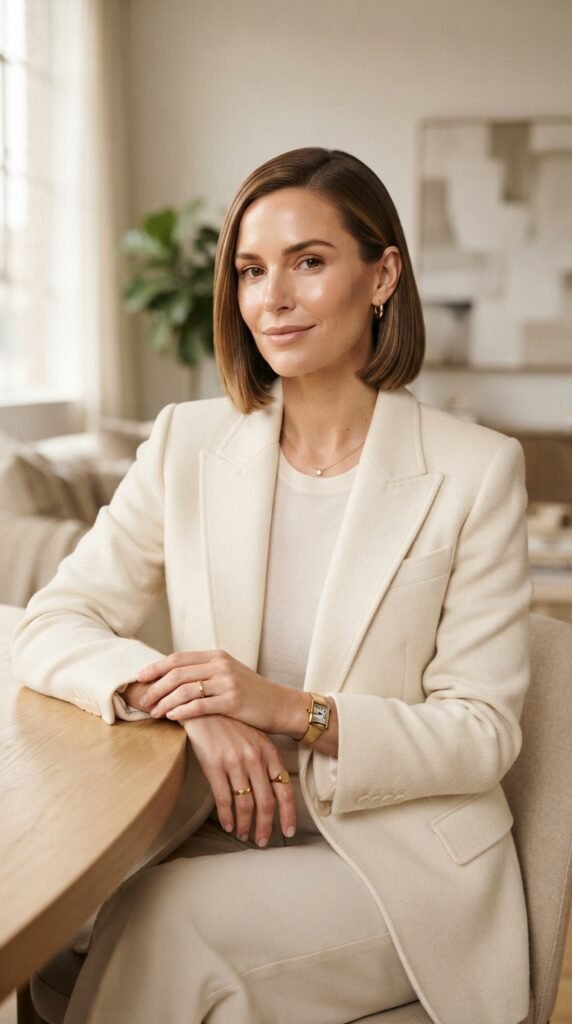
The quiet luxury bob is still everywhere, and for bridesmaids it’s a dream. It’s blunt at the ends with just two or three face framing pieces carved in.
Ask for a chin-length bob with a small “notch” of layers around your cheekbones. Nothing choppy. Nothing dramatic.
- Style it with a middle part
- Tuck one side behind your ear
- Add a single pearl pin or a thin gold clip
This reads expensive, modern, and effortless — exactly what old money hair is supposed to feel like.
Long Old Money Hair With Grown-Out Layers
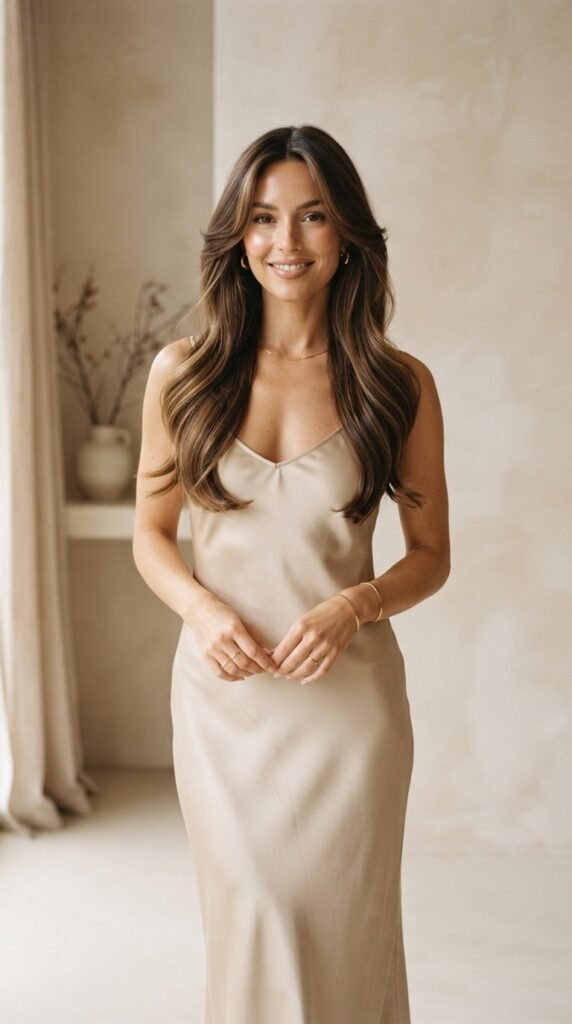
Old money hair is really just healthy hair with movement. Long, glossy, and slightly layered so it never looks heavy.
Ask for long layers starting below your collarbone, plus face framing pieces that hit right at your jaw. Keep them blended, not separated.
- Blow dry with a round brush for bend, not curl
- Use a shine serum on the ends
- Try a soft side part for a classic finish
Pair it with a simple veil or nothing at all. This look does not need help.
Asymmetrical Lob for a Modern Moment
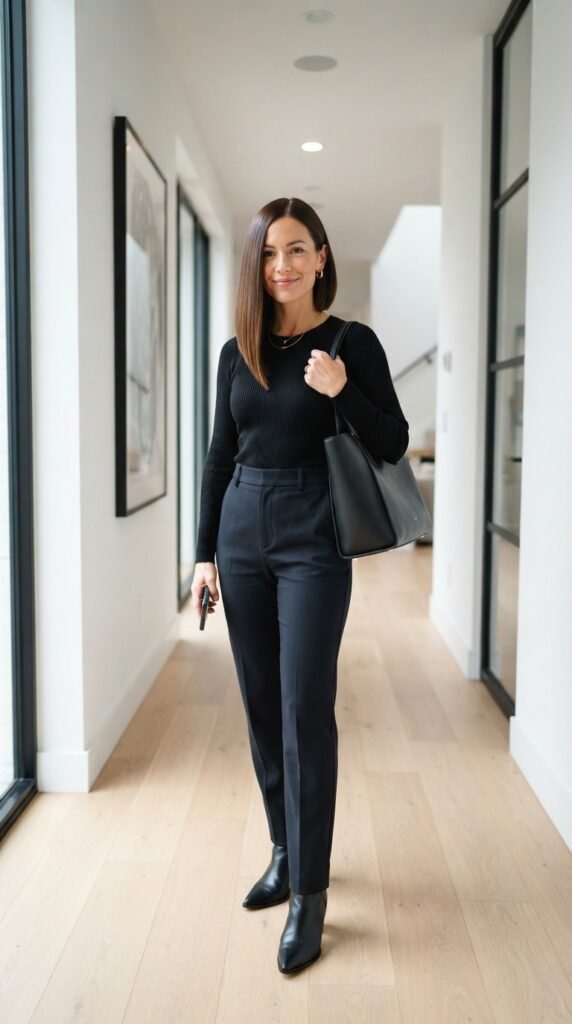
An asymmetrical lob is one length in front and slightly shorter in back, or angled so one side falls longer. It’s sharp, modern, and surprisingly easy to wear.
Ask for face framing layers only on the longer side. This keeps the cut from looking heavy.
- Best for: straight to slightly wavy hair
- Style it sleek and tucked for the ceremony
- Add a wave for the reception
It’s one of those 2026 hairstyles that works just as well with a gown as it does with jeans.
Curtain Bangs Plus Cheekbone Layers
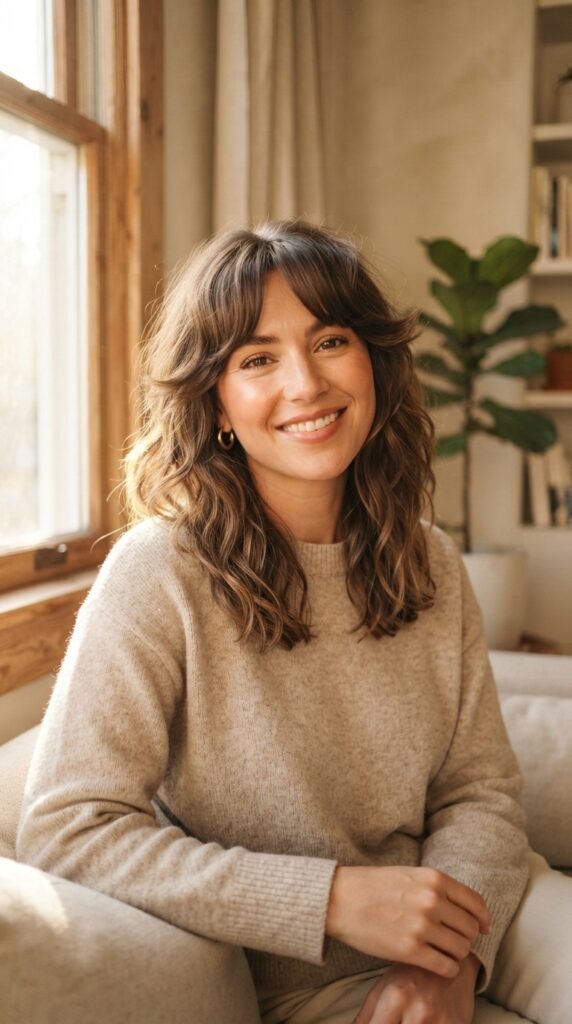
Curtain bangs are basically face framing layers that got famous. When you pair them with a cheekbone layer underneath, you get great movement without a heavy fringe.
Ask your stylist to keep the bangs long enough to tuck behind your ear. That way you have two looks in one.
- Center part for a soft finish
- Blow dry bangs outward with a round brush
- Keep the ends piecey, not curled under
Perfect for a bridesmaid who wants something pretty but still feels like herself.
The Hime Cut, Softened for a Wedding
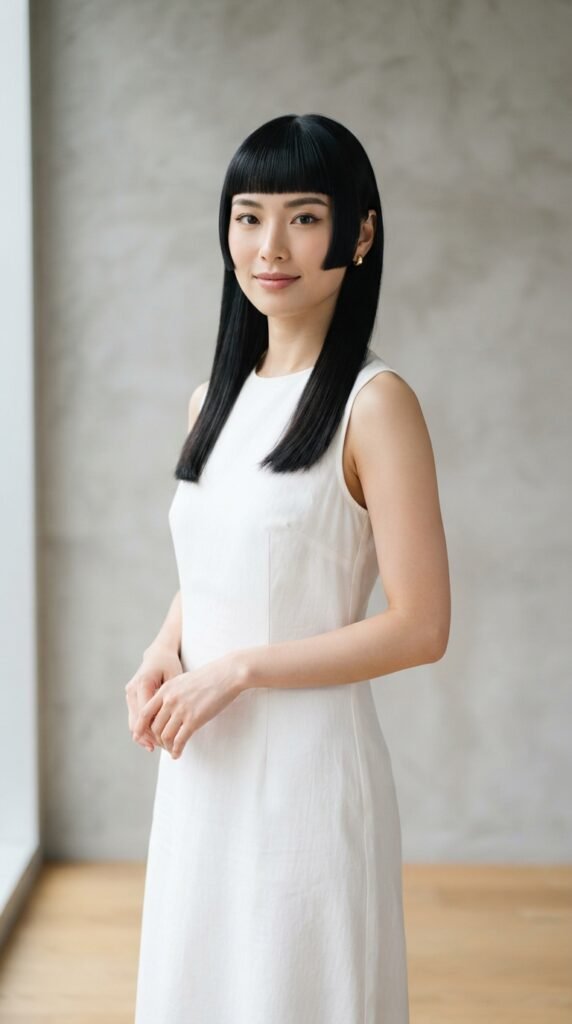
The hime cut is having a serious moment. It’s blunt side pieces at cheek or jaw length with the rest of your hair long and straight.
The trick for a wedding is softening it. Ask for the side pieces to be cut at your jaw instead of your cheekbone, and thinned just slightly at the ends.
- Wear it down for the ceremony
- Pull into a low pony for dancing
- Keep the side pieces out, always
It’s graphic, editorial, and honestly a little bit cool-girl.
Romantic Goth Hairstyles With Face Framing Braids
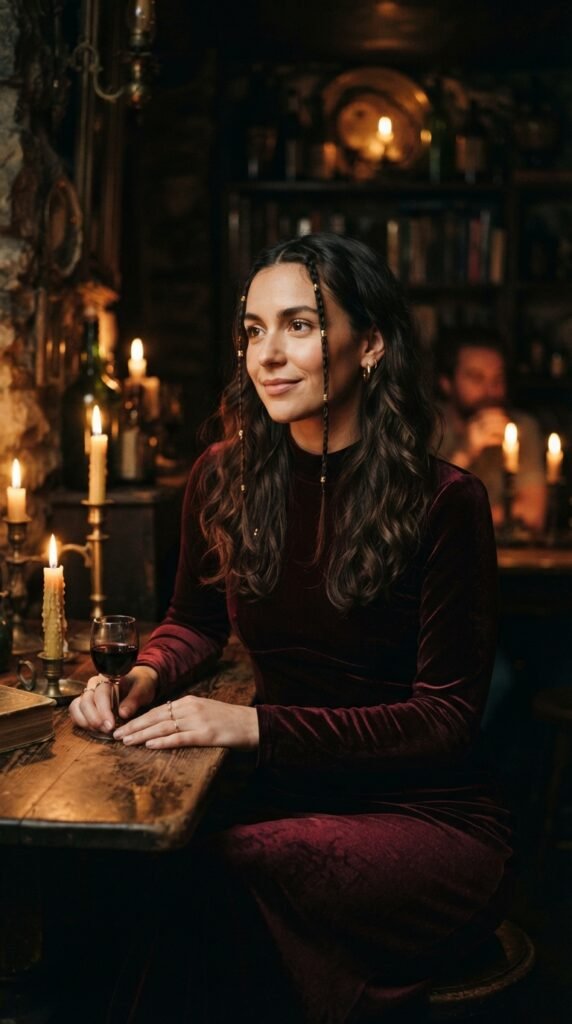
Romantic goth hairstyles are all about softness with an edge. The easiest way in? Two thin braids framing your face, woven from your part down to your jaw.
Braid them while your hair is damp so they hold. Then undo the ends slightly for that lived-in feel.
- Pair with a deep side part
- Keep the rest of your hair loose and wavy
- Press a little oil on the braids for shine
It’s moody without being costume-y — and it looks incredible in candlelit photos.
Glitchy Glam Hair With Piecey Layers
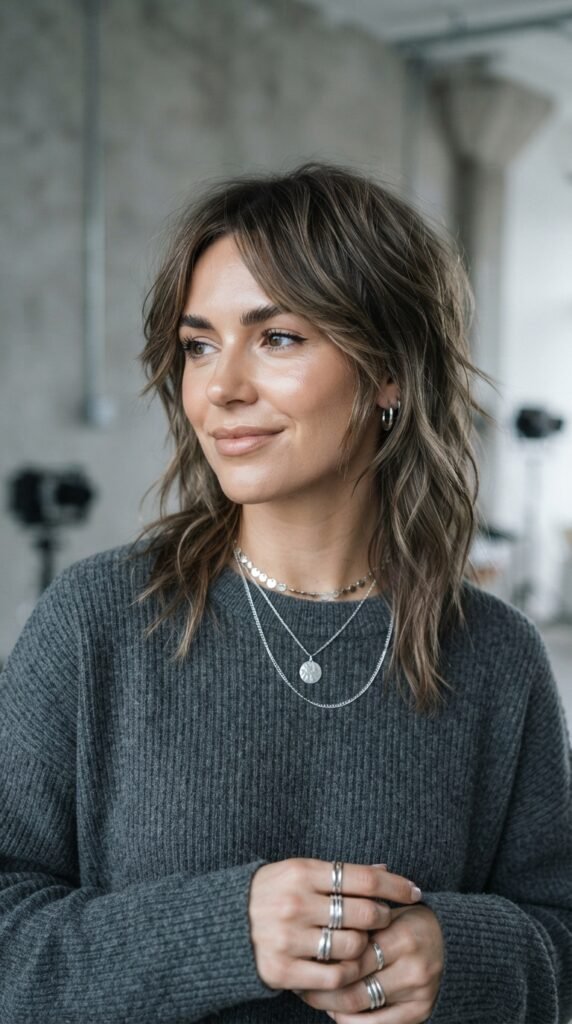
Glitchy glam hair is that perfectly imperfect look — glossy shine, piecey ends, a little undone on purpose. Think “I woke up like this but with better lighting.”
The face framing matters here. Ask for short, piecey layers around your cheekbones that separate cleanly.
- Use a texturizing spray on the ends
- Keep roots smooth
- Let a few pieces fall forward on purpose
It’s fun, fresh, and one of my favorite 2026 hairstyles for bridesmaids who hate looking overdone.
The Vampire Haircut, Wedding-Friendly
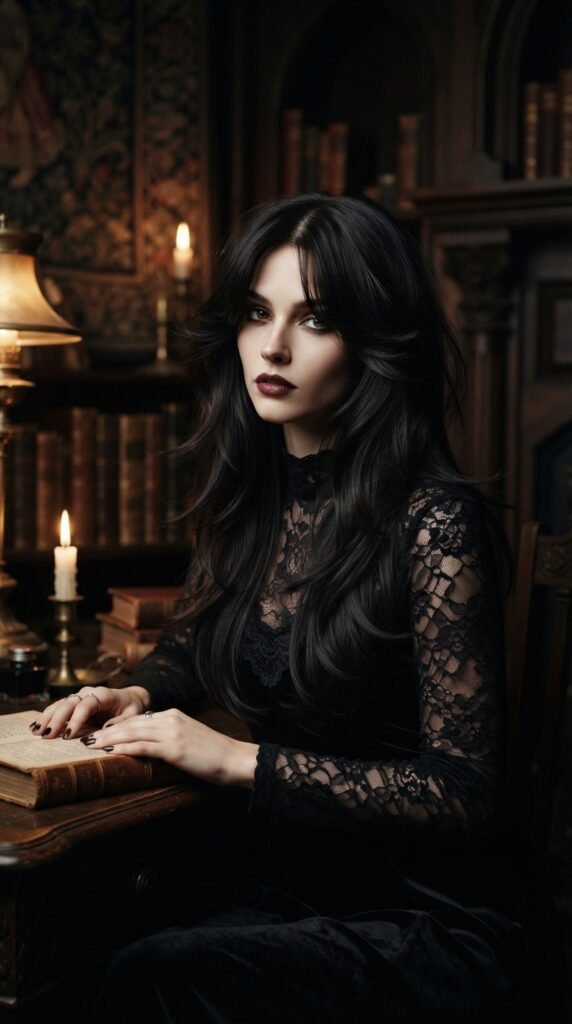
The vampire haircut is long, layered, and dramatic — with face framing pieces that curve around the cheekbone like a curtain. It’s glamorous in a slightly spooky way.
For a wedding, keep the layers smooth instead of choppy. Ask for the shortest piece to hit your lip and the longest to hit your collarbone.
- Style with a round brush and a shine spray
- Middle part, always
- Skip the heavy fringe
It photographs like a movie still, especially in low light.
Wavy Shag With Grown-Out Bangs
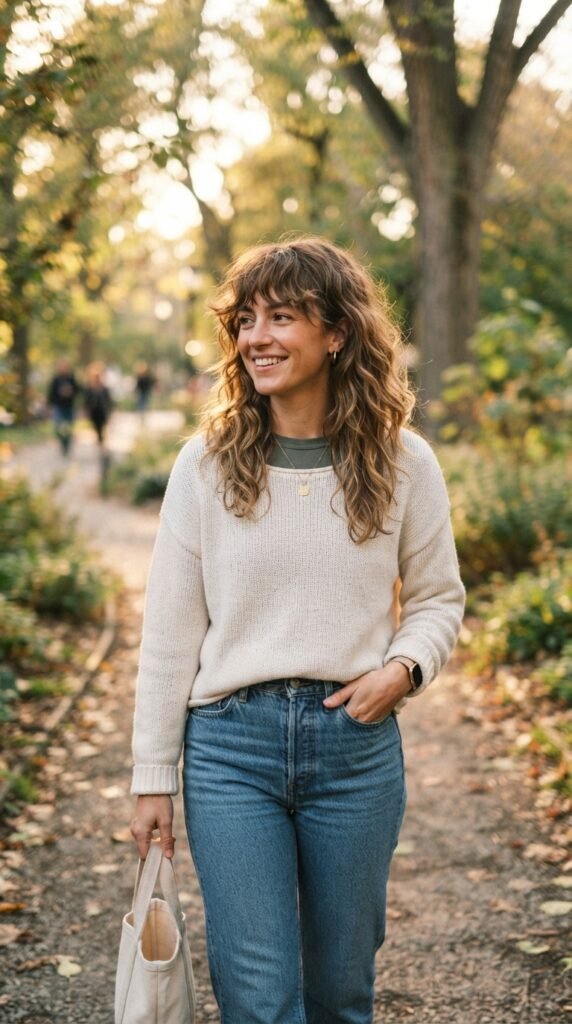
A shag is basically layers on layers — and when it’s cut well, it works with your waves instead of against them.
Ask for a soft shag with grown-out bangs you can push to the side. Keep the shortest face framing layer around your jaw so it doesn’t get in your eyes during the ceremony.
- Scrunch in a sea salt spray and air dry
- Break up the ends with your fingers
- Add a small clip on one side
Low effort, high impact. Very bridesmaid-friendly.
Twist-Out Layers for Coily Texture
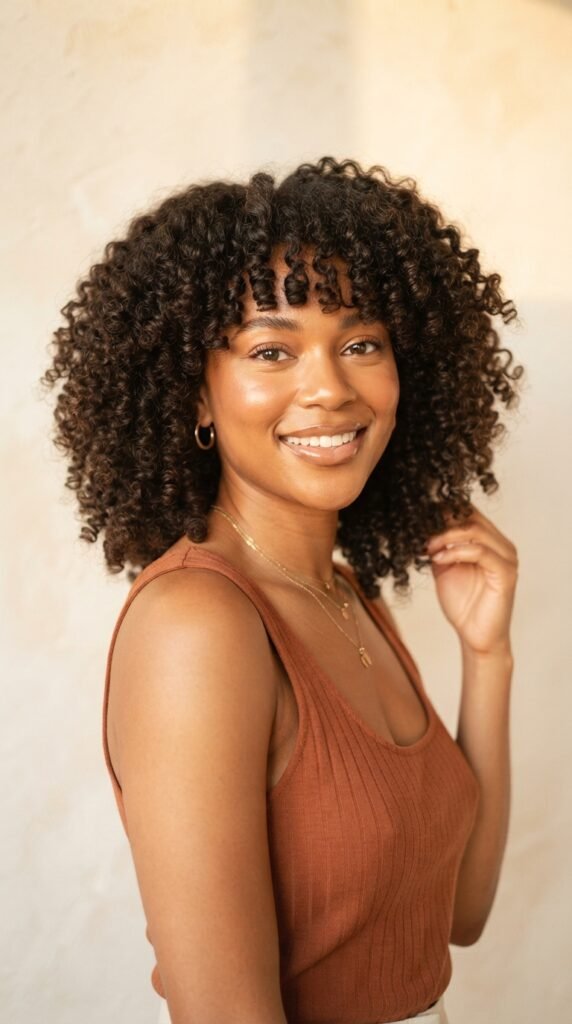
If you’re working with coily texture, face framing layers should be cut on dry, stretched hair. That’s the only way your stylist sees your real shape.
Ask for layers that follow your curl pattern, with the shortest pieces landing near your cheekbones.
- Set your twist-out the night before
- Separate with oiled fingers, not a comb
- Pick the roots only for volume
Short pieces also mean a bigger, rounder shape — which looks beautiful in photos.
The Butterfly Cut, Toned Down
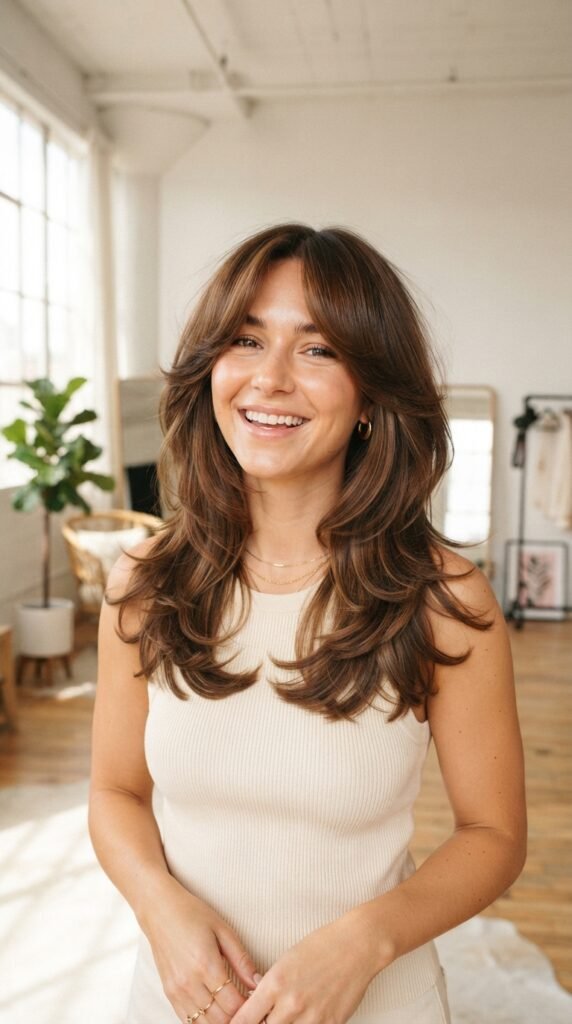
The butterfly cut is two main layers — short around the face, long in the back — blended so it looks like one bouncy shape.
For bridesmaids, ask to soften the contrast. You want the layers to blend, not sit in two separate chunks.
- Blow dry with a round brush for bounce
- Keep the face framing pieces long enough to tuck
- Finish with a light hold spray
It’s flattering on almost every face shape and looks great in group photos.
Collarbone Layers for Fine Hair
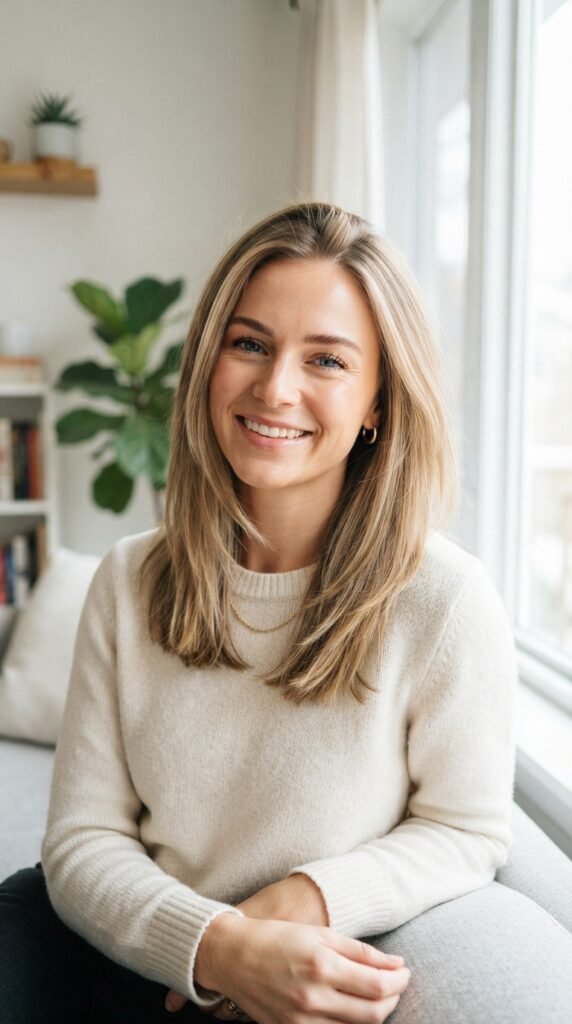
Fine hair plus heavy layers equals flat. The fix? Keep layers long and few, with just two pieces framing your face.
Ask for a collarbone-length cut with a soft bend at the ends. No short choppy pieces — they’ll just disappear.
- Use volumizing mousse on damp roots
- Blow dry upside down for lift
- Skip heavy oils near your scalp
This gives you movement without sacrificing the thickness you actually have.
Curly Fringe With Face Framing Coils
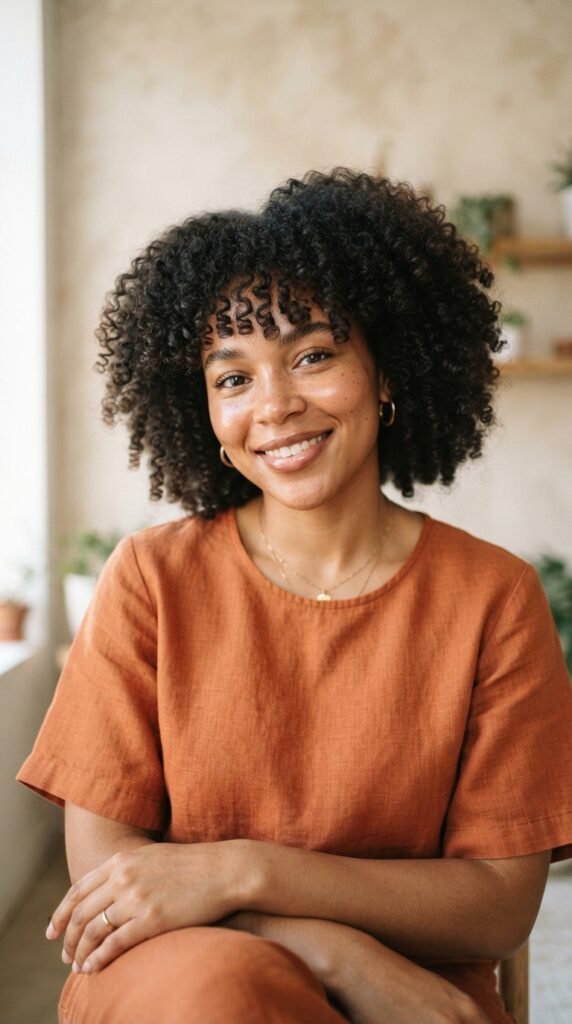
A curly fringe is bold and honestly so pretty. It’s a small cluster of coils at the hairline, with face framing pieces on both sides.
Have your stylist cut the fringe dry and coil by coil. That way it sits on your forehead and not in your eyes.
- Refresh with water and a little leave-in
- Pin one side back for the ceremony
- Let it all out for the reception
It frames your face naturally and shows off your texture instead of hiding it.
Sleek Blowout Layers With a Deep Side Part
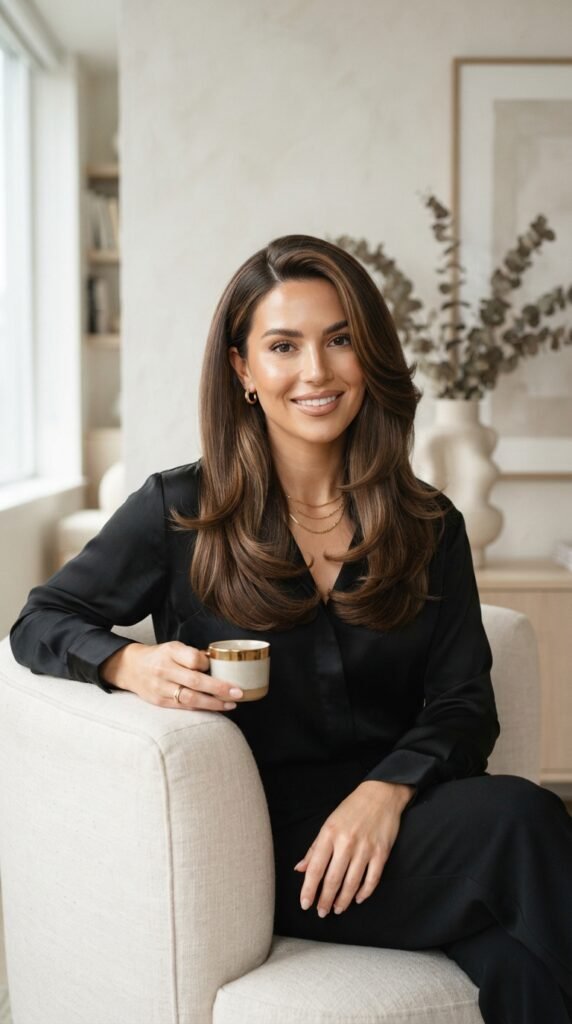
This is the “I have my life together” look. Sleek roots, big smooth bend, deep side part, and one side tucked behind the ear.
Ask for long face framing layers that hit right at your cheekbone when styled sleek.
- Blow dry with a round brush and tension
- Pin each side while it cools
- Finish with a shine serum, not a spray
It’s classic, elegant, and pairs beautifully with almost any bridesmaid dress color.
Wolf Cut, Bridesmaid Edition
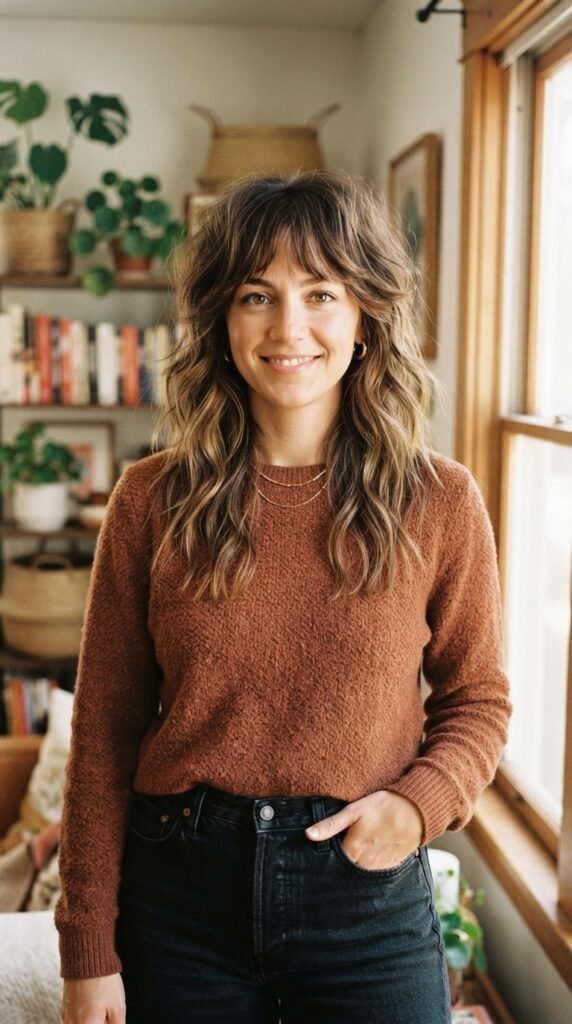
A wolf cut is a shag with more volume on top and shorter, choppier layers around the face. It’s edgy — which is exactly why it needs a soft touch for a wedding.
Ask for longer face framing pieces and less choppiness at the crown.
- Add texture spray, then scrunch
- Twist small sections away from your face
- Pin one side up with a bobby pin
It still has that cool, effortless energy — just dressed up a bit.
Braided Crown With Loose Face Framing Strands
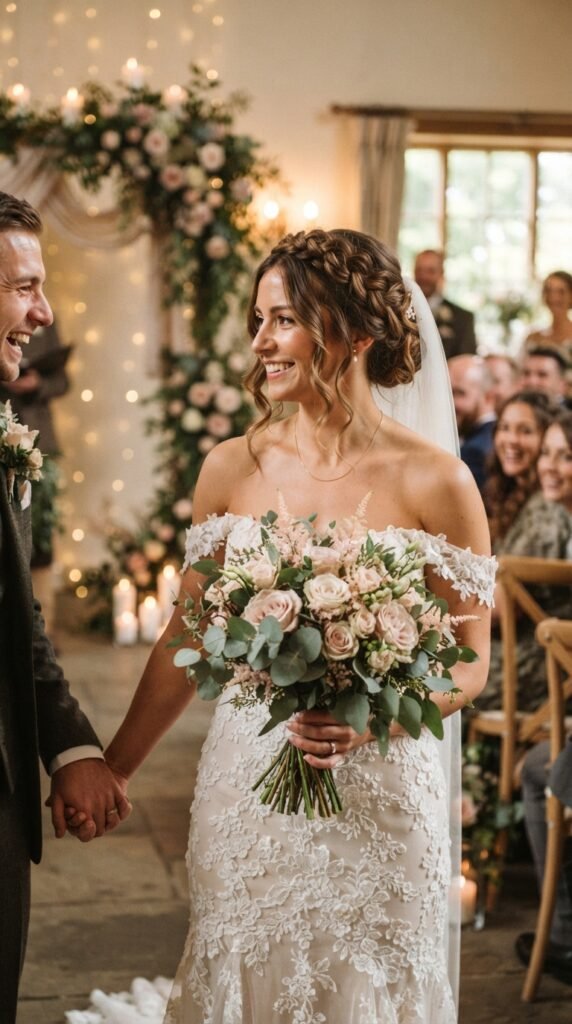
An updo with zero face framing can look a little severe. Add two loose strands on each side and the whole thing softens.
Ask your stylist to leave out pieces that hit your jawline, then curl them slightly so they blend into the braid.
- Keep the strands thin, not thick
- Curl them away from your face
- Pin them lightly so they don’t tickle
It’s romantic, secure, and stays put through the whole reception.
Low Chignon With Soft Tendrils
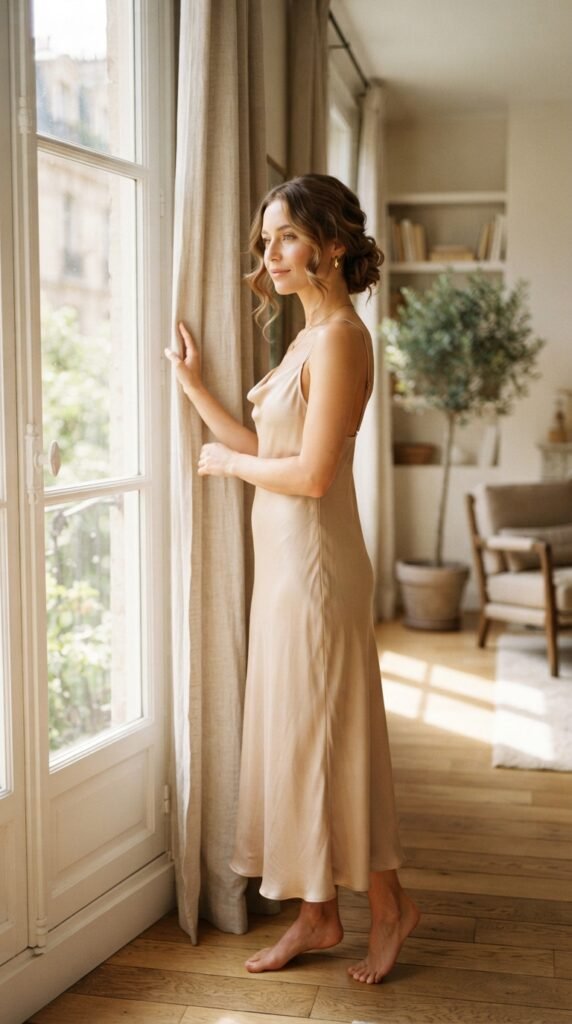
A low chignon is the ultimate bridesmaid updo — comfortable, elegant, and out of the way. The face framing is what makes it feel modern.
Leave out two soft pieces on each side, and keep them slightly wavy.
- Ask for a middle part before it’s pinned
- Keep the tendrils long enough to reach your jaw
- Lock them in with a light hold spray
It’s quiet luxury in updo form.
Half-Up Style With Face Framing Waves
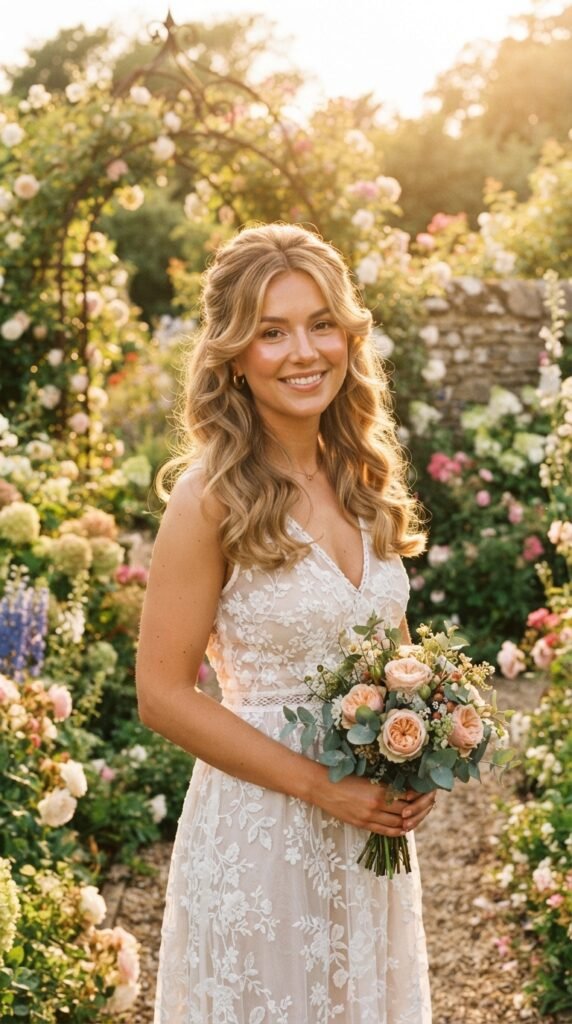
Half-up is the safest bet for any bridesmaid. You get the hair off your face, but you still have length for the photos.
The face framing is everything here. Ask for two wavy pieces on each side that curve toward your jaw.
- Curl everything away from your face
- Use a small clip or a pearl pin
- Keep the half-up section loose, not tight
Soft, romantic, and very photo-friendly.
Water Wave Layers for Beachy Texture
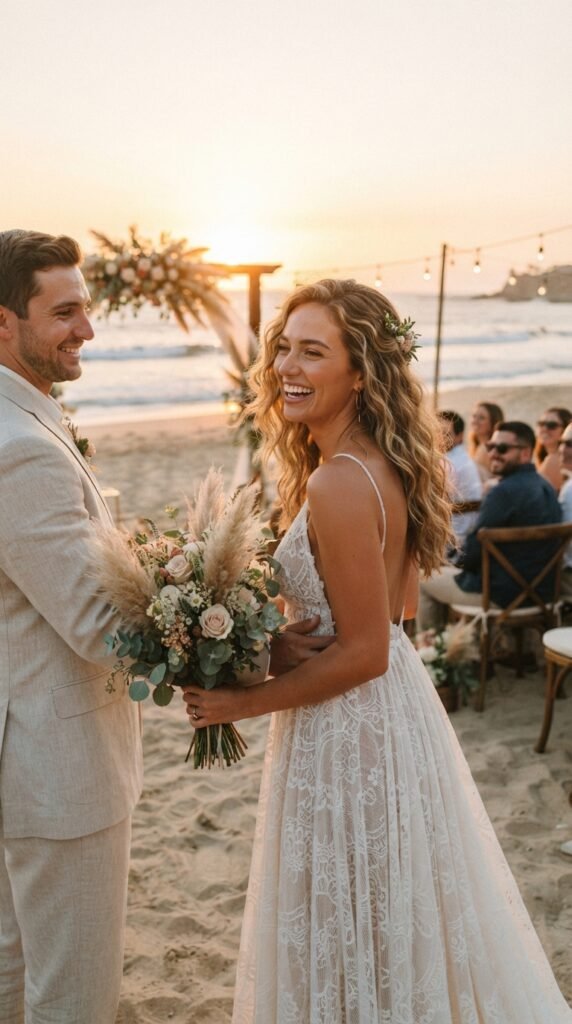
Water waves look like you just walked off a beach — in a good way. The key is layering so the waves fall in soft, uneven sections.
Ask for long, blended layers with a few shorter pieces around your cheekbones.
- Use a wand on medium sections
- Alternate the direction of each curl
- Break them up with your fingers
It’s relaxed and pretty, and it works for almost any hair length.
Sleek Middle Part With Micro Layers
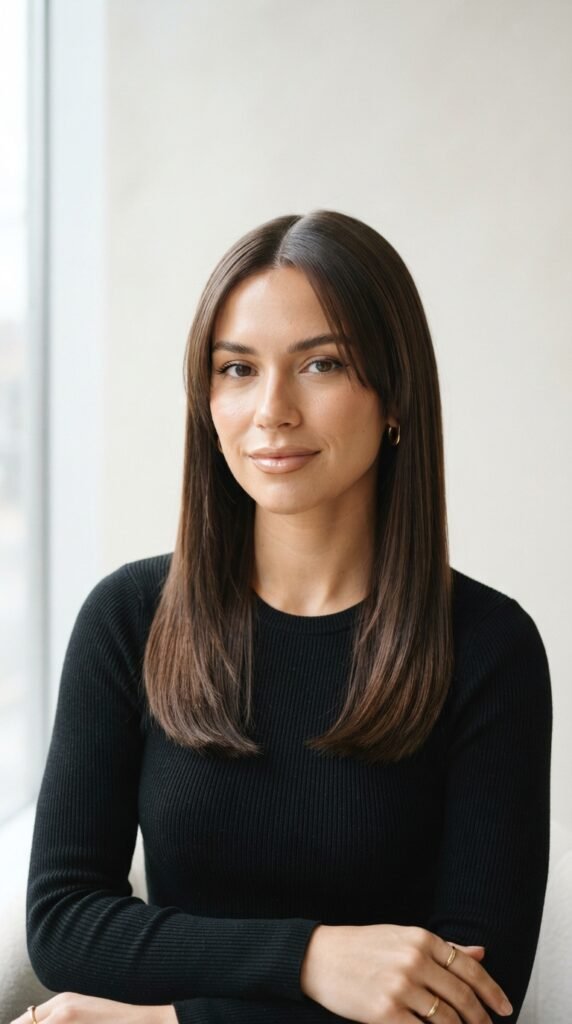
Micro layers are tiny, barely-there pieces cut close to your face. They add movement without changing your overall length.
Ask for two or three micro pieces on each side, starting at your cheekbone. Keep everything else smooth.
- Straighten the body of your hair
- Add a slight bend to the micro pieces
- Tuck everything behind your ears
It’s minimal, very 2026, and perfect if you don’t want a big change.
How to Prep Natural Texture Before the Wedding
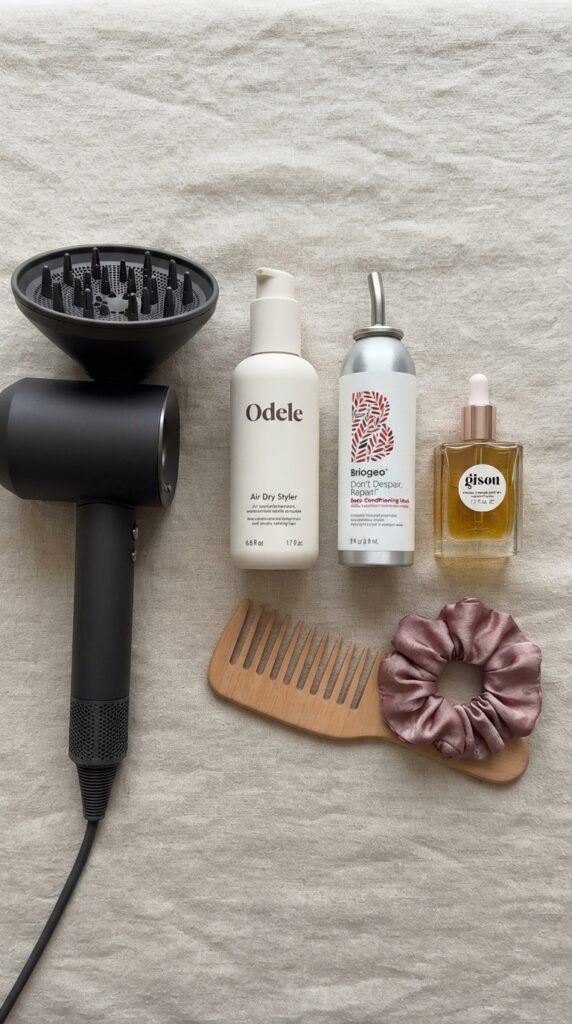
Good layers can’t fix a bad wash day. Here’s the simple prep that actually matters:
- Wash the night before, not the morning of
- Use a leave-in on damp hair and scrunch
- Diffuse or air dry — don’t touch it while it dries
- Sleep on silk or a satin pillowcase
Morning of, refresh with water and a tiny bit of cream. Do not re-wash.
That’s it. Let your texture be your texture.
Accessories That Play Nice With Layers
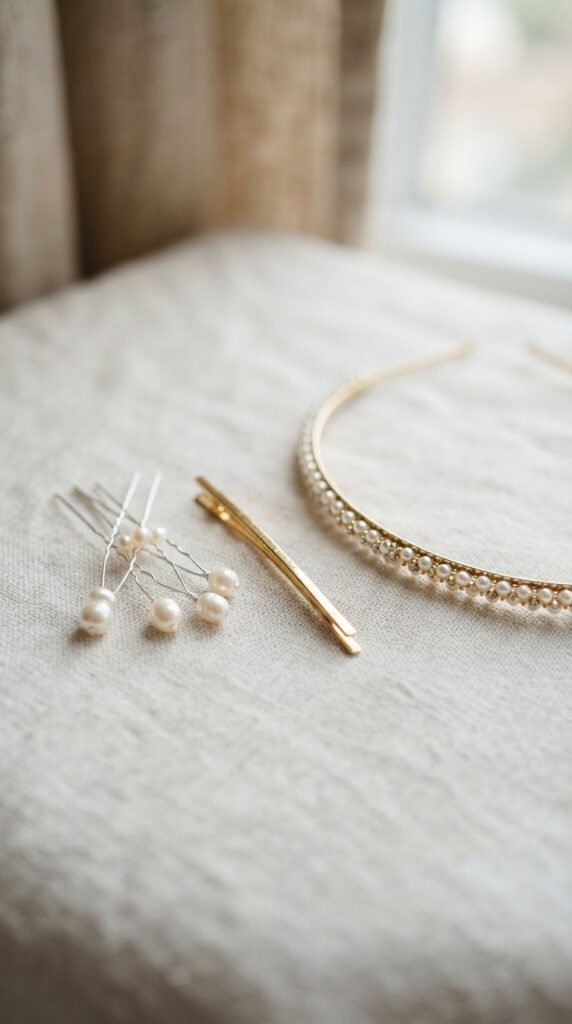
With face framing layers, less is more. You don’t want to cover the pieces you just paid for.
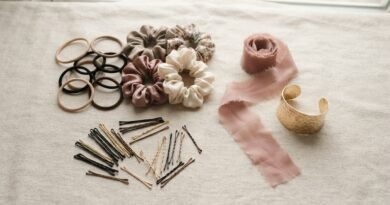
- Thin pearl pins on one side only
- A single small gold clip near your ear
- A delicate headband behind your layers, not on top of them
- Skip thick scrunchies and heavy statement pieces
Keep accessories small, and place them so your face framing stays visible. That’s the whole point.
What to Tell Your Stylist
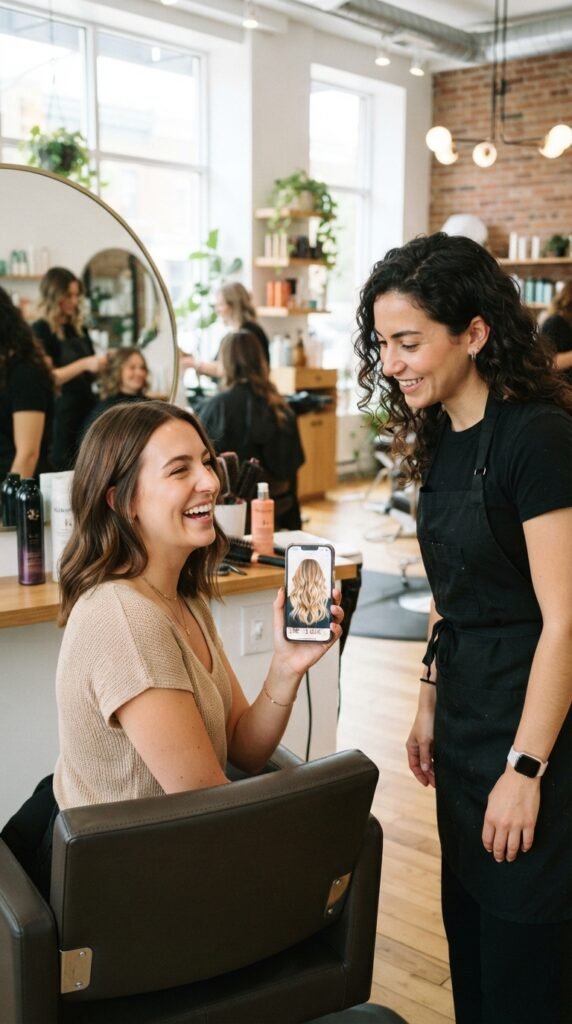
Bring photos. Always bring photos. Here’s what to say when you sit down:
- “I want layers that start at my cheekbone and blend down”
- “Keep the pieces long enough to tuck behind my ear”
- “Cut it dry so you can see my natural texture”
- “I want to be able to air dry and still look done”
Also mention the dress neckline and whether you’ll be wearing accessories. Both change how the layers should fall.
And if you’re unsure, ask for less. You can always add more next time.
A Final Little Pep Talk
You don’t need to fight your hair to look beautiful on the wedding day. You need layers that work with what you already have.
Pick two or three looks from this list, screenshot them, and trust your stylist. Your texture is the whole point — not the obstacle.
And honestly? The best accessory you can wear as a bridesmaid is feeling like yourself.
Save this post to Pinterest so you have it handy at your hair trial — and tell me in the comments which look you’re claiming for the big day.