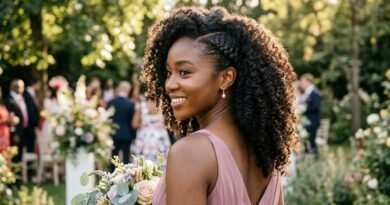
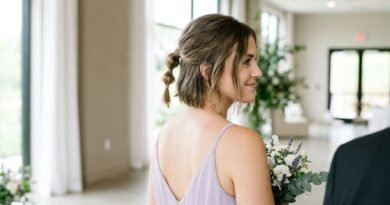
32 Rope Braid Ideas for Bridesmaids That Make Every Day Hair Easier
Let me guess — you’re a bridesmaid, the wedding is in three weeks, and your hands have never braided anything in their life. I’ve been there. Standing in front of a mirror at 6am, watching a tutorial, slowly losing faith in myself.
Here’s the good news: rope braids are the friendliest braid on the planet. Two strands, one twist, done. No French braid hand gymnastics. No “how do I hold this third piece” panic.
In this post I’m sharing 32 rope braid ideas for bridesmaids, plus the everyday versions I actually wear to the grocery store. Think 2026 hairstyles, soft old money hair, and one very good quiet luxury bob moment.
Skim it, screenshot your favorites, and practice one tonight. That’s the whole plan.
What a Rope Braid Really Is
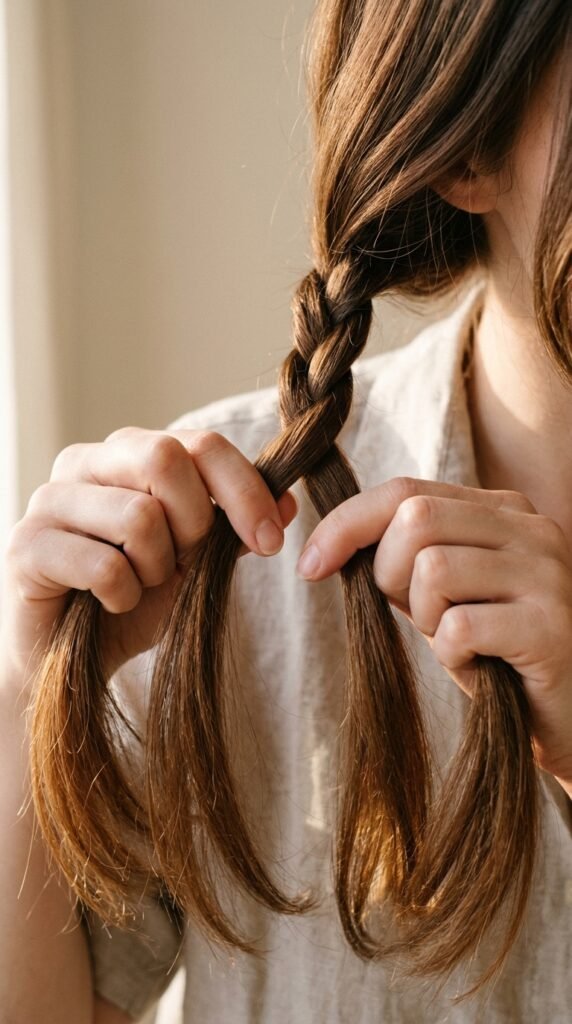
A rope braid is exactly what it sounds like: two strands of hair twisted around each other. That’s it. No third strand, no weaving, no confusing over-under motion.
The trick is direction. Twist each strand the same way, then wrap them around each other the opposite way. That’s what stops it from unraveling halfway down the aisle.
- Works on almost any length
- Looks expensive, takes minutes
- Holds tighter than a regular ponytail
The 3-Minute Rope Braid Tutorial
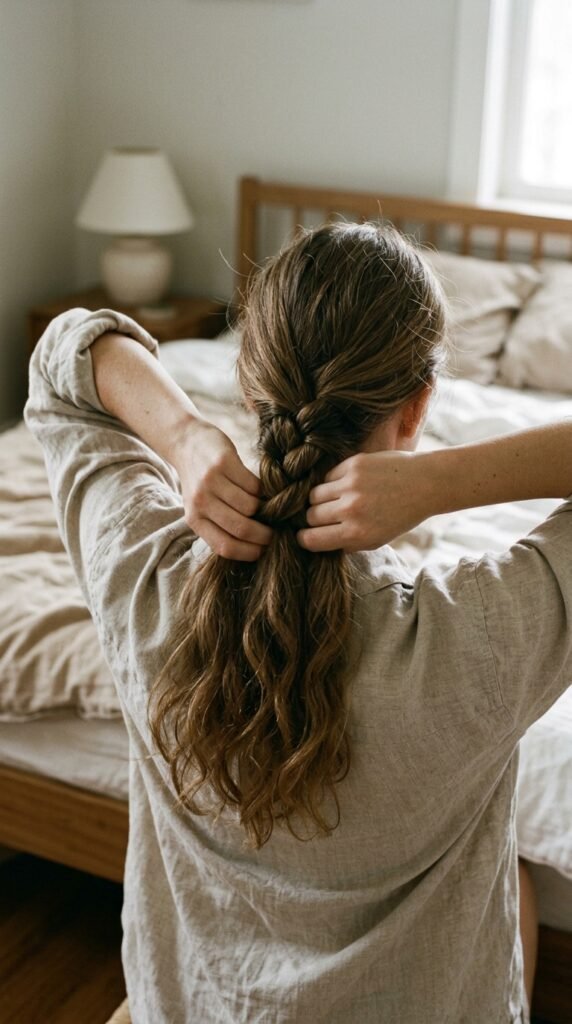
Learn this once and every idea below gets easier.
- Brush everything back into a ponytail and tie it off loosely.
- Split the tail into two even sections.
- Twist the right section clockwise until it starts to coil.
- Twist the left section clockwise the same amount.
- Now wrap the two twisted sections around each other counter-clockwise.
- Secure the end, then gently pull the braid wider with your fingers.
That last step is the one everyone skips. Don’t skip it.
Idea 1: The Classic Two-Strand Rope Braid
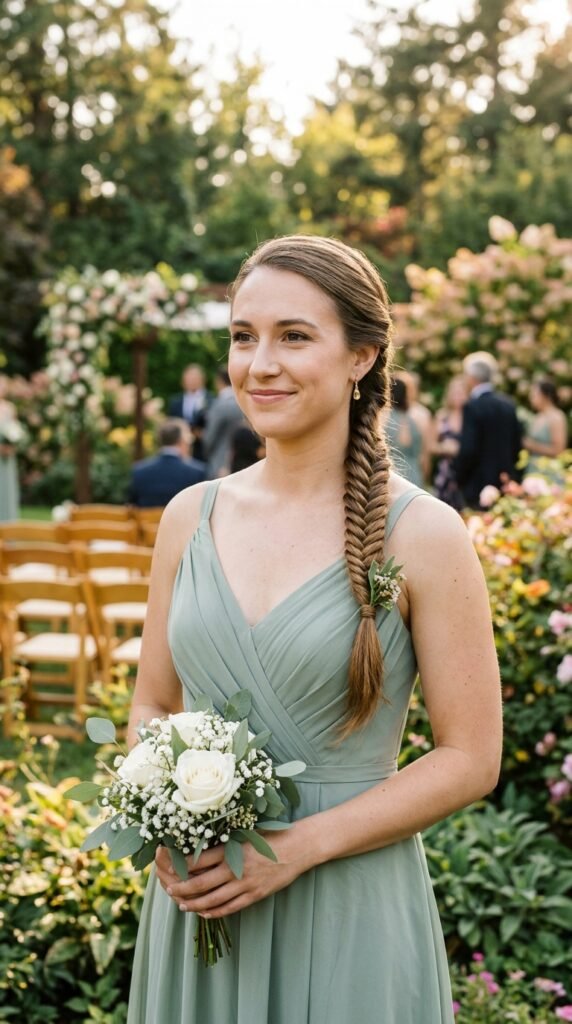
This is the one you’ll use most. One clean rope braid, tied low at the nape of your neck, with a tiny elastic hidden underneath.
Keep the top smooth and the tail slightly undone for that soft, lived-in feel. If your dress has a high neckline, pull the braid forward over one shoulder so it actually shows in photos.
- Best for: medium to long hair
- Time: 4 minutes
- Pairs with: literally every dress
Ideas 2 and 3: Low Ponytail and Half-Up

Idea 2 is the low ponytail: gather everything at the nape, rope braid just the tail, and leave the top half sleek. It reads polished without looking like you tried too hard.
Idea 3 is the half-up. Section off the top, rope braid it, and pin it at the back so the ends tuck under. The rest of your hair stays loose and bouncy.
Both are perfect if you’re the bridesmaid who wants hair off her neck but still wants to look soft.
Idea 4: Side Rope Braid for Photos
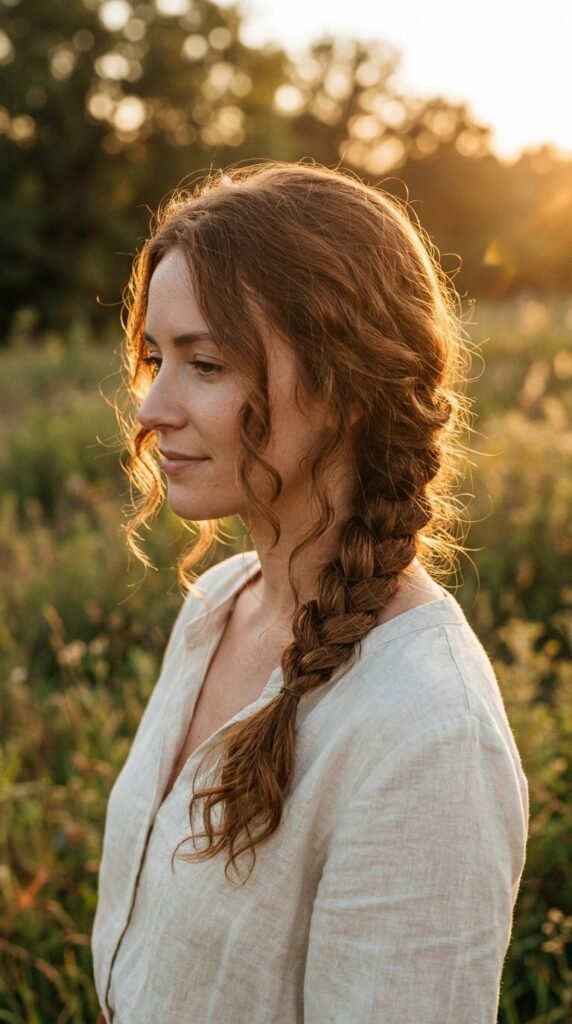
Sweep everything to one side and rope braid from just behind your ear. This one photographs beautifully because the braid sits in front of your shoulder instead of hiding behind you.
Pull the braid wide and flat with your fingers so it looks fuller. Then gently tug a few face-framing pieces loose.
- Choose the side your photographer will shoot from
- Keep it loose, not tight
- Add a tiny pearl pin near the end
Idea 5: The Rope Braid Crown
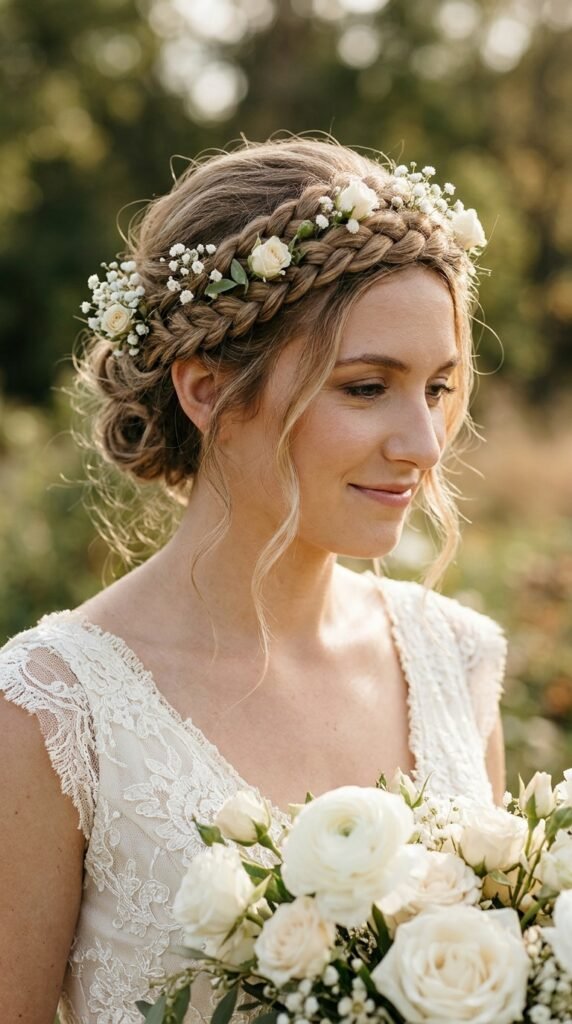
Two rope braids, one on each side, crossed at the back and pinned into a crown. This is the “I want to look like a princess but I have 10 minutes” option.
It also works on shorter hair because you’re pinning, not braiding all the way down. Tuck the ends under with bobby pins and hide them with a couple of tiny flowers.
Fair warning: this one gets the most compliments. Every single time.
Idea 6: Double Rope Braids
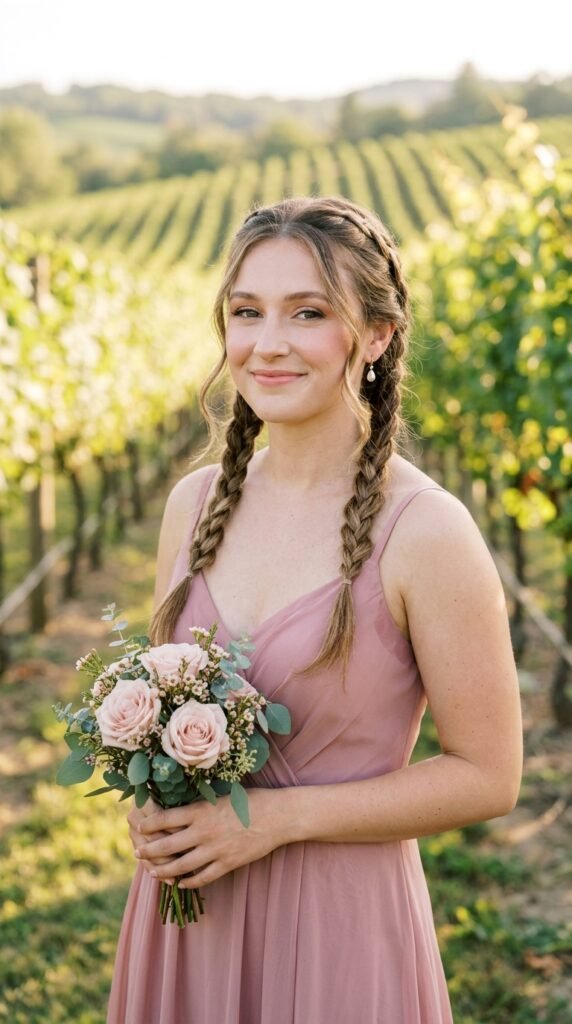
Two rope braids, one on each side, sitting low behind your ears. It’s playful, it’s very “2026 hairstyles,” and it’s impossible to mess up.
Keep them slightly loose and soft so it feels bridal instead of schoolgirl. Skip the tight pigtail energy.
- Great for outdoor or beach weddings
- Pin the tail ends under for a cleaner finish
- Looks amazing with a simple veil
Idea 7: The Fishtail Rope Hybrid
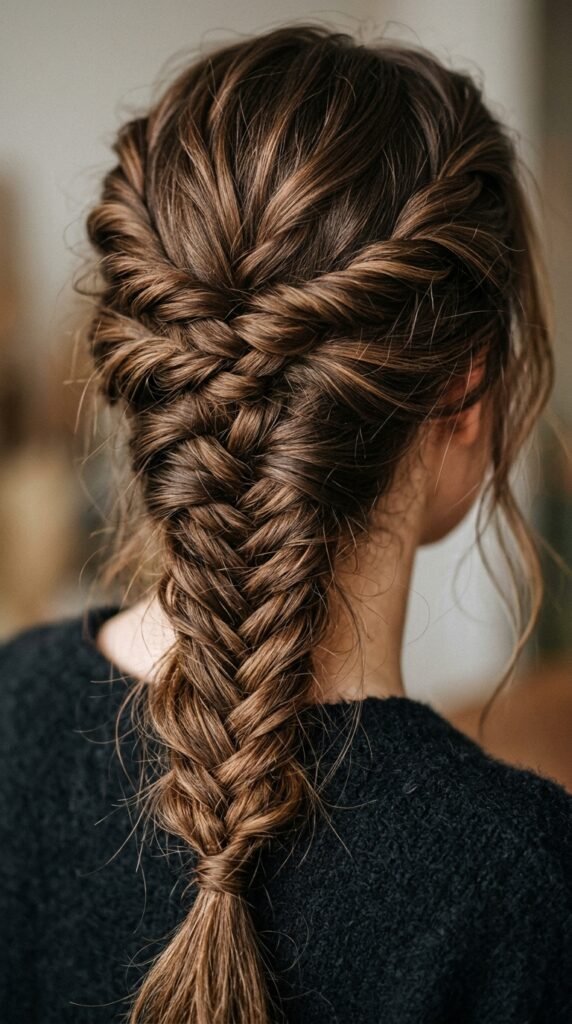
Rope braid the top third, then switch to a regular fishtail for the rest. It looks complicated and designer-level, but you’re really just changing technique halfway.
The trick is to keep tension even where the two styles meet. Pull the whole thing wide at the end so the transition blends instead of looking like a seam.
Save this one for the rehearsal dinner when you want a little extra.
Idea 8: The Pulled-Apart Rope Braid
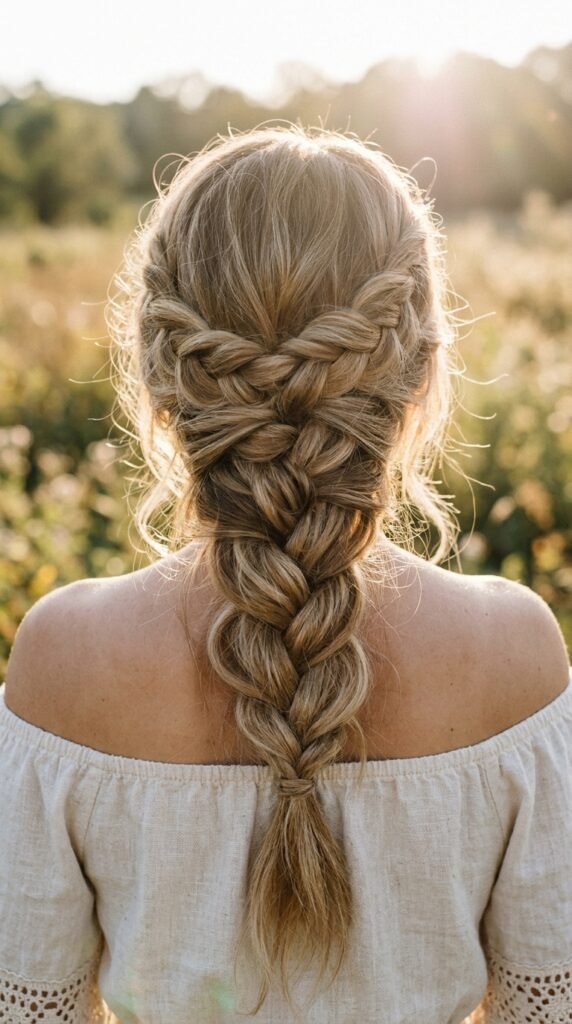
This is the same rope braid, just made to look twice as thick. After you tie it off, gently pull each twist outward until it flattens and widens.
Work from the bottom up so you don’t lose the shape. Stop before it gets messy.
- Best for fine hair
- Takes an extra 90 seconds
- Makes photos look so much better
Ideas 9 and 10: Silk Ribbon and Pearl Pins
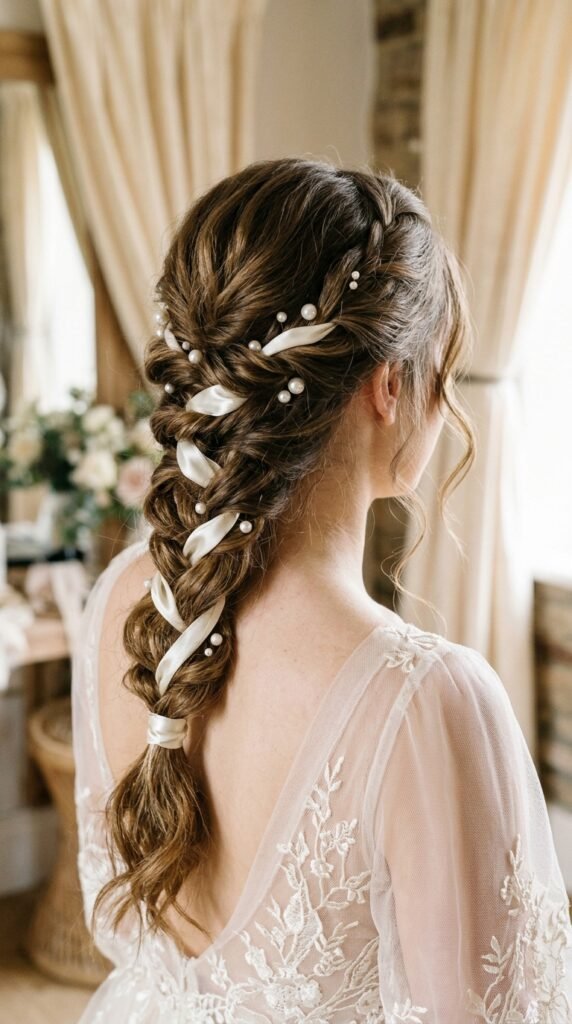
Idea 9 is a silk ribbon woven through the braid and left long at the end. It’s the most old money hair move you can make with a piece of ribbon.
Idea 10 is pearl pins tucked along the side of the braid. Two or three small pins, nothing loud, just a little glow when the light hits.
Both cost almost nothing and make the braid look custom.
Ideas 11 and 12: Baby’s Breath and Greenery
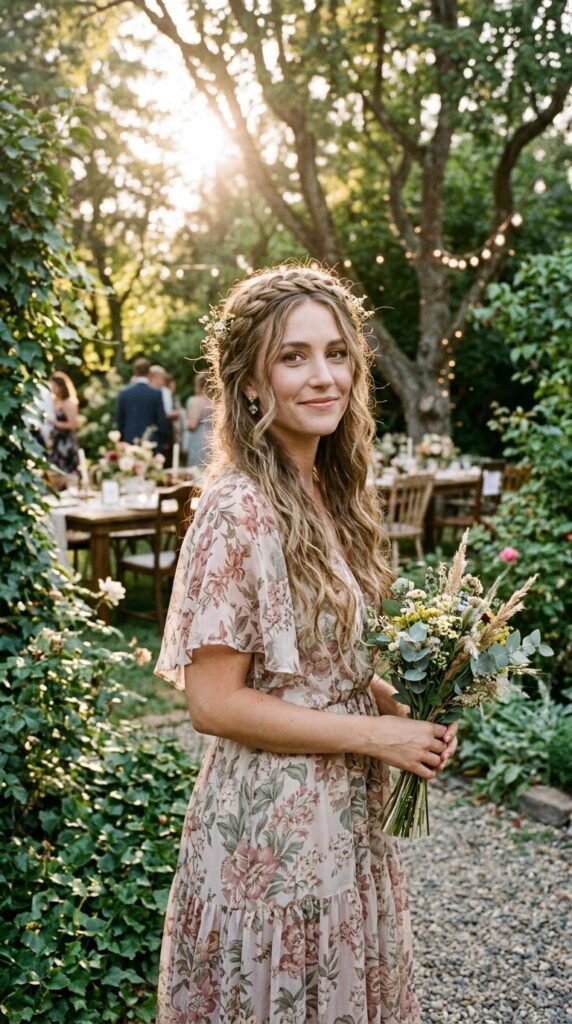
Idea 11: tuck three or four sprigs of baby’s breath into the braid where it crosses the back of your head. It’s the most popular bridesmaid detail for a reason.
Idea 12: swap the flowers for a single green leaf or a bit of rosemary. It looks fresh, smells good, and photographs beautifully.
Pin small, pin low, and let the braid do the work.
Idea 13: The Rope Braid Low Bun
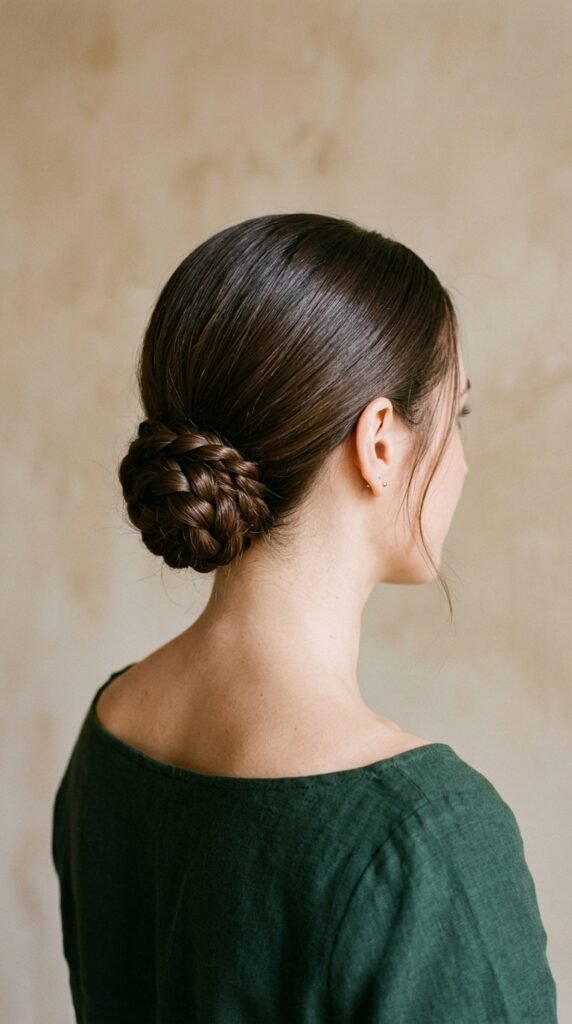
Rope braid your ponytail, then wrap the whole braid into a bun and pin it flat. The braid texture makes the bun look fuller without extra teasing.
This is the go-to for strapless or halter dresses because it keeps your whole neck and shoulders clean.
- Pin with 6 to 8 bobby pins, not one claw clip
- Loosen the bun slightly at the top
- Finish with light hold spray
Idea 14: Rope Braid with Soft Curls
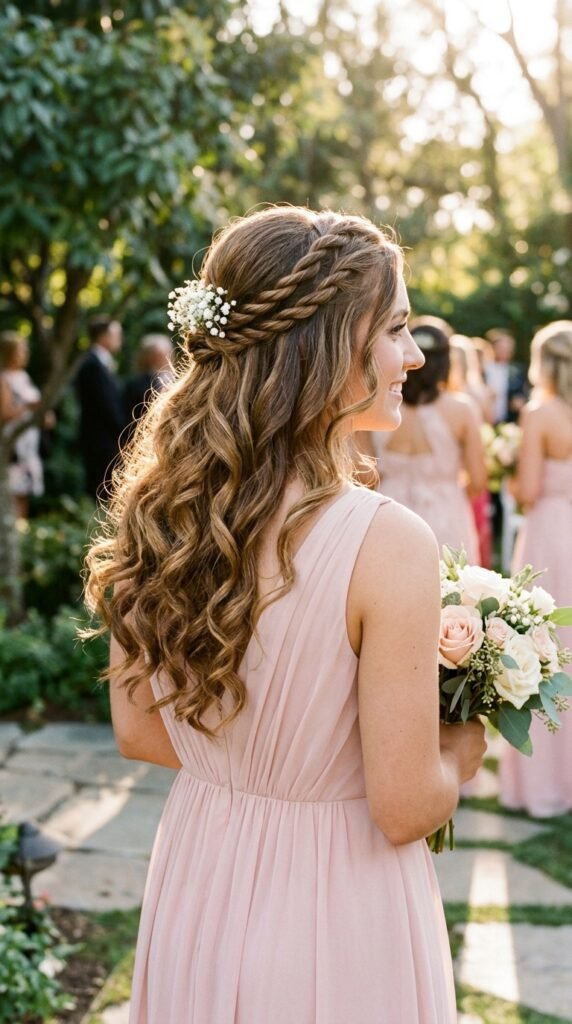
Braid just the top section, then let the rest of your curls do their thing. The contrast between the tight braid and the loose curls is what makes this look work.
Curl everything first, then braid. It’s way easier to control cooled curls than fresh warm ones.
This one feels very soft, very romantic, and very bridesmaid.
Idea 15: The Second-Day Hair Rope Braid
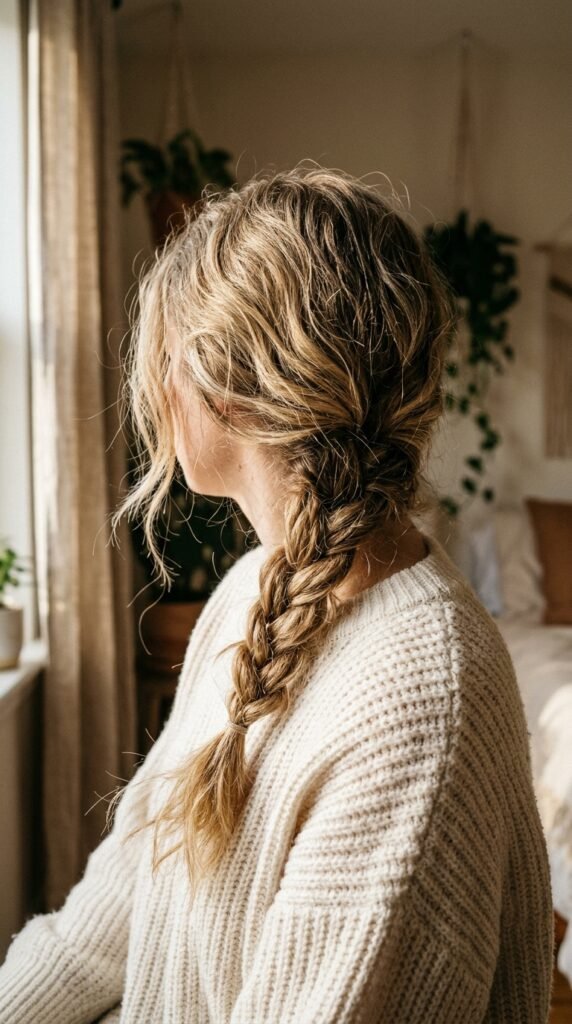
Here’s a secret: rope braids hold better on hair that isn’t squeaky clean. Day-two hair has grip.
If your hair is freshly washed, add a little texturizing spray or dry shampoo before you start. Otherwise the braid will slide out before the ceremony ends.
- Spray the roots, not the ends
- Brush through so there’s no white cast
- Twist tighter than you think you need
Idea 16: The Asymmetrical Lob Rope Braid
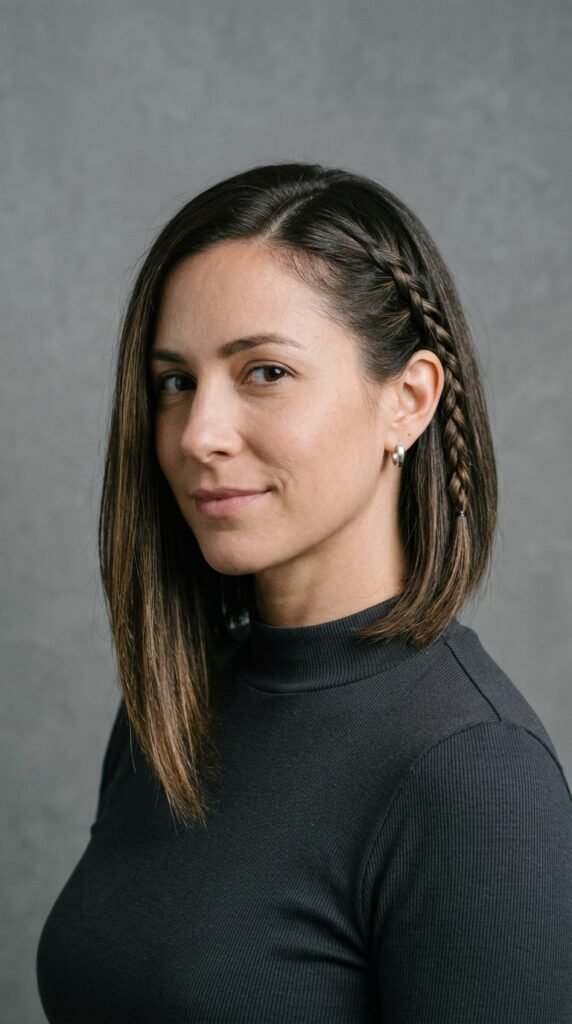
Short hair does not mean no braids. If you have an asymmetrical lob, rope braid just the longer side and pin it back.
It’s the easiest way to add interest to a cut without hiding it. Same with a quiet luxury bob — braid a thin section at the front and pin it behind your ear.
Small detail, big difference in photos.
Idea 17: Old Money Hair, Rope Braid Edition
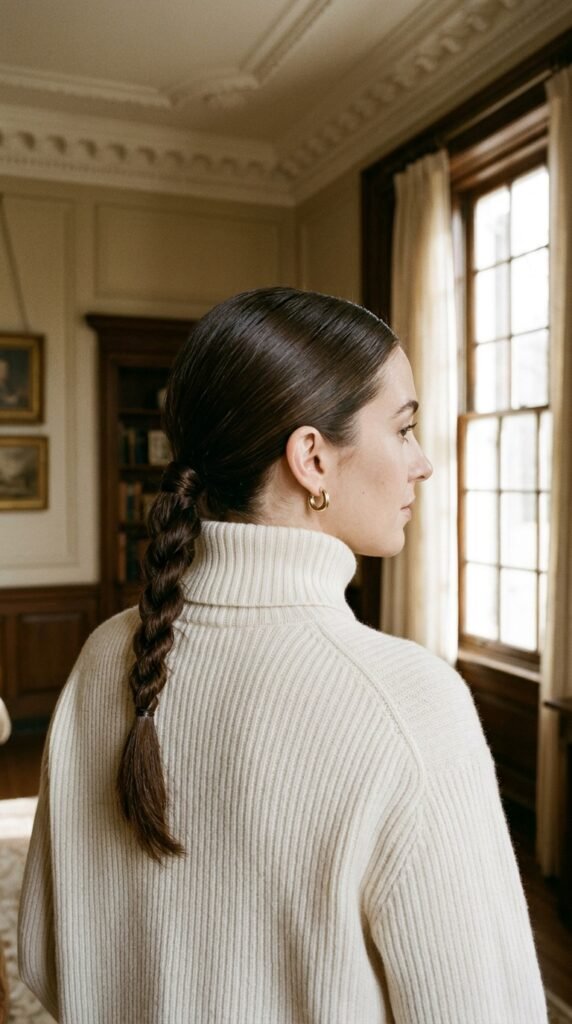
Old money hair is all about being smooth, simple, and effortless. So: middle part, sleek top, one neat rope braid down the back.
No chunky pulling, no visible elastics, no glitter. Just clean and quiet.
- Use a boar bristle brush for a smooth finish
- Hide the hair tie with a small section of hair
- Add a light shine serum
Idea 18: Romantic Goth Hairstyles with a Rope Braid
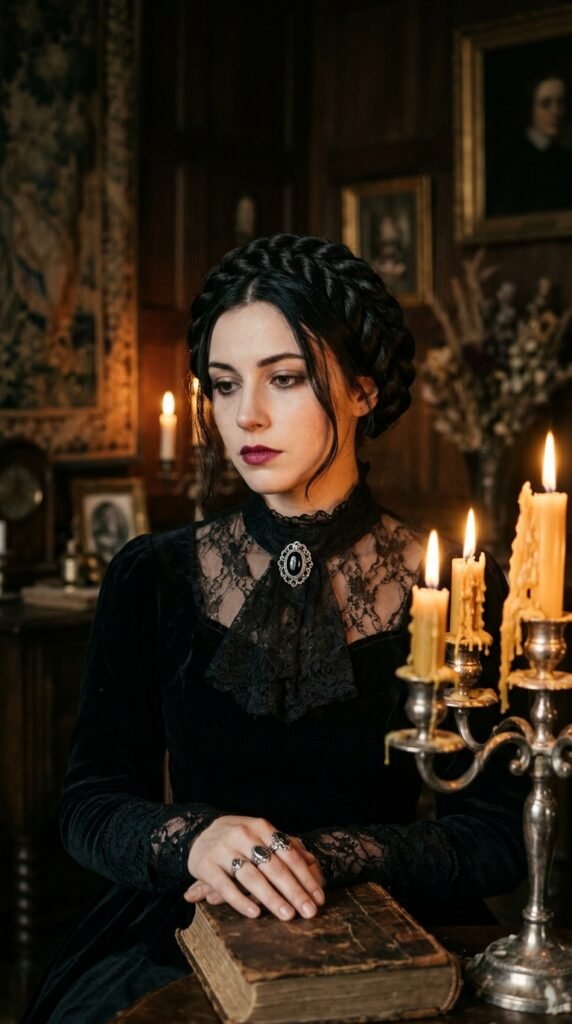
If the wedding is moody and candlelit, romantic goth hairstyles are your lane. Rope braids fit right in.
Try a crown braid with dark hair, a velvet ribbon woven through, and a few loose strands around the face. Deep burgundy or black ribbon instead of ivory.
It’s soft, a little dramatic, and completely wedding-appropriate.
Idea 19: Glitchy Glam Hair Rope Braid
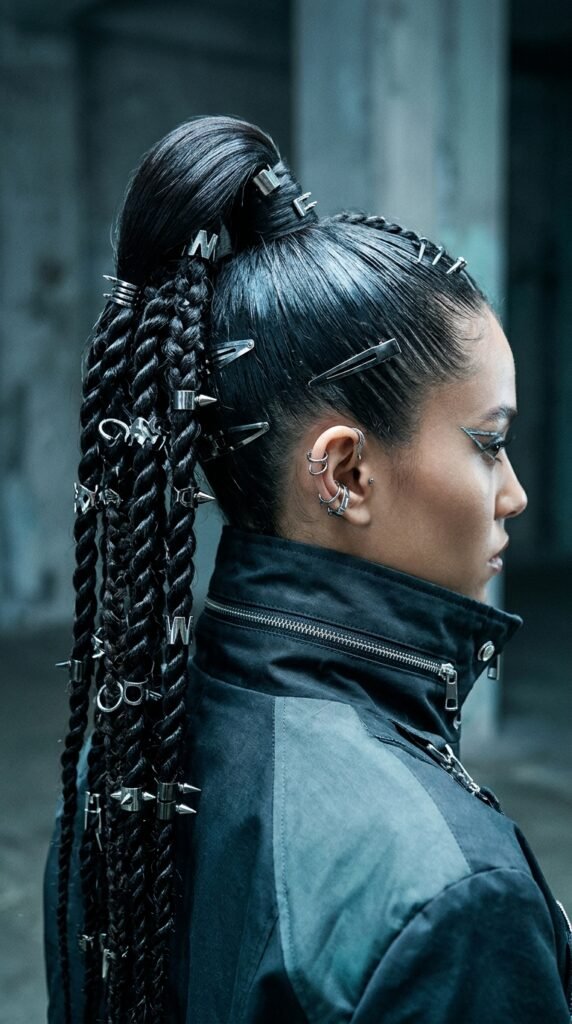
Glitchy glam hair is one of my favorite 2026 hairstyles. It’s sleek, a little futuristic, and made for sharp accessories.
Do a tight high rope braid ponytail, then add two or three tiny metallic clips in a row. Keep the rest of your hair flat and shiny.
- Best for a city or rooftop wedding
- Use gel on the top section
- Keep the braid tight, not fluffy
Idea 20: The Hime Cut Inspired Rope Braid
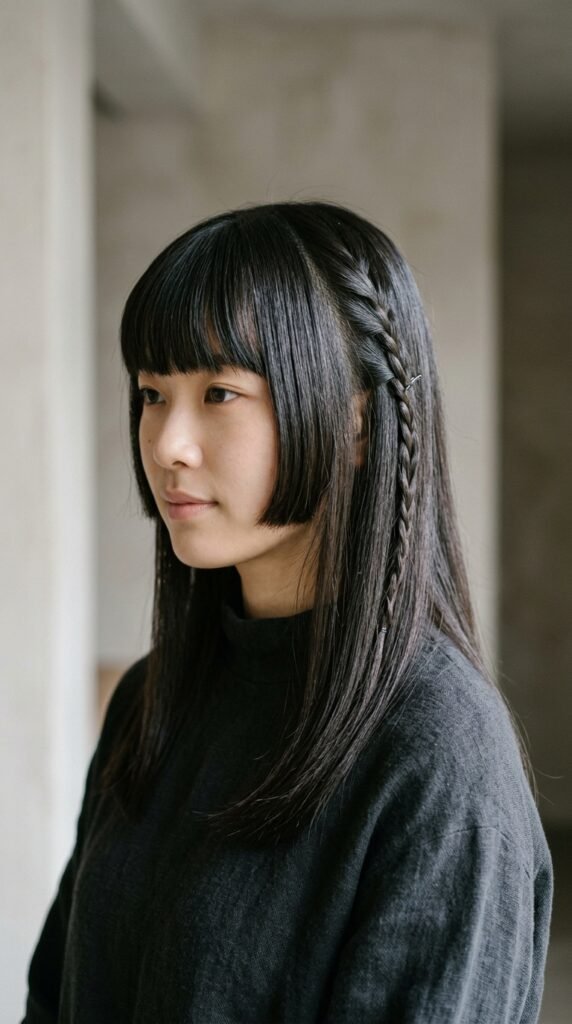
The hime cut has blunt side pieces and a straight back — and it looks amazing with one small rope braid pinned above the ear.
Because those front pieces are cut short, you braid only the longer hair behind them. That keeps the shape of the cut intact.
It’s a subtle nod, not a costume. Exactly how I like it.
Idea 21: The Vampire Haircut Rope Braid

The vampire haircut is all about layers and movement. Rope braid a small section at the front and let the rest of those layers fall loose.
The braid gives structure, the layers give drama. Together they look expensive and slightly dangerous in the best way.
Great for a fall or evening wedding.
Ideas 22 and 23: Fine Hair and Thick Hair
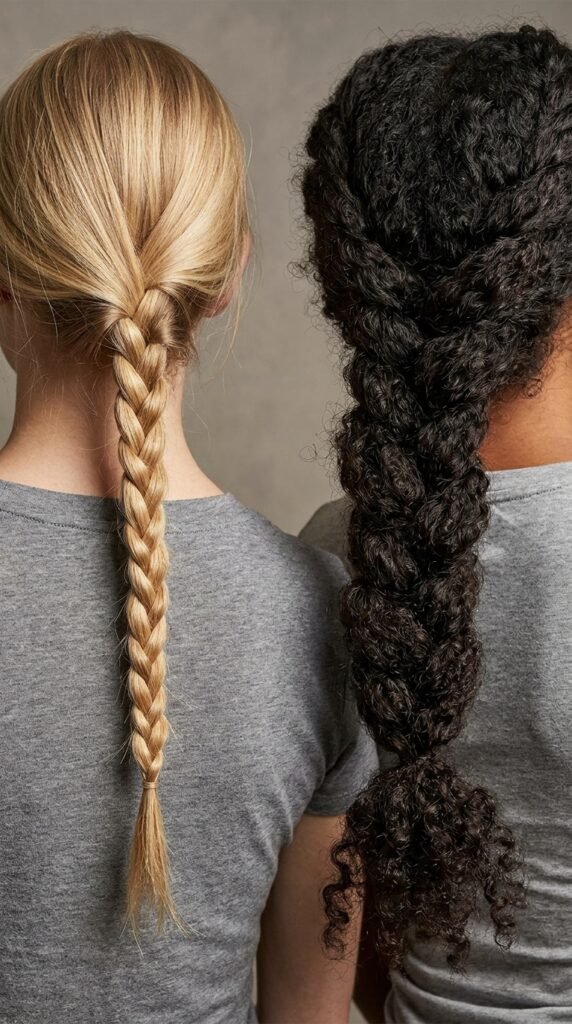
Idea 22 for fine hair: add texture spray first, braid tight, then pull wide. A rope braid actually makes fine hair look thicker than it is.
Idea 23 for thick or curly hair: braid in smaller sections and use a strong elastic. Big hair needs more grip, not more product.
Both work. You just need to prep differently.
Ideas 24 and 25: Headband Braid and Halo Half-Crown
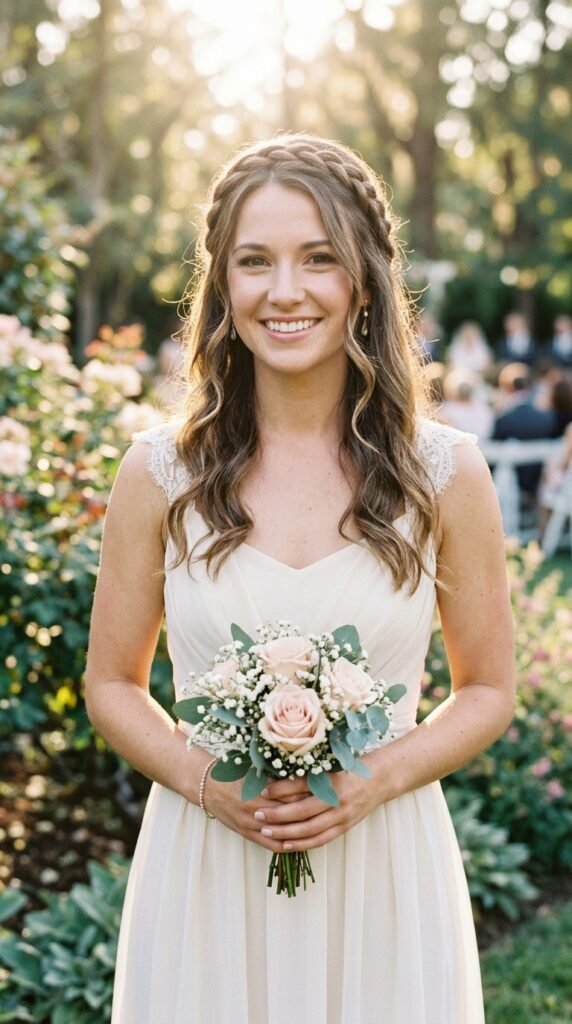
Idea 24: a rope braid used as a headband. Braid a small section, then pin it across the top of your head like a band. It hides a bad hairline day instantly.
Idea 25: a halo half-crown. Braid two small sections and pin them around the back of your head, leaving the rest down.
Both take under five minutes.
Ideas 26 and 27: Bubble Rope Ponytail and Scarf Braid
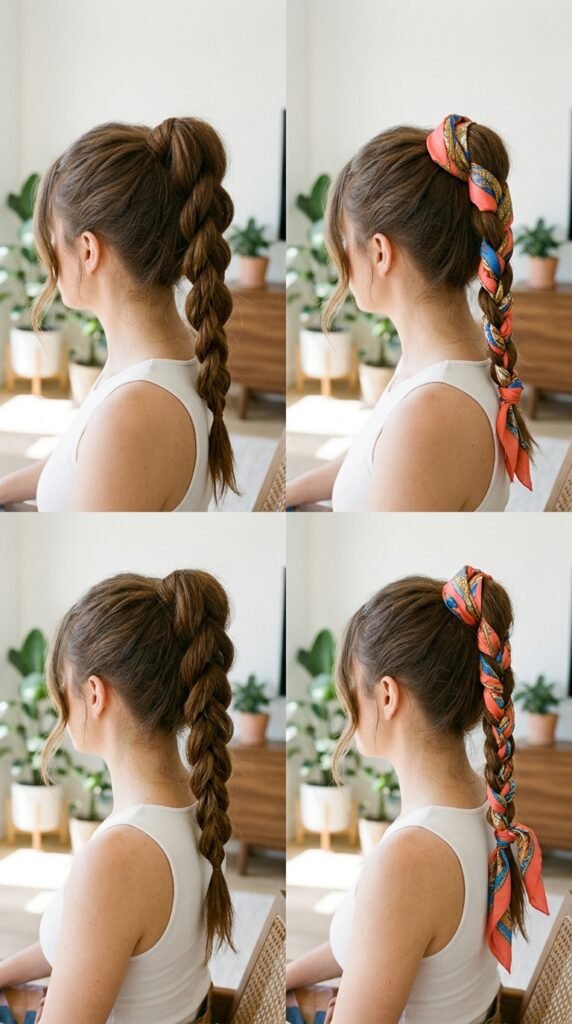
Idea 26: the bubble rope ponytail. Rope braid a high ponytail, then gently pull small sections outward so it looks like little bubbles down the length.
Idea 27: wrap a thin scarf or fabric strip around the base of the braid and let the ends trail. It’s fun, it’s different, and it hides a lumpy braid start.
Perfect for a casual outdoor reception.
Ideas 28 and 29: Messy Bun and Face-Framing Pieces
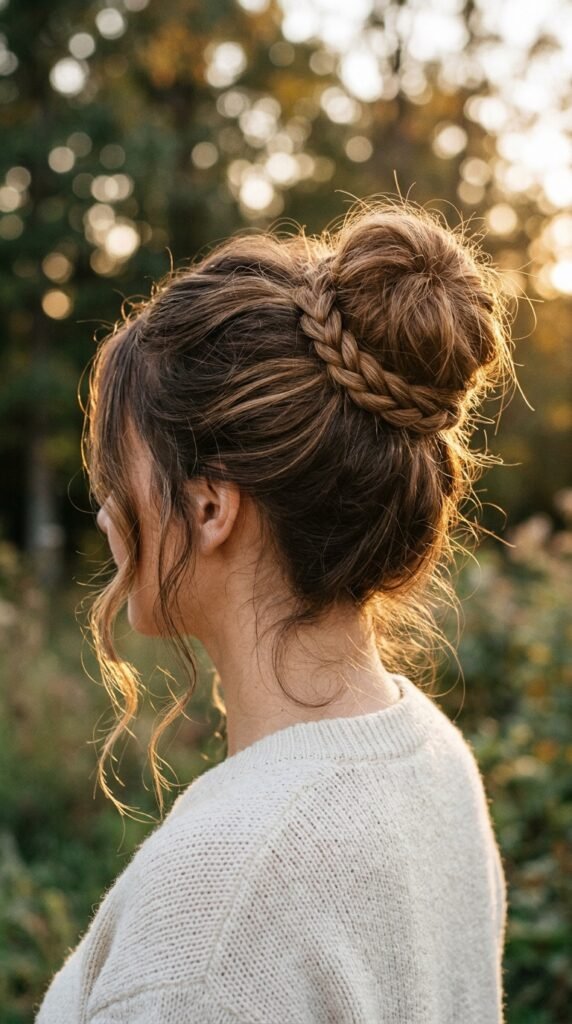
Idea 28: braid your hair, then wrap that braid around the base of a messy bun. The braid adds texture and hides every pin.
Idea 29: braid the sides, then pull out two soft pieces in front of your ears. Those little pieces soften your face in photos and make the whole look feel less severe.
Two tiny changes. Huge difference.
Ideas 30 and 31: Micro Rope Braids and Matching Bridesmaids
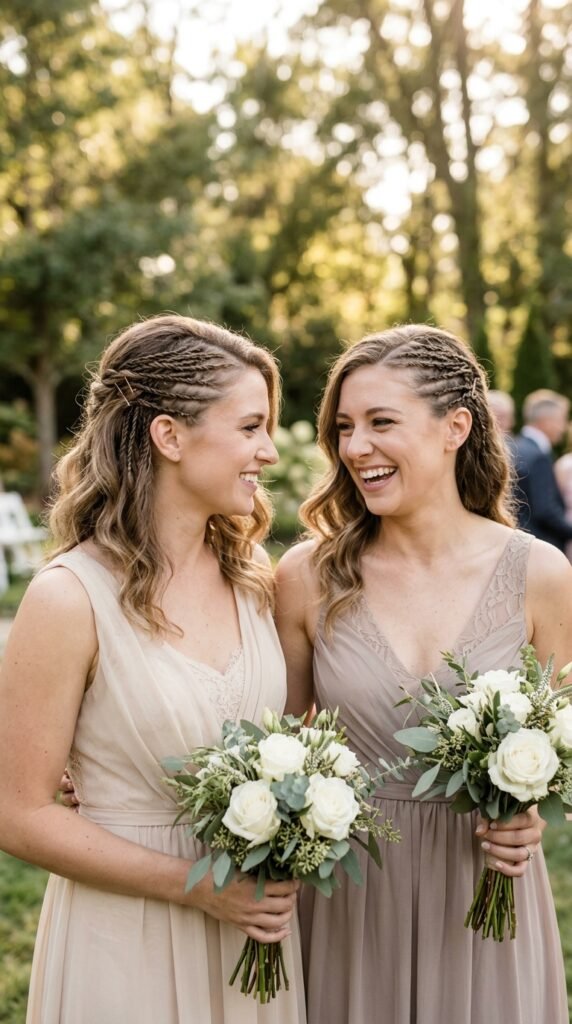
Idea 30: micro rope braids. Braid two tiny sections near your part and pin them back. It’s basically jewelry for your hair.
Idea 31: matching braids for the whole bridesmaid group. Pick one idea from this list and everyone does the same version. It looks intentional and it photographs so clean.
Bonus: anyone can learn a rope braid in five minutes, so nobody gets left out.
Idea 32: The Everyday Version

This is the one I actually wear. Rope braid a low ponytail, pull it wide, and go.
It works for work, errands, the gym, and day-three hair you’re pretending is fine.
- Two minutes, start to finish
- No heat, no products needed
- Keeps hair out of your face all day
Learn the braid for the wedding. Keep it for real life.
Why Your Rope Braid Slips Out (Quick Fixes)
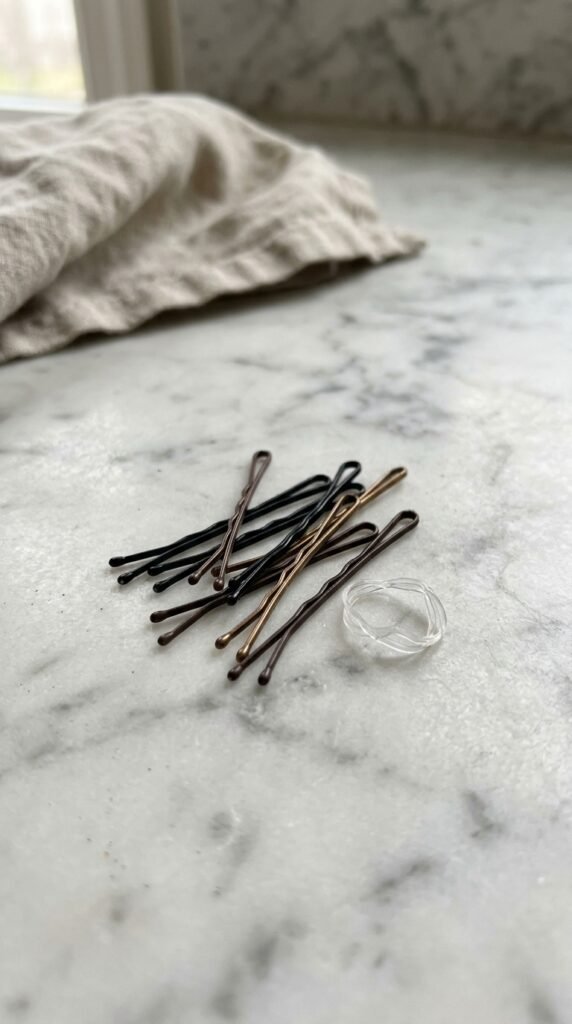
If your braid keeps falling apart, it’s almost always one of these three things.
- You twisted both strands the same direction as the wrap. Twist one way, wrap the other.
- Your hair is too clean. Add texture spray or dry shampoo first.
- You braided too loose at the top. Start tight, loosen later.
Fix those and it’ll hold through the ceremony, dinner, and the dance floor.
Accessories That Photograph Well
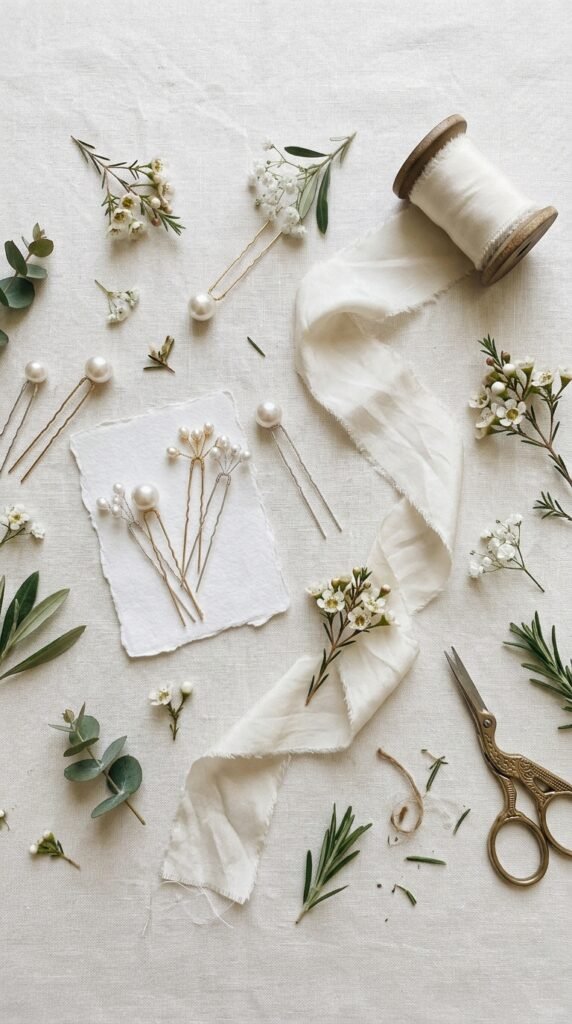
Keep it small. Tiny details show up in photos; big ones eat the braid.
- Pearl or crystal pins near the end of the braid
- A slim silk ribbon in ivory, sage, or blush
- Baby’s breath or one small greenery sprig
- A hidden clear elastic, always
Skip anything that rattles or catches the light too hard. Soft and quiet wins every time.
One Last Little Pep Talk
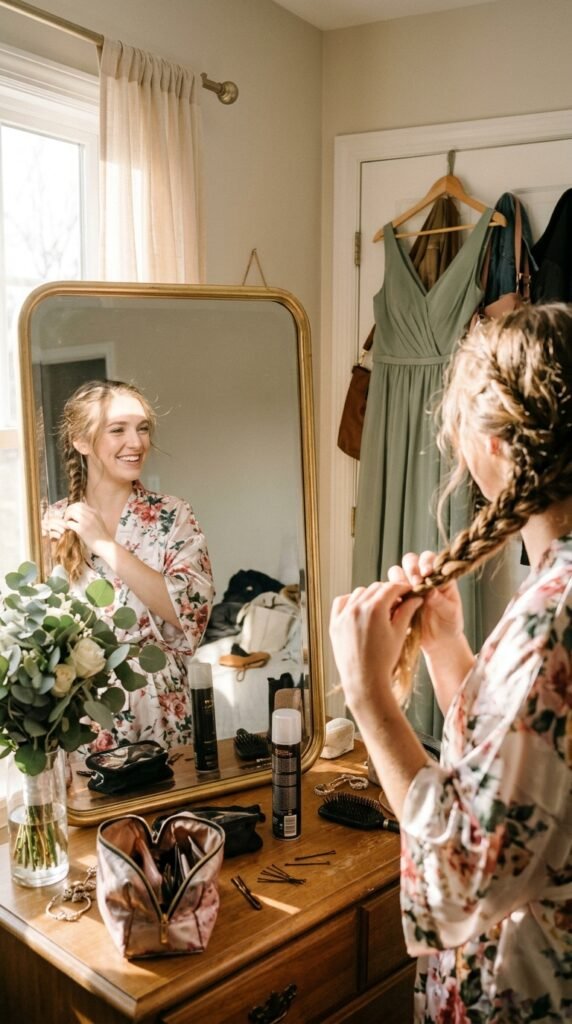
You don’t need a professional stylist or a steady hand. You need one braid you can do twice and one practice run the night before.
Pick two ideas from this list — one for the wedding, one for real life — and learn those. That’s genuinely all it takes.
And if it comes out a little messy? Good. Messy reads as effortless, and effortless is the whole point.
Save This for Later
Save this post to Pinterest so you can find it on the morning of the wedding when you’re standing in front of a mirror with eight bobby pins in your mouth.
And tell me in the comments: which idea are you trying first? I read every single one, and I’ll help you troubleshoot if it fights back.