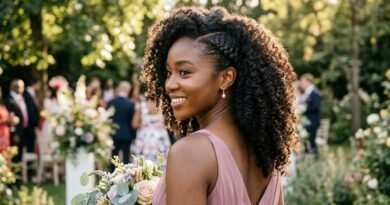
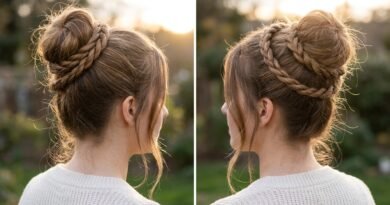
25 Flat Twists Hairstyles for Bridesmaids That Make Growing Out Hair Easier
Let’s talk about the one bridesmaid hair decision nobody warns you about: what happens the week after the wedding, when you’re trying to grow your hair out and every style leaves you with a sore scalp and one weird bent section.
Flat twists fix a lot of that. They look polished in photos, they hold up through a long day of standing and hugging, and — my favorite part — they’re gentle on hair that’s sitting in that awkward grow-out phase.
So I rounded up 25 flat twists hairstyles for bridesmaids, from soft and romantic to a little bit edgy. Every one of them fits right in with 2026 hairstyles without looking like you tried too hard.
Skim, screenshot your favorites, then send them straight to the group chat. Your bride will thank you.
Why Flat Twists Are the Bridesmaid MVP
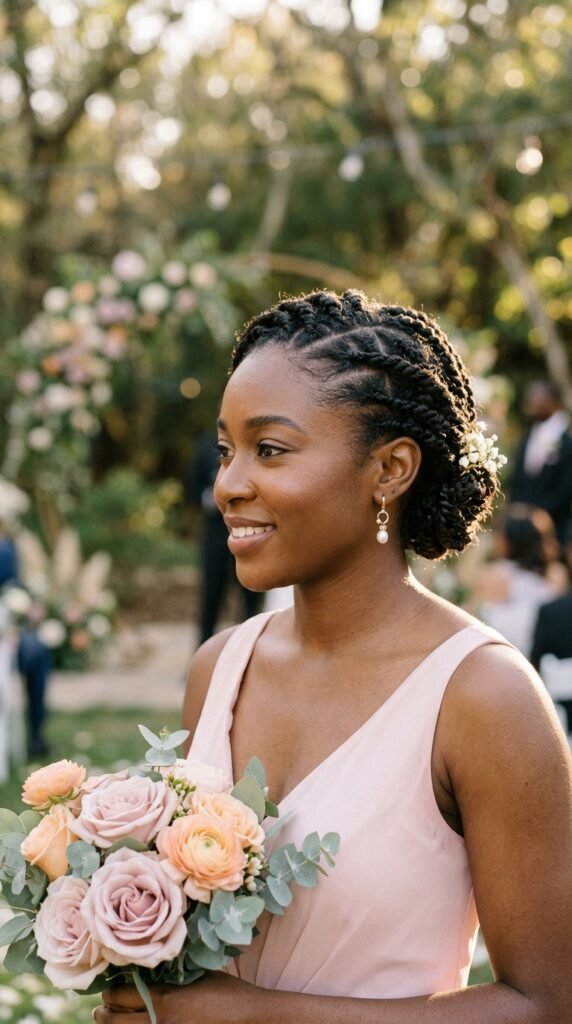
Flat twists sit close to the scalp, which means they stay put. No slipping, no frizzing, no bobby pins dropping on the dance floor.
They also protect your ends. If you’re growing your hair out, that matters more than any trend.
- Work on most textures, with the right prep
- Hold up in heat, wind, and long ceremonies
- Look intentional even when they’re simple
Honestly, they’re the quiet overachiever of bridesmaid hair.
What Flat Twists Actually Are
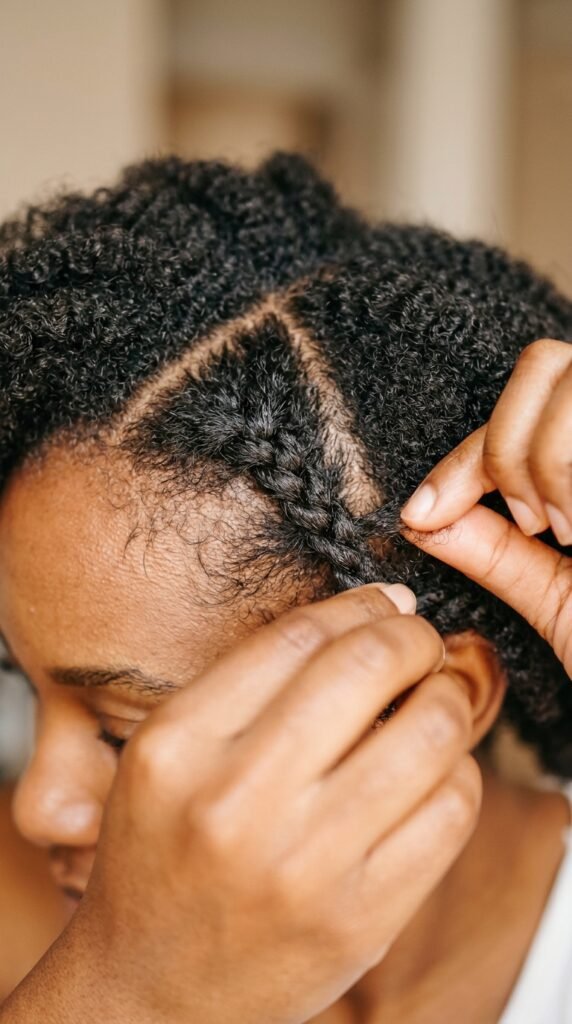
A flat twist is two strands twisted together while staying close to the head. Think of a braid’s neatness with a twist’s softness.
They read as “old money hair” when they’re smooth and pinned low. They read as romantic goth hairstyles when they’re tight, dark, and accessorized with something sharp.
One style, two completely different moods. That’s why I keep coming back to them.
Prep Steps That Make Them Last
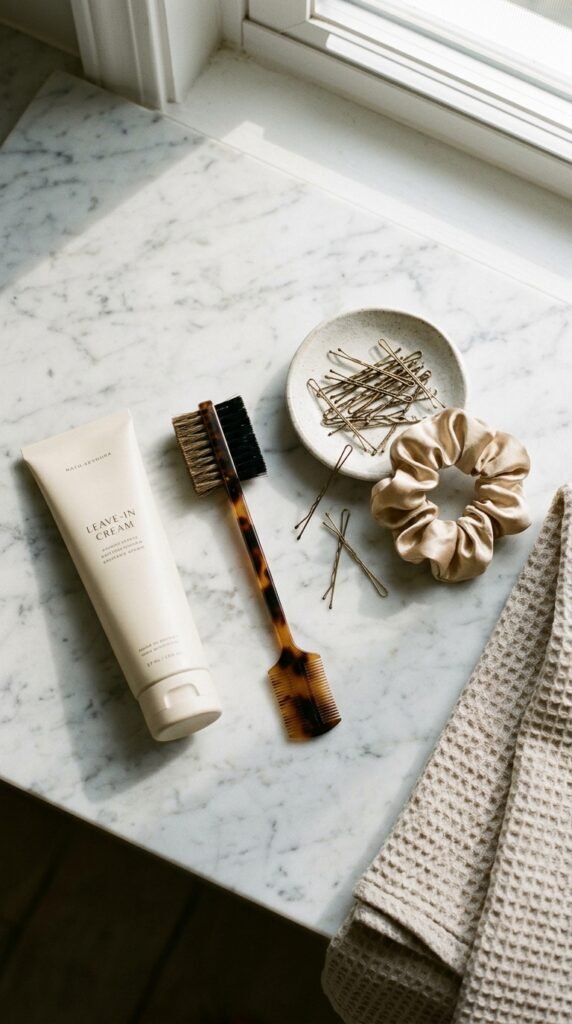
Good flat twists are 80 percent prep. Skip this and they’ll fuzz out before the ceremony starts.
- Wash and deep condition the night before
- Apply a leave-in cream to damp hair
- Add a light hold gel for definition
- Blow dry or stretch the hair so it’s not shrunken
If your hair is fine or straight, add a little texture spray first. It gives the twist something to grip.
1. The Classic Flat Twist Halo
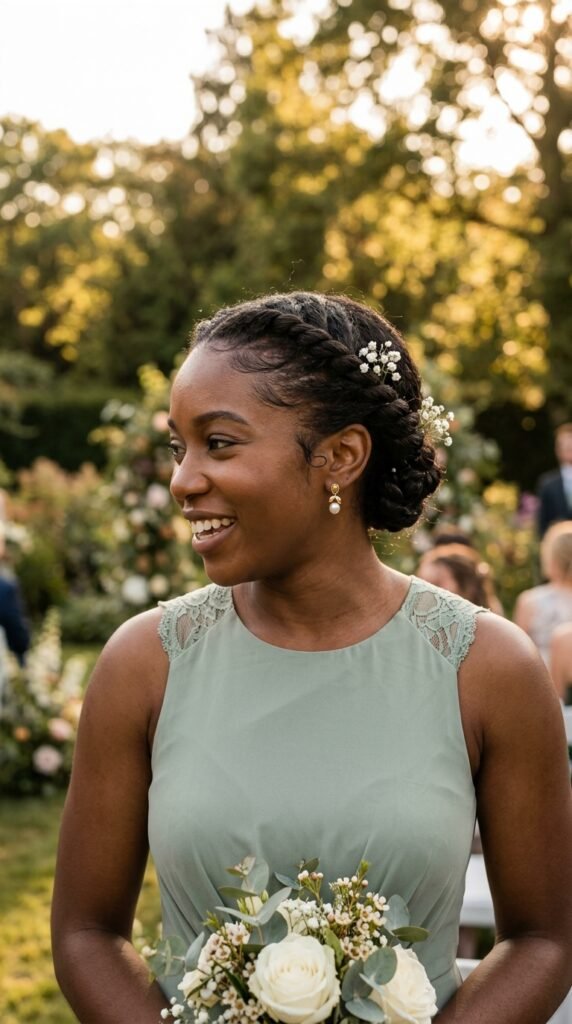
Two flat twists starting at the front hairline, wrapping around like a crown, pinned at the back. It flatters every face shape.
- Part down the middle or slightly off-center
- Twist from the hairline toward the crown
- Pin the ends into a small tucked coil
Ask for a little tension at the front and none at the edges. That’s the difference between sleek and headache. It also hides a grow-out line beautifully.
2. Side-Swept Flat Twists
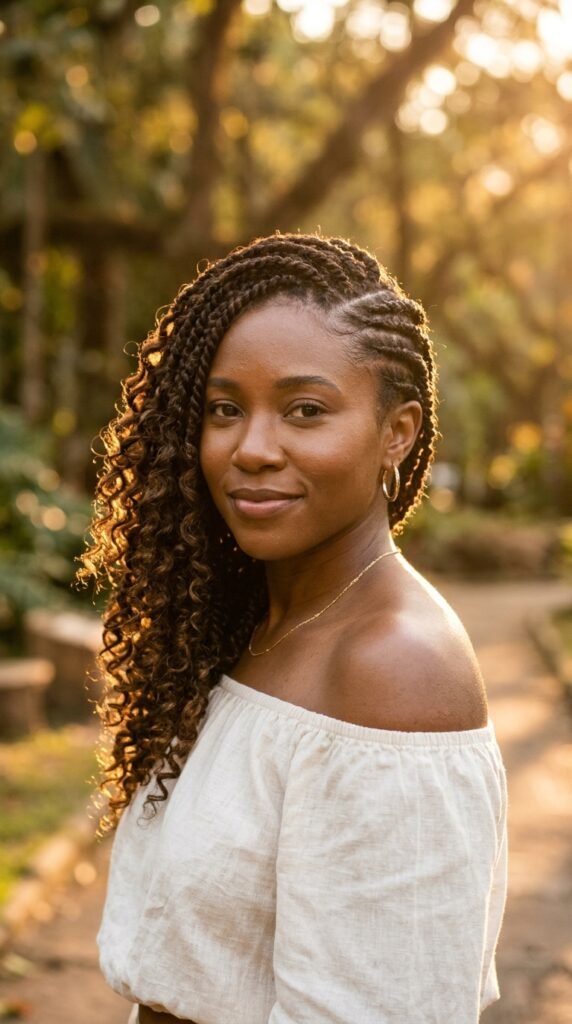
This is the style I recommend when someone wants softness but still needs everything off their face. Twists go diagonally from one temple to the opposite ear, then the rest of the hair falls loose.
It works especially well with an asymmetrical lob, because the shorter side gets that clean swept-back look.
- Keep the twist line low and gentle
- Curl the loose ends away from the face
- Finish with a light shine mist
3. Flat Twists Into a Low Bun
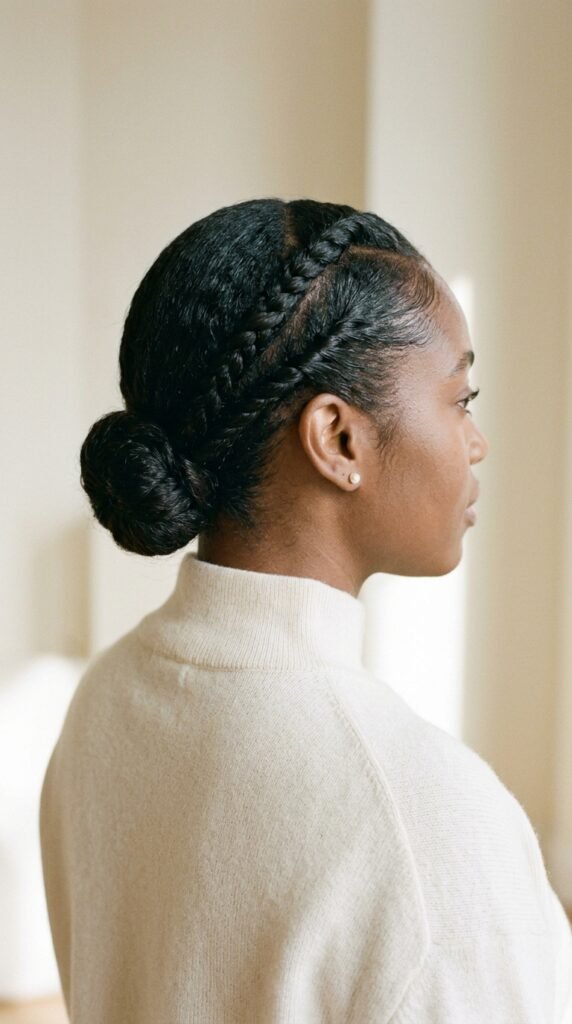
This one is pure quiet luxury. Two flat twists travel back into a smooth low bun, and nothing else needs to happen.
It photographs beautifully from the side, which is exactly the angle your group photos will be taken from.
- Twist both sides back toward the center
- Gather the rest into a low ponytail
- Wrap into a bun and pin
- Set with a soft-hold spray
Skip heavy accessories here. Let the texture be the detail.
4. Half-Up Flat Twists With Loose Curls
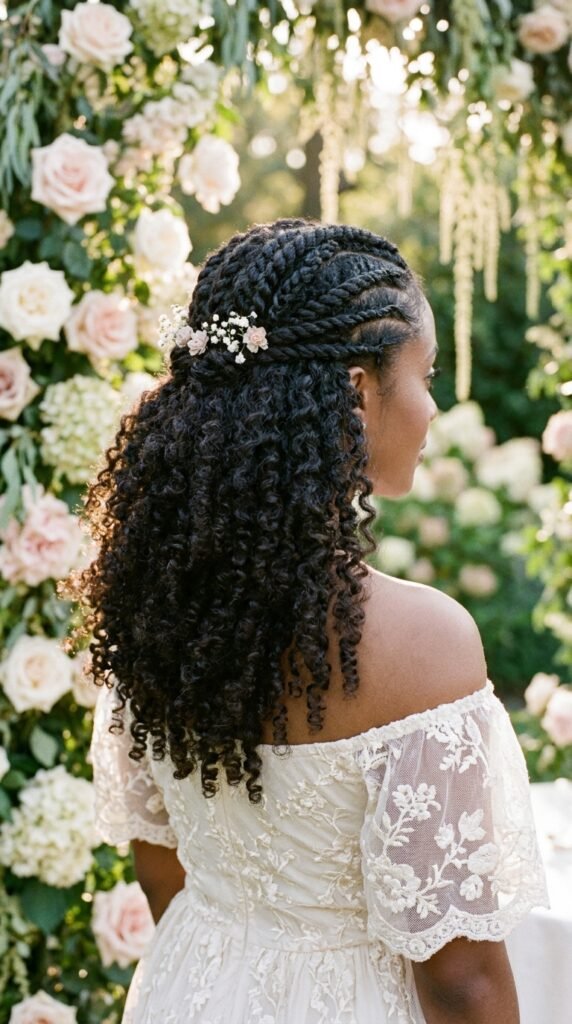
If you want volume and a little movement, this is your pick. The front twists keep everything neat, and the back stays big and soft.
It’s one of the best flat twists hairstyles for bridesmaids with long hair, because the length does half the work for you.
- Twist only the front third of the hair
- Pin the twists where the crown starts
- Curl the rest with a 1-inch wand
Brush the curls out with your fingers so they look lived-in, not stiff.
5. Tucked Flat Twists With an Asymmetrical Lob
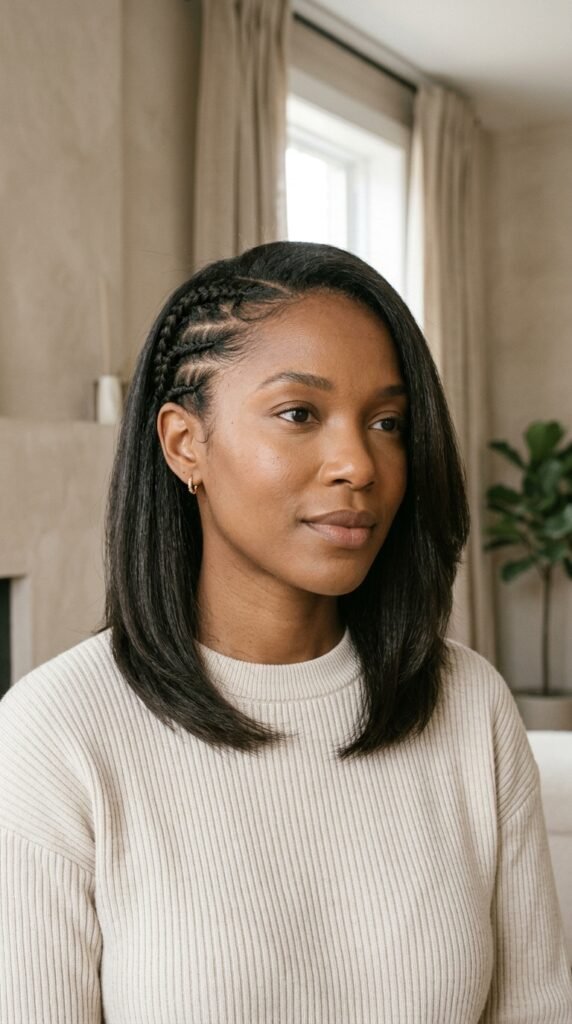
Short hair girlies, this one’s for you. Small flat twists along one side, tucked behind the ear, and the rest of the lob left sleek and swingy.
It gives you that polished asymmetrical lob look while keeping the front totally controlled.
- Use smaller twists for a delicate finish
- Tuck the ends under, not out
- Keep the other side smooth and flat
Add a single gold pin if the dress has any sparkle. Done.
6. Feed-In Flat Twists for Shorter Hair
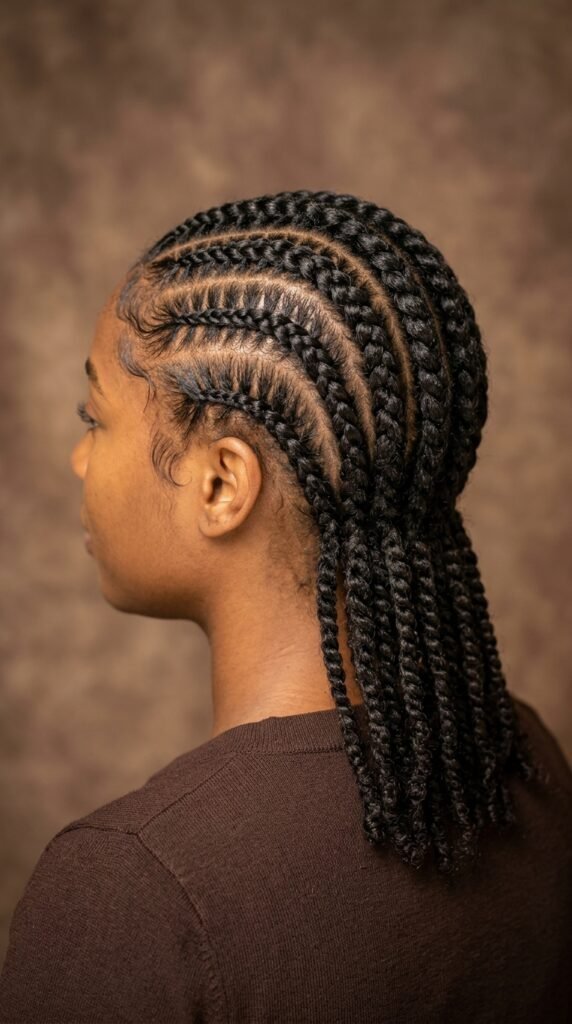
Shorter hair doesn’t mean fewer options. Feed-in twists add hair gradually as you go, so you get length and fullness without tension at the root.
This is my go-to recommendation for anyone whose hair is mid grow-out and won’t reach a bun yet.
- Start with a small section at the hairline
- Add a little extension hair every pass
- Keep the tension light at the edges
Ask your stylist to leave your natural edges out. It looks softer and it protects your hairline.
7. Flat Twists With a Hime Cut Fringe
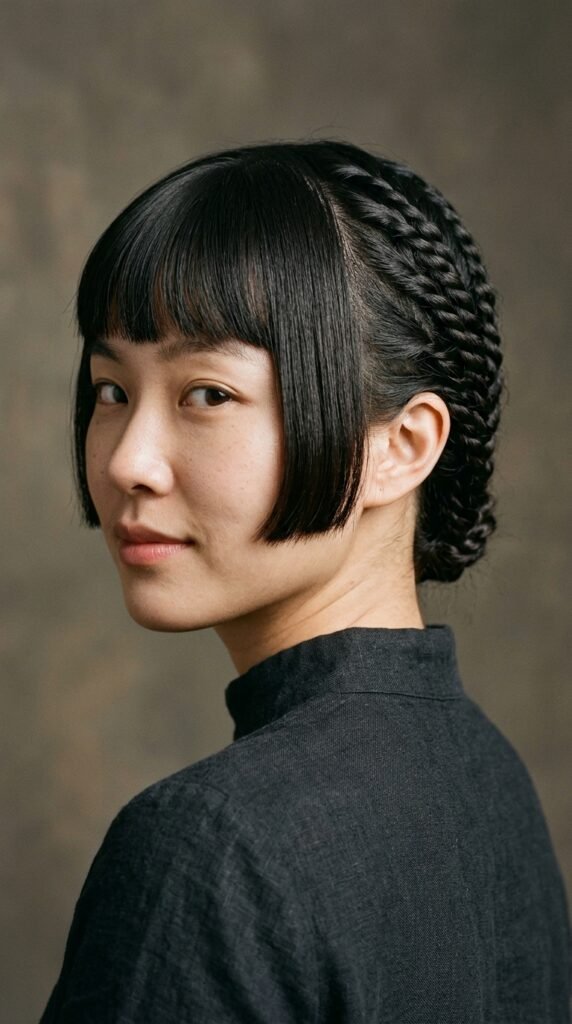
This is a fun one. A hime cut has those blunt side pieces framing the face, and flat twists along the back keep the whole thing from feeling too heavy.
The mix of sharp and soft is very current in 2026 hairstyles.
- Keep the fringe blunt and flat-ironed
- Twist the back in three or four rows
- Leave the cheek pieces completely loose
It suits a modern dress and a modern bride. Ask first, though — this one has personality.
8. The Twisted Halo With Baby’s Breath
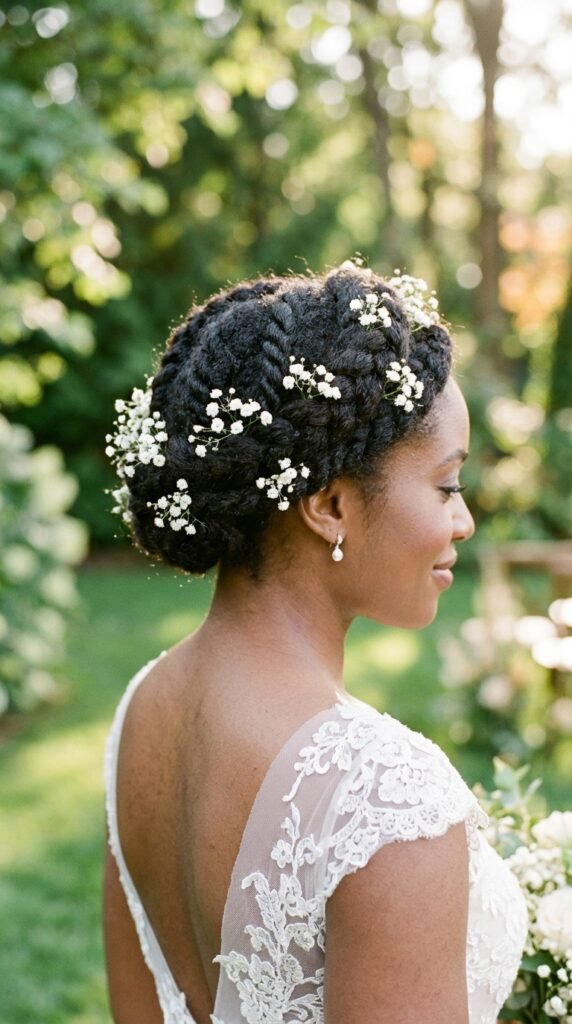
Same halo, different mood. Tuck tiny sprigs of baby’s breath or dried florals along the twist line and it instantly reads romantic.
This is one of those romantic goth hairstyles when you swap the white flowers for deep burgundy or dried thistle. Same base, totally different vibe.
- Use small, light florals only
- Pin them into the twist, not the ends
- Keep the rest of the hair simple
9. Sleek Flat Twist Ponytail
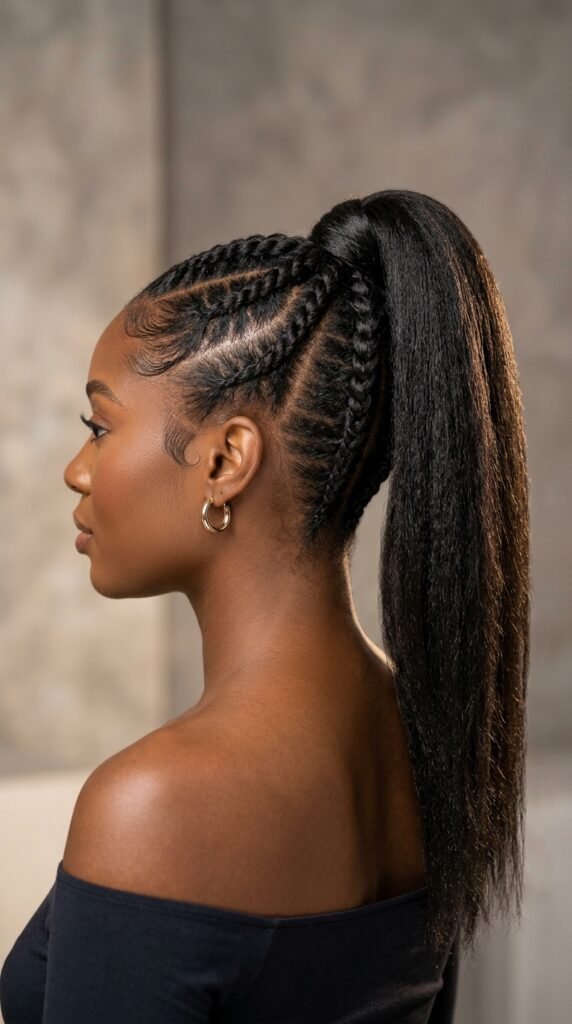
Clean, fast, and impossible to mess up. Flat twists lead back into a ponytail, and the ponytail does the rest.
Place it high for energy, low for elegance. Both work.
- Twist both sides back toward the base point
- Secure the ponytail with a strong tie
- Smooth the edges with a tiny bit of gel
- Wrap a small section of hair around the tie
This is the one I’d pick if the wedding starts at 7 a.m. and you’re already tired.
10. Zigzag Part Flat Twists
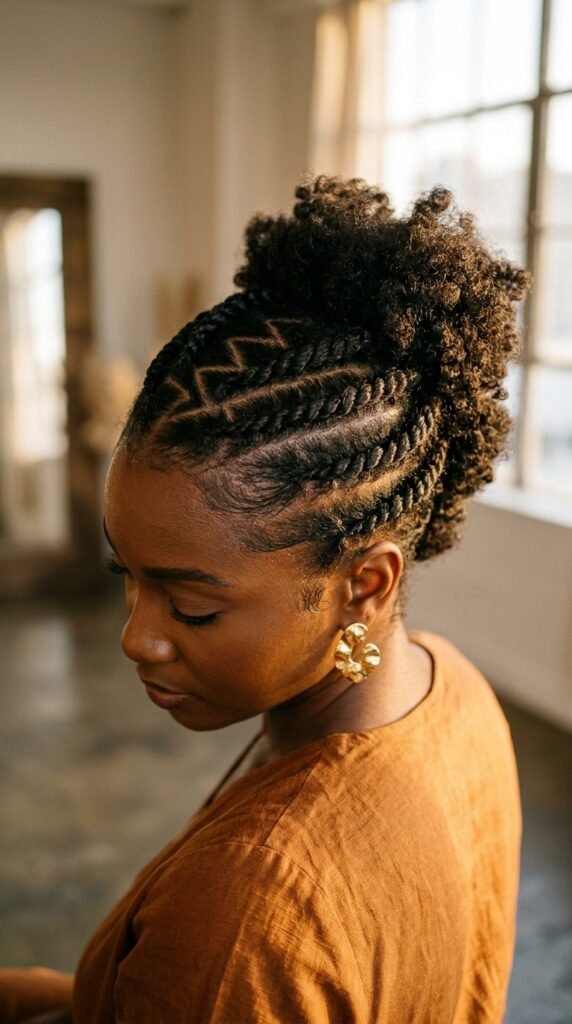
A zigzag part makes a simple style look designed. Twist each side back, keeping the zigzag clean and visible.
It adds a little edge without going full dramatic. Great for a bridesmaid who wants her hair to feel like her.
- Use a fine comb for the zigzag
- Keep tension even on both sides
- Pin the ends out of the way
Pair with small hoop earrings. That’s the whole look.
11. Flat Twists With a Silk Scarf
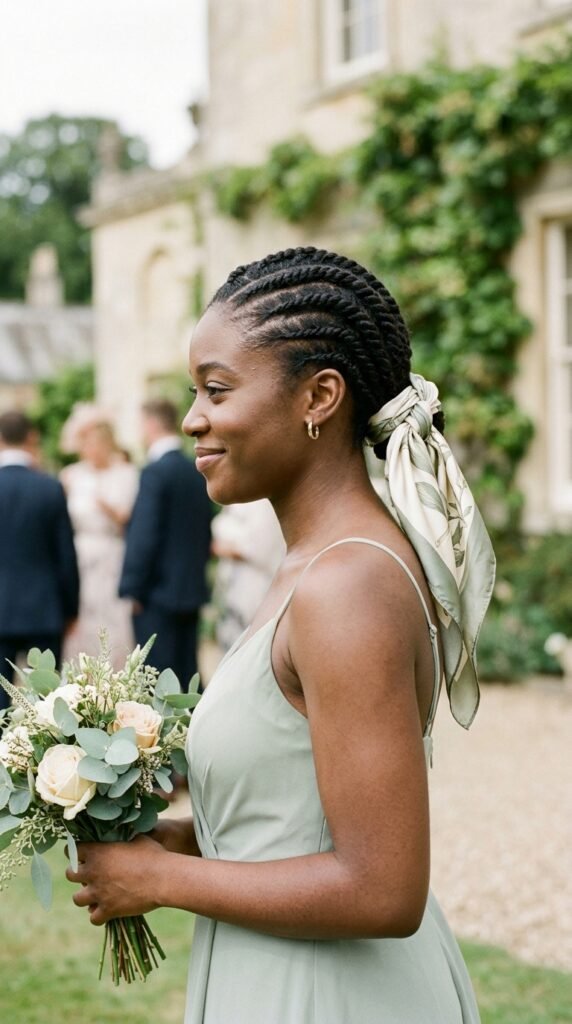
A silk scarf over flat twists is the easiest way to look expensive. Wrap it around the crown and tie it at the back or the side.
Match the scarf to the dress color if you want it to feel intentional.
- Fold the scarf into a wide band
- Place it just behind the hairline
- Tie loosely so it doesn’t pull
It’s also brilliant for hiding a not-quite-finished twist or a scalp that’s feeling sensitive.
12. Old Money Flat Twist Chignon
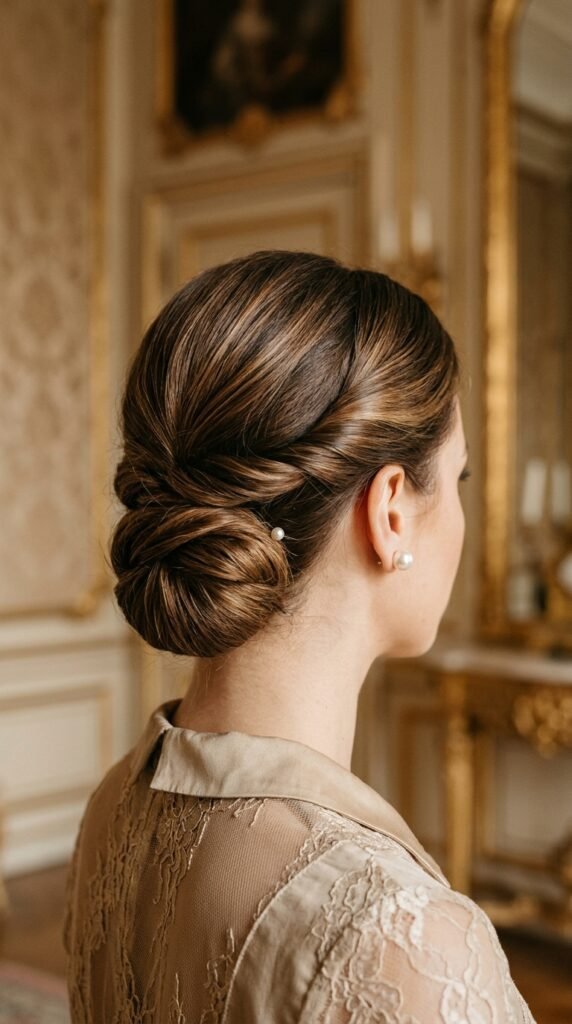
If old money hair had a hairstyle, it might be this. Flat twists on the sides, a smooth chignon at the nape, and no visible styling effort.
Everything about it says understated. That’s the point.
- Twist both sides back and low
- Gather at the nape into a soft roll
- Pin loosely so the shape stays round
- Finish with a light gloss spray
Keep the front flat and avoid heavy shine. Matte elegance beats glossy every time.
13. Flat Twist Braid-Out for Volume
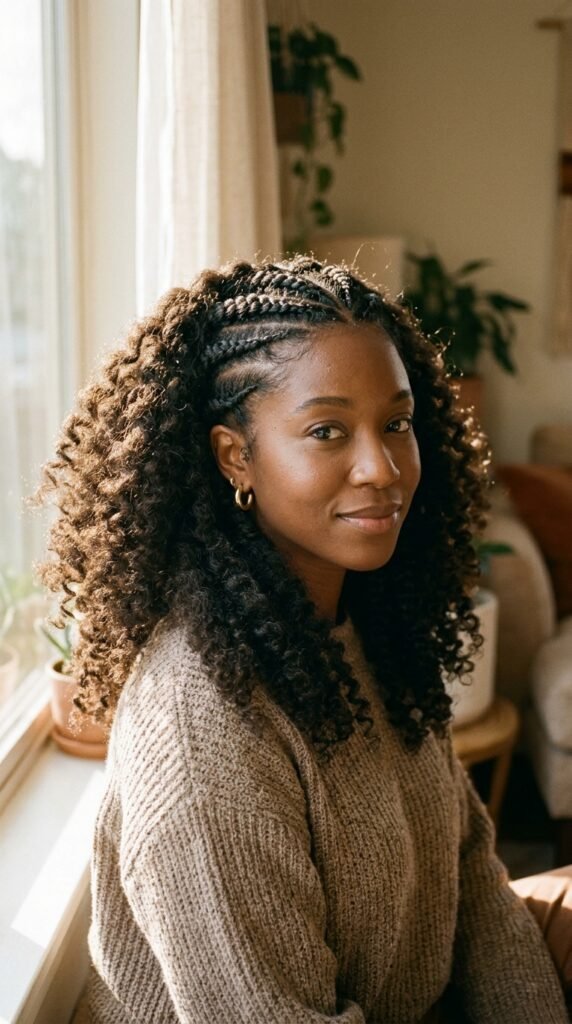
Here’s a trick for the day before. Twist the hair, let it set overnight, then unravel for big soft definition. Keep the front twists in place.
You get volume in the back and neatness at the front. Best of both.
- Twist on damp hair with cream
- Cover with a silk scarf overnight
- Separate gently with oiled fingers
This one is great for anyone with fine hair who wants body that lasts all day.
14. Glitchy Glam Flat Twists
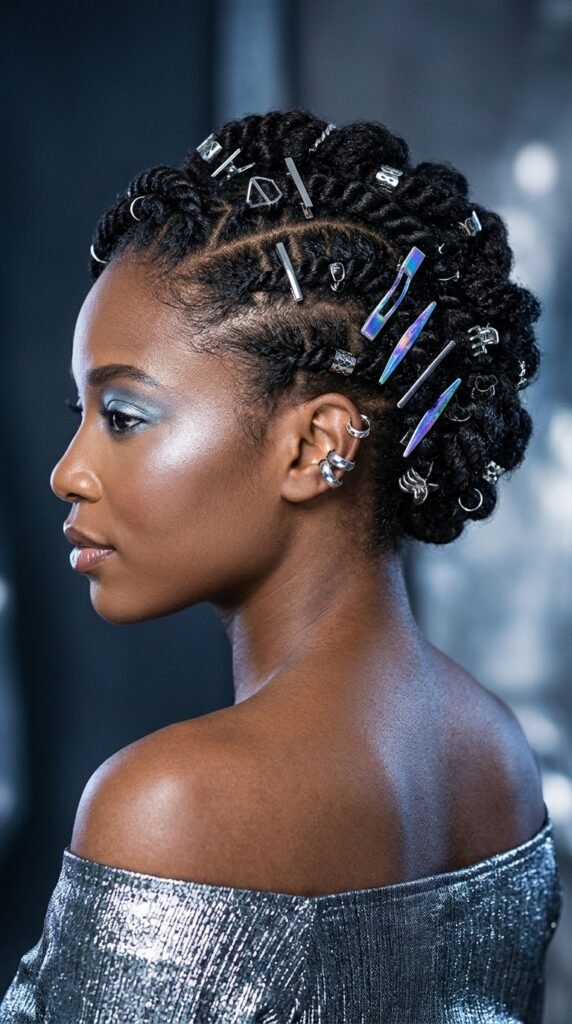
Glitchy glam hair is all about tiny, unexpected details. Flat twists give you a clean base so the accessories can do the talking.
Think silver pins, tiny rhinestones, or a single metallic clip at the temple.
- Keep the twists smooth and tight
- Use one statement piece, not five
- Match metal to jewelry, not to the dress
It’s a little bit futuristic and totally photo-friendly. Perfect for an evening wedding.
15. Mini Flat Twists With a Jeweled Pin
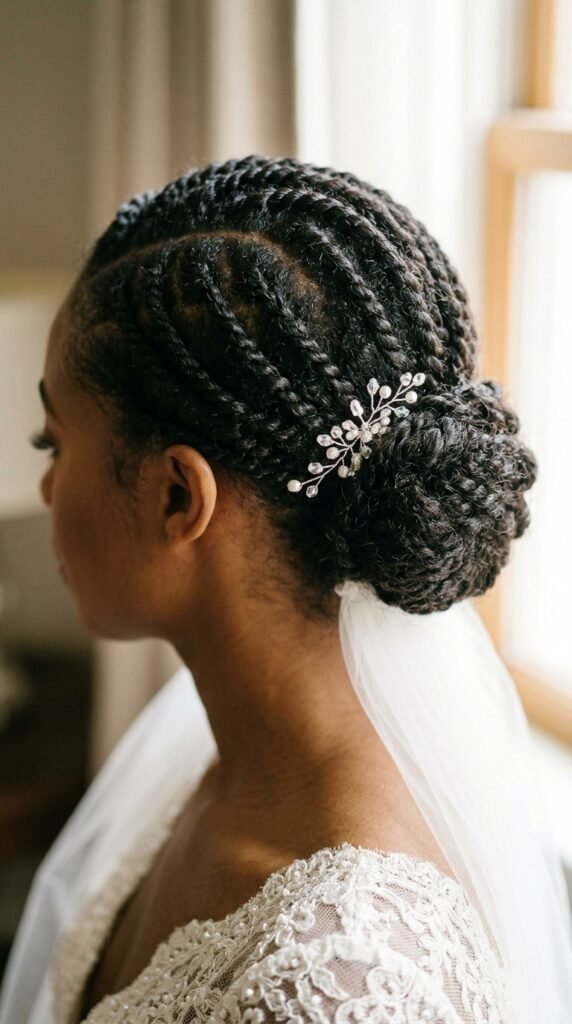
Smaller twists, bigger payoff. Mini flat twists look delicate and detailed, and one jeweled pin turns them into bridal hair.
They take longer to install, so plan for it in the timeline.
- Section hair into small, even pieces
- Keep tension light throughout
- Place the pin just above one ear
Ask for the pin placement to be on the side facing the camera in group photos. Small detail, big difference.
16. Flat Twists With Vampire Haircut Layers
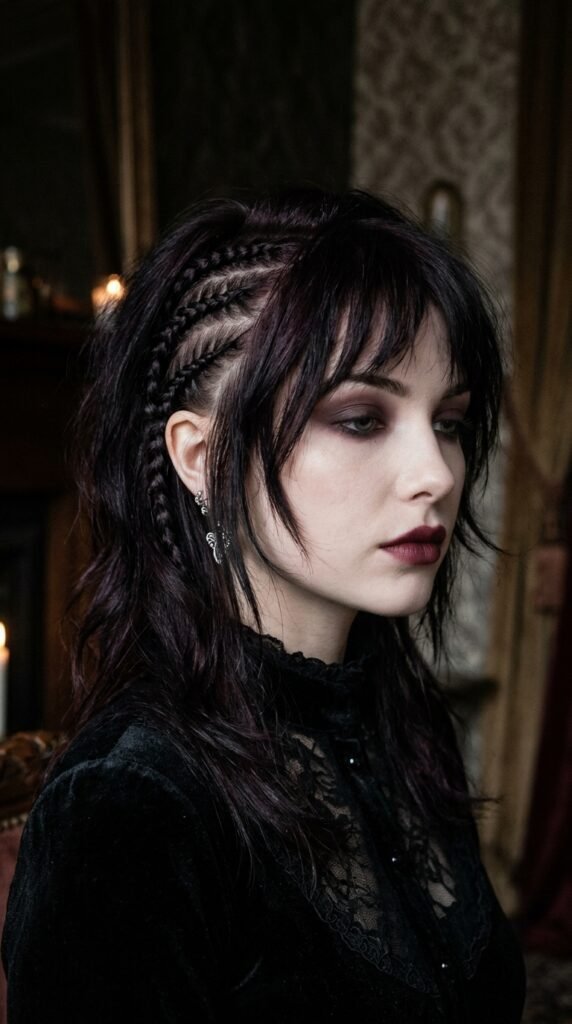
A vampire haircut is all about those sharp, layered face-framing pieces. Flat twists along the sides let the layers sit forward and do their thing.
It’s dramatic, it’s moody, and it works if the bride is into it.
- Keep the front layers loose
- Twist only from the temples back
- Skip the flowers and go for metal
Pair with a deep red lip and you’re set.
17. Flat Twist and Cornrow Hybrid
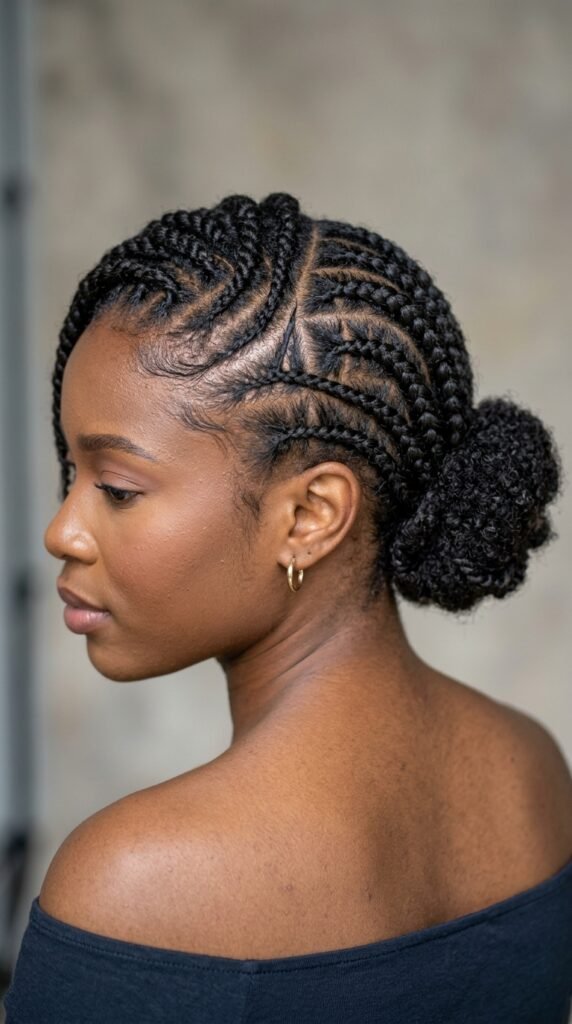
Mix the two. Flat twists on one side, a few cornrows on the other, meeting at the back. It looks intentional and a little bit artistic.
It’s a great choice if you want something nobody else in the bridal party will be wearing.
- Map the pattern on paper first
- Start with clean, stretched hair
- Keep sections even on both sides
Bring a photo. Lines are easier to explain when you can point.
18. Beach Wedding Flat Twists
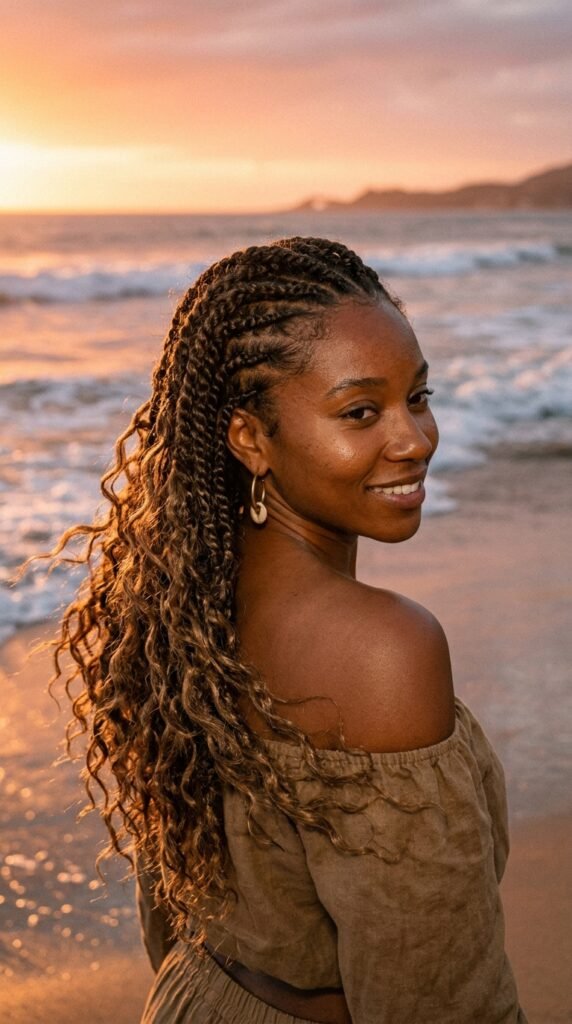
Beach weddings are humid and windy. Flat twists don’t care. They hold their shape when everything else gives up.
Keep the twists a little softer and let the ends stay wavy.
- Skip heavy gels and go for cream
- Pull a few tiny pieces loose near the ears
- Use a texturizing spray, not hairspray
Finish with a touch of oil on the ends so they don’t look dry in photos.
19. Deep Side Part With Pin Curls

Old Hollywood, but easier. A deep side part, flat twists on the smaller side, and soft pin curls on the larger side.
It’s romantic and a little dramatic, and it works beautifully with a fitted dress.
- Set the part while hair is damp
- Twist the smaller side back and pin
- Curl the other side and pin into shape
- Brush out gently at the end
20. Flat Twists Into a Bubble Ponytail
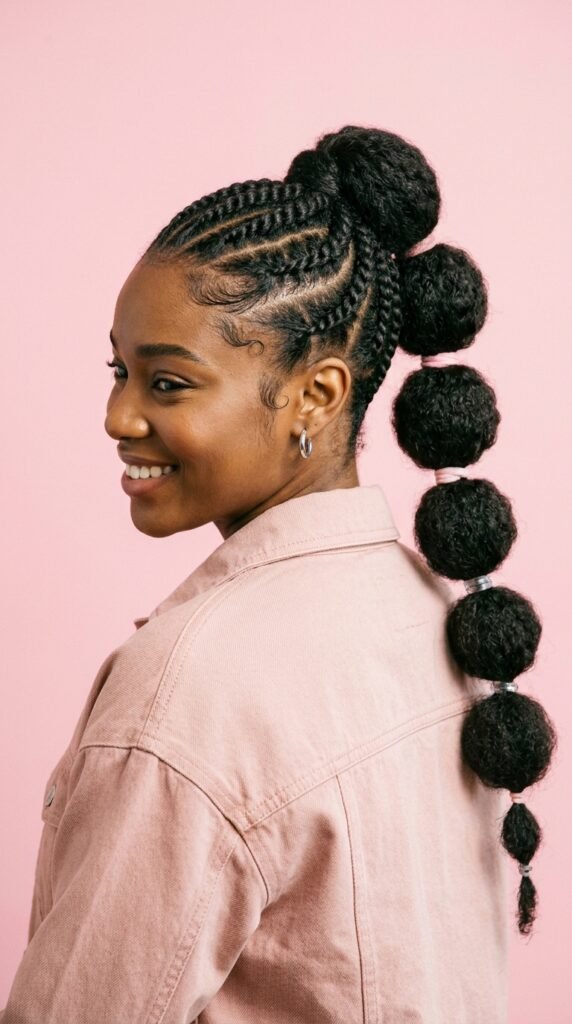
Fun, bouncy, and very photogenic. Flat twists lead back into a ponytail, then the ponytail is sectioned into soft bubbles.
It’s a great pick for a younger bridal party or a casual reception.
- Keep the bubbles even in size
- Gently pull each one for roundness
- Use clear ties so nothing shows
It also keeps hair totally off your neck when it’s hot out.
21. Flat Twists With a Middle Part and Low Pony
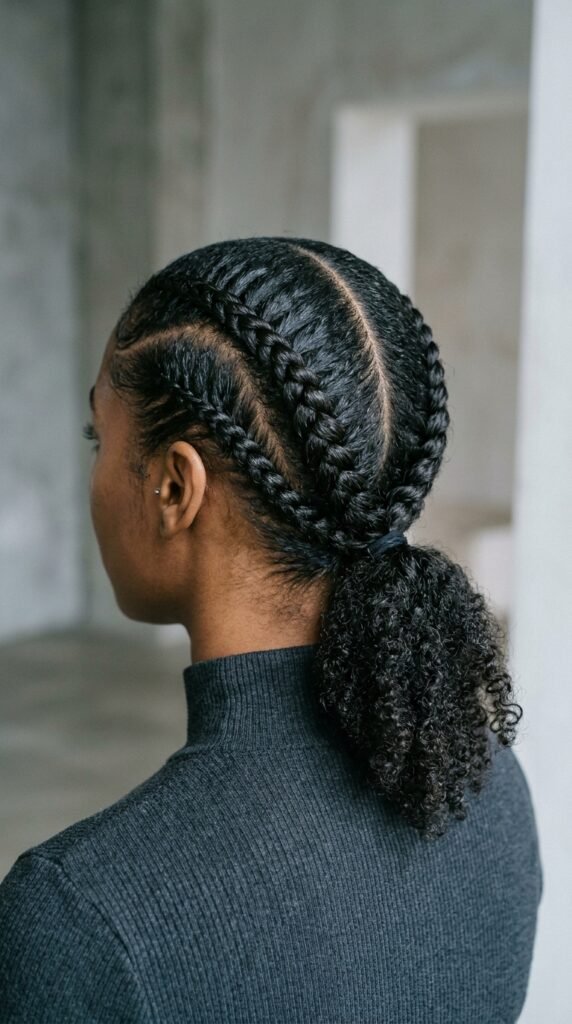
The simplest version of the trend and honestly the one I’d wear. Middle part, two flat twists, low ponytail at the nape.
It’s the flat twist version of a quiet luxury bob moment — clean, quiet, and expensive-looking.
- Part down the center with a comb
- Twist both sides back and low
- Secure at the nape
Add a small velvet bow if you want a touch of softness.
22. Flat Twists With a Floral Crown
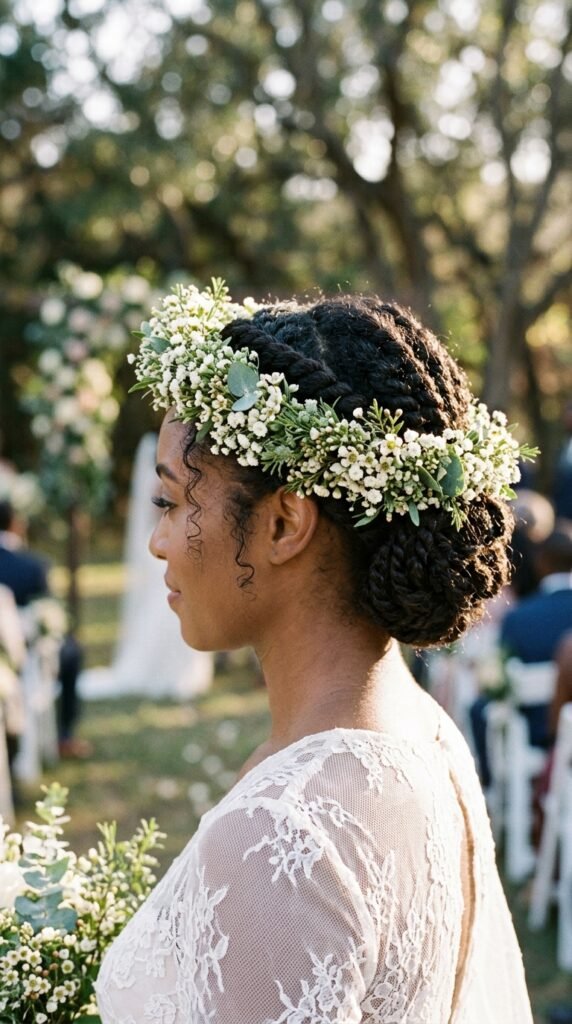
Classic for a reason. Flat twists give the crown a stable base, so the flowers sit exactly where you placed them.
It’s one of the prettiest flat twists hairstyles for bridesmaids in spring or summer weddings.
- Place the crown just behind the hairline
- Use small flowers so it stays light
- Pin the crown into the twists, not the scalp
23. How to Make Flat Twists Last All Day
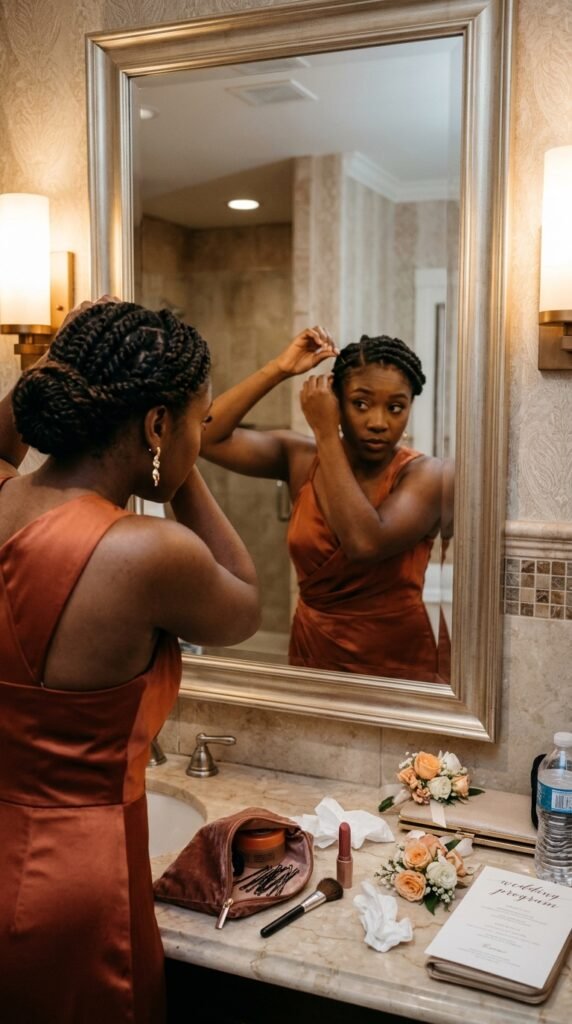
Flat twists are sturdy, but a wedding day is long. A few small moves keep them crisp from photos to last dance.
- Set with a light hold spray before you leave
- Pack two pins and a tiny edge brush
- Keep hands out of your hair during photos
- Blot sweat at the hairline, don’t rub
If you’re outdoors, ask your stylist for a slightly firmer set. Humidity is real and it does not care about your plans.
24. Taking Them Down Gently the Next Day
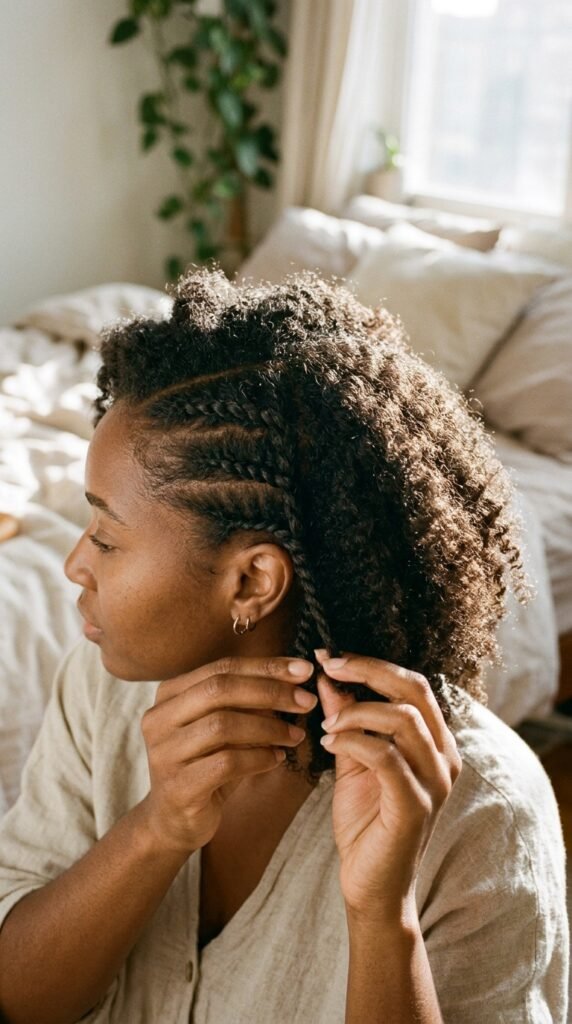
The grow-out part nobody talks about is the takedown. Do it slowly and your hair will thank you.
- Spray a little water or leave-in first
- Unravel with your fingers, never a comb
- Work from the ends up
- Detangle each section before moving on
Then do a deep condition. You just spent a day with tension on your scalp. Give it a little love back.
25. Doing It Yourself in About 30 Minutes
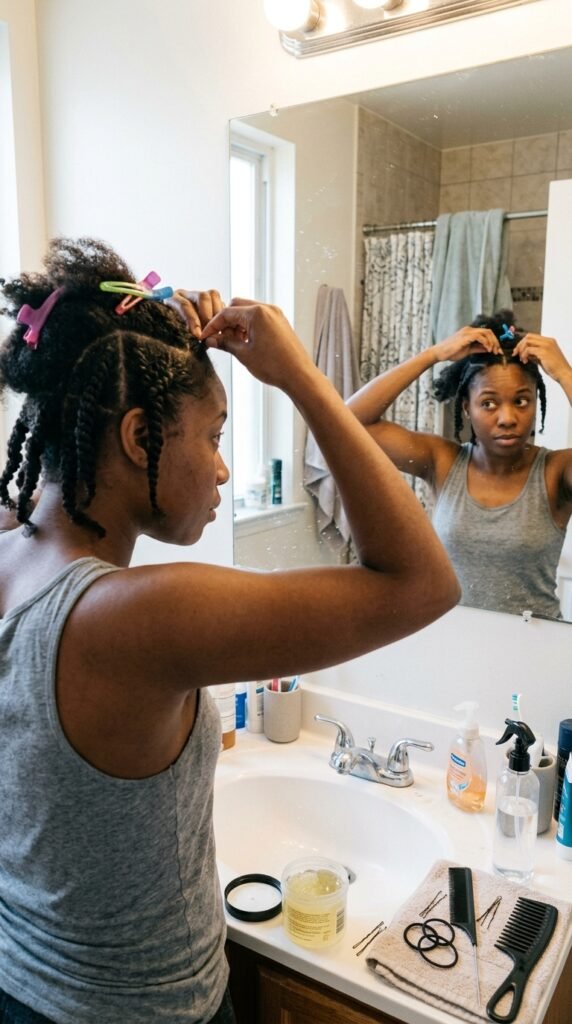
You can absolutely do this yourself. It won’t be as sharp as a salon version, but it’ll be good.
- Prep with cream on damp hair
- Section into four parts
- Twist each section back and pin
- Smooth edges with a small brush
Practice once before the wedding. The second attempt is always better than the first, and the third looks like you’ve been doing it for years.
Matching Your Twists to the Dress
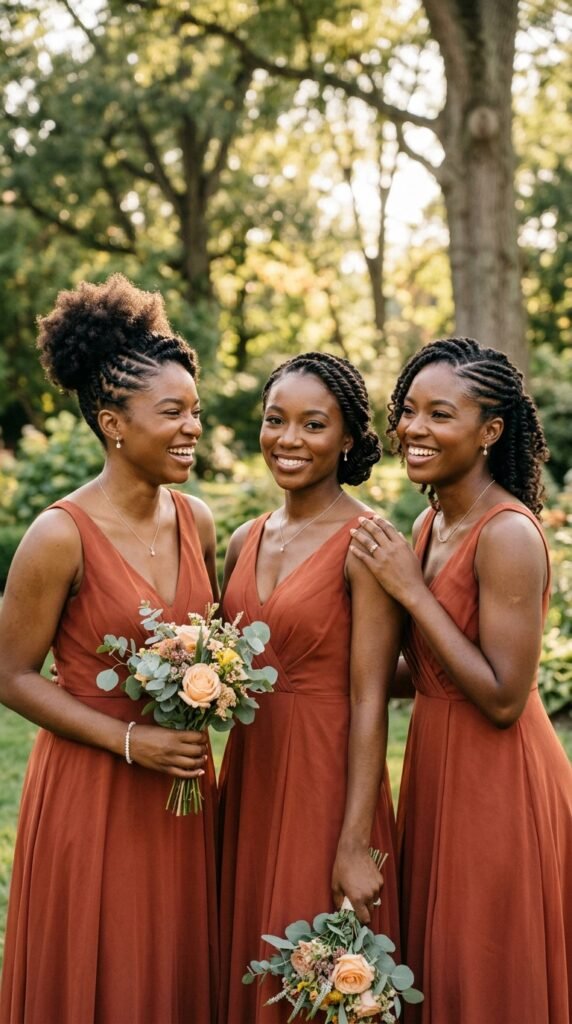
Quick rule of thumb: the higher the neckline, the more you can pull your hair up.
- High neck: twisted updo or bun
- Strapless: soft side-swept twists
- Off-shoulder: low pony or chignon
- Halter: keep the back simple
Ask your bride if she has a preference before you commit. Group photos look best when everyone’s on the same page.
Pick the One That Feels Like You
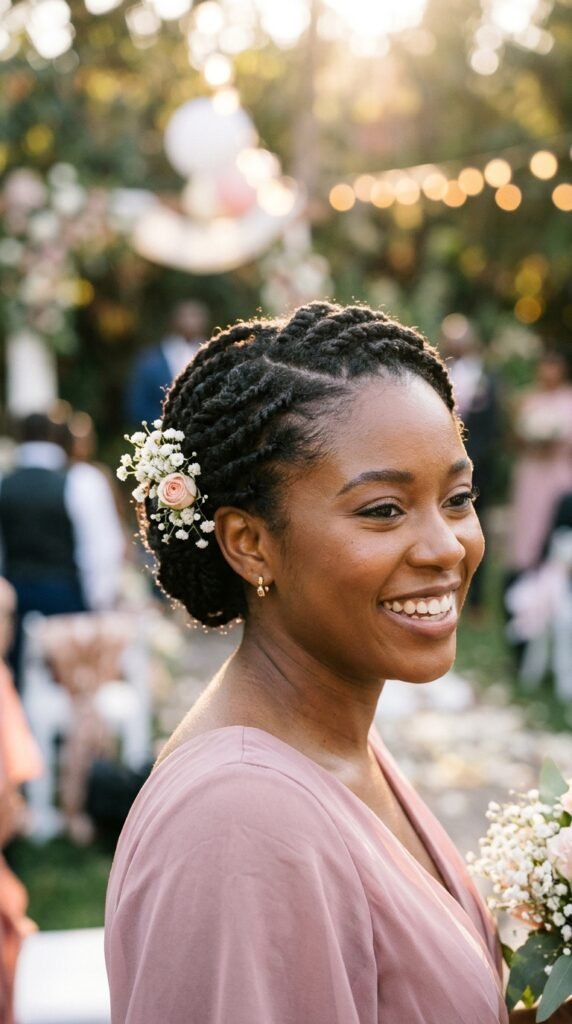
You don’t have to pick the trendiest option. Pick the one you’ll still like in the photos ten years from now.
If you’re growing your hair out, go gentle. Light tension, good prep, and a style that protects your ends will do more for your hair than any product on the shelf.
And if you’re torn between two, choose the one that takes less time. Wedding days move fast.
A Little Send-Off From Me
Flat twists are one of those rare styles that work for the wedding and for the months after. They look polished, they’re kind to your hair, and they don’t require a stylist on standby.
Save the ones that fit your dress, your texture, and your bride’s vibe. Then show up, take the photos, and eat the cake.
Save this post to Pinterest so you have it ready when the group chat starts planning. And tell me in the comments: which of these 25 would you actually wear? I’m betting the low bun wins.