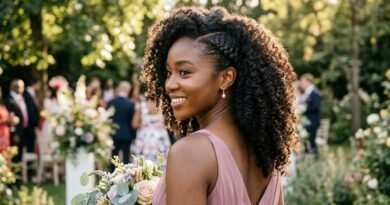
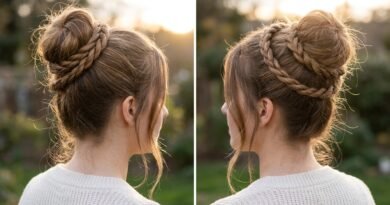
29 Bubble Ponytail Hairstyles for Bridesmaids That Add Texture without Losing Length
Your best friend asked you to be a bridesmaid, and now the group chat is full of photos of updos you can’t recreate. I’ve been there, standing in a hotel bathroom with a curling iron and no plan.
Here’s the good news: you don’t have to cut your hair or sit in a chair for three hours. A bubble ponytail adds instant texture, looks expensive in photos, and keeps every single inch of your length.
So I rounded up 29 bubble ponytail ideas for bridesmaids, plus the small prep steps that make them hold through the ceremony, the portraits, and the dance floor.
These also double as 2026 hairstyles you can wear to brunch the next weekend. Let’s get into it.
What Is a Bubble Ponytail, Exactly?
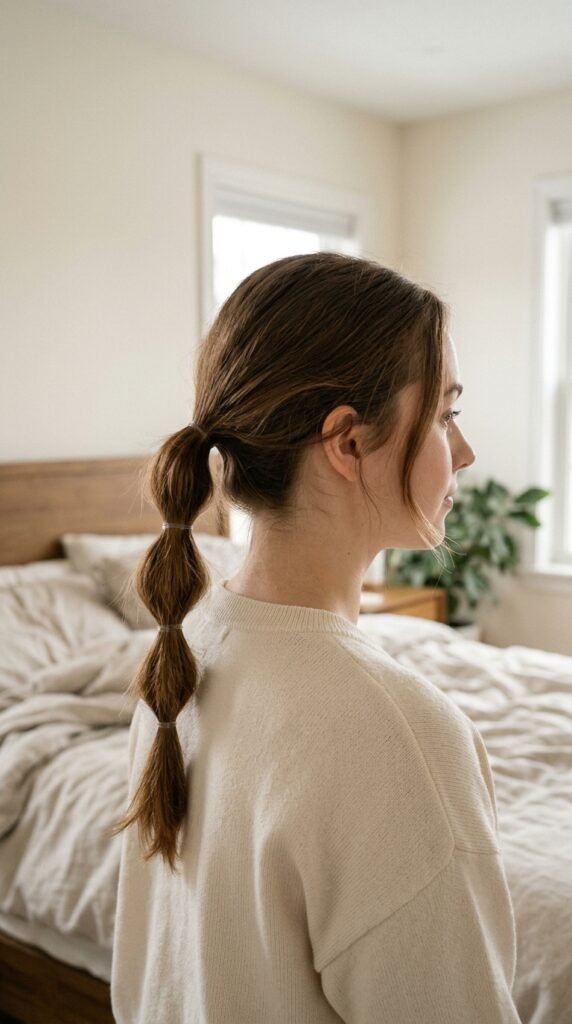
A bubble ponytail is just a ponytail with elastics placed down the length, then each section gently pulled apart to puff out. That’s the whole trick.
- Secure your ponytail at your chosen height
- Add small elastics every two to three inches
- Pull each section apart for a rounded shape
It looks complicated and takes about five minutes. That’s why it’s my favorite bridesmaid style. It photographs like a salon blowout but costs you nothing, and you never lose an inch of length.
Why It Works So Well for Bridesmaids

Wedding mornings are chaos. You’re sharing one mirror, someone’s curling iron vanished, and the photographer shows up twenty minutes early. Bubble ponytails forgive all of that.
They work on day-two hair, they survive humidity, and you can fix one yourself in a bathroom stall. No stylist required at 2 p.m.
They also fit the mood of 2026 hairstyles: soft, easy, a little undone. It’s old money hair energy without the salon bill.
Prep Your Hair in About Five Minutes
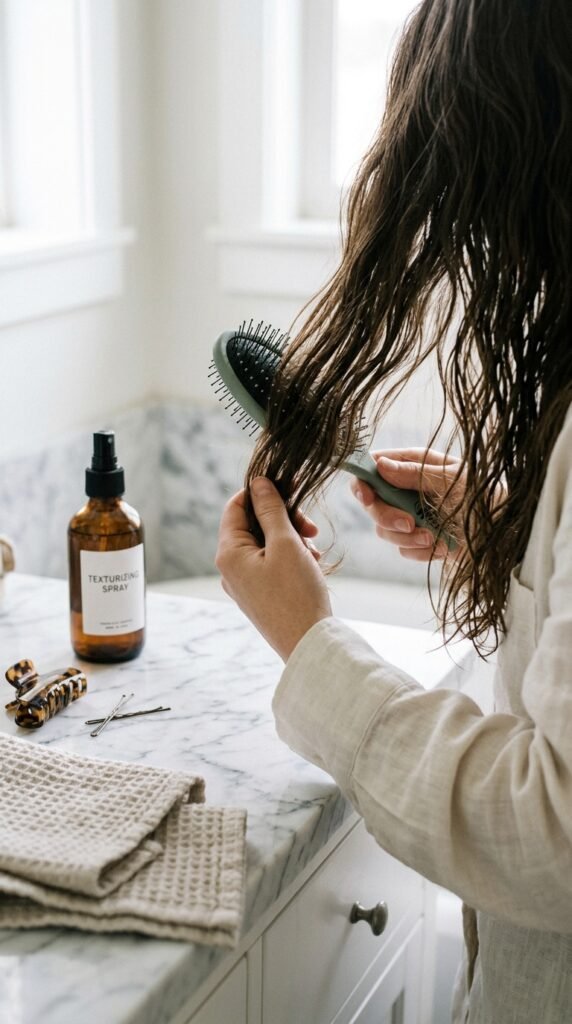
Grip comes from texture, not grease. Slippery clean hair slides right out of the elastics by the first toast.
- Spritz light texturizing spray through the mid-lengths
- Add a pea-size drop of serum on the ends only
- Brush everything smooth with a wet brush
- Puff dry shampoo at the crown if you washed today
And brush out every knot first. A bubble ponytail traps tangles in place, which makes taking it down a lot less fun later. Two minutes of brushing now saves you ten minutes of regret.
How to Make the Bubbles Last Through the Reception
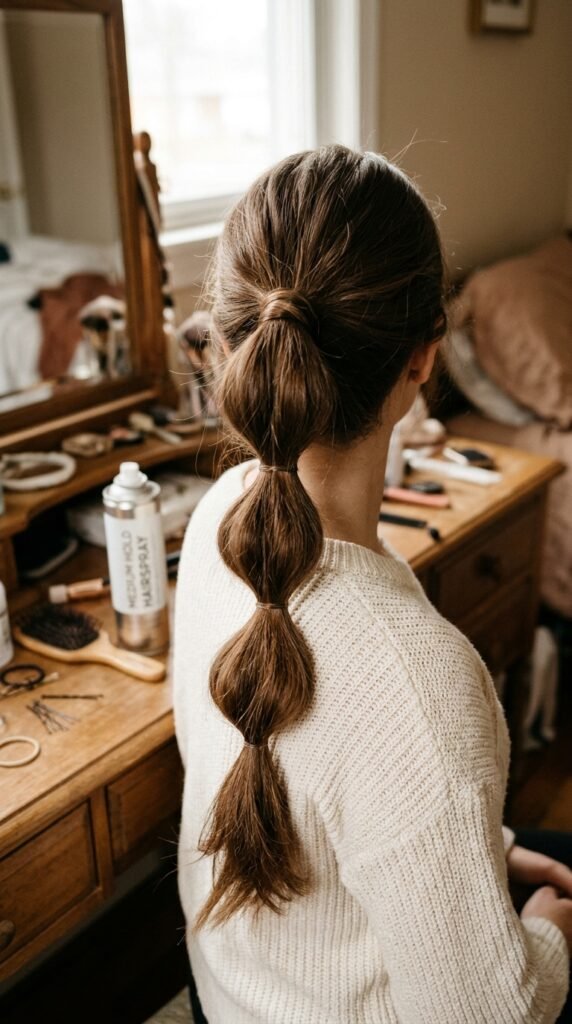
Real talk: thick elastics make lumpy bubbles. Small clear ones hold better and disappear in photos.
- Wrap a one-inch strand of hair around the base tie
- Mist each bubble with medium-hold hairspray
- Slide two bobby pins into the underside of the top bubble
- Lightly backcomb inside the first section for lift
Do this once and you’re set. I’ve watched a bubble ponytail survive an outdoor ceremony in July, a group hug, and a very enthusiastic aunt on the dance floor.
The Classic Three-Bubble Ponytail
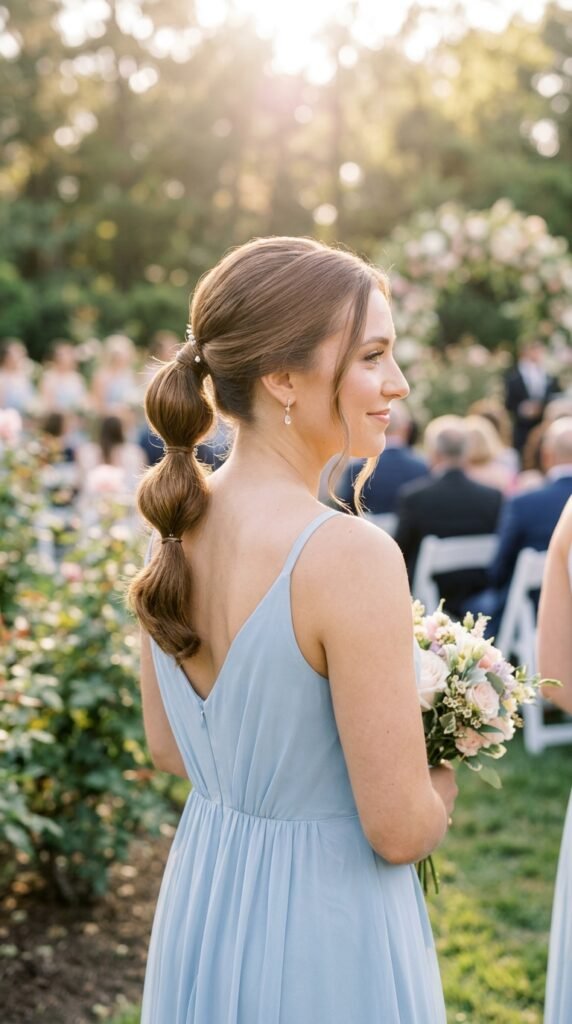
Mid-height, three even sections. If you’re new to this, start here. Ask for it at your natural ponytail height, usually the middle of the back of your head.
It suits every dress, every dress code, and every bride who says “I don’t want anything too fancy.” Plan for three bubbles on shoulder-length hair and four on longer hair.
One tip: keep the sections the same size. Uneven bubbles read as an accident, even bubbles read as a decision.
Low Bubble Ponytail for Black-Tie Weddings
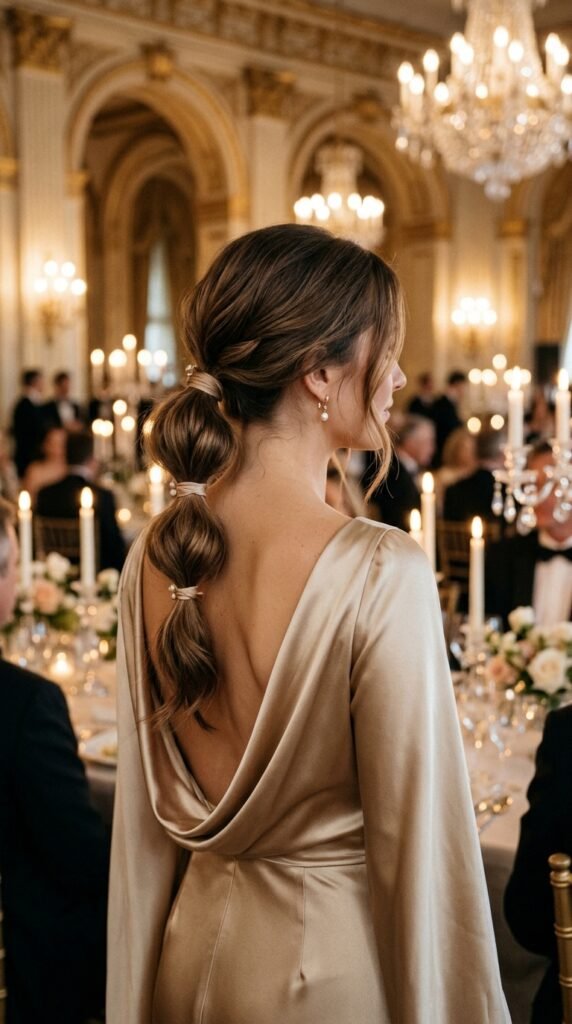
Sitting low at the nape, this version feels grown-up and quiet. It’s the one I’d pick for a formal evening wedding with a long dress.
- Keep the front smooth and parted cleanly
- Use three small bubbles instead of four
- Tuck the tail under for a faux bob finish
Pair it with pearl studs and skip the statement earrings. The low placement gives you a longer neckline in photos, which is exactly what you want in strapless or off-shoulder dresses.
Sleek High Bubble Ponytail
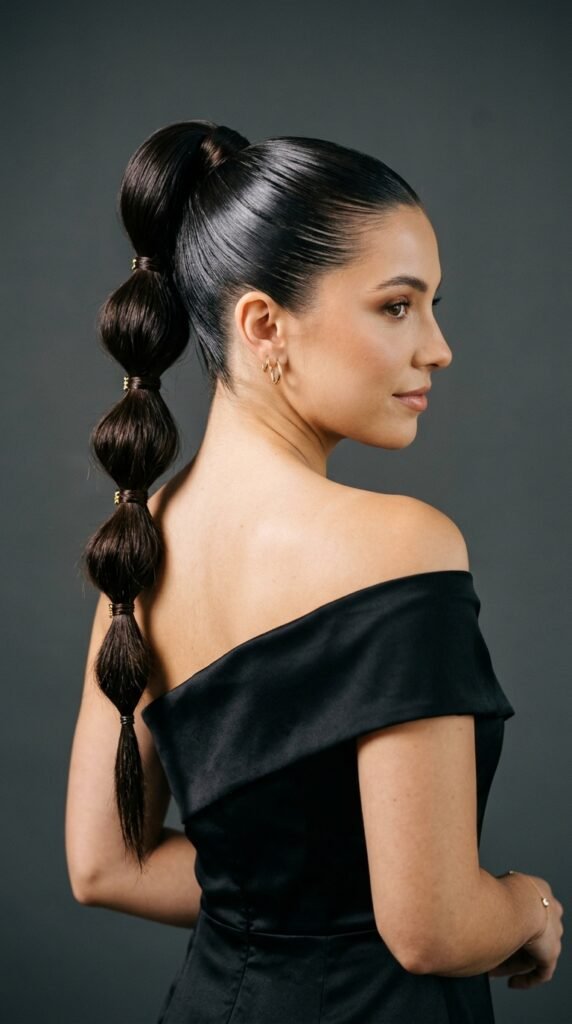
High on the crown, brushed flat at the root, then bubbles down the tail. This one has real energy and pairs beautifully with a modern or city wedding.
Use gel on a toothbrush to smooth flyaways around the hairline. It sounds fussy. It takes thirty seconds and makes the whole style look intentional.
Keep the tension comfortable, not tight. A high pony that pulls will give you a headache before the first dance, and nobody wants that memory attached to a wedding.
The Old Money Bubble Ponytail
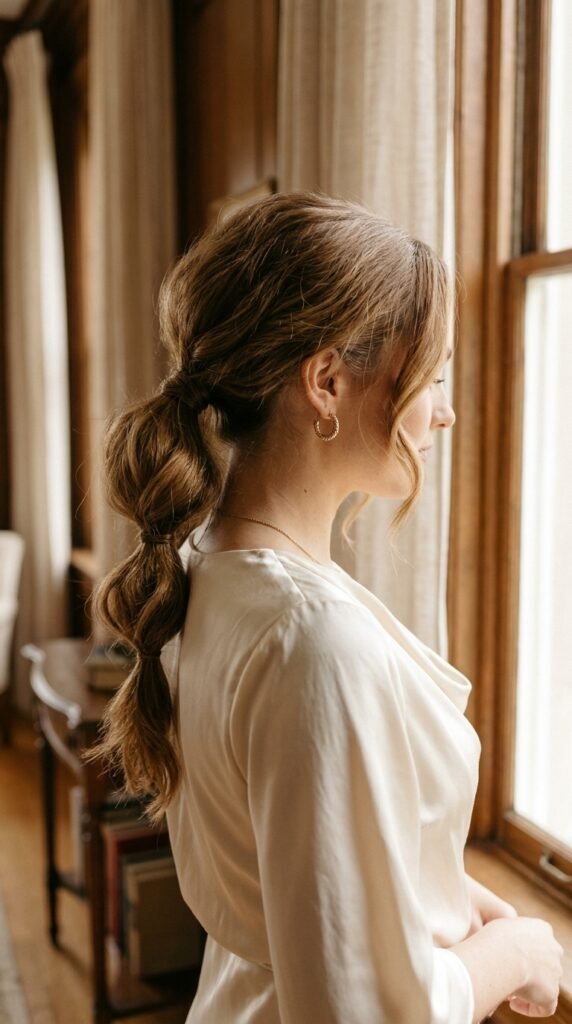
This is the version that looks inherited rather than styled. Soft front, subtle center part, loose bubbles, no visible accessories.
- Leave two soft face-framing pieces out
- Keep bubbles slightly imperfect and rounded
- Choose clear elastics, never colored ones
It vibes perfectly with a quiet luxury bob if your hair is shorter, since you can fake a similar softness by pulling the tail into two gentle bubbles. Old money hair is really just polished hair with a calm attitude.
Half-Up Bubble Ponytail
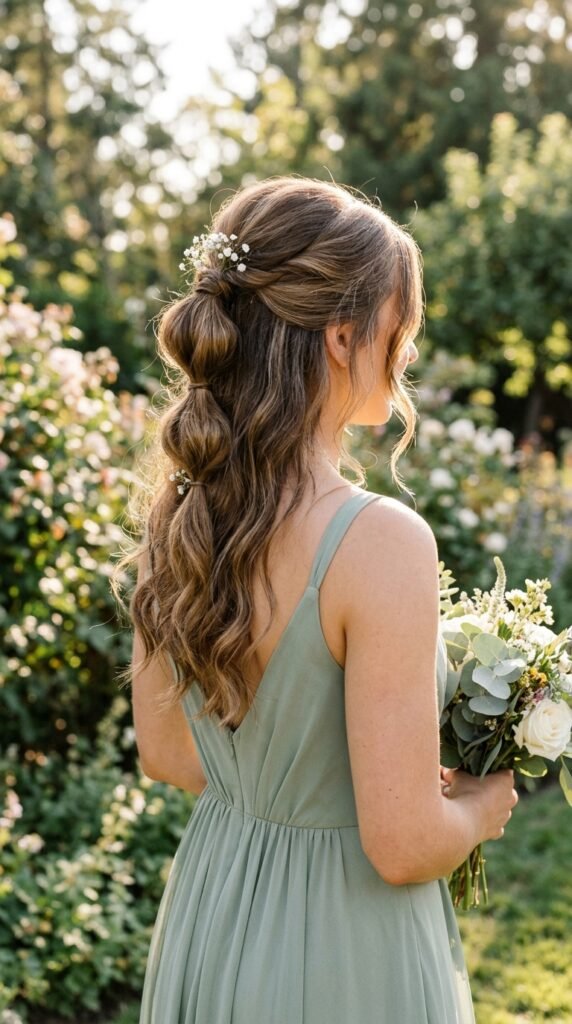
Half-up, half-down, with the ponytail portion bubbled. You get texture at the back of your head plus all your length loose around your shoulders.
This is the pick for anyone who feels bare with their hair fully up. It’s also the most forgiving option on a windy beach day, because the loose hair hides any bumps.
Add a tiny bubble at the crown for volume. Just one, gently pulled. Two starts to look like a stack of doughnuts, which is a different hairstyle entirely.
Double Bubble Ponytails
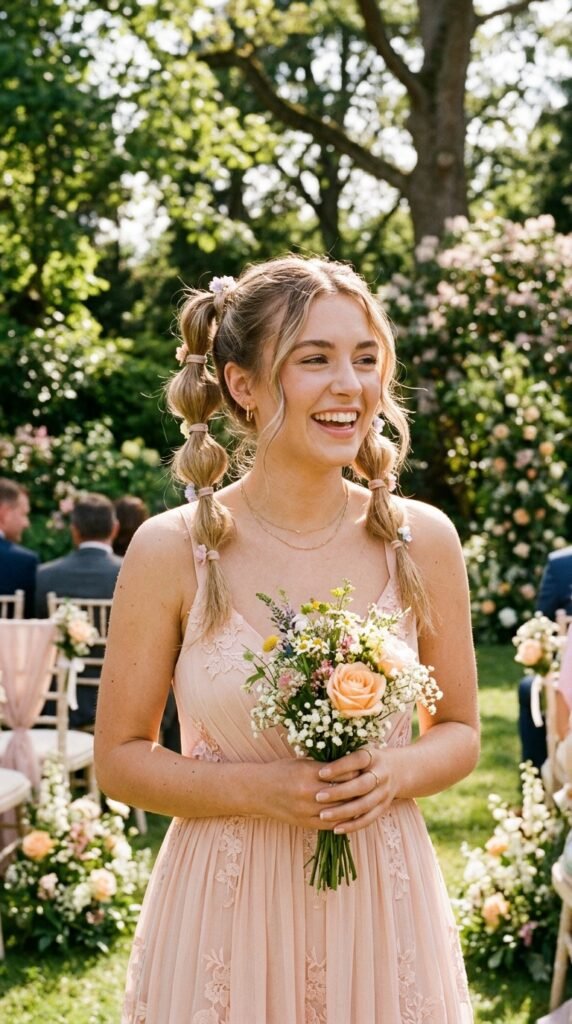
Two ponytails, each with two or three small bubbles. It’s playful without tipping into costume territory, as long as you keep the sections small.
I’d save this for a daytime, outdoor, or beach wedding. For a black-tie evening, go with a single ponytail instead.
Part cleanly down the middle first. A crooked part will make the whole thing feel off, and you’ll notice it in every single photo from the back. Trust me on this one.
Bubble Ponytail With Face-Framing Pieces
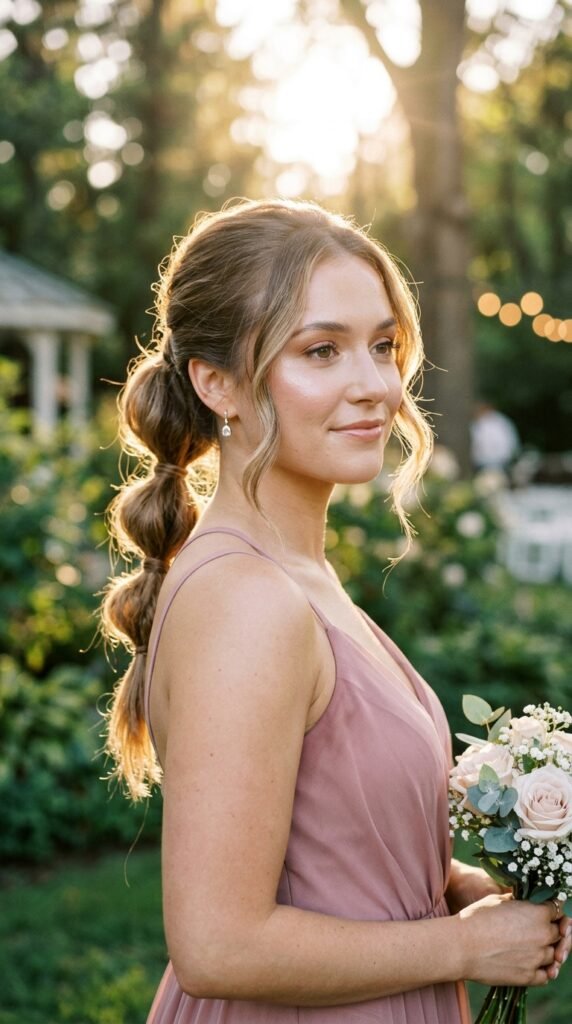
Two pieces out in front, everything else bubbled. That’s it. This one change makes the style feel softer and less severe.
- Pull out a one-inch section on each side
- Curve them away from your face with a small tong
- Keep them below cheekbone level
It also flatters round and square face shapes, since the strands break up the width at the top. If you have a hime cut, lean into it. Those blunt side pieces were basically made for this style.
Textured Wavy Bubble Ponytail
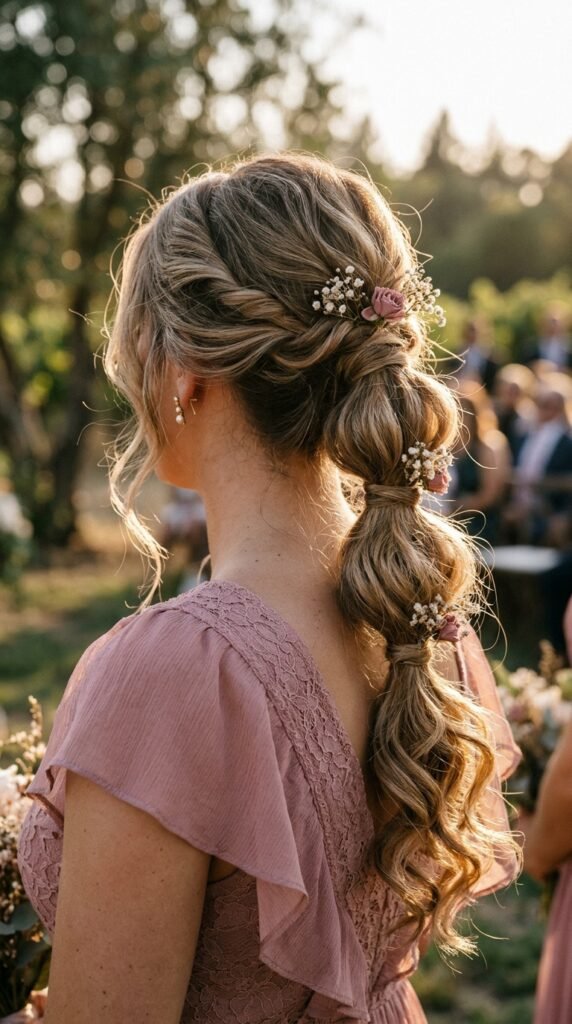
Same technique, but start with wavy hair. The bubbles hold better and the whole style looks fuller.
Second-day waves are ideal. If your hair is straight, curl the tail after you tie it, then pull the bubbles apart gently so you don’t flatten the curl.
This is the version I recommend for anyone with fine hair who wants volume without teasing. The wave pattern does the work for you, and it looks beautiful in golden-hour portraits.
Curly and Coily Bubble Ponytails
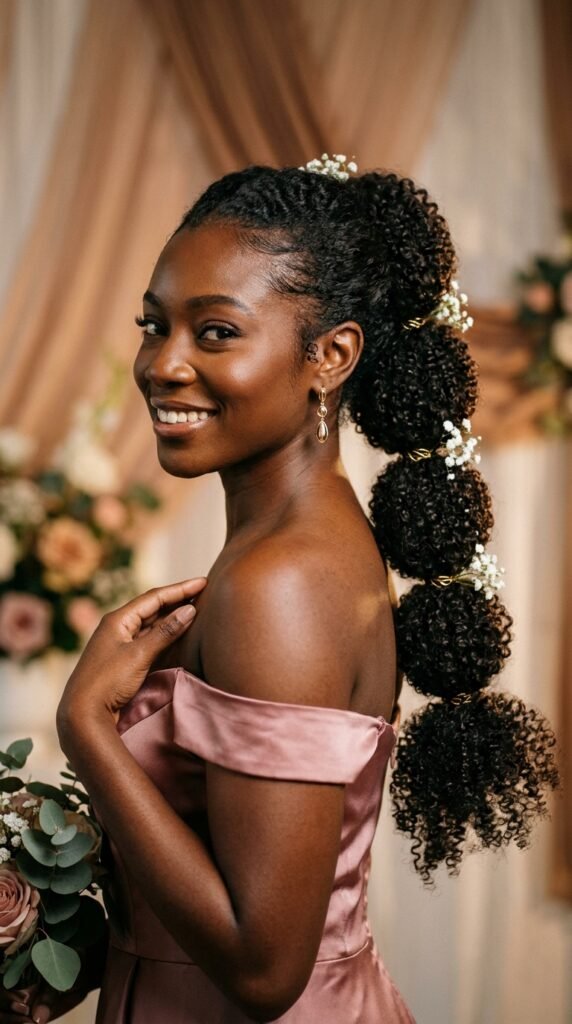
On curly and coily hair, bubble ponytails look incredible. The natural texture gives each section a rounded shape you’d otherwise have to fake.
- Use seamless elastics to avoid snagging
- Apply a light gel or cream before tying
- Pull each bubble gently with flat palms
Consider a slicked-back front with a leave-in gel for hold, then let the tail stay natural. You can also stretch the ponytail slightly first so you get more length to work with. It photographs beautifully and holds all night.
Romantic Goth Bubble Ponytail
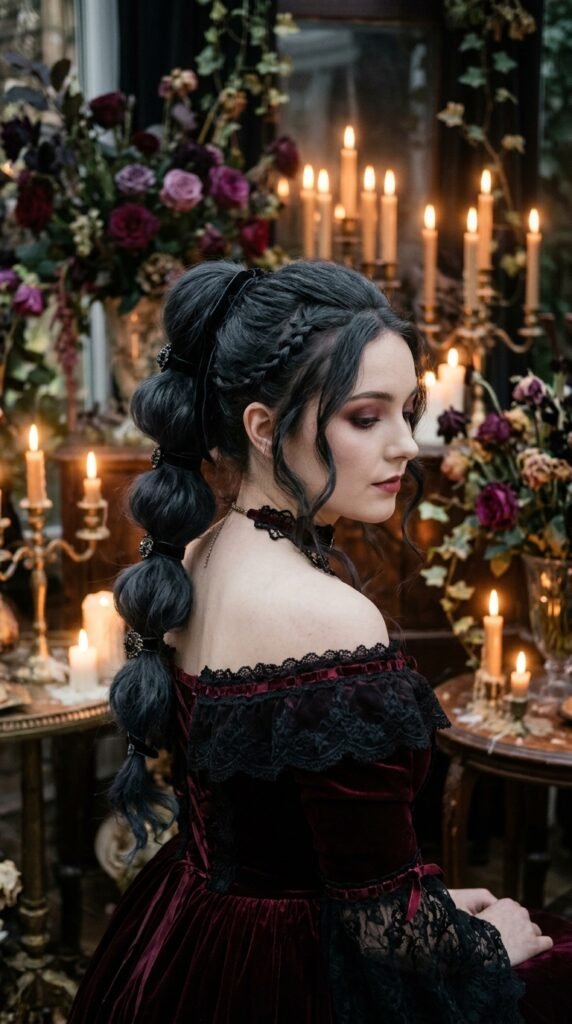
For the bridesmaid in a black or deep plum dress, this is your moment. Pull the ponytail low, keep the front sleek, and let the bubbles sit slightly loose and undone.
Romantic goth hairstyles work best with texture and a little softness, so avoid a tight, slick look. Add a thin velvet ribbon at the base if the bride is into it.
If you have a vampire haircut with heavier layering, this style works with it rather than against it. Shorter face layers fall out naturally and soften the whole look.
Glitchy Glam Bubble Ponytail
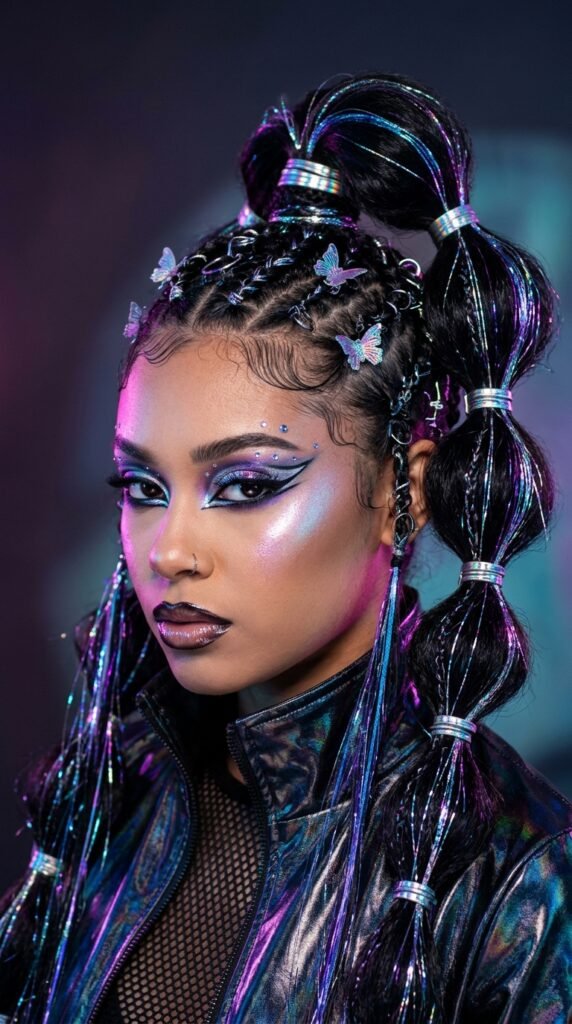
This is the fun one. Glitchy glam hair is all about tiny disruptions: a micro braid, a single silver clip, a bubble pulled slightly off-center.
- Add one thin braid down the tail
- Use two mismatched clips near the crown
- Keep everything else clean
One or two details only. Three starts to look like a craft project. This style suits a modern venue, a city wedding, or a bride who wants her bridesmaids to look cool rather than classic.
Hime Cut–Inspired Face Framing
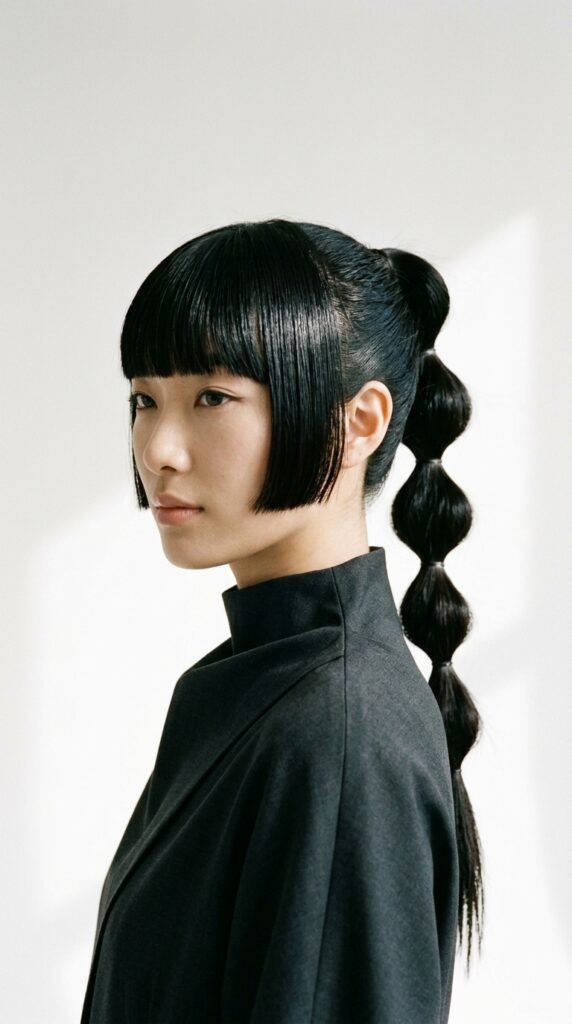
The hime cut is that Japanese style with blunt cheek-length side pieces and a clean line. When you pull the rest back into a bubble ponytail, you get something modern and a little unexpected.
Keep the side pieces flat-ironed straight, and don’t curve them. The straight line is the whole point.
This works best if you already have the cut or long front layers you can blunt-cut temporarily. Ask your stylist about clip-in pieces if you want the look for one day only.
Bubble Ponytail With a Braid Wrapped In
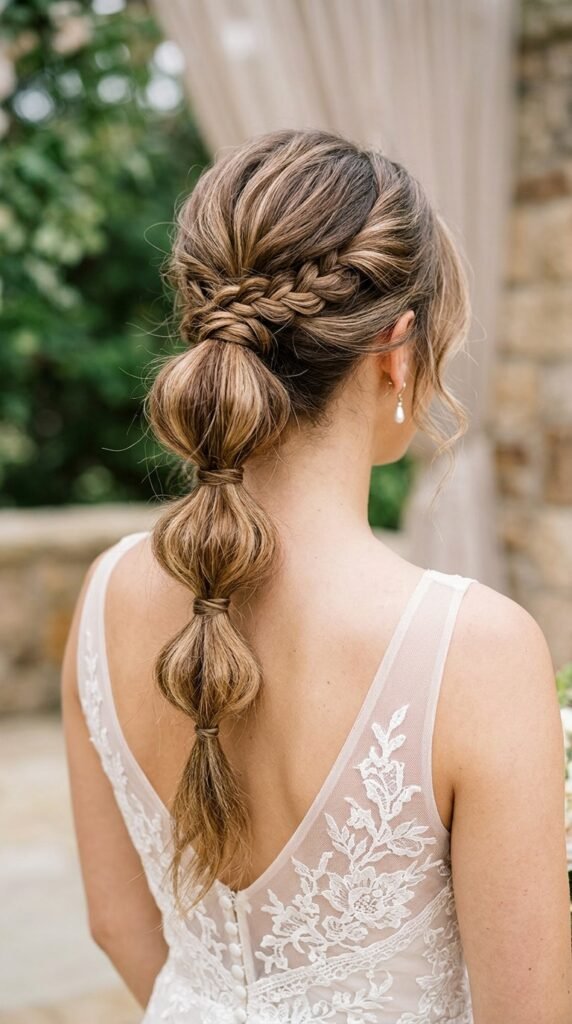
Take a small section from the ponytail, braid it, and wrap it around the base tie. It hides the elastic and adds detail in photos.
- Tie your ponytail as usual
- Separate a one-inch section from underneath
- Braid it loosely and wrap clockwise
- Pin the end underneath with a bobby pin
Do the braid first, then form your bubbles. If you braid after, you’ll flatten the shape you just created and have to redo the whole thing.
Fine, Slippery Hair Version
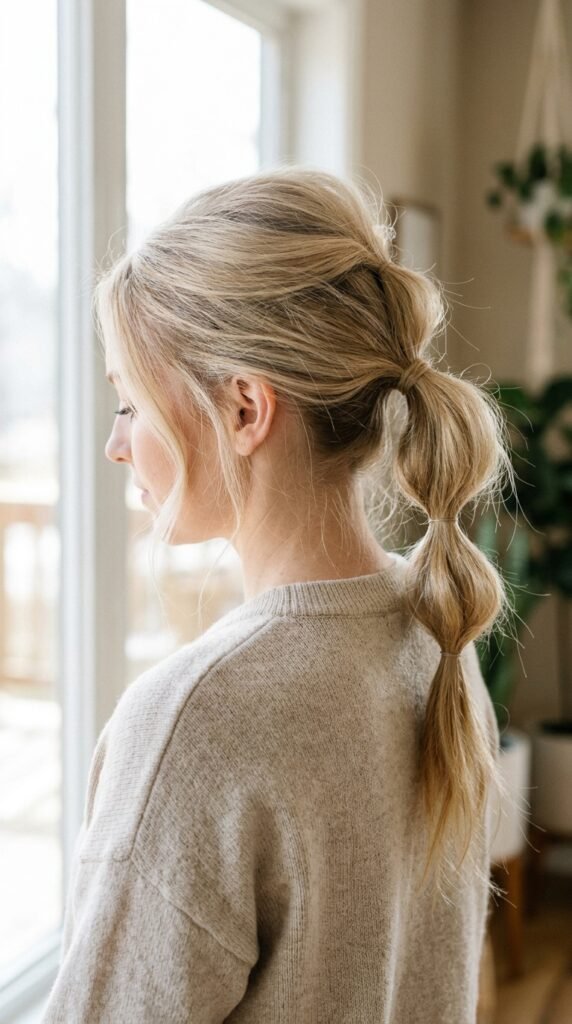
Fine hair is the trickiest for this style, but it’s very doable. The bubbles just need more grip and a little help.
- Use dry shampoo or texture spray on the roots
- Tease the inside of each bubble lightly
- Choose smaller, tighter sections
Skip heavy oil entirely. A tiny bit of wax on the ends is fine, but oil near the roots will flatten everything within an hour. Build the volume in the ponytail base and the bubbles will follow.
Thick Hair Version
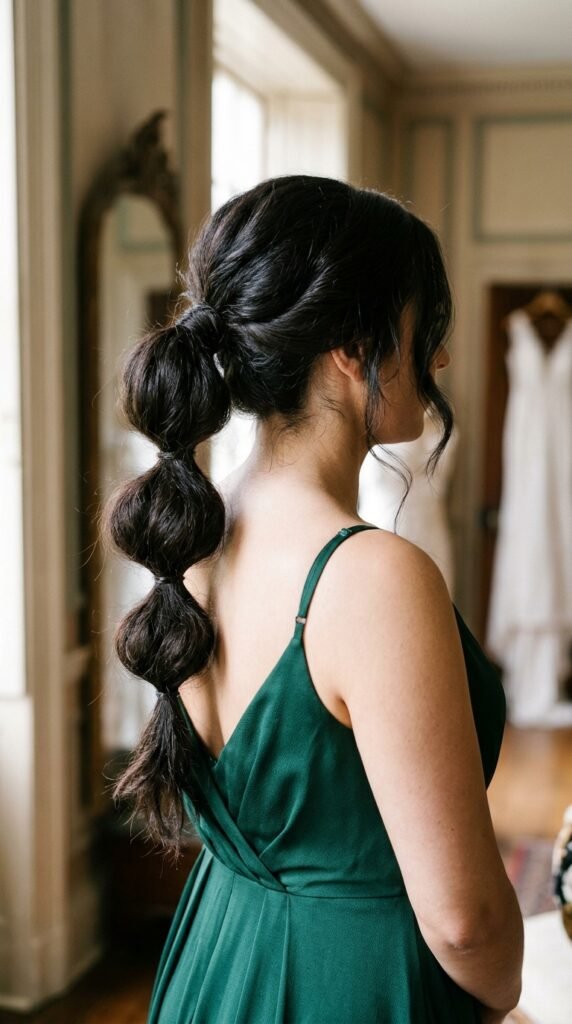
Thick hair makes gorgeous big bubbles, but it also fights back. Use wider elastics than you’d think, and expect to use more of them.
Split the tail into two sections and bubble each one, then combine them into a single ponytail for a fuller finish. It keeps the style from looking like one solid column.
If your hair is heavy, ask a friend to hold tension while you tie. It’s the difference between a ponytail that sits high all night and one that slides by dinner.
Short Hair and Asymmetrical Lob Version
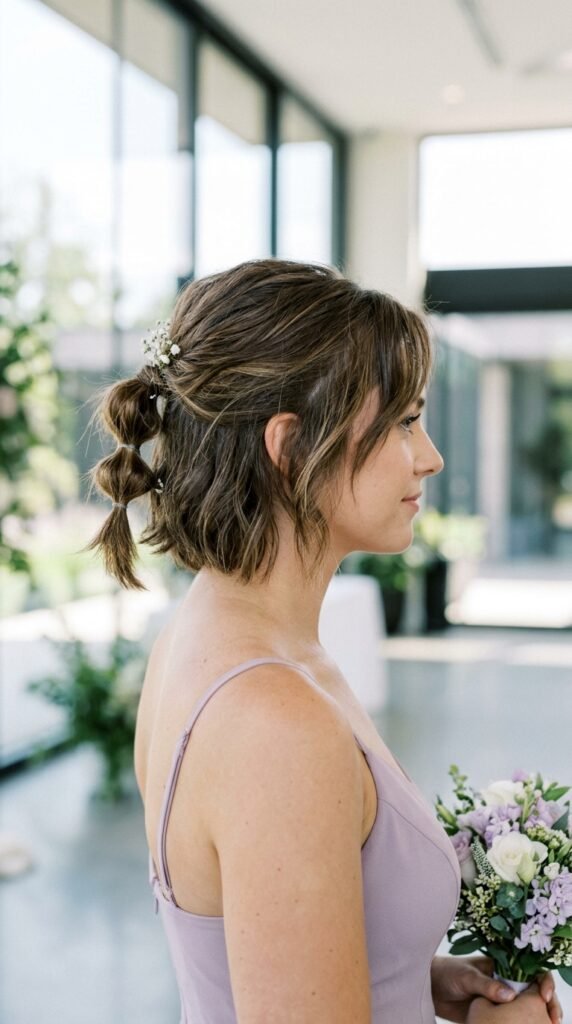
You don’t need long hair for this. With an asymmetrical lob or a grown-out bob, you can still get two bubbles, and that’s enough.
- Use a low ponytail to catch more hair
- Keep bubbles small and close together
- Pin the very ends under for a neat finish
If your hair is a quiet luxury bob, try a half-up bubble ponytail instead. You keep the shape of the cut in front, and the small bubbled tail adds just enough detail.
Ribbons, Pearls, and Pins
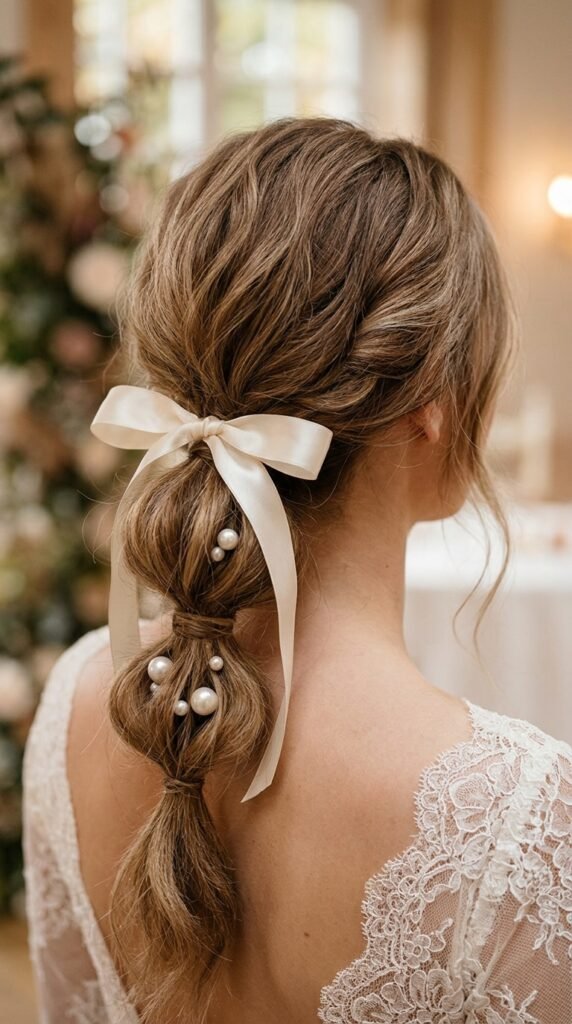
Accessories are where you can match the wedding colors without going overboard. A ribbon at the base is the easiest and most timeless.
- Satin ribbon for formal weddings
- Velvet ribbon for fall or moody palettes
- Small pearl pins tucked into one bubble
- Gold or silver cuffs on the third section
Pick one accessory and commit. Two is fine if they’re small. Three or more and the bubbles stop being the star of the show, which is a shame because you did all that work.
Matching Your Ponytail to the Dress
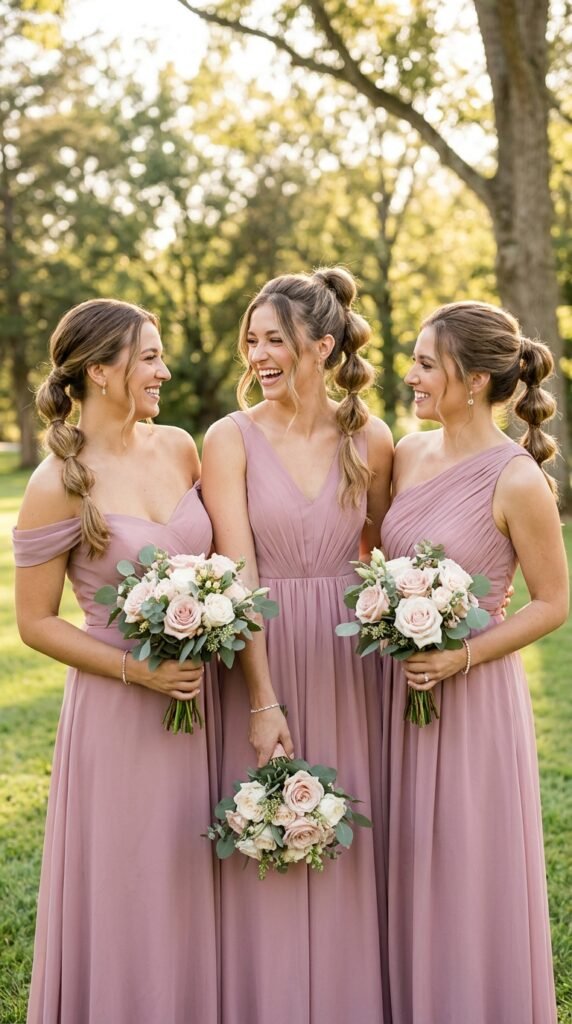
The right height often depends on your neckline. It’s a small detail that changes how the whole photo reads.
- Strapless or off-shoulder: go low
- High neck or halter: go high
- V-neck: mid-height works with everything
If the bride picked mismatched dresses, mismatched ponytail heights look intentional and beautiful. If the dresses match, keep the heights consistent so the group looks put together. Either way, chat with your group first. Nobody likes being the odd one out by accident.
How to Take It Down Without Breakage
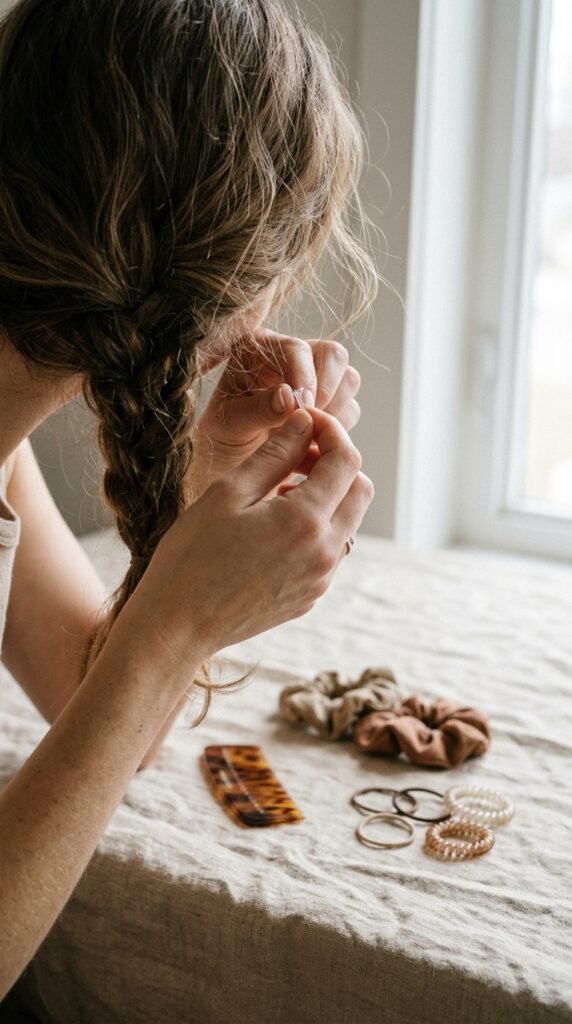
This is the part nobody talks about. After eight hours, those elastics have a grip. Rushing the takedown is how you lose hair.
- Spray a little leave-in conditioner on each tie
- Pinch the elastic and slide it, don’t pull it
- Work from the bottom bubble up
- Detangle with your fingers first, then a comb
Never rip a clear elastic out. Ever. If it’s stuck, add more conditioner and give it thirty seconds before trying again.
A Warm Send-Off
Bubble ponytails are one of those rare styles that look like you tried harder than you did. That’s the whole appeal. Five minutes, two clear elastics, and a little texture spray, and you’re ready to stand next to your best friend while she gets married.
Pick the version that fits the venue and your hair type, prep it with texture, and don’t stress about perfection. Slightly imperfect bubbles photograph better anyway.
Save this post to Pinterest so you have it ready on the morning of the wedding, and drop a comment below telling me which style you’re trying first. I read every single one, and I’ll help you troubleshoot if your hair refuses to cooperate.