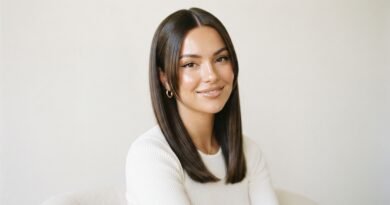
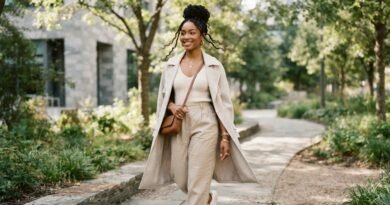
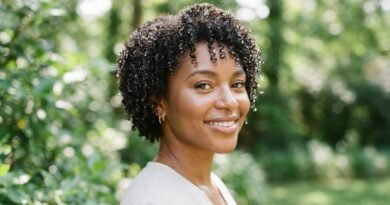
33 Long Layers Hairstyles for Bridesmaids That Balance Style and Easy Upkeep
So your best friend is getting married, and you’re standing up beside her. That means two things: your hair needs to look beautiful in every single photo, and it needs to survive a very long day.
Long layers are the answer. They give you movement, shape, and that soft “I woke up like this” feel without hours of styling. No major commitment, no regret when the photos are done.
I pulled together 33 long layer ideas that actually work for real bridesmaids — the ones doing their own hair in a hotel bathroom at 6 a.m. or sitting in a chair with a coffee in hand.
Every look here is low effort and high payoff. Let’s find yours.
Why Long Layers Are the Bridesmaid Sweet Spot
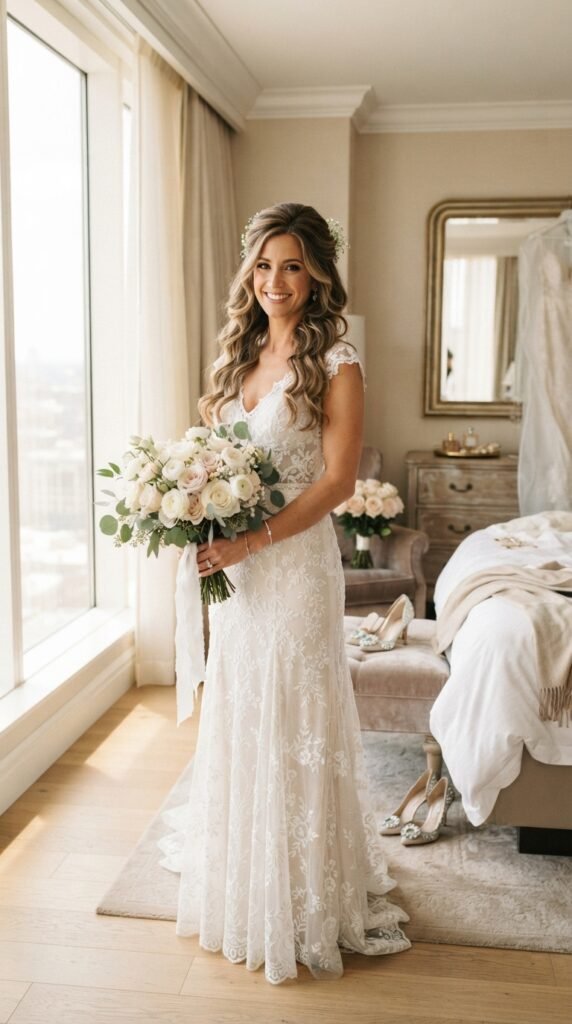
Long layers solve a very specific problem. They look styled without needing to be styled.
You get volume at the crown, movement through the middle, and ends that don’t hang heavy. It’s forgiving on day-old hair and it photographs beautifully from every angle.
- Works on almost every face shape
- Grows out gracefully between events
- Holds a curl or a straight finish
- Needs five minutes, not fifty
That’s why it’s the quiet hero of bridesmaid hair.
Match Your Layers to the Dress Neckline
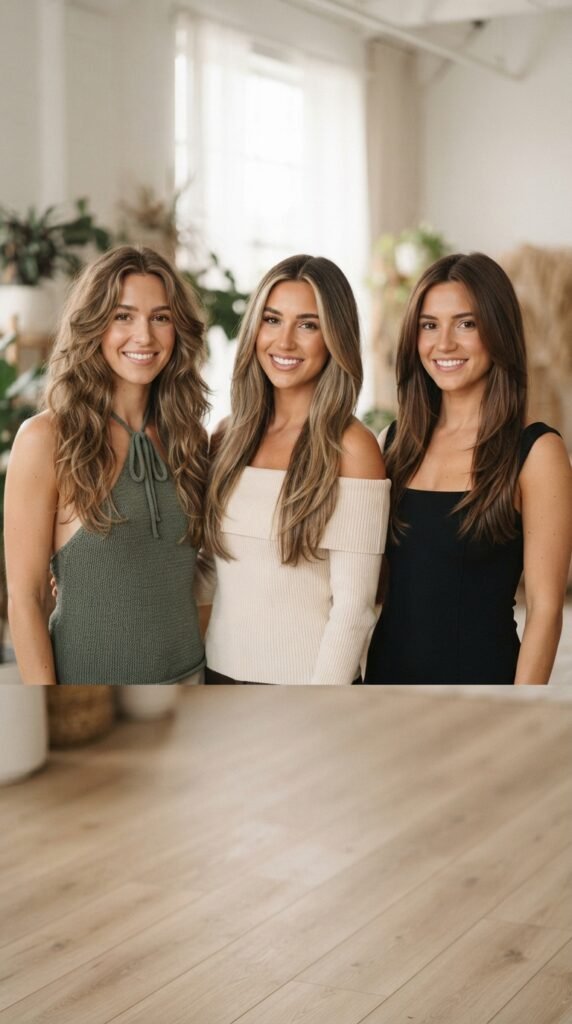
This is the one thing people forget. Your hair should work with the dress, not against it.
- Halter or high neck: keep hair up or half-up so the shoulders show
- Off-shoulder: soft waves pulled to one side
- Strapless: face-framing layers left down and moving
- Square neck: sleek center part with long layers
Find the neckline first. The hairstyle basically picks itself after that.
Style 1 and 2: Soft Waves and the Old Money Blowout
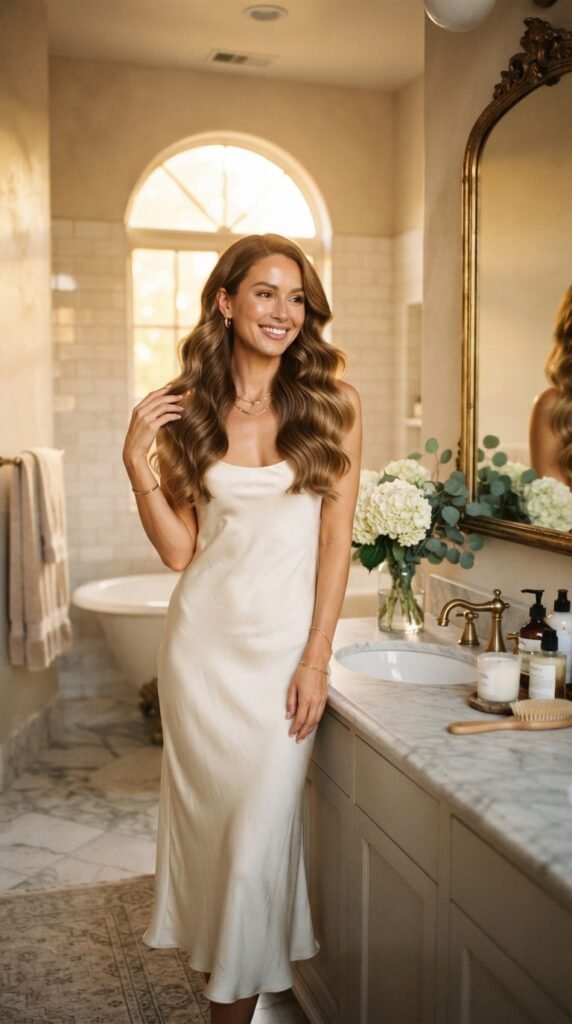
Start with the two classics that never miss.
- Soft waves. Curl the middle and ends only, leave the roots alone. Brush through with your fingers and you’re done.
- Old money hair. Big, glossy, brush-out blowout waves with a deep side part. Think polished, expensive, effortless.
Both work on second-day hair, which matters when you’re traveling. Old money hair especially loves a little natural oil in the roots.
Finish with a light spray and call it.
Style 3: The Grown-Out Quiet Luxury Bob
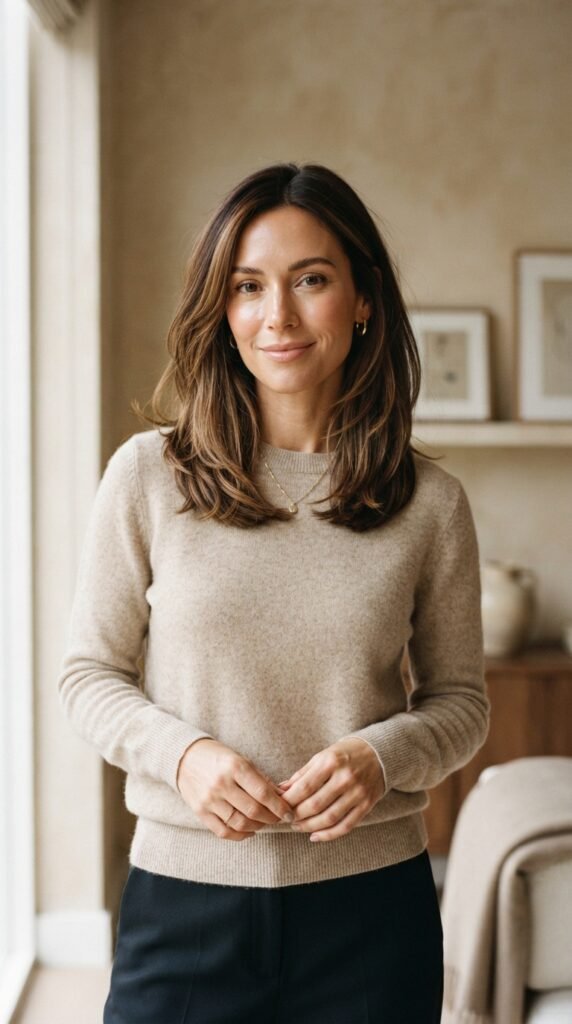
Here’s a trick: if you already have a quiet luxury bob, let it grow out into long layers before the wedding.
You keep the polished shape around the jaw, but the length gives you options. Tuck one side. Add a soft wave. Pin it half up.
- Ask for blended, invisible layers
- Keep the ends blunt-ish for that luxe feel
- Style with a middle part and a shine serum
It’s minimal, modern, and looks intentional even when it isn’t.
Style 4: Face-Framing Layers That Flatter Everyone
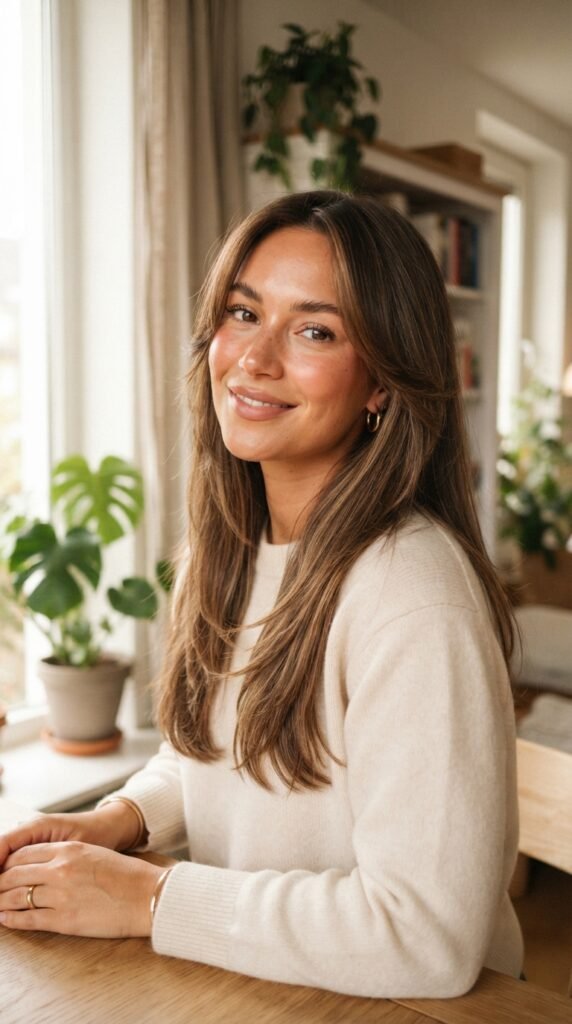
If you only ask for one thing from your stylist, ask for face-framing layers.
They start around the cheekbone or jaw and blend into the length. The result is a softer face, a slimmer look in photos, and hair that moves when you turn.
- Best for round and square faces
- Ask for “sliced” layers, not choppy ones
- Keep the shortest piece at cheek level
Pair with a middle part for 2026 hairstyles energy, or a side part for something softer.
Styles 5 and 6: Long Layers for Fine and Thick Hair
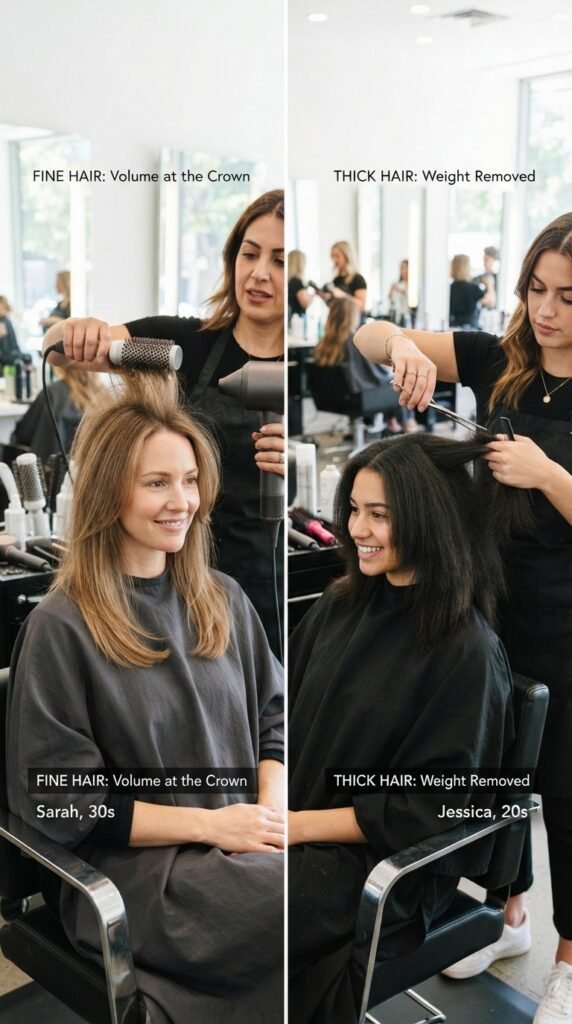
Layers behave completely differently depending on your texture. Here’s the short version.
- Fine hair: keep layers long and few. Short layers on fine hair create stringiness. Add a root lift spray instead.
- Thick hair: go heavier on the layers to remove weight. Ask for internal layers so the ends don’t flare out like a triangle.
Fine hair wants volume at the root. Thick hair wants movement at the ends.
Tell your stylist which one you’re fighting and they’ll nail it.
Style 7: Curtain Bangs With Long Layers
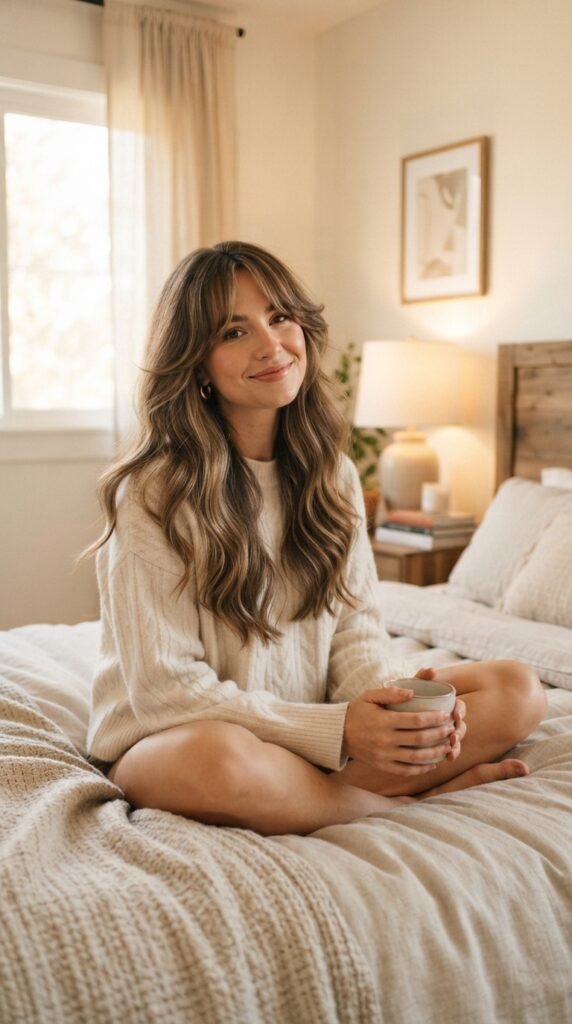
Curtain bangs plus long layers is the most flattering combo on this list, hands down.
They frame the eyes, soften the forehead, and grow out into face-framing layers if you get tired of them. That’s the beauty of it.
- Keep the shortest point at the cheekbone
- Blow dry them away from the face
- Use a round brush for two minutes, not ten
For a wedding, tuck them slightly behind one ear and let the other side fall.
Style 8: The Asymmetrical Lob
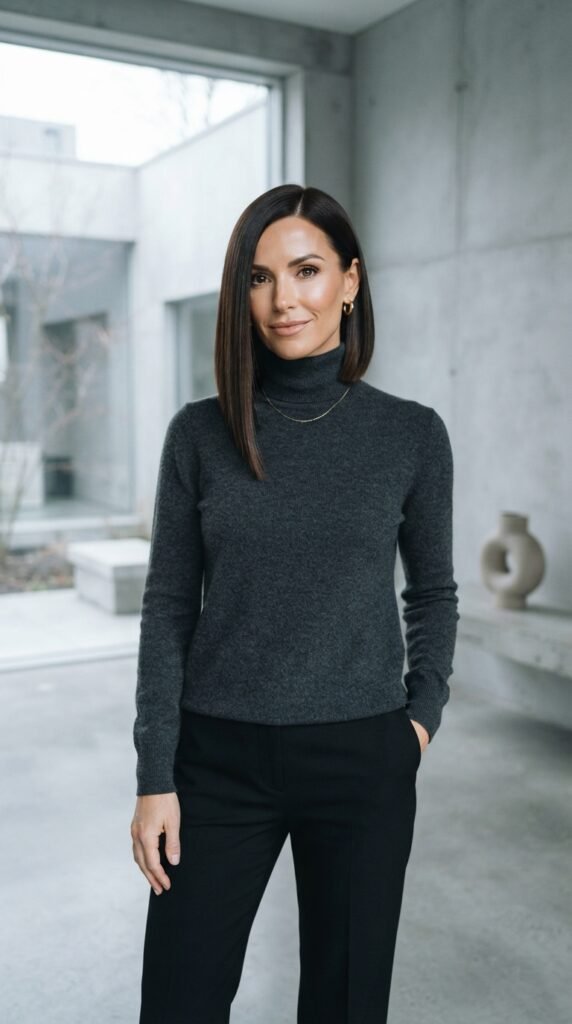
An asymmetrical lob sits just above the shoulder on one side and grazes the collarbone on the other. It’s modern without being risky.
It’s also incredibly easy to maintain, which matters if you have three weddings this year.
- Great for straight and wavy hair
- Needs a trim every ten weeks max
- Style with a deep side part for drama
Add a soft bend at the ends and you’ve got a look that reads editorial in photos and simple in person.
Styles 9 and 10: Romantic Goth and Glitchy Glam
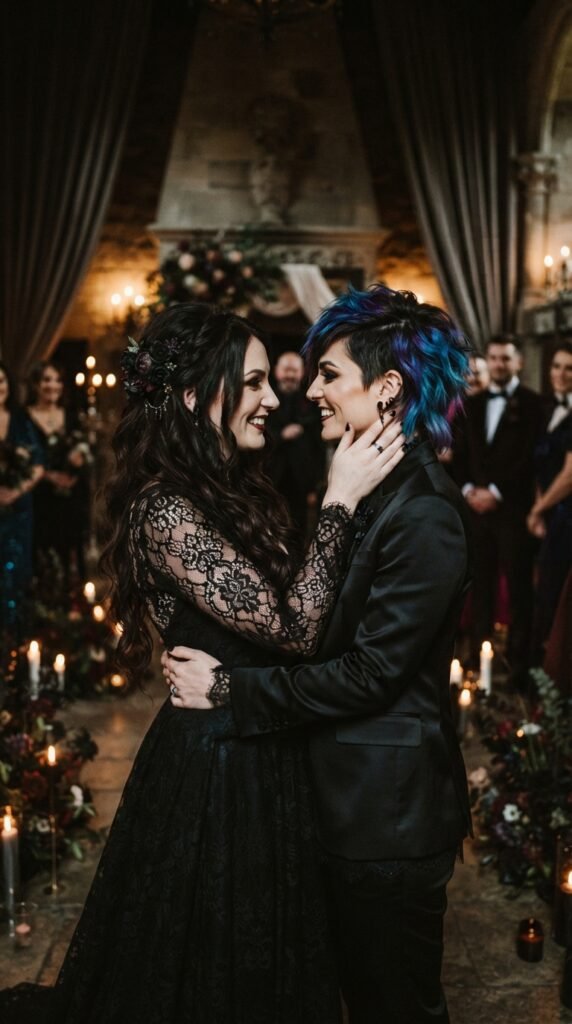
If the wedding has an edge, lean in.
- Romantic goth hairstyles: long dark layers, soft cascading waves, a few delicate pins. Think lace, not costume.
- Glitchy glam hair: sleek roots, flicked-out ends, one piece out of place on purpose. Slightly undone, very cool.
Both work best on long layers because the shape already has movement built in.
Keep the makeup soft so the hair stays the statement.
Style 11: The Vampire Haircut
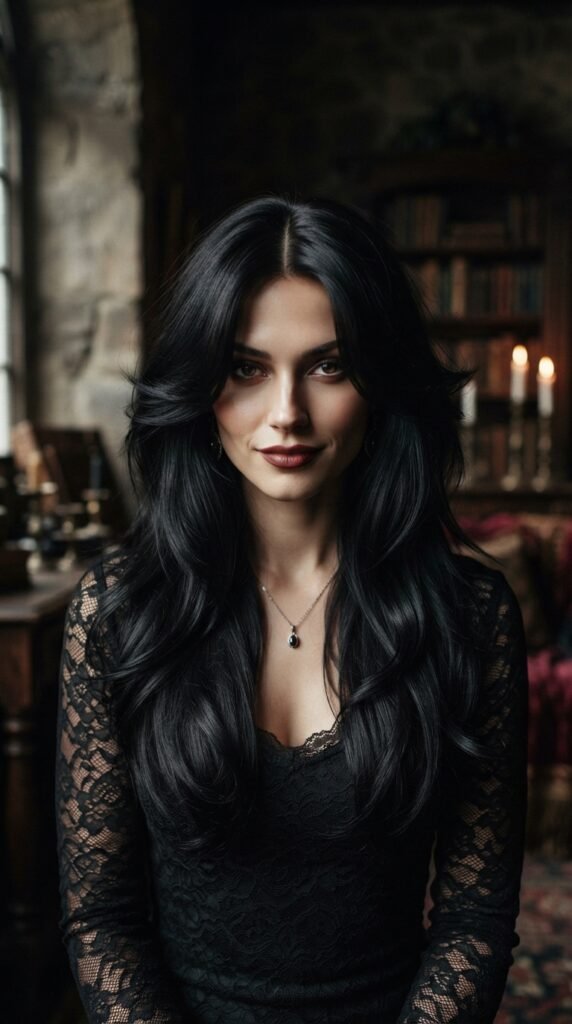
The vampire haircut is having a moment, and it’s secretly perfect for bridesmaids.
It’s long, glossy, and falls in two soft curtains around the face with a slightly tapered end. Romantic, a little moody, very flattering.
- Ask for long curtain layers starting below the chin
- Keep the ends soft, not blunt
- Style with a center part and shine spray
It reads elegant in daylight and dramatic in the evening. That’s a rare thing.
Style 12: The Hime Cut With Long Layers
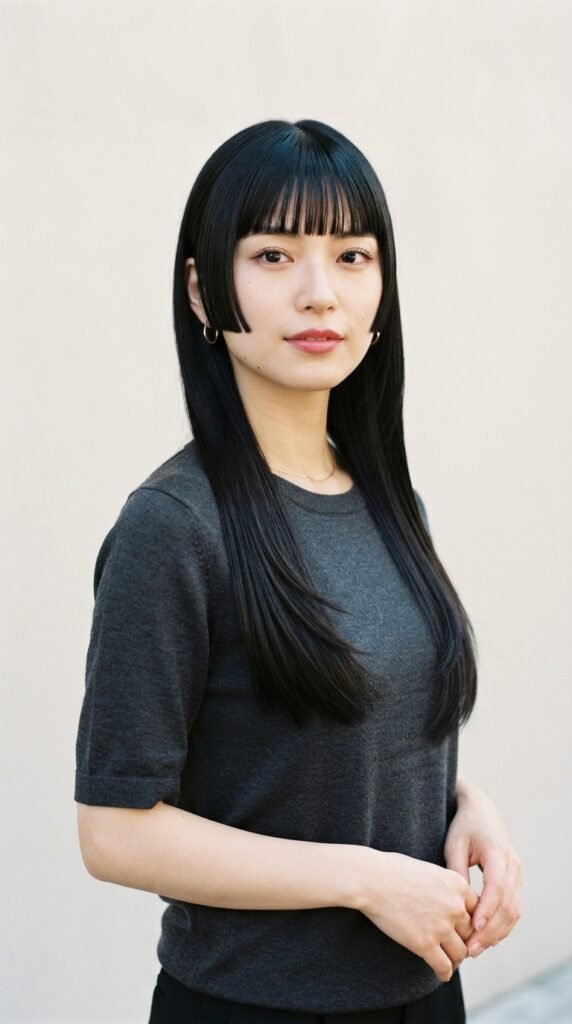
The hime cut is bold: blunt cheek-length side pieces with the rest left long. It’s striking and surprisingly wearable.
It’s not for everyone, but if the bride wants something different, this is it.
- Keep the side pieces sharp and straight
- Leave the back long and lightly layered
- Style sleek or add a subtle wave below the shoulders
Pin the side pieces back if you want a softer, more traditional look on the day. Two hairstyles in one.
Style 13: The Mid-Length Shag, a 2026 Favorite
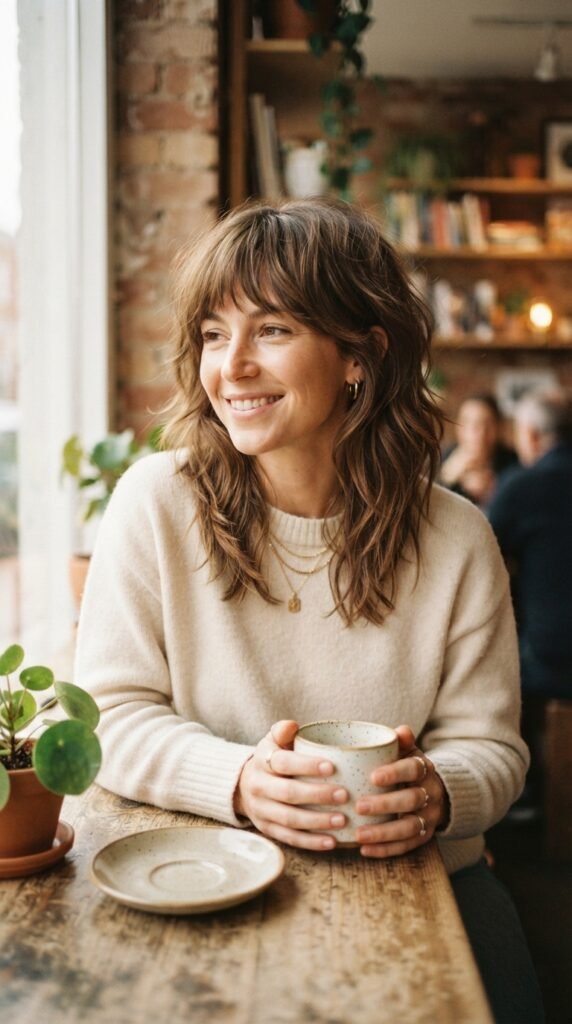
Shags are everywhere in 2026 hairstyles, and they make great bridesmaid hair because they’re meant to look a little undone.
Ask for a mid-length shag with long layers through the back and soft, piecey bangs.
- Best on wavy and curly hair
- Scrunch and go, no round brush needed
- Add a tiny braid at the front for the wedding
It’s the “I didn’t try too hard” look that everyone actually wants.
Style 14: The Half-Up With Long Layers
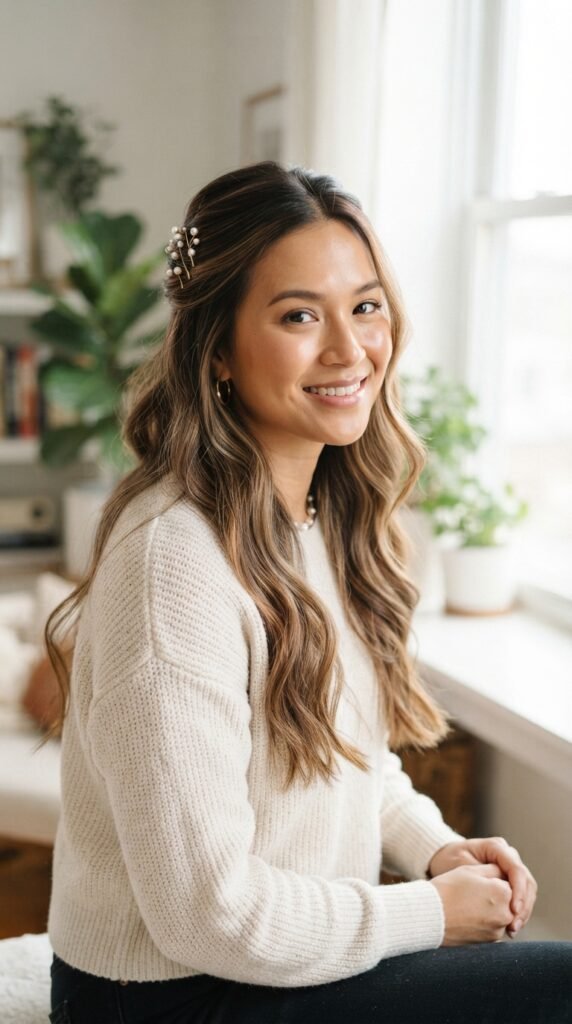
Half-up is the bridesmaid MVP. It keeps hair off your face, shows the dress neckline, and still looks soft and romantic.
- Take two sections from above the ears
- Twist or braid them loosely and pin at the back
- Pull out a few face-framing pieces
Long layers make it easier because the pinned sections stay put.
Add a small pearl pin or two and it looks like you paid someone to do it.
Style 15: Low Sleek Ponytail With Layers
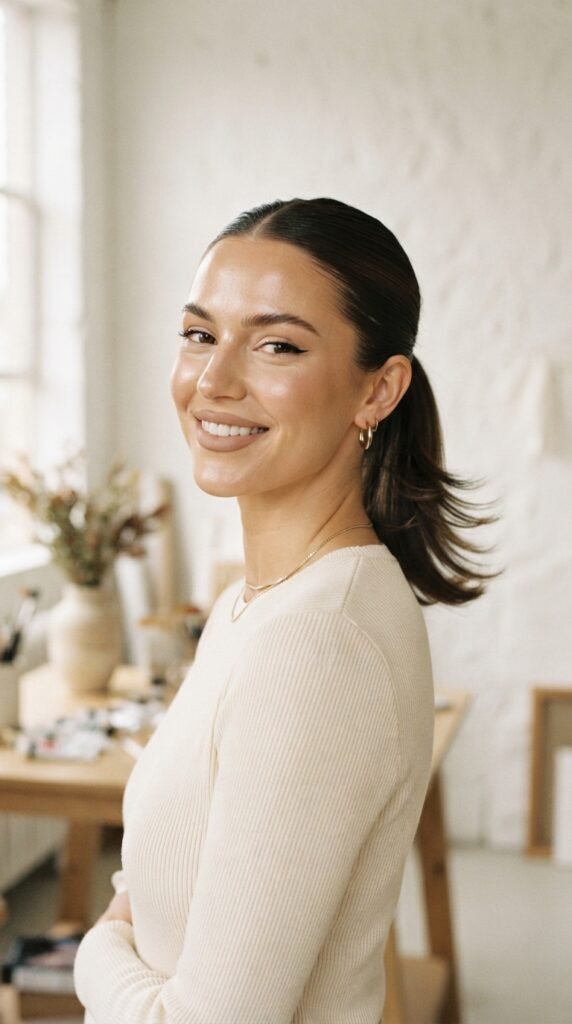
This one takes four minutes and photographs like a campaign shoot.
- Brush everything back into a low ponytail
- Smooth the crown with a tiny bit of gel or edge control
- Let the layered ends flick out slightly instead of hiding them
Long layers give the ponytail texture at the bottom, so it doesn’t look like a paintbrush. That’s the whole trick.
Wrap a small section of hair around the elastic and pin it underneath. Instant polish.
Styles 16 and 17: Textured Beachy vs Sleek Straight
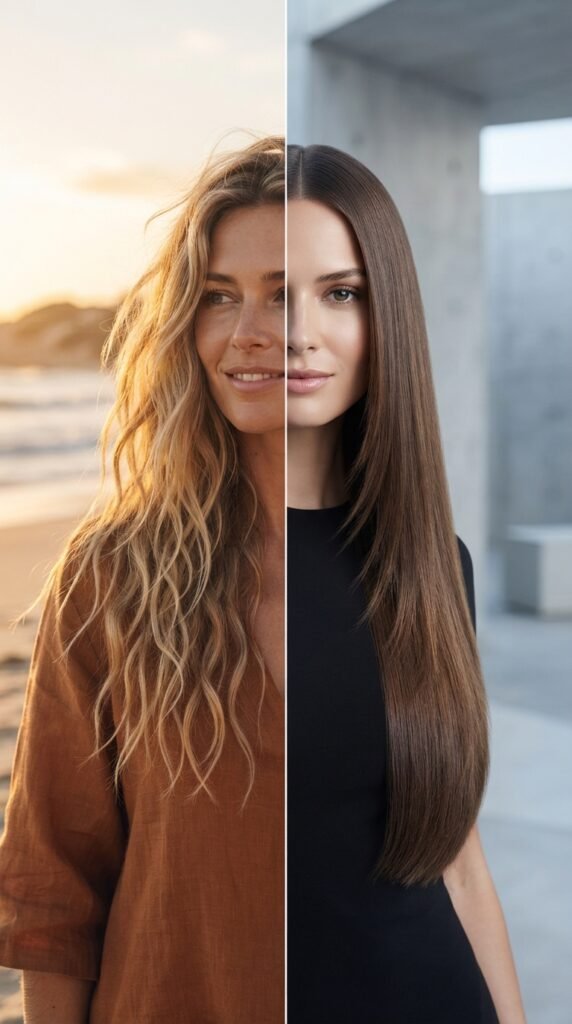
Same haircut, two completely different moods.
- Textured beachy: sea salt spray, scrunch, air dry. Loose and relaxed. Perfect for outdoor or daytime weddings.
- Sleek straight: flat iron with the ends slightly curved under. Glossy and modern. Best for evening events.
Both need long layers to look finished rather than flat.
Pick based on the venue. Beach equals texture. Ballroom equals shine.
Style 18: Braided Crown With Long Layers
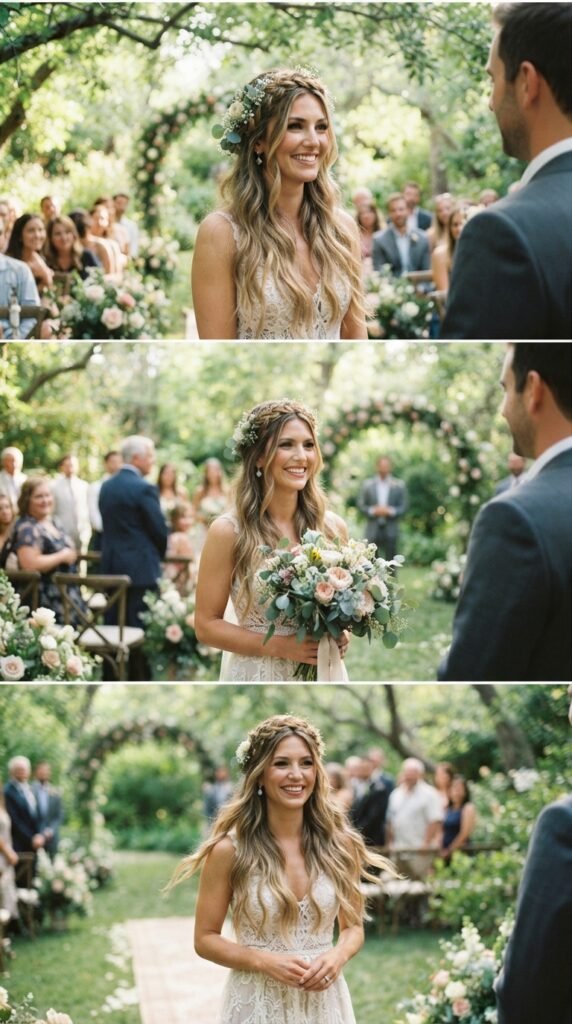
A braid across the crown keeps your hair secure all day and looks genuinely pretty from every angle.
- Braid two small sections across the top of the head
- Pin them at the back and loosen the braid edges
- Leave the layered length down and wavy
The layers underneath give the braid something soft to sit against.
It’s a good choice if your hair falls flat or you’ll be dancing a lot.
Styles 19 and 20: Pearl Clips and Ribbon Ties
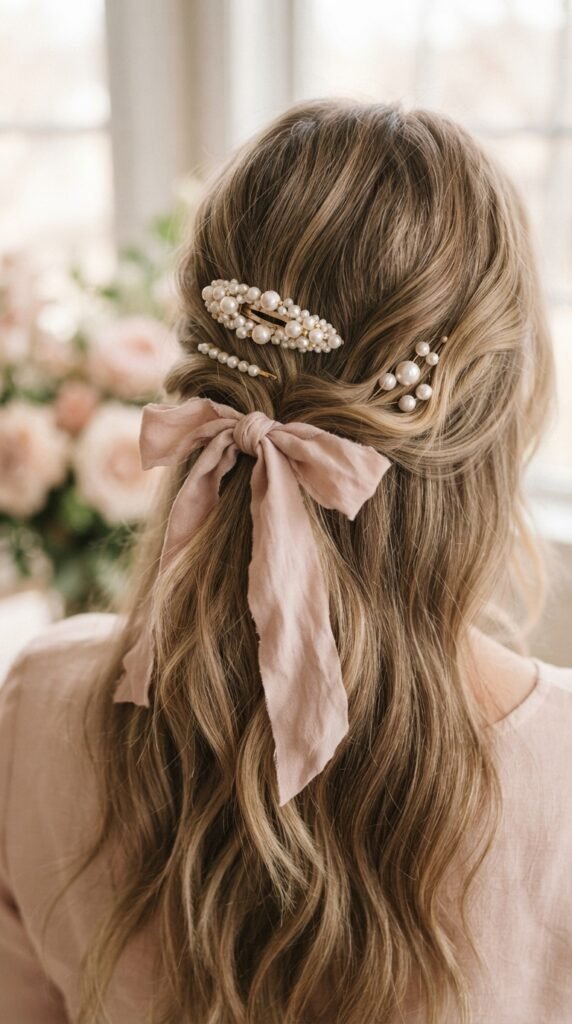
Accessories are the fastest way to make simple hair look wedding-ready.
- Pearl clips: pin one or two along the side, just above the ear. Keep it to a maximum of three so it stays elegant.
- Ribbon ties: tie a silk ribbon around a half-up or ponytail and let the ends trail down. Choose a shade slightly deeper than your dress.
Both work best with long layers because there’s space for them to sit naturally.
Skip the sparkle if your dress already has beading. Balance is everything.
Style 21: Side-Parted Hollywood Waves
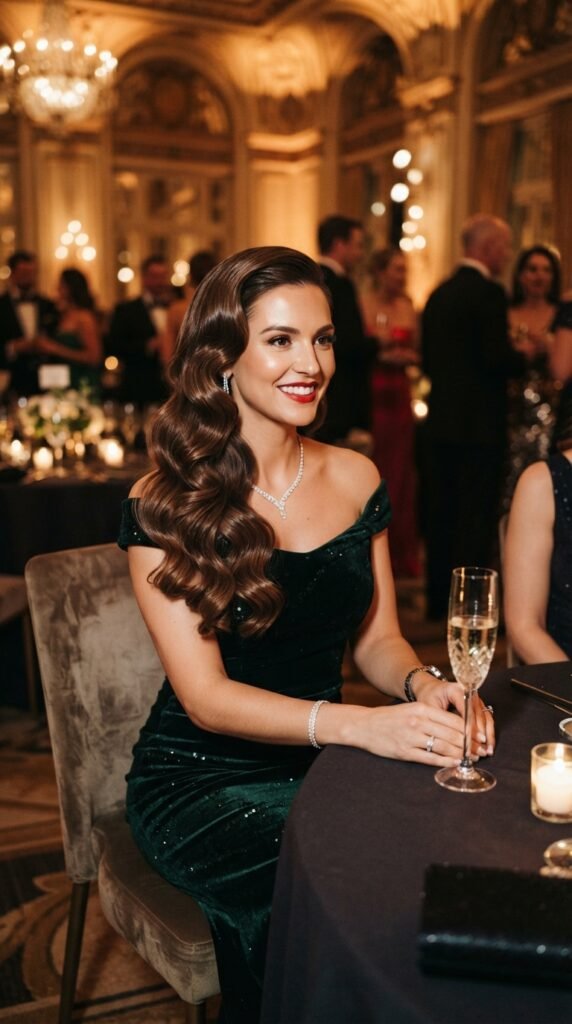
This is the most formal look on the list, and it’s easier than it looks.
- Curl everything away from your face
- Brush through gently with a flat brush
- Pin one side behind the ear
Long layers make the waves fall in soft sections instead of one heavy curtain. That’s what gives it that expensive, old money hair feel.
Finish with a shine spray, not a heavy hold spray. You want movement.
Style 22: Micro-Crimp Underlayers
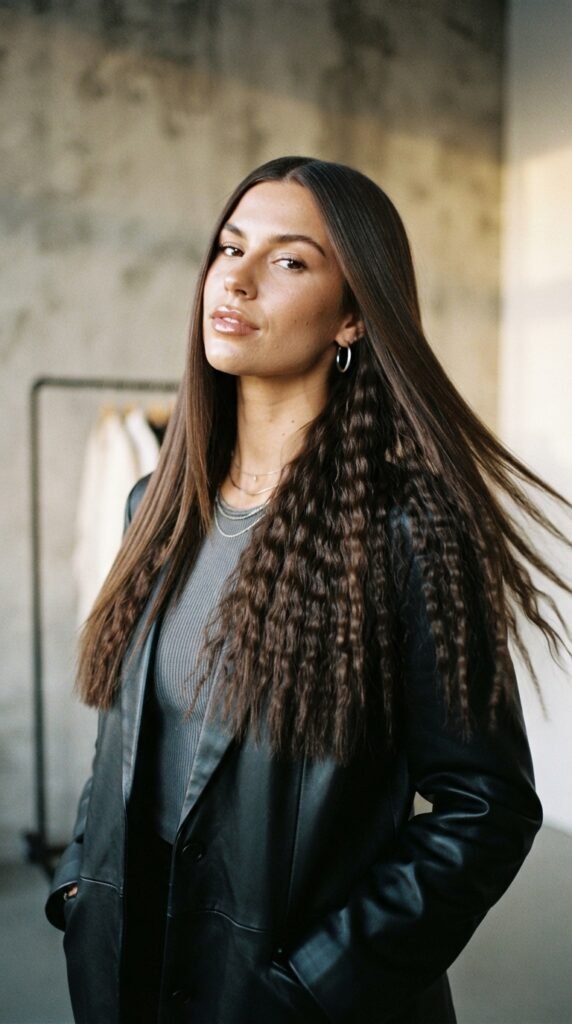
This is the quiet trend of the year. Crimp a thin layer underneath, then cover it with smooth layers on top.
You get volume at the root and a little texture peeking through when you move. Nobody can tell exactly why your hair looks fuller.
- Crimp only the bottom third underneath
- Keep the top layer smooth
- Finish with a light oil on the ends
It’s subtle, modern, and works on fine hair especially well.
Style 23: Loose Fishtail With Long Layers
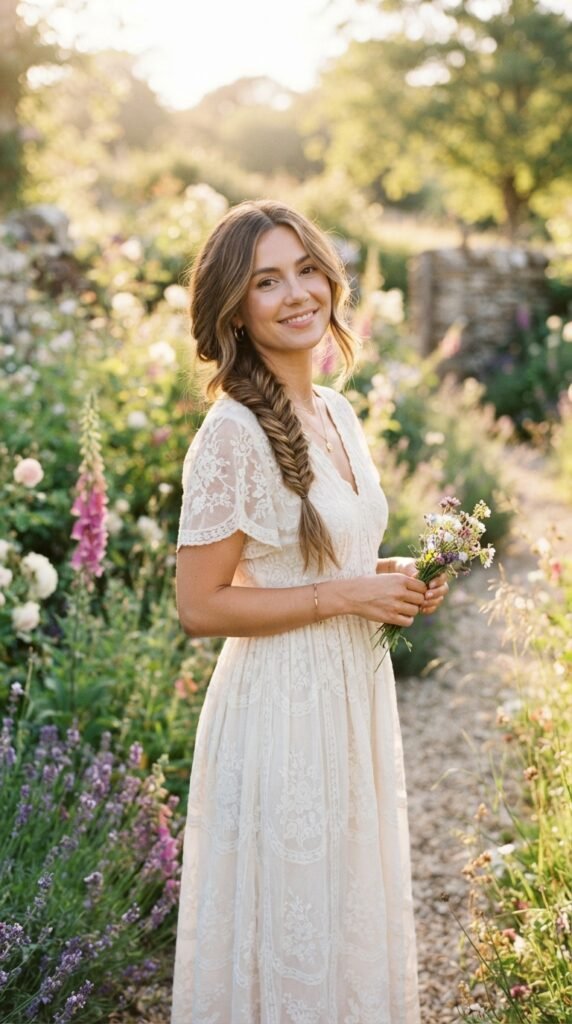
A loose fishtail reads romantic and slightly undone, which is exactly what you want for a garden or barn wedding.
- Pull hair into a low side ponytail
- Braid loosely, pulling small pieces as you go
- Gently pancake the braid for width
Keep the front layers out and wavy so the braid doesn’t look severe.
Take the extra two minutes to loosen it. Tight fishtails look formal, loose ones look effortless.
Styles 24 and 25: Blunt Ends and Birkin Bangs
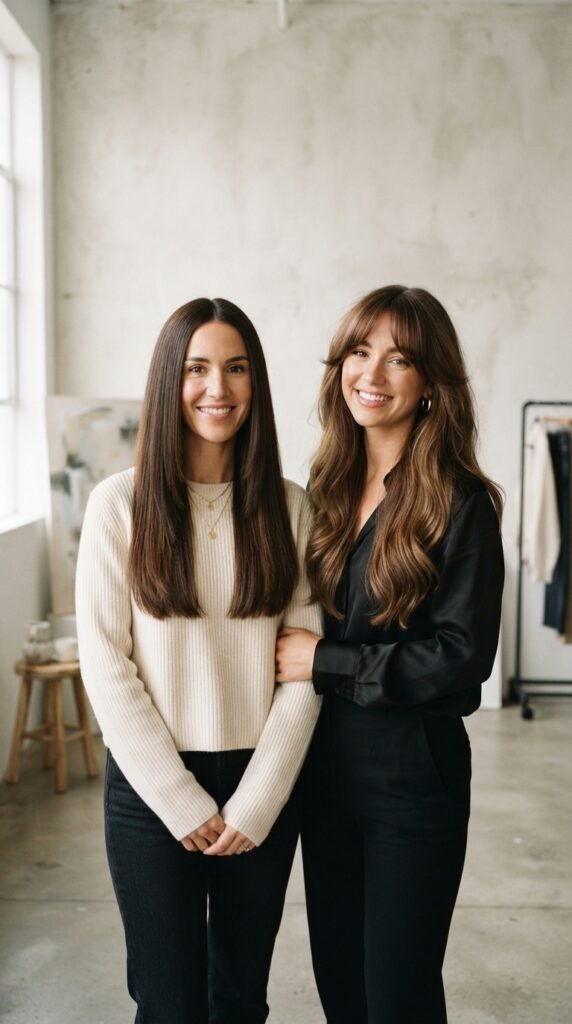
Two small tweaks that change the whole mood.
- Blunt ends with invisible layers: keep the perimeter blunt and add hidden layers inside for movement. Looks luxe and modern.
- Birkin bangs: soft, wispy, eyebrow-grazing bangs with long layers behind. Very French, very easy.
Both grow out well, which matters if your next wedding is in three months.
Ask your stylist for one of these instead of a full restyle. Small change, big difference.
Style 26: The Layered Low Bun
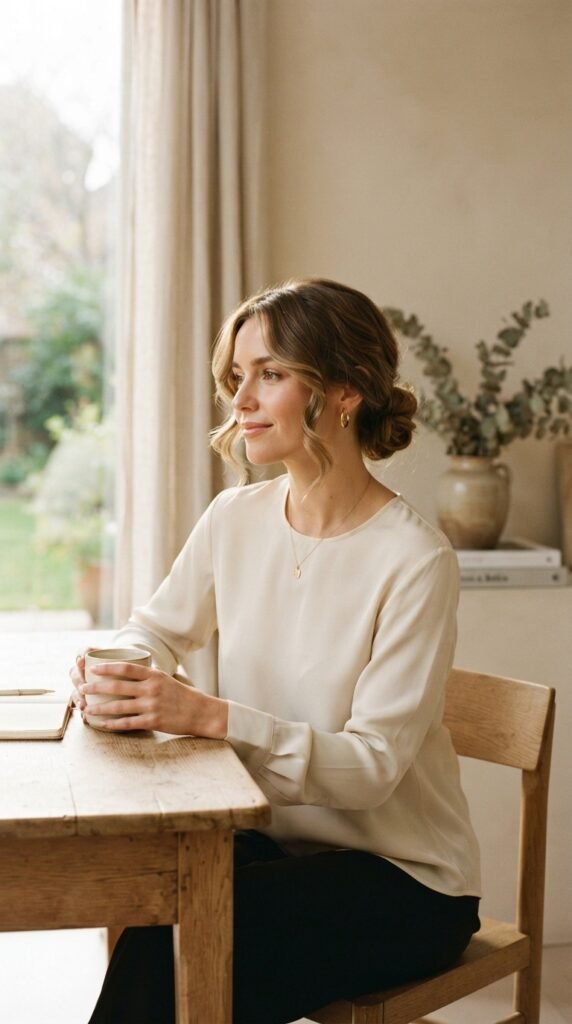
A low bun can look severe. Long layers fix that instantly.
- Pull hair into a low ponytail and twist into a bun
- Leave the face-framing layers out and wavy
- Loosen the bun slightly with your fingers
The loose pieces soften the whole look and make it feel romantic instead of strict.
It also keeps your hair completely out of the way for photos, dinner, and dancing.
Style 27: Face-Framing Tendrils
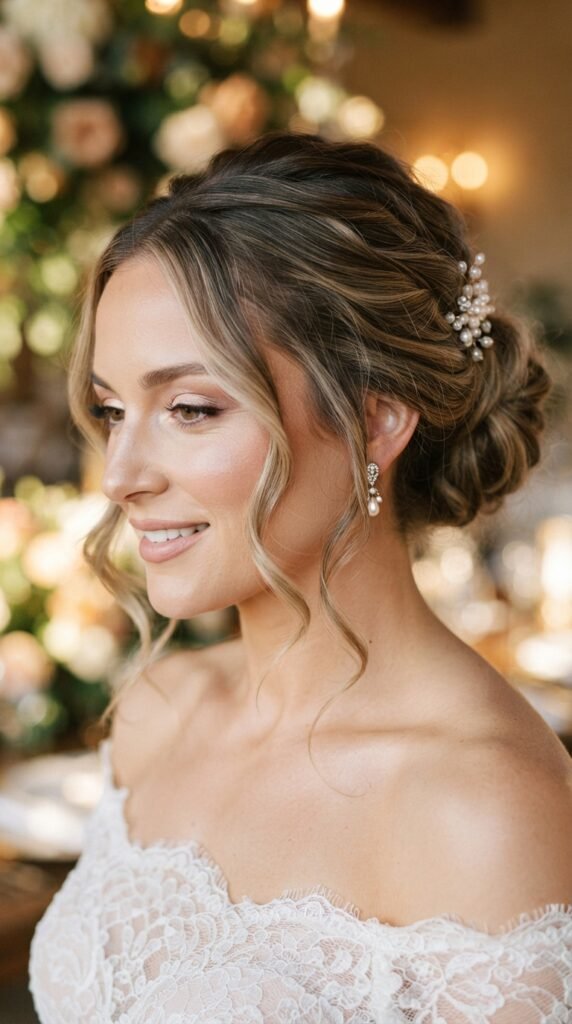
If you’re wearing an updo but still want to look like yourself, pull out two soft tendrils.
Keep them thin, wavy, and just past the jaw. Anything thicker starts to look like a costume.
- Curl them with a small iron
- Set with a tiny amount of spray on a spoolie brush
- Leave them a little imperfect on purpose
This works with every hairstyle on this list, which is why it’s the easiest upgrade of all.
Style 28: Wet-Look Long Layers
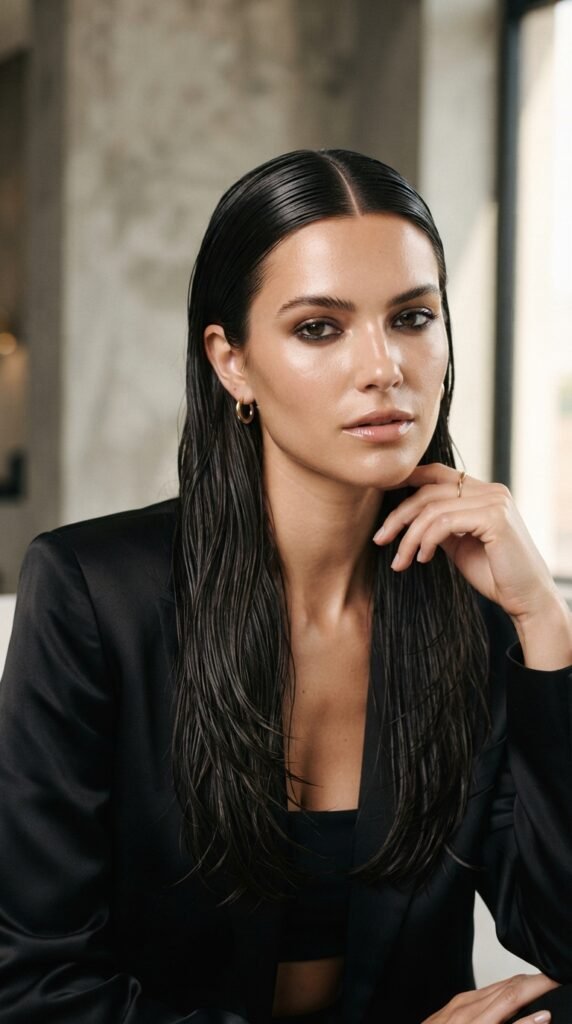
Wet look is bold, but done softly it’s stunning for evening weddings.
- Apply a small amount of gel through damp roots
- Comb everything back into a center part
- Leave the lengths textured and slightly dry
The contrast between slick roots and soft layered ends is what makes it work.
Skip this if the wedding is outdoors in July. Choose it for a cool-weather evening instead.
Style 29: Natural Curly Layers
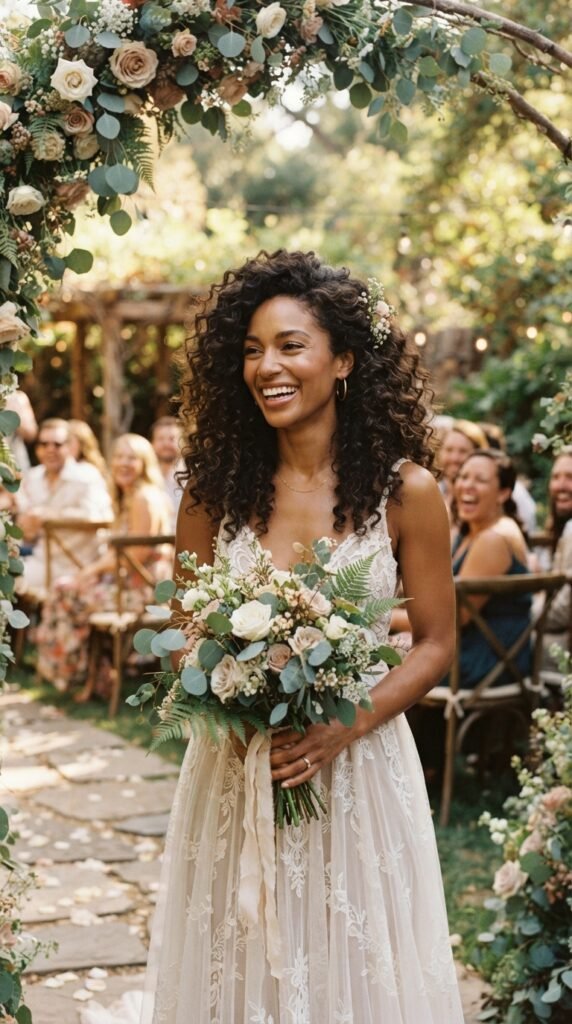
If you have curls, let them be curls. This is not the day to fight your texture.
- Ask for layers cut dry so the shape follows your curls
- Use a leave-in and a light gel on soaking wet hair
- Diffuse or air dry, then break the cast with oil
Long layers give curls shape without turning them into a triangle.
Add a small clip on one side and you’re done.
Styles 30 and 31: Butterfly Layers and Center-Part Face Framing
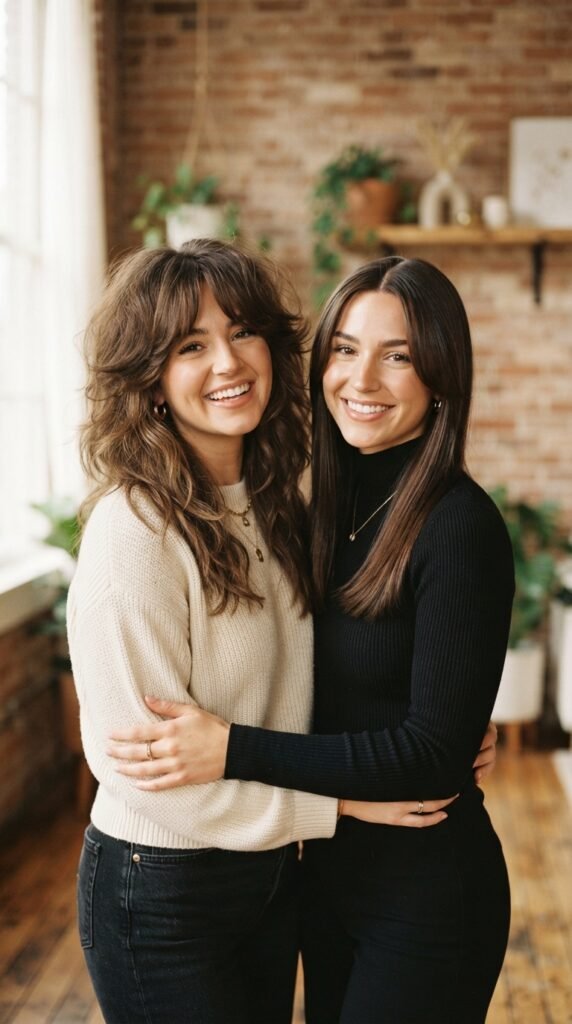
These two are everywhere in 2026 hairstyles, and both are easy to pull off.
- Butterfly layers: short pieces around the cheeks and chin that blend into long layers. Adds volume and bounce around the face.
- Center part with face framing: sleek on top, two soft pieces framing the face, ends left long and smooth.
Butterfly layers suit rounder faces. Center-part framing suits long faces.
Both take about ten minutes with a round brush.
Styles 32 and 33: Bubble Ponytail and Money Piece Layers
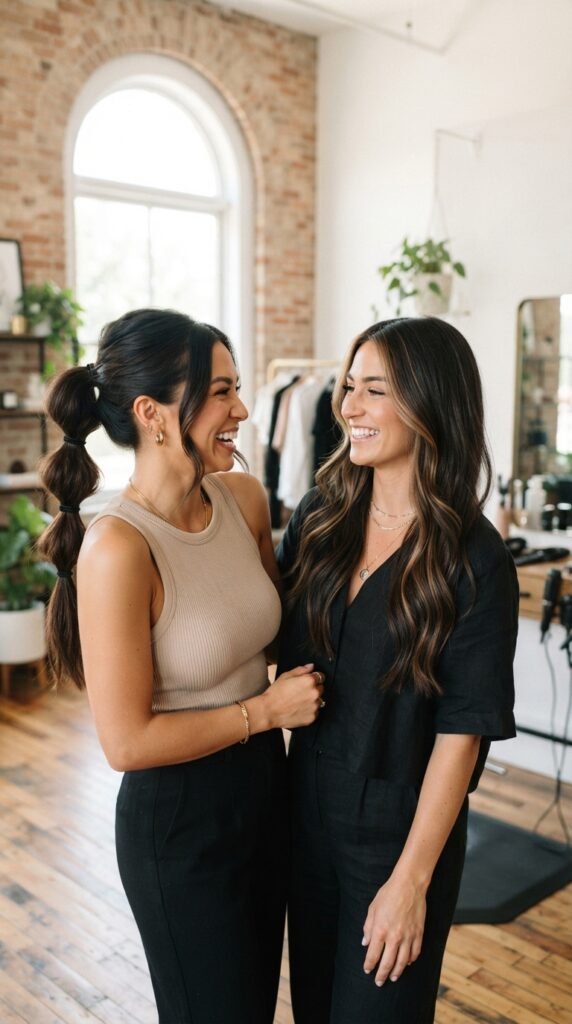
Two finishing ideas to round out the list.
- Bubble ponytail: a high ponytail sectioned with elastics and pulled into soft bubbles. Fun and playful for a casual wedding.
- Money piece layers: two subtle face-framing highlights around the front. It brightens your face in photos without a full color appointment.
Both work beautifully with long layers, and both survive a long day of photos.
Ask your colorist for a soft, blended money piece, not a harsh stripe.
The 5-Minute Morning Routine
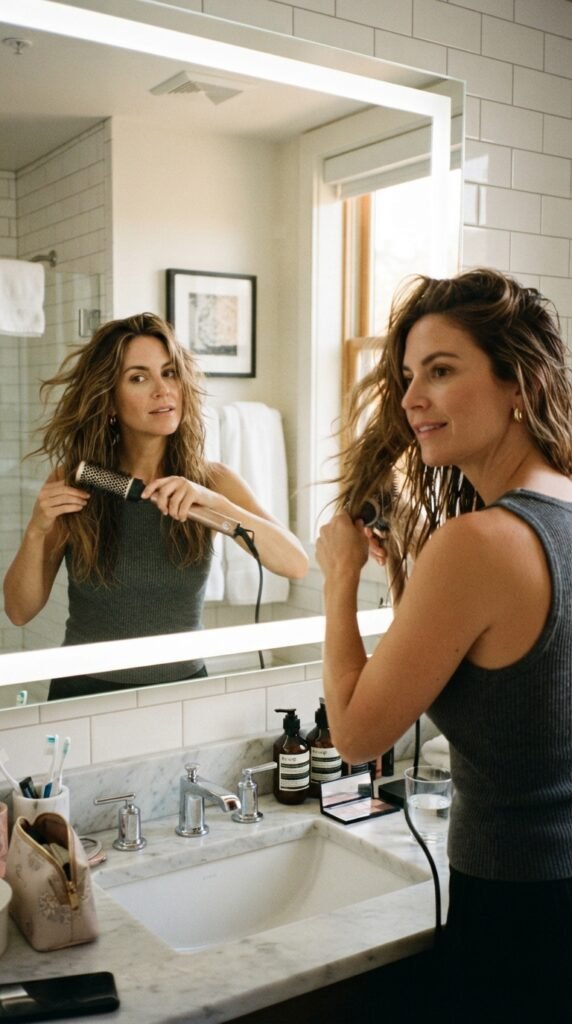
Here’s what the morning actually looks like.
- Dry shampoo at the roots, brush through
- Heat protectant on the ends
- Curl only the front pieces and the ends
- Shake out with your fingers
- Light spray, done
You don’t need to curl your whole head. You need the pieces the camera actually sees.
Front layers, ends, and a little volume at the crown. That’s it.
Prep the Night Before
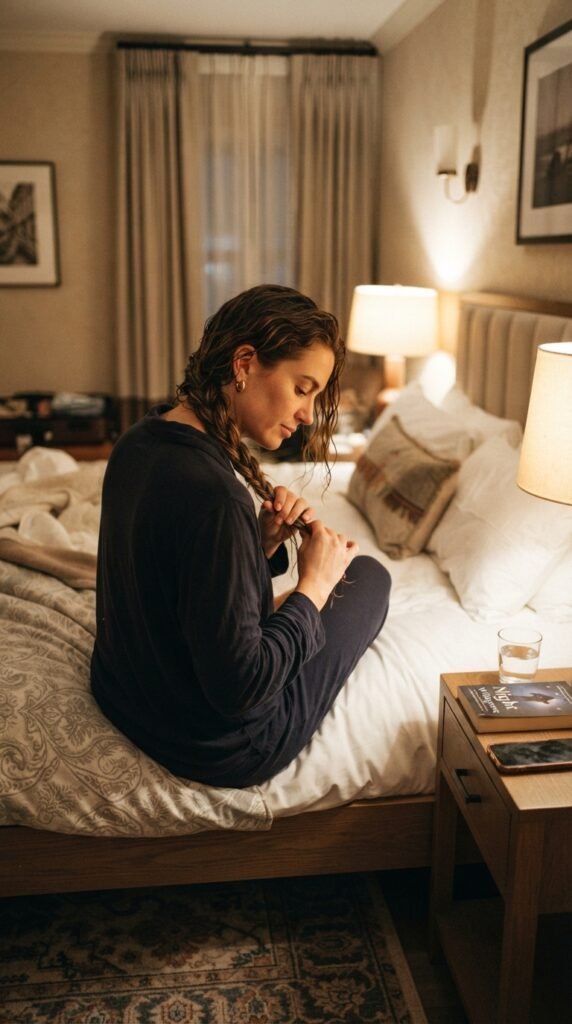
Half the work happens before you sleep.
- Wash and condition, then apply a light leave-in
- Braid damp hair loosely for natural waves
- Use a silk pillowcase or a soft scrunchie
- Lay out your pins, clips, and spray
Wake up, undo the braid, shake it out. You already have texture.
This is how you get old money hair without a blow dryer at 6 a.m.
What to Tell Your Stylist
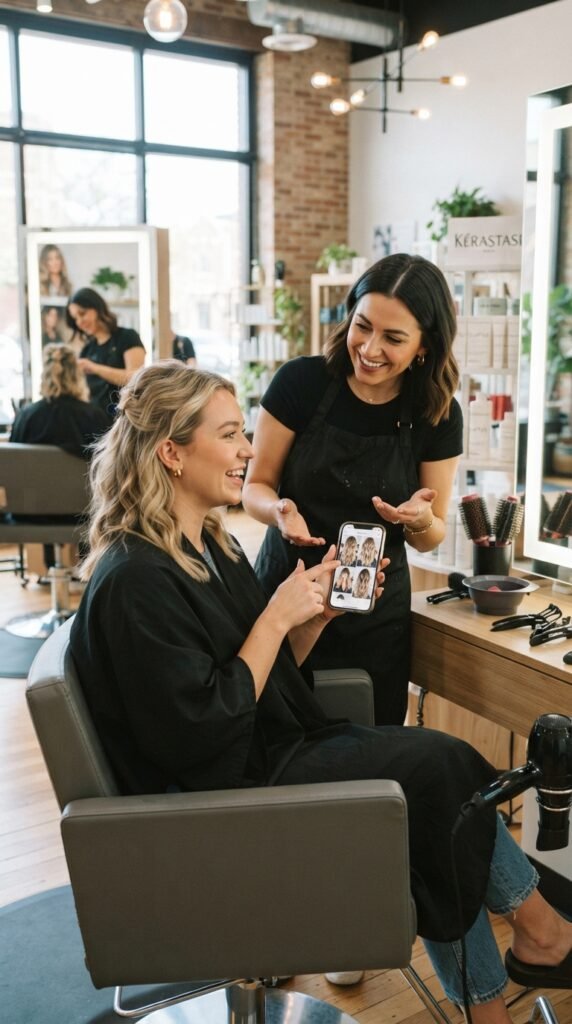
Bring photos. Words alone get lost. Then say this:
- “Long layers, blended, with face-framing pieces starting at the cheekbone”
- “Keep the ends soft, not choppy”
- “I want it to look good with minimal styling”
Add your texture and how often you actually style it. Honesty here saves you weeks of regret.
And book the trim about two weeks before the wedding. Not the day before.
A Little Last Word
Long layers are the quiet hero of bridesmaid hair. You get shape, movement, and a look that holds up through the ceremony, the photos, and the last song of the night.
Pick the one that fits the dress, your texture, and your actual morning routine. Not the one that looks best in a tutorial.
You’ll feel like yourself, which is honestly the best thing you can wear.
Save this post to Pinterest so you have it ready when the group chat starts asking about hair. And tell me in the comments — which style are you trying first?