How to Get short shag Hair That Looks Effortless (But Isn’t)
You’ve seen it everywhere: on runways, on your favorite style icons, and on that impossibly cool barista. The short shag haircut, with its artful layers, choppy ends, and that “I just woke up like this” texture, is the ultimate symbol of modern, effortless cool. It whispers of rock ‘n’ roll rebellion and bohemian ease all at once.
But here’s the secret every stylist knows: the most effortless-looking hair is often the most carefully crafted. That perfectly piecey, volumized, and textured shag is a masterpiece of strategic cutting and styling. The goal isn’t to look like you didn’t try; it’s to look like you have better things to do than fuss with your hair for hours.
If you’re ready to embrace the undone, textured glory of a short shag, this guide is for you. We’re diving deep into how to get the cut, what to ask your stylist, and the surprisingly simple (but crucial) steps to style it at home. Get ready to unlock the secret to hair that looks like it styles itself.
What Exactly Is a Short Shag? Deconstructing the “It” Cut
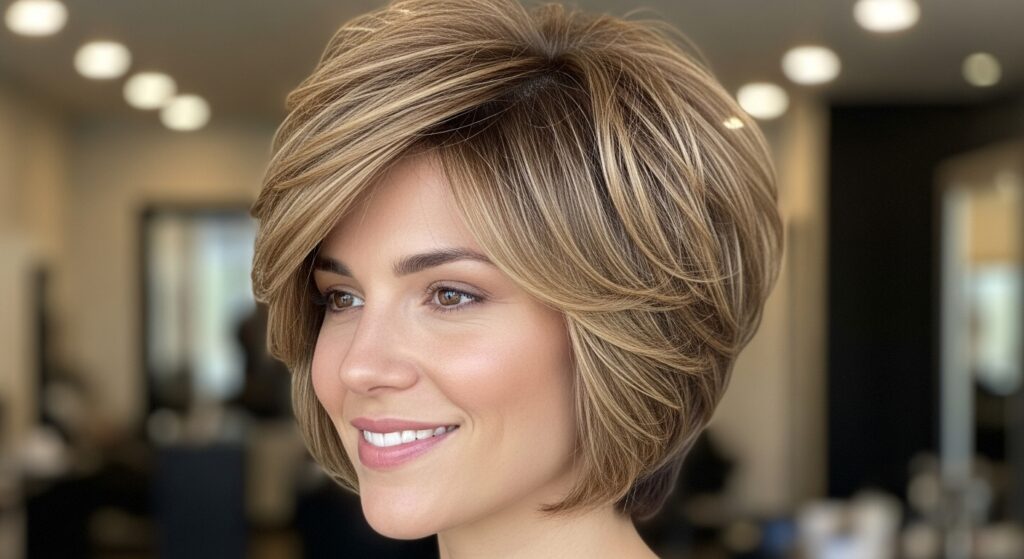
Before you take the plunge, it’s essential to understand what makes a shag a shag. Forget the shags of the 70s; the modern iteration is sleeker, sharper, and infinitely more wearable. At its core, a shag is defined by its heavy, disconnected layers that create movement and volume, particularly at the crown. The signature elements include:
Choppy, Textured Ends: Blunt, clean lines are the enemy here. The ends are point-cut or razor-cut to create a feathered, piecey effect that eliminates bulk and encourages natural separation.
Layers, Layers, and More Layers: The shag is a celebration of layering. These layers are cut to frame the face, create volume at the top, and allow the hair to fall in a cascading, dynamic shape rather than a solid, helmet-like one.
The All-Important Fringe (Bangs): A shag and bangs are a classic pairing, but they’re not always mandatory. When present, they’re often curtain bangs or a wispy, piecey fringe that integrates seamlessly with the rest of the layers, enhancing that face-framing effect.
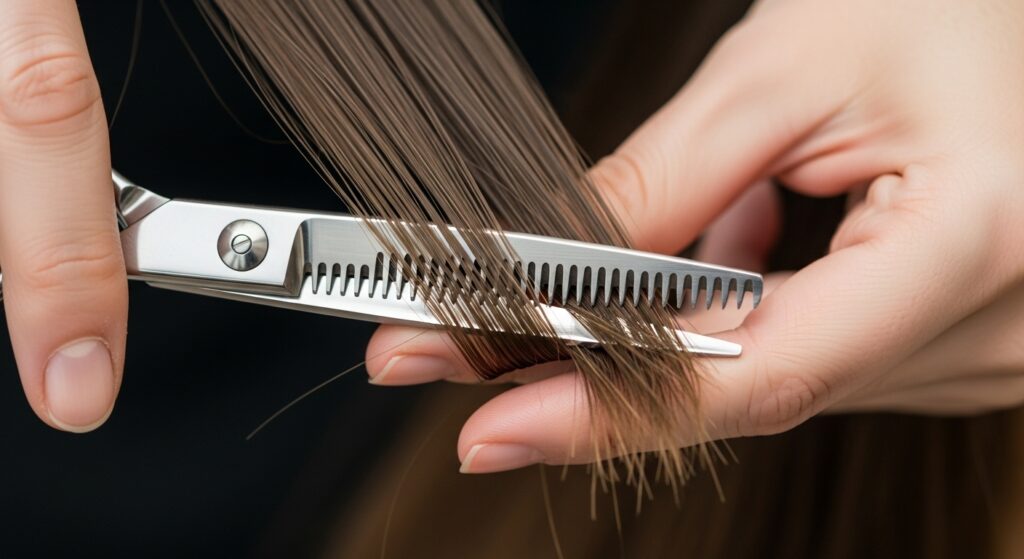
Internal Texture: This is the magic ingredient. A skilled stylist will use techniques like notching or texturizing shears to remove weight from within the hair shaft, not just at the ends. This is what gives the shag its airy, lived-in quality from day one.
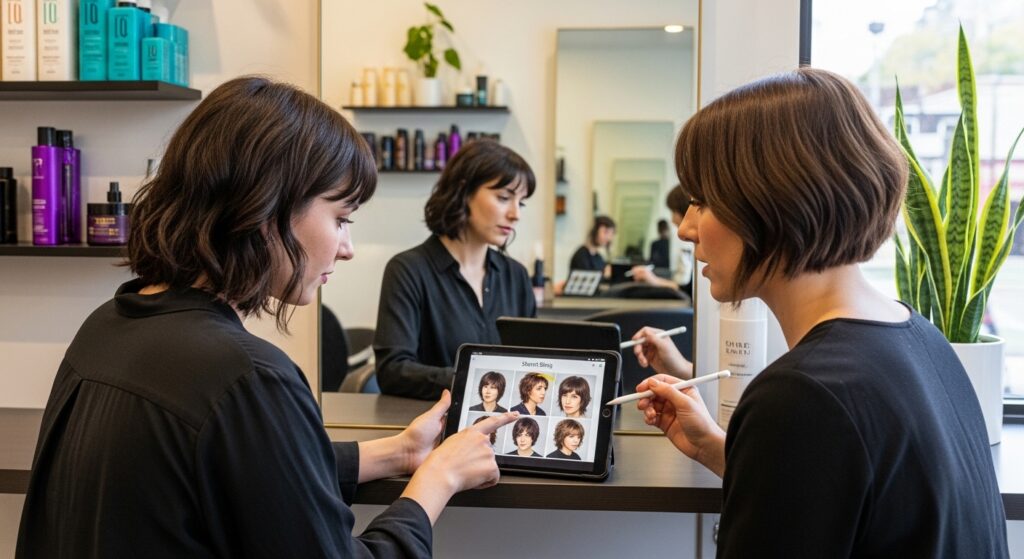
The Consultation: How to Talk to Your Stylist for the Perfect Cut
Walking into a salon and asking for “a shag” can lead to a wide range of interpretations. Your consultation is the most critical step in ensuring you walk out with the shag of your dreams, not a style shock. Communication is key.
Come Armed with Visuals. Do not underestimate the power of a photo. Collect 3-5 images of shags you love, from different angles. Pay attention to the models’ hair texture and density—is it similar to yours? This gives your stylist a concrete visual target.
Use the Right Vocabulary. Instead of just “layers,” use words like “piece-y,” “textured,” “disconnected,” “lived-in,” and “undone.” Specify the length you’re comfortable with—are you thinking a chin-length bob shag or something even shorter, like a pixie-shag hybrid? Mention if you want a heavy fringe, curtain bangs, or no bangs at all.
Discuss Your Lifestyle. Be honest about how much time you’re willing to spend on styling. A true shag requires some effort, but the level can be adjusted. This helps your stylist tailor the cut and the styling lesson to your reality.
Trust Your Stylist. A good stylist will assess your hair’s natural texture, growth patterns, and face shape. They might suggest modifications to the pictures you bring to ensure the cut flatters you specifically. Listen to their professional advice.
The Stylist’s Toolkit: The Cut That Does the Work For You
So, what is your stylist actually doing to create this effortless texture? It’s not a simple one-length trim. The modern shag is a technical cut that relies on specific techniques to build shape and movement directly into the hair.
Point Cutting: This is where the scissors are used to cut into the ends of the hair at an angle, rather than straight across. This creates softness, removes weight, and prevents that harsh, “just left the salon” line, encouraging the hair to fall in separate, choppy pieces.
Razor Cutting: Many stylists use a razor to carve out the shag’s signature texture. The razor slices through sections of hair, thinning it out and creating wispy, feather-light ends that are impossible to achieve with shears alone. This is especially effective for fine hair that needs to look thicker.
Texturizing/Notching: Using texturizing shears or a specific scissor technique, the stylist will remove strategic pieces of hair from the interior of a section. This isn’t about length; it’s about reducing bulk and allowing the outer layers to collapse gracefully around the internal structure, creating that coveted volume and airiness.
Building the Shape: The cutting is focused on creating a rounded shape—shorter layers at the crown to build height, with longer layers falling towards the perimeter to frame the face. This architectural approach is what makes the shag look full and dynamic, even on flat hair.
The “Effortless” Styling Routine: Your 5-Minute Daily Magic
Here’s where the “but isn’t” part of our title comes into play. The good news is that styling a shag is fast and uncomplicated. The bad news? Skipping these steps will leave you with a frizzy, shapeless mess. The goal is to enhance the texture your stylist built.
Step 1: Start with Texture. Never style a shag soaking wet. Towel-dry your hair until it’s just damp. Then, apply a texturizing spray or mousse from roots to ends. These products are the foundation of grit, hold, and separation.
Step 2: Diffuse for Volume. Flip your head upside down and use a blow dryer with a diffuser attachment. Scrunch your hair gently as you dry, focusing on lifting the roots. The diffuser prevents frizz while enhancing your hair’s natural wave pattern and creating insane volume. Don’t over-dry; aim for 90% dry.
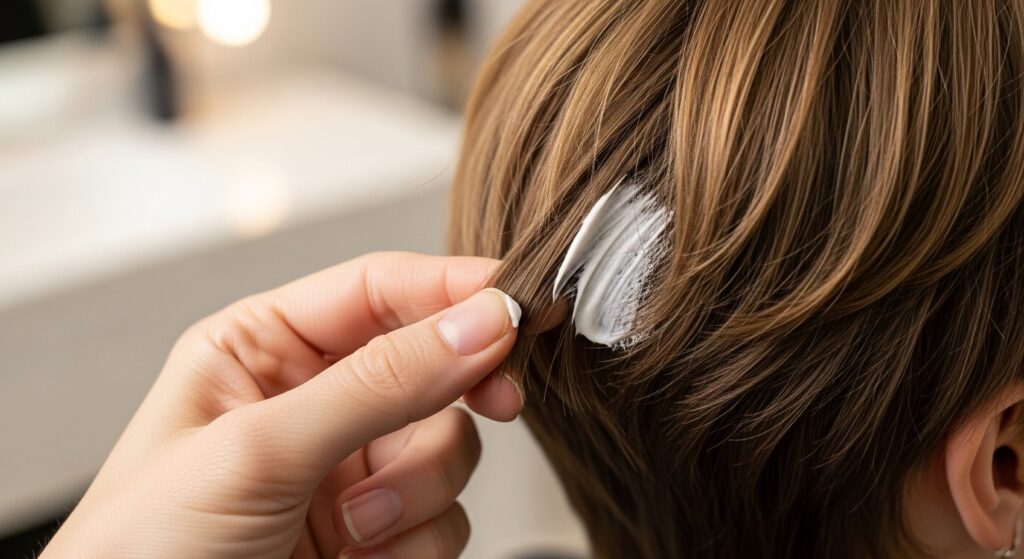
Step 3: The Piece-y Finish. Once your hair is dry, it’s time for the finishing touches. Rub a small amount of texturizing paste or wax between your fingers. Then, gently pinch and pull at the ends of your layers and your bangs to define those individual pieces. This is what creates that “rock star” separation.
Step 4: Root Lift (Optional).strong> For extra oomph, spritz a dry texturizing spray directly at your roots and gently tease with your fingers or a comb for a lived-in, voluminous effect.
The entire process should take no more than five to ten minutes. You’re not aiming for sleek perfection; you’re encouraging controlled chaos.
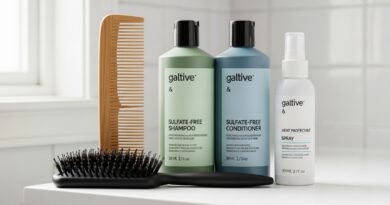
Essential Products for Maintaining the Shag Vibe
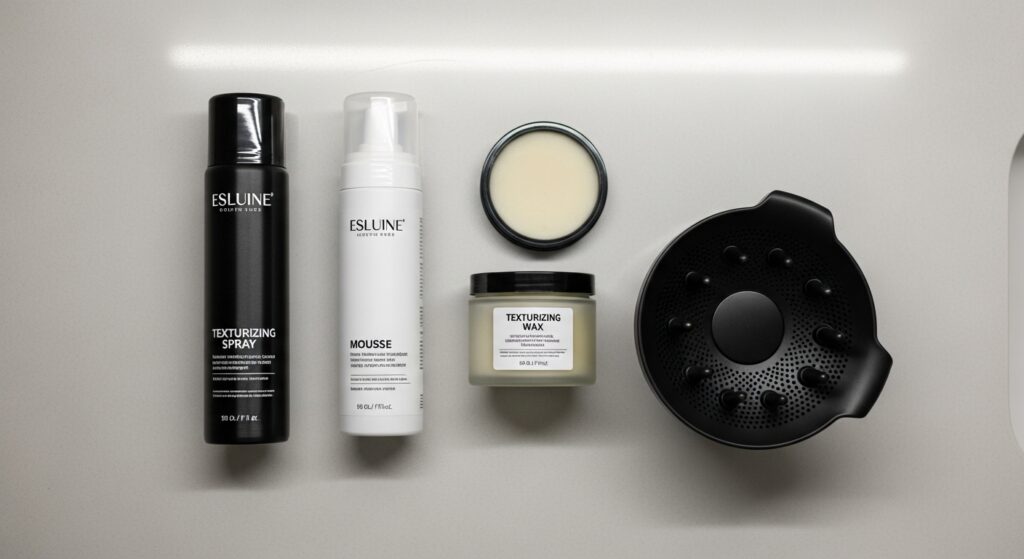
Your product arsenal is non-negotiable. Ditch the heavy serums and smoothing creams; they will weigh your shag down and destroy its texture. Here’s what you need instead:
Texturizing Spray: This is your holy grail. It adds grit, volume, and a light hold. Use it on damp hair before diffusing or on dry hair to refresh second-day hair and add root lift.
Sea Salt Spray: Perfect for enhancing natural waves and creating a beachy, piece-y texture. It provides a more relaxed, matte finish compared to texturizing spray.
Lightweight Mousse: A volumizing mousse applied to damp roots gives body and hold without crunchiness. It’s the secret to that “big on top” shape.
Texturizing Paste or Wax: This is your tool for definition. Use a tiny amount to piece out the ends of your bangs and layers, creating that intentional, choppy look.
Dry Shampoo: A shag’s best friend. It absorbs oil at the roots, adds volume, and provides that extra bit of texture on non-wash days. It’s the key to extending the life of your style.
Is the Short Shag Right for You? Hair Types & Face Shapes
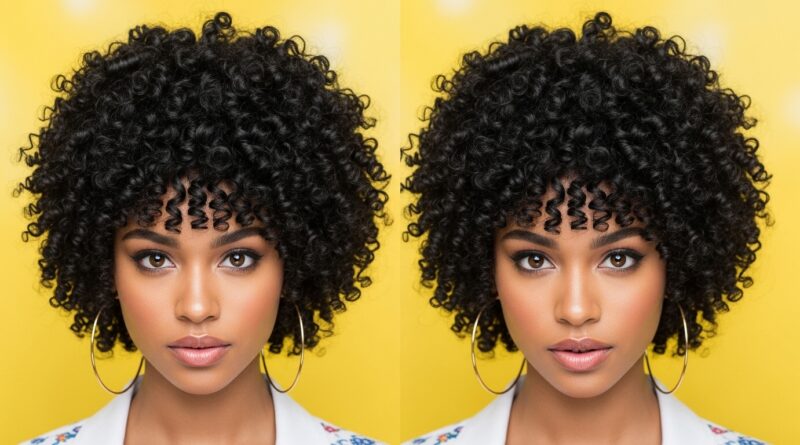
The beautiful thing about the modern shag is its adaptability. While it’s a star on those with naturally wavy or curly hair, it can be customized for almost anyone.
For Fine Hair: The shag is a miracle worker. The internal texturizing removes weight, creating the illusion of thickness and volume that fine hair often lacks. A razor cut can add incredible movement and body.
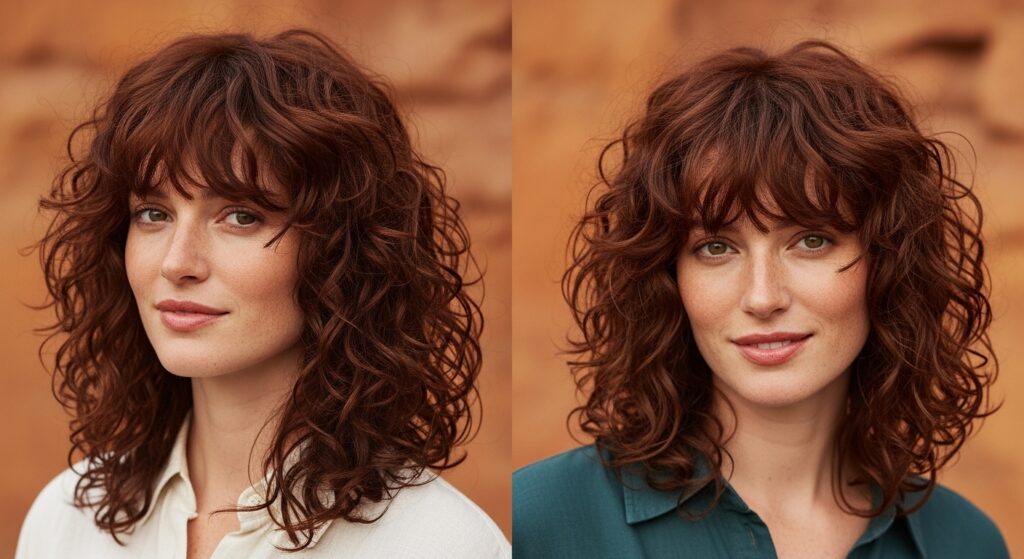
For Thick or Curly Hair: The shag is perfect for managing bulk. The layers help to distribute volume and can enhance curl patterns by freeing up tight curls and creating a beautiful, cascading shape. The key is a stylist experienced with curly cutting techniques.
For Straight Hair: Yes, straight-haired folks can rock a shag! The cut will rely more heavily on the internal texturizing and point cutting to create movement and piece-y-ness that your hair wouldn’t have naturally. You’ll use styling products to create the texture.
Face Shape Considerations: A skilled stylist can tailor a shag to flatter any face shape. Long layers can soften a square jaw, while full bangs can balance a long face. The face-framing layers are inherently flattering, drawing attention to the eyes and cheekbones.
Keeping the Magic Alive: Maintenance & Trims
To keep your shag looking sharp and not sloppy, regular maintenance is crucial. Because the cut is so dependent on its precise texture and shape, it can grow out quickly.
Schedule Trims Every 6-8 Weeks. This is not a cut you can forget about for six months. The layers will lose their definition, the ends will become bulky, and the shape will collapse. Regular trims maintain the architectural integrity of the cut.
Communicate with Your Stylist. At your maintenance appointment, talk about what you loved and what you found challenging about the cut. Your stylist can tweak the shape, adjust the bang length, or change the texturizing to better suit you as the cut evolves.
The short shag is more than a haircut; it’s an attitude. It’s a declaration of confidence, a embrace of texture, and a commitment to a style that is as dynamic as you are. It may require a sharp stylist and a can of texturizing spray, but the result—a head-turning, effortlessly cool look that is uniquely yours—is worth every bit of the (not-so) effort.