How to Perfect straight pixie Hair Without a Trip to the Salon
There’s something undeniably chic about a sharp, straight pixie cut. It’s a statement of confidence, a blend of elegance and edge that turns heads. But for those of us who rock this daring look, the struggle is real: how do you maintain that razor-sharp, salon-fresh perfection without living at the stylist’s chair? The fear of a grown-out, shapeless, or frizzy pixie can be enough to make you consider growing it out.
Fear not! With the right techniques and a little know-how, you can become the master of your own mane. This comprehensive guide will walk you through every step of achieving and maintaining a flawless straight pixie cut from the comfort of your own bathroom. Get ready to say goodbye to bad hair days and hello to a perfectly polished pixie, on your own terms.
The Foundation: Washing and Drying for a Flawless Base
Great styling starts in the shower. The products and techniques you use during your wash routine set the stage for everything that follows. For a straight pixie, the goal is smoothness, volume at the crown, and zero frizz.
Begin by choosing a volumizing or smoothing shampoo and conditioner, tailored to your hair’s specific needs. If your hair is fine, a volumizing formula will lift the roots. If it’s thick or prone to frizz, a smoothing system will help tame it. When applying conditioner, focus only on the mid-lengths to ends—avoid the roots at all costs. Weighing down the root area is the enemy of a perky pixie.
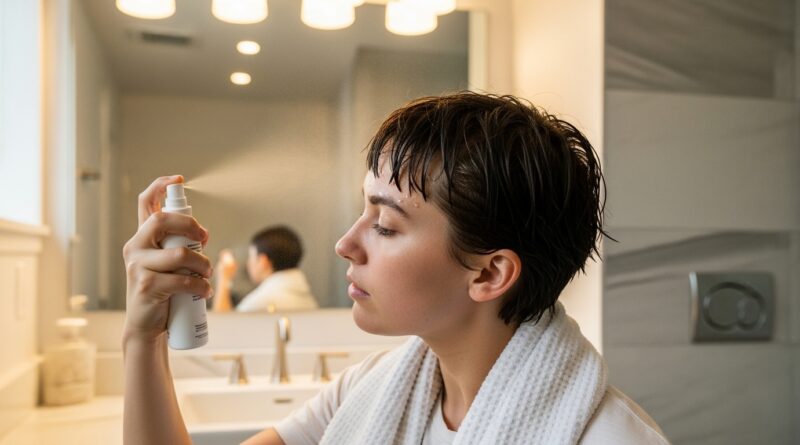
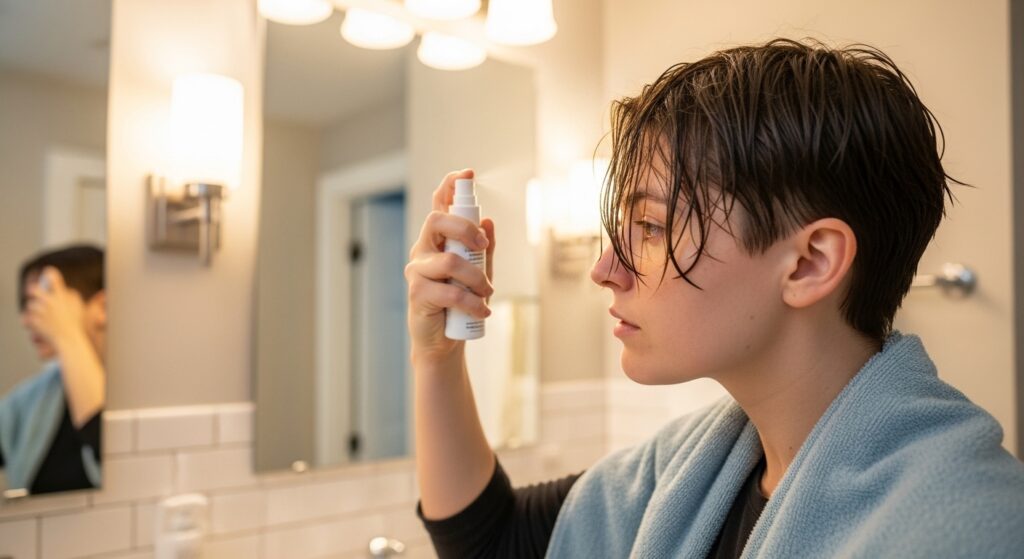
The drying process is arguably more critical than the washing. Never, ever rub your hair with a towel. This roughs up the hair cuticle, creating instant frizz. Instead, gently squeeze out excess water with a microfiber towel or an old cotton t-shirt. Then, while your hair is still damp, apply a heat protectant spray. This is non-negotiable. It shields your delicate strands from styling damage and often adds a layer of smoothness.
The Art of the At-Home Maintenance Trim
Regular trims are the secret to a pixie that always looks intentional, not grown-out. While a major reshape is best left to professionals, you can easily maintain your neckline and tidy up your edges between appointments.
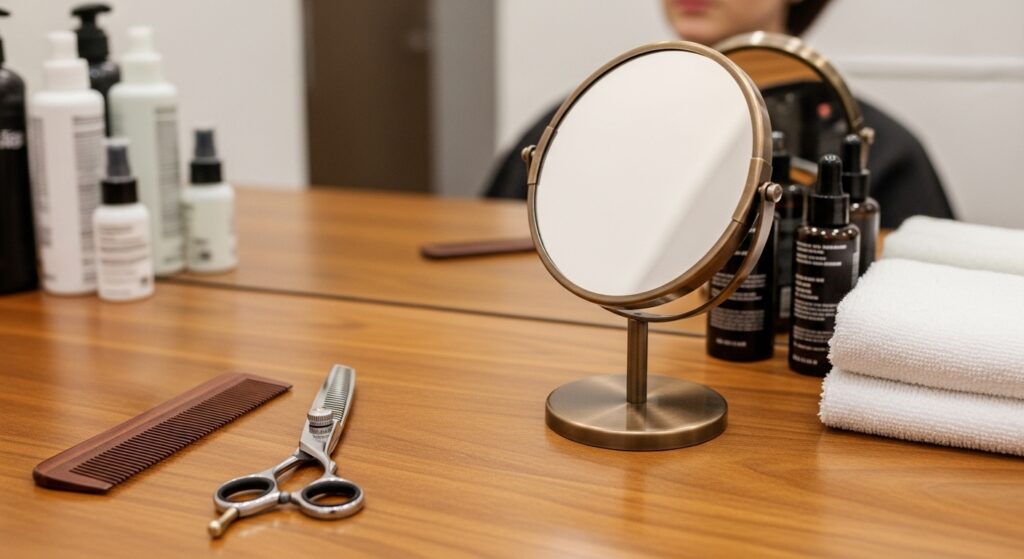
Invest in a pair of professional-grade, sharp hairdressing shears. Using kitchen or craft scissors will crush the hair shaft, leading to split ends and an uneven look. For a straightforward trim, start with the back. Using a handheld mirror to see the back of your head, carefully snip any stray hairs along your hairline to keep it clean. For the sides and around your ears, use a comb to pull sections down and trim them evenly. The golden rule? Trim less than you think you need to. You can always take more off, but you can’t put it back.
If you’re feeling brave, you can also point-cut the very ends of your top sections to soften any thickness and blend layers. Hold the shears vertically and make small, upward snips into the ends of your hair. This technique removes weight without creating a harsh, blunt line.
Mastering the Blow-Dry: Your Path to Pixie Perfection
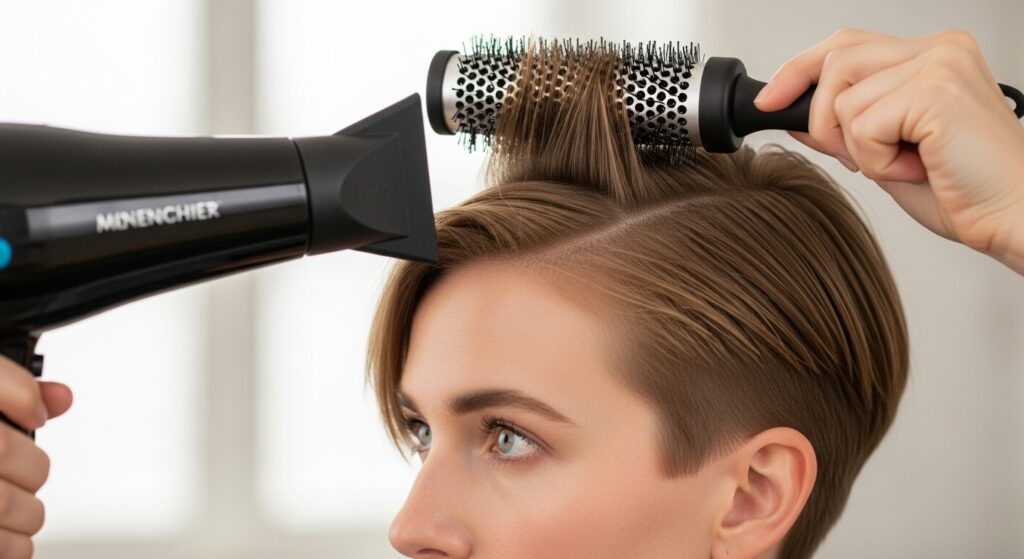
This is where the magic happens. A proper blow-dry is what transforms your hair from “just washed” to “salon-styled.” You will need a good blow dryer with a concentrator nozzle and a medium-sized, round brush.
Start by applying a light mousse or volumizing spray to your roots. Tilt your head forward and dry the hair at the nape of your neck first, directing the airflow down the hair shaft to smooth the cuticle. Then, focus on the crown—this is the area that gives your pixie its lift and shape. Use your round brush to lift sections at the root, drying them thoroughly while directing the heat from the roots to the ends.
For the sides and front, use the brush to guide the hair into your desired style. Whether you wear it swept to the side or straight back, always point the nozzle of the dryer down the hair shaft. This simple trick is the key to banishing frizz and achieving a glossy, smooth finish. Don’t forget to hit the “cool shot” button on your dryer at the end to set the style.
The Flat Iron Finishing Touch
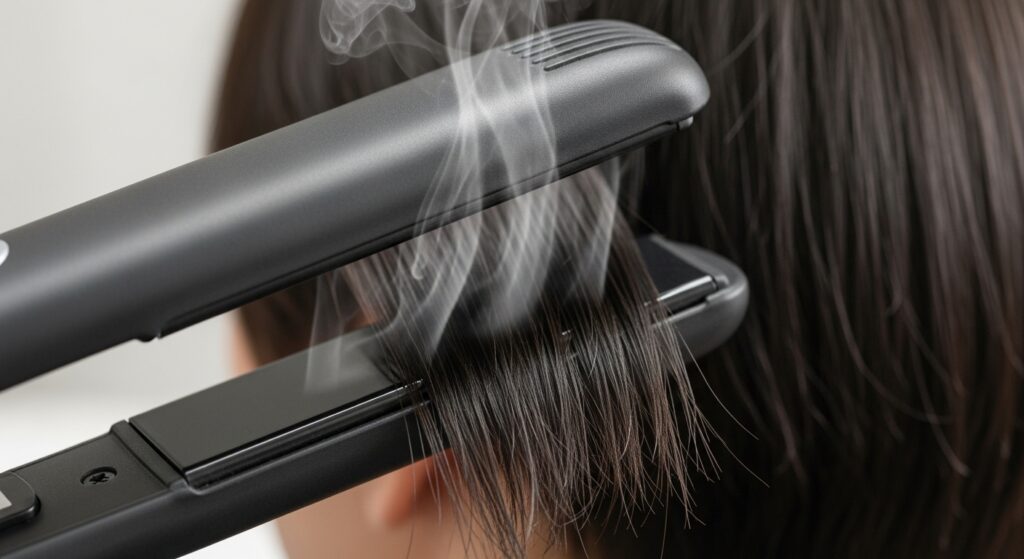
For an ultra-sleek, razor-sharp finish, a flat iron is your best friend. But it must be used correctly to avoid damage and ensure a natural look.
First, ensure your hair is completely dry before the iron touches it. Using a flat iron on damp hair is a recipe for sizzling and breakage. Set your iron to a medium heat setting—around 300-350°F is sufficient for most hair types to achieve straightness without scorching.
Work in small, manageable sections. Clamp the iron at the root, give it a slight twist away from the face for added texture and volume, and then glide it smoothly down the length of the hair strand. Don’t clamp too hard or go over the same section repeatedly. For the pieces around your face, be extra careful to create a clean, sharp line. This final step will erase any remaining kinks and give you that iconic, polished pixie silhouette.
Conquering the Elements: Frizz and Flyaway Control
Even the most perfectly styled pixie can fall victim to humidity and static. The solution lies in your product arsenal and a few clever tricks.
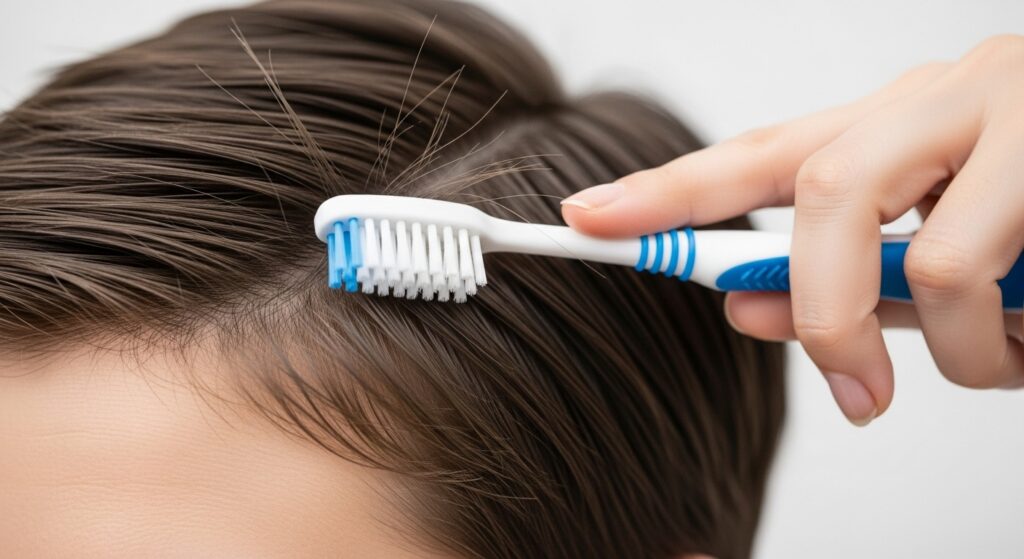
A light-hold hairspray is ideal for locking in your style without making it stiff or crunchy. Hold the can about 10 inches away and mist lightly over your entire head. For stubborn flyaways, the secret weapon is a toothbrush or a clean, disposable mascara wand sprayed with a light-hold hairspray or a dab of hair wax. Gently glide it over the unruly hairs to coax them back into place.
If you suffer from frizz, a single drop of silicone-based serum or a light hair oil applied to your palms and smoothed over the surface of your hair can work wonders. Remember, less is more—you can always add more, but too much will make your hair look greasy and weighed down.
Overnight Care and Next-Day Revival
You don’t need to start from scratch every single day. With proper overnight care, you can wake up with a style that’s 80% ready to go.
Sleep on a silk or satin pillowcase. This simple switch reduces friction dramatically, preventing bedhead and frizz. If your pixie is particularly short, you can even try a loose, silk bonnet.
On day two, your style revival is simple. If your roots have fallen flat, spritz them with a dry shampoo or a texturizing spray. This will absorb any oil and add instant grit and volume. Use your fingers to fluff and reshape the crown. For any kinks that formed overnight, a quick pass with the flat iron on those specific sections is all you need. This process takes minutes but makes it look like you just left the salon.

Your At-Home Pixie Toolkit: Essential Products
Having the right products is half the battle. You don’t need a cabinet full of bottles, just a few key players.
Volumizing or Smoothing Shampoo/Conditioner: The foundation of your style. Heat Protectant Spray: Your mandatory shield against heat damage. Light-Hold Mousse or Root Lifter: For that all-important volume at the crown. A Quality Blow Dryer with a Nozzle: For control and smoothness. A Round Brush: To create lift and shape. Flat Iron: For the final sleek finish. Light-Hold Hairspray: To lock it all in. Dry Shampoo/Texturizing Spray: For second-day magic. Hair Serum or Wax: To tame flyaways and add polish.