
How to Get messy braid Hair That Looks Effortless (But Isn’t)
We’ve all seen her. The woman with the impossibly cool, slightly undone braid that looks like she tossed it up in five seconds on her way out the door, yet it holds all day with an air of casual elegance. It’s the messy braid—a hairstyle that whispers “I woke up like this” but secretly requires a bit of know-how to achieve. The truth is, that perfectly imperfect, textured, and romantic braid is rarely an accident.
If your attempts at a messy braid often end up looking more like a bird’s nest or, conversely, a stiff and overly polished plait, you’re not alone. The key lies in understanding that this isn’t just a lazy version of a neat braid; it’s a different technique entirely. It’s about strategic texture, controlled looseness, and a few product secrets that separate a haphazard tangle from an artfully disheveled masterpiece.
This guide will walk you through the entire process, from prepping your hair to the final, crucial tug-and-pull that makes all the difference. Get ready to master the art of looking like you didn’t try, even when you absolutely did.

Why the “Messy” Braid is a Masterpiece of Contradiction
Before we dive into the how, let’s appreciate the why. The messy braid’s enduring popularity isn’t just a fluke. It’s a hairstyle that balances several appealing contradictions. It’s bohemian yet chic, relaxed yet put-together, and soft yet structured. It works for a music festival, a day at the office, a weekend brunch, or even a wedding. It hides less-than-fresh hair while looking intentionally stylish. It’s the ultimate versatile ‘do.
More importantly, the messy braid is incredibly forgiving. Unlike a sleek, tight braid that highlights every bump and uneven section, a messy braid celebrates them. It doesn’t demand perfection, which is precisely what makes it so perfect for real life. The goal is not disarray, but a carefully curated sense of ease and volume.
Step 1: The Foundation – Prepping for Perfect Texture
You cannot build a sturdy, beautiful house on a weak foundation, and the same goes for your messy braid. The single most important step happens before you even begin braiding. The goal here is to create grip, texture, and a little bit of “grit” in your hair. Squeaky-clean, silky-smooth hair is your enemy; it will slip and fall flat.
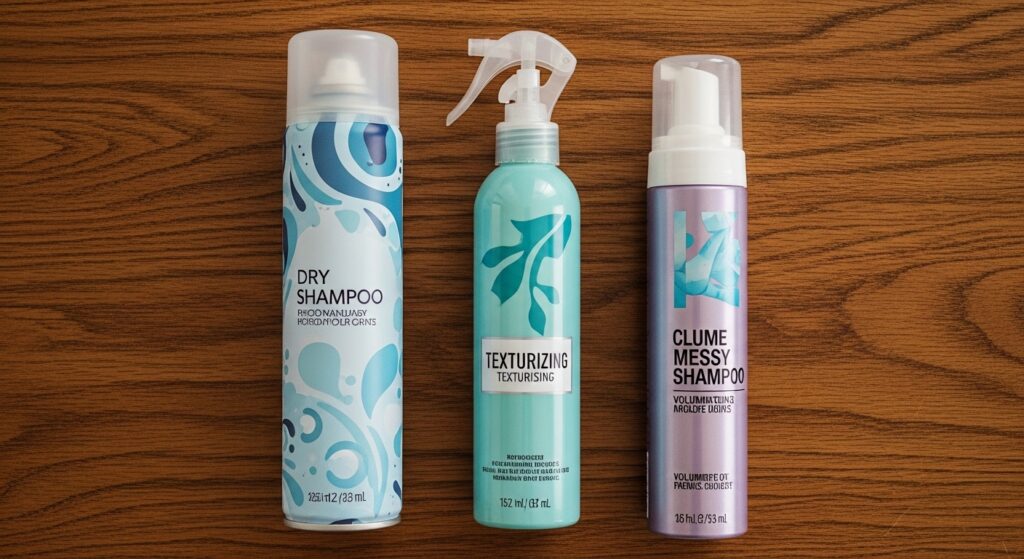
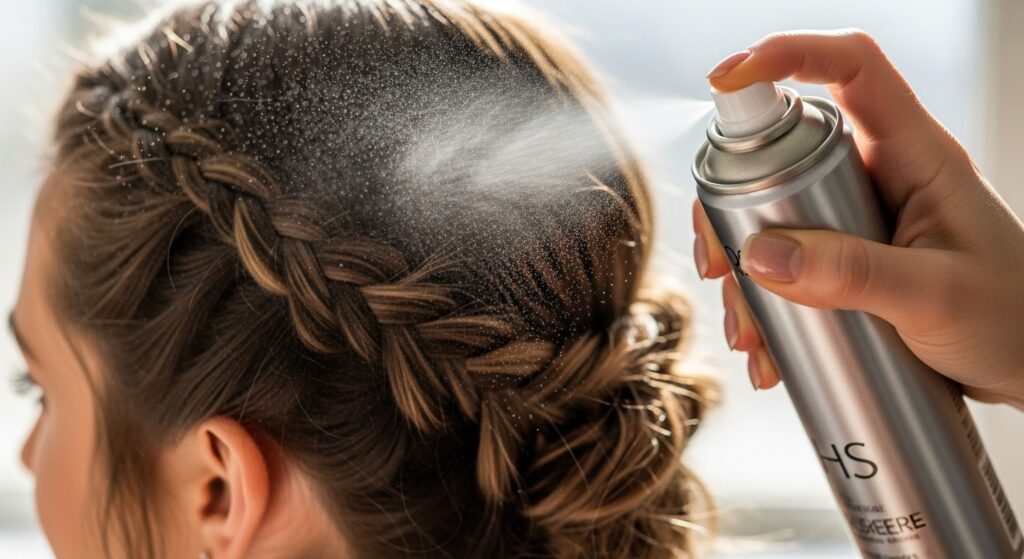
Start with Day-Old Hair: The natural oils and slight residue from your previous style provide the perfect amount of texture and hold. If you must wash your hair, skip the conditioner or only apply it to the ends. Alternatively, spray a dry shampoo at your roots and through the mid-lengths. Dry shampoo is your best friend here—it soaks up oil, adds volume, and creates that essential grip.
Embrace Texturizing Products: After dry shampoo, consider a texturizing spray or sea salt spray. Spritz it throughout your hair, focusing on the mid-lengths and ends. These products are designed to mimic the texture of beachy waves, creating separation and a slightly roughened surface that braids beautifully. Scrunch your hair as you apply to encourage natural wave patterns.
Step 2: The Braiding Technique – It’s All in the Tension
This is where the magic happens, and it’s the step most people get wrong. You are not braiding tightly and neatly. You are creating a loose, flexible structure that you will later manipulate.
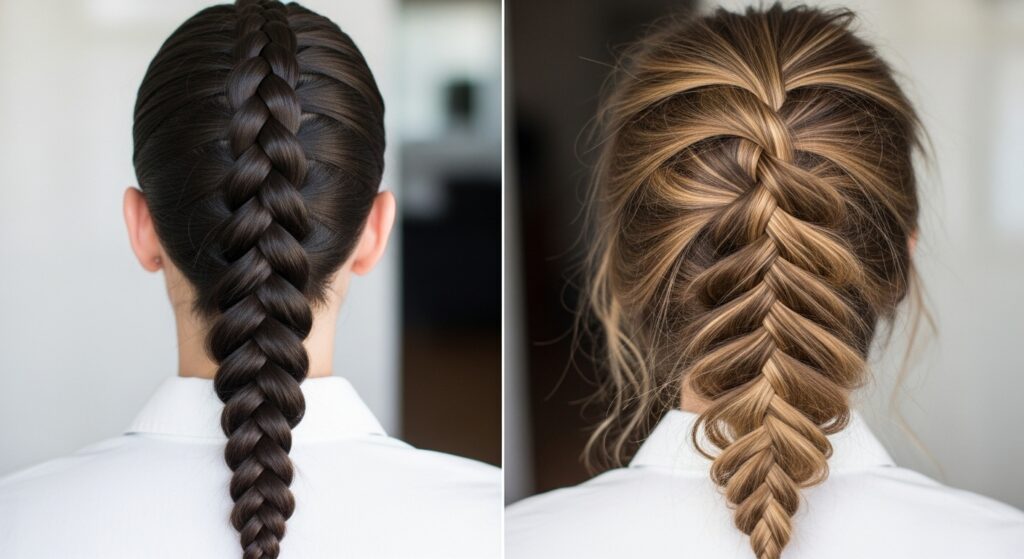
Choose Your Braid: A classic three-strand braid works wonderfully, but a fishtail braid creates an especially beautiful, intricate messy look. A Dutch braid (braiding under instead of over) will give you incredible volume from the start.
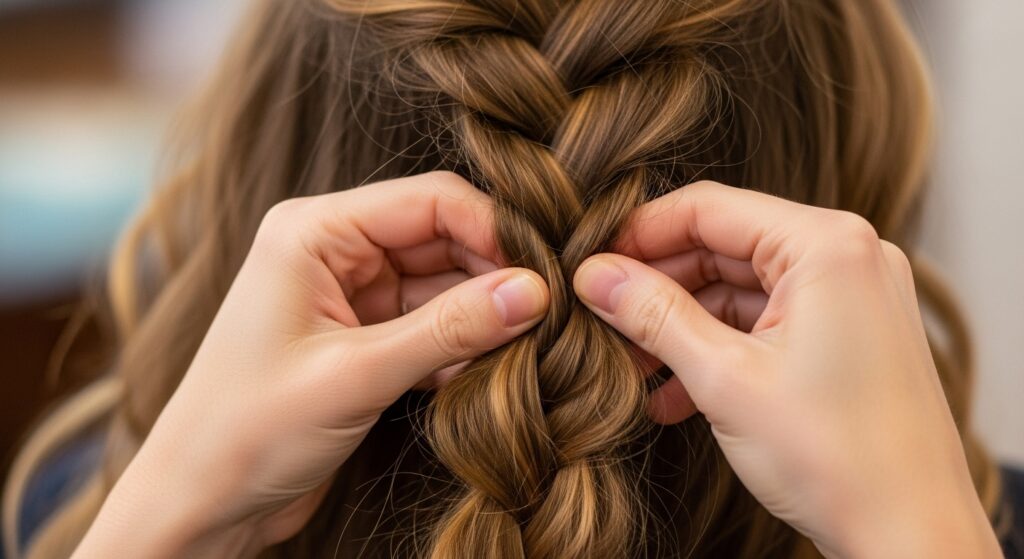
The “Loose Grip” Method: As you braid, hold the sections loosely. Let the strands slip a little between your fingers. Don’t pull them taut. Instead of braiding directly against your scalp, allow a little space. Think of yourself as creating a relaxed, slouchy framework rather than a tight, constricted one. The braid should feel soft and malleable in your hands as you work your way down.
Secure the End (Temporarily): Once you’ve finished the braid, use a thin, clear elastic to secure the very end. Don’t use a thick, colored hair tie at this stage, as it will be more visible later and harder to hide.
Step 3: The Transformation – The Art of the Pull & Tug
This is the most crucial step—the one that transforms a basic, loose braid into a voluminous, messy masterpiece. This requires patience and a gentle touch.
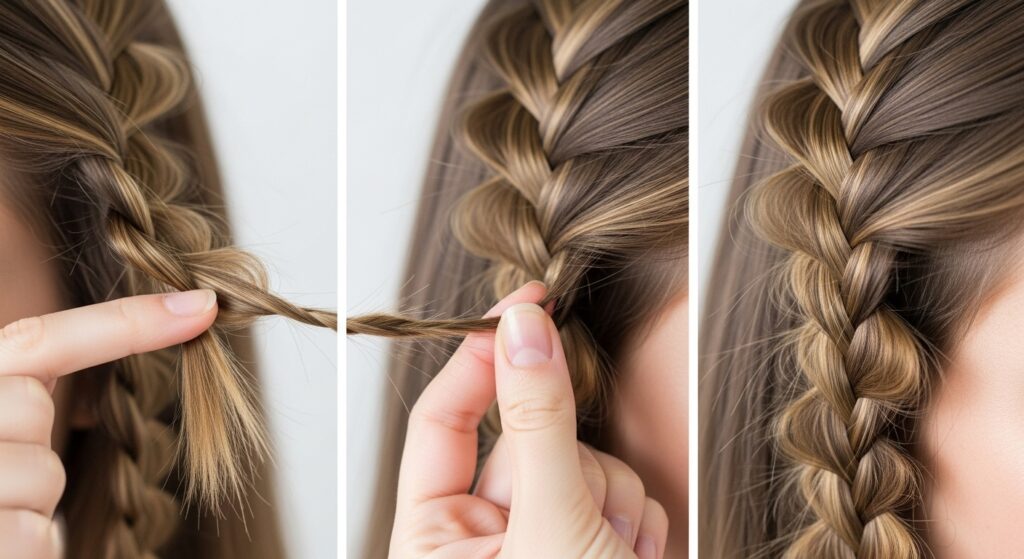
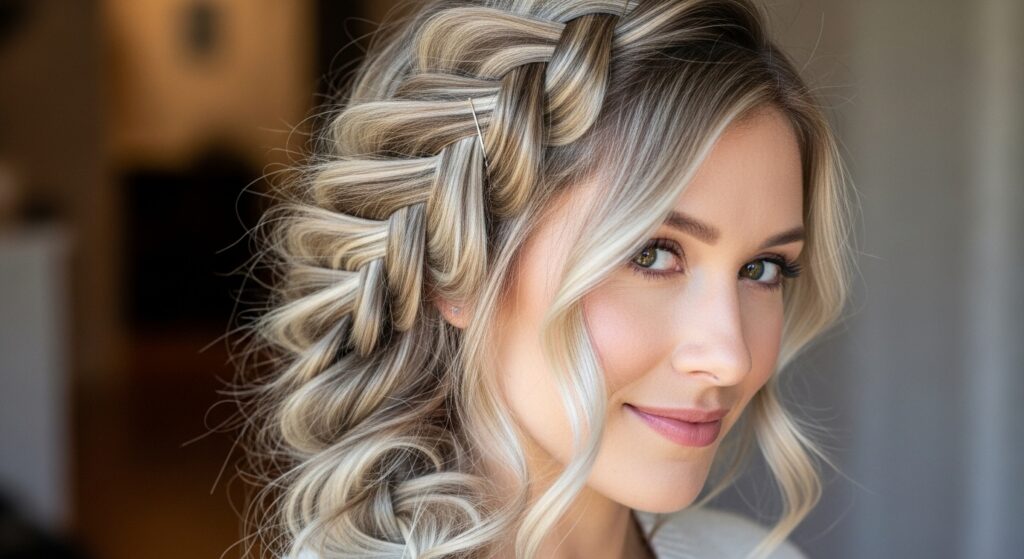
Start from the Top: Begin gently pulling apart the sections of your braid from the top down. Use your fingertips to gently tug each “bump” or loop of the braid outward. Do this on both sides, alternating to keep the braid balanced. The goal is to create width and volume, making the braid look fuller and more substantial.
Loosen the Edges: Next, focus on the hairline. Gently pull out a few small, face-framing pieces around your forehead and temples. These wispy bits are non-negotiable for the effortless look. They soften your features and make the style appear less constructed.
Create Strategic Flyaways: Don’t be afraid to pull a few more pieces out from the body of the braid itself. The key is to make it look intentional, not like your braid is falling apart. Pull out shorter pieces that naturally want to escape, and leave longer strands securely in place.
Step 4: The Finishing Touches – Locking in the “Effortless”
Your braid now looks perfectly imperfect, but you need to make sure it stays that way. A few final touches will lock in the style and elevate it further.
Secure and Hide: If you used a thin, clear elastic, you can often leave it as is. For a more invisible finish, take a small section of hair from the bottom of the braid and wrap it around the elastic, securing it with a bobby pin tucked underneath. This hides the elastic completely.
Flexible Hold: Lightly mist the entire style with a flexible-hold hairspray or a texturizing spray from a distance. This will tame any true frizz without making the braid look stiff or crunchy. The goal is to maintain movement.
Add Shine and Separation: Rub a tiny drop of hair serum or oil between your palms and gently run your hands over the surface of the braid, focusing on the pulled-out pieces and the ends. This adds a healthy-looking shine and helps further separate the strands for that final touch of “I just came from the beach” texture.
Pro Tips and Troubleshooting for the Perfect Messy Braid
Even with the steps, you might hit a few snags. Here’s how to solve common messy braid problems.
If Your Hair is Slippery or Silky: Prep is even more critical. Use a texturizing spray and a light-hold mousse before braiding. You can also try braiding your hair when it’s slightly damp and letting it dry in the braid for more texture and wave.
If Your Braid Looks Too “Done” After Pulling: You might not be pulling enough! Go back in and be a little more aggressive with your tugging. Sometimes it takes a bit of courage to really tear it apart. Remember, you can always pull out a few more pieces.
If It Just Looks Messy, Not “Artfully” Messy: This usually means the initial braid was too messy. The structure needs to be there first. Try starting with a slightly neater, but still loose, braid and then doing the pull-and-tug method. Control is the secret to controlled chaos.
For Ultimate Volume: Before braiding, tease the hair at your crown lightly with a comb. Then, when you do your Dutch braid or pull the braid apart, you’ll have an incredible base of volume to work with.
Embrace the Ease: Your New Go-To Hairstyle Awaits
Mastering the messy braid is like learning a life hack for your hair. It’s a style that saves time, looks incredibly stylish, and works for almost any occasion. It celebrates the natural texture and movement of your hair, turning what might be considered “flaws” into the star of the show.
The most important ingredient, however, is confidence. Don’t strive for a carbon copy of a picture you saw online. Your version of the messy braid will be unique to your hair type, length, and texture. Embrace the slight imperfections, the wispy bits that refuse to be tamed, and the unique shape your braid takes. That is the true essence of “effortless.”