How to Perfect curly bob Hair Without a Trip to the Salon
There’s something undeniably chic and effortlessly cool about a curly bob. It’s a statement cut that frames the face, showcases personality, and celebrates natural texture. But for many curly-haired individuals, the dream of a bouncy, defined bob can quickly turn into a frustrating battle with frizz, triangle-head, and a lack of shape. The instinct? Book an immediate appointment with your trusted stylist.
But what if you could achieve that salon-fresh look from the comfort of your own bathroom? What if you could master the art of the curly bob on your own terms, saving both time and money? It’s entirely possible. Perfecting your curly bob at home is not about magic; it’s about method. It’s about understanding your curls, using the right techniques, and embracing a routine that enhances your natural texture. This guide will walk you through every step, from wash day to refresh day, ensuring your curly bob looks like it just stepped out of a high-end salon, even if you haven’t left the house in days.
Laying the Foundation: The Perfect Wash Day Ritual
A flawless curly bob starts in the shower. Your wash day routine sets the stage for everything that follows, so it’s crucial to get it right. This isn’t just about getting your hair clean; it’s about priming your curls for maximum definition and longevity.
First, consider your shampoo. A sulfate-free, moisturizing shampoo is non-negotiable for curly hair. Sulfates are harsh detergents that strip your hair and scalp of their natural oils, leading to dryness and frizz. Instead, look for gentle cleansers that contain hydrating ingredients like shea butter, coconut oil, or aloe vera. Focus on massaging the shampoo into your scalp to remove buildup, and let the suds gently clean the lengths of your hair as you rinse.
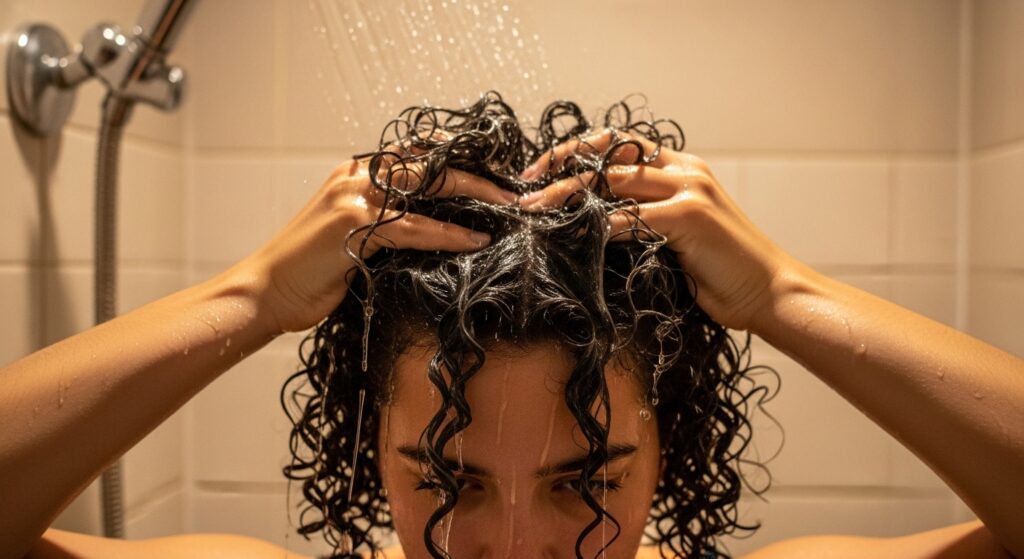
Next comes conditioner, your curl’s best friend. Apply a generous amount of a rich, creamy conditioner from your mid-lengths to your ends. This is where the “squish to condish” method becomes your secret weapon. As you rinse out the conditioner, flip your head upside down and use a cupping motion to “squish” sections of your hair upward towards your scalp. This audible “squish” sound is a sign you’re encouraging water into your hair cuticle, which is essential for hydration and curl formation. You can choose to rinse out all the conditioner for finer hair or leave a little in for extra moisture if your curls are particularly thirsty.
Styling for Definition and Bounce
This is where the magic happens. The key to a perfect curly bob is styling on sopping wet hair. Do not towel-dry your hair with a regular towel. The rough texture of a standard bath towel creates friction, which disrupts your curl pattern and causes frizz. Instead, use a soft, microfiber towel or an old cotton t-shirt to gently scrunch out excess water. Your hair should still be dripping wet when you apply your products.
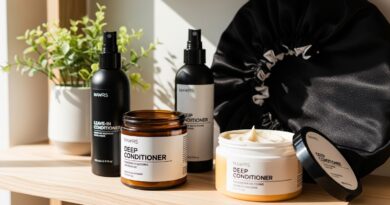
Now, for the product lineup. A leave-in conditioner is your first layer, providing a base of moisture. Follow this with a curl-defining cream or gel. The choice between cream and gel often depends on your curl type and desired hold. Creams offer a softer, more natural hold, while gels provide a stronger cast that locks in shape and fights frizz. Don’t be afraid of gel! The “crunch” is a good thing and can be gently scrunched out once your hair is completely dry to reveal soft, defined curls.
Apply your products using the “praying hands” method—smoothing the product over sections of your hair—followed by more “scrunching” to encourage those beautiful bob-shaped clumps. For extra volume at the roots, gently lift sections at the crown and place a small claw clip while it dries. This simple trick prevents your bob from going flat on top.

The Art of Drying: Patience is a Virtue
How you dry your hair can make or break your style. The gold standard for frizz-free, defined curls is air-drying. It takes time, but the results are worth it. As your hair air-dries, resist the urge to touch it! Constantly fiddling with your curls as they dry is a surefire way to introduce frizz.
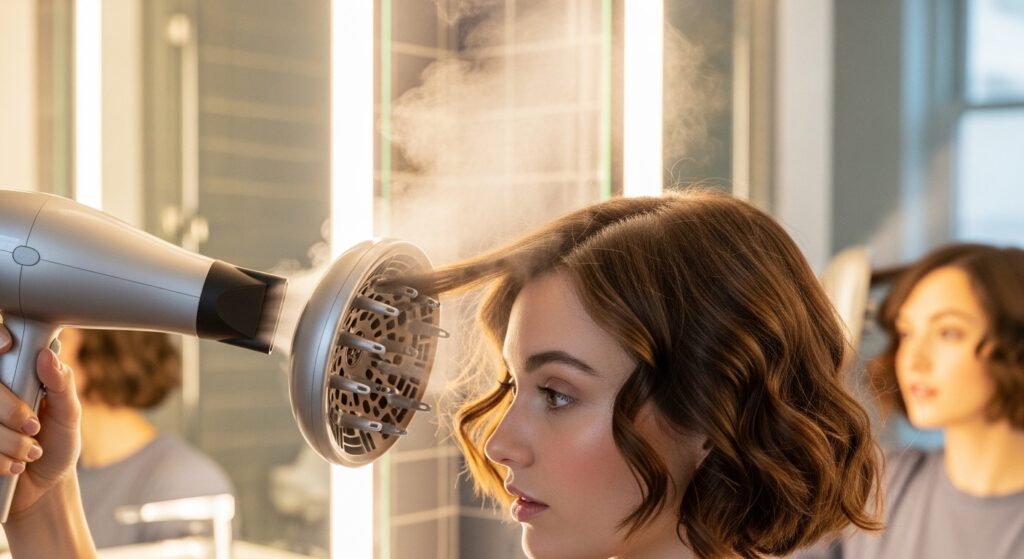
If you’re short on time, a diffuser is your best friend. Attach it to your hairdryer and use a low heat and low speed setting. The key technique here is “hovering.” Place your curls into the diffuser bowl, but don’t press it directly against your scalp. Instead, hover the diffuser around the roots to set the shape, then gently lift sections of your hair into the bowl and hold it there for a minute or two before moving on. This method dries your curls without blasting them apart, preserving their clumped definition and volume.
Once your hair is 100% dry, you can “scrunch out the crunch.” If you used a gel that formed a hard cast, gently scrunch your hair with your hands or a tiny bit of hair oil on your palms. This breaks the cast and leaves you with incredibly soft, touchable, yet perfectly defined curls.
Mastering the Refresh: Waking Up Your Second-Day (and Third-Day) Curls
Waking up to a flattened, misshapen curly bob can be disheartening, but don’t reach for the shampoo bottle just yet! A good refresh can bring your style back to life in minutes. The goal is to add moisture and redefine your curls without weighing them down.
Start by fluffing your roots with your fingers to bring back some volume. For frizz and flyaways, mix a small amount of leave-in conditioner or curl cream with water in a spray bottle. Lightly mist your hair all over—you want to dampen it, not soak it. Then, using a praying hands motion followed by scrunching, gently re-shape your curls. Pay special attention to the ends and any particularly frizzy sections.
For a more targeted approach, you can also use the “pencil method.” Dip the end of a pencil or the tip of your finger into a tiny bit of water, then into your styling product (a light cream or gel), and gently twirl and smooth it around any frizzy or undefined strands to coax them back into formation with the rest of your curls.

Advanced Tips and Tricks for the Perfect Shape
Once you’ve mastered the basics, a few advanced techniques can elevate your curly bob from great to absolutely stunning.
Fighting the “Triangle” Shape: A common fear with curly bobs is the dreaded triangular shape—flat on top and wide at the bottom. To combat this, focus on creating layers during your styling. When applying product, ensure you’re raking or praying hands it all the way to your roots for support. When diffusing, dry the roots first to lift them, and be mindful of not over-scrunching the very bottom of your bob, which can make it flare out.
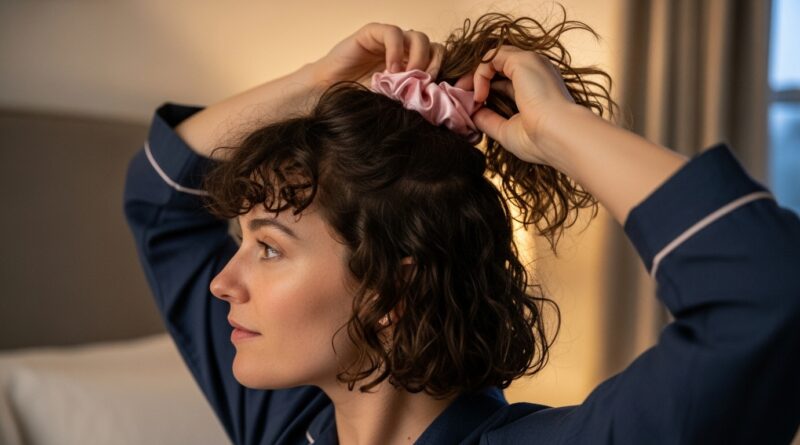
Pineappling for Preservation: To maintain your style overnight, “pineapple” your hair. Loosely gather all your hair at the very top of your head and secure it with a loose, spiral hair tie or a scrunchie. This prevents your curls from being crushed against your pillow while you sleep. For shorter bobs that won’t quite reach, a satin or silk bonnet is the perfect alternative.
The Power of a Silk Pillowcase: Speaking of sleep, investing in a silk or satin pillowcase is one of the best things you can do for your curls. The smooth surface creates less friction than cotton, drastically reducing frizz and helping your style last longer.

Embracing Your At-Home Curly Bob
Perfecting your curly bob at home is a journey of experimentation and self-discovery. It’s about learning what your unique curls love and building a routine that works for your lifestyle. It might take a wash cycle or two to find the perfect product combination, but the payoff is immense. You’ll gain a new level of confidence and a deep appreciation for your natural texture.
So, put down the phone, step away from the salon booking website, and embrace the power you have to style your own hair. With these techniques in your arsenal, you are fully equipped to create a bouncy, defined, and head-turning curly bob that looks and feels professionally done, all from the comfort of your own home. Your perfect curl day is waiting.