How to Get natural twist Hair That Looks Effortless (But Isn’t)
You’ve seen it all over your social media feed and on your favorite celebrities: that perfect head of twist hair that looks soft, bouncy, and completely effortless. It’s the kind of style that whispers, “I just rolled out of bed like this,” while simultaneously commanding every bit of attention in the room. But let’s be real—achieving that coveted “effortless” look often requires anything but.
The truth is, the most beautiful, natural-looking twists are born from a meticulous process of preparation, technique, and aftercare. The goal isn’t to have twists that look stiff, perfect, and manufactured. The goal is to have twists that look like your hair, just more defined, more vibrant, and utterly stunning.
If you’re ready to unlock the secrets to getting twist hairstyles that look like they were done by a pro (even if you’re doing them yourself), you’re in the right place. This is your comprehensive guide to faking that effortless vibe, from the ground up.
It All Starts in the Shower: The Foundation of Perfect Twists
You cannot build a castle on sand, and you cannot build beautiful twists on unprepared hair. The journey to effortless-looking twists begins with your wash day routine. This is where you set the stage for moisture, definition, and longevity.
Cleansing is Key: Start with a clarifying shampoo if you have significant product buildup, otherwise, a gentle, moisturizing shampoo will do. The aim is to have a clean slate—a scalp and hair strands free of dirt, oils, and old product that can prevent moisture from penetrating effectively.
The Deep Conditioning Non-Negotiable: This is the single most important step for preventing your twists from looking dry and frizzy. After shampooing, apply a rich, penetrating deep conditioner. Focus on your ends, which are the oldest and most fragile part of your hair. Use heat (like a steamer or a warm towel) to help the conditioner work its magic for at least 20-30 minutes. This step ensures your hair is supple, strong, and hydrated from the inside out, making it more pliable for twisting.
The Leave-In Layer: Once you’ve rinsed out the deep conditioner, it’s time to lock in that hydration. Apply a leave-in conditioner to your damp hair. This acts as a base layer of moisture that your twists will draw from for days or even weeks to come.
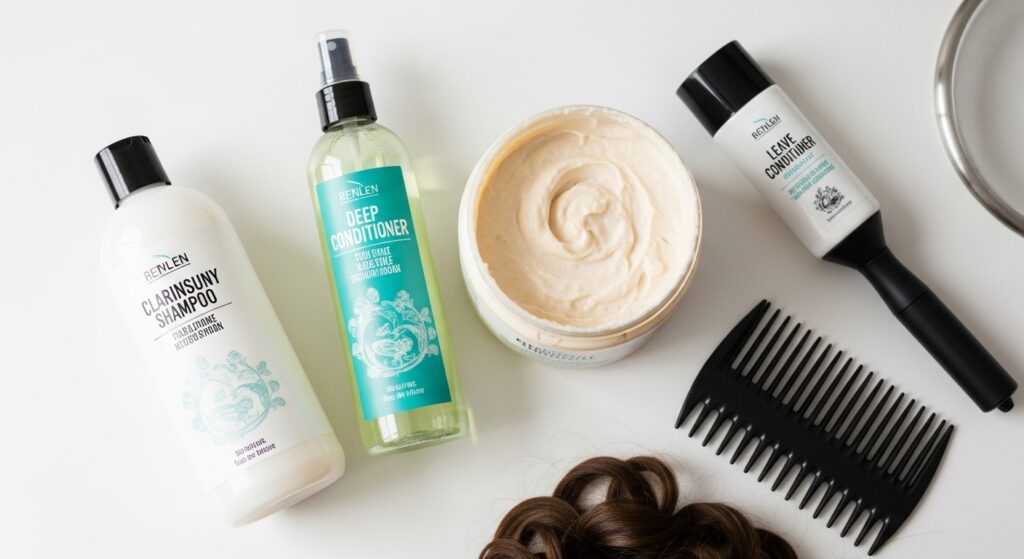
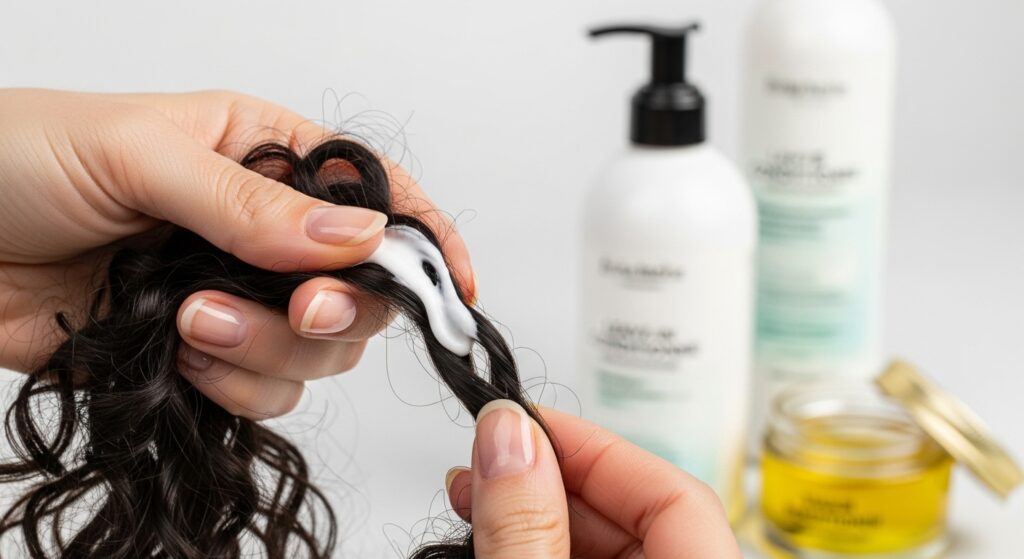
Your Styling Arsenal: Choosing the Right Products for the Job
Using the right products in the right order is what separates stiff, crunchy twists from soft, touchable ones. The “effortless” look is all about movement and softness, so your product selection is critical.
The Moisturizer: Your leave-in conditioner is your foundation, but you might need a cream-based moisturizer on top for extra softness, especially for thicker hair types.
The Styler (This is the Secret Weapon): This is what gives your twists definition and hold. However, not all stylers are created equal. To avoid that helmet-head look, steer clear of heavy, thick gels that dry hard. Instead, opt for:
- Twisting Creams: These are specifically formulated to provide hold without stiffness.
- Custards or Flaxseed Gels: These often provide a strong, yet flexible hold that doesn’t flake.
- Mousses: For a lighter, airier feel with lots of volume.
The Sealer: Finally, lock everything in with a natural oil or butter. A light oil like jojoba, argan, or grapeseed oil smoothed over the twists will seal in the moisture from your leave-in and cream, add shine, and reduce frizz.
Pro Tip: Apply your products in sections to ensure every strand is coated. The goal is a well-moisturized, defined twist that still has some give when you pinch it.
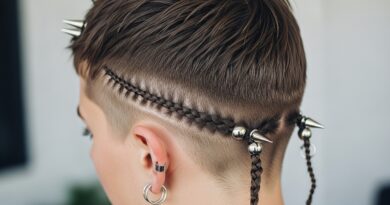
The Twisting Technique: How to Create “Lived-In” Texture
This is where the magic happens. Your technique will directly influence how natural your twists look. The key is to avoid perfection.
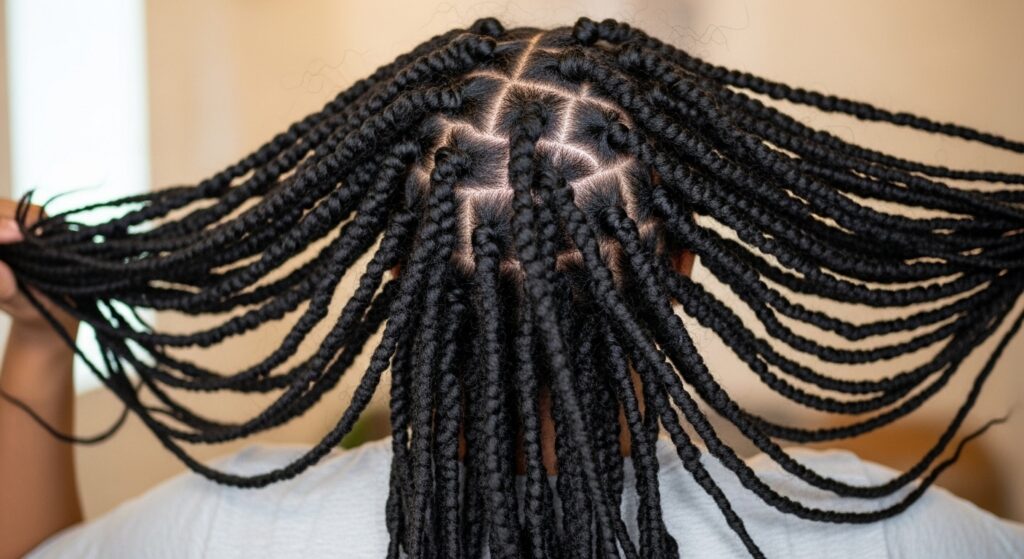
Sectioning for Softness: Instead of creating perfectly geometric, uniform sections with a rat-tail comb, try finger-sectioning. This creates less harsh part lines and results in twists that have more varied sizes and a more organic, natural appearance. If you do use a comb, don’t worry about making the parts razor-straight. A little imperfection is your friend.
The Two-Strand Twist: As you begin to twist, make sure your hair is damp, not soaking wet or completely dry. Damp hair sets better and dries with more definition.
- Take a section of hair and split it into two equal parts.
- Apply your styler of choice to the section.
- Begin twisting the two strands around each other, away from your scalp. Keep a consistent, medium tension—not too tight (to avoid scalp stress and a “too new” look) and not too loose (to prevent immediate unraveling).
Creating the Illusion of a Root: To get that “grown-out” look from day one, gently pull on the base of the twist once you’ve twisted down about an inch. This loosens it slightly at the root, creating instant volume and a more relaxed feel.
To Stretch or Not to Stretch? For a truly natural look that mimics your own curl pattern, consider twisting on stretched hair. You can achieve this by blow-drying your hair on a cool setting or doing a stretched style like a braid-out beforehand. This reduces shrinkage and gives your twists more length and bounce.

The Dry Down: Patience is a Virtue
How you dry your twists is just as important as how you make them. Rushing this process can lead to frizz, mildew, and a limp style.
Air Drying for the Win: The absolute best way to achieve a soft, natural finish is to let your twists air dry. This can take several hours or even overnight, but it’s worth it. The slow drying process allows the hair to set in a more relaxed state.
If You’re Impatient: The Hooded Dryer: If you need to speed things up, a hooded dryer is your next best bet. Use a low or medium heat setting. The concentrated, indirect heat will dry your twists thoroughly without causing the frizz that often comes from roughing them up with a diffuser.
Avoid the Diffuser (Seriously): While diffusers are great for wash-and-gos, the constant motion and air can cause your delicate twists to frizz and lose definition before they’ve even set. If you must use one, do so on a cool setting once your twists are about 90% dry.

The Final Touch: Unleashing the “Effortless” Vibe
Your twists are dry. Now what? This is the final, crucial step to achieving that “I didn’t try” look.
Fluff and Separate: Do not just take your twists out and leave them as is. Gently untwist each one, starting from the ends and working your way up, separating the two strands. Then, use your fingers to gently fluff your hair at the roots for volume. Don’t be afraid to break up the twists a little—this creates texture and movement.
Embrace the Flyaways: A few baby hairs and flyaways are not the enemy; they are the hallmark of an effortless style. Instead of slicking them down with a heavy gel, use a tiny bit of edge control on a toothbrush to gently coax them into place, or simply let them be for a truly carefree look.
Accessorize Minimally: A simple, elegant hair clip or a silk scarf tied as a headband can elevate the style without making it look overdone. The goal is to enhance, not overpower, the beautiful texture you’ve worked so hard to create.

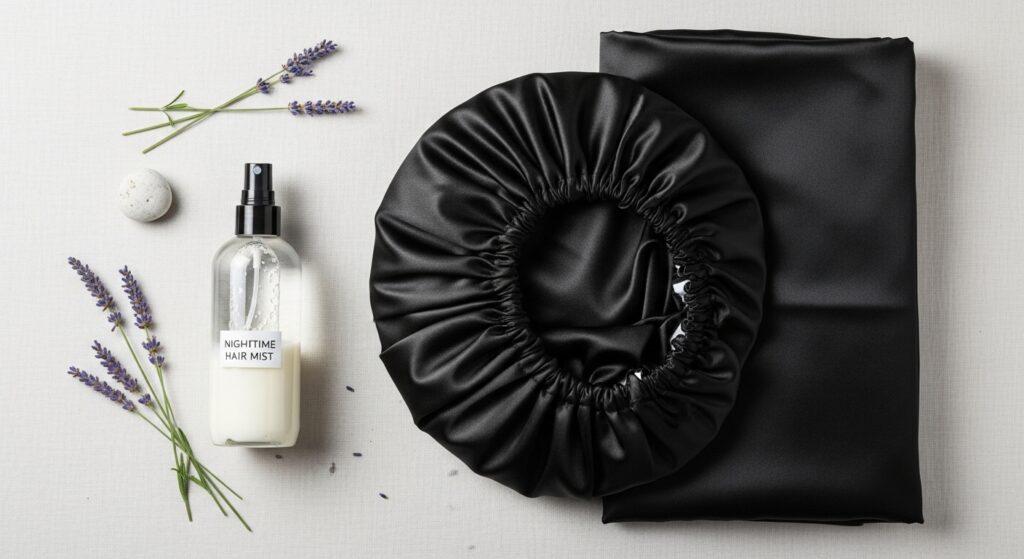
Maintaining the Magic: Making Your Style Last
An effortless look shouldn’t fall apart after one day. With proper maintenance, your twists (or the resulting twist-out) can look great for up to a week or more.
The Pineapple Method: Before bed, gather your hair into a very loose, high ponytail (a “pineapple”) on the top of your head. This preserves your style and prevents it from getting flattened while you sleep.
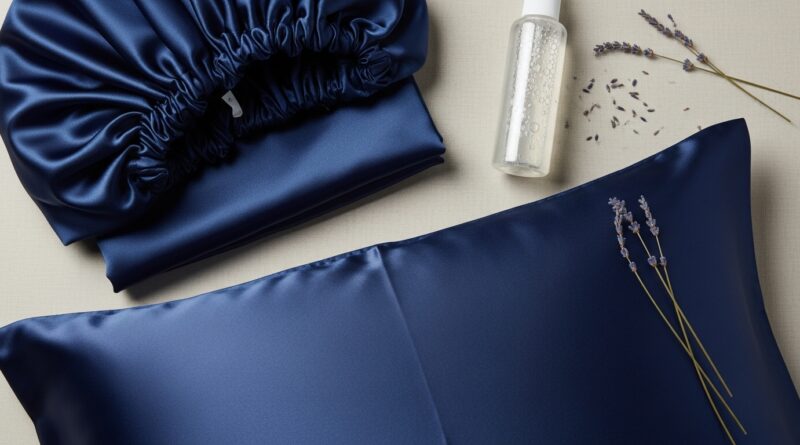
Satin is Your Savior: Always sleep on a satin or silk pillowcase, or wear a satin bonnet or scarf. This reduces friction, which is the number one cause of frizz and moisture loss.
Nightly Refreshes: In the morning, your hair might need a little pick-me-up. Use a light mist of water mixed with a little leave-in conditioner in a spray bottle. Then, use your hands to gently reshape any flattened twists or curls. For a twist-out, you can retwist a few random sections at night to maintain definition.
Conclusion: Your “Effortless” Twist Journey Awaits
So, there you have it. The secret to getting natural twist hair that looks like you barely tried is, ironically, a dedicated and thoughtful process. It’s about prioritizing health and hydration from the wash stage, selecting products that offer soft hold, mastering a relaxed twisting technique, and having the patience to let your hair dry and set properly.
It’s not about skipping steps; it’s about executing each step with the final, effortless vision in mind. Embrace the slight imperfections, the gentle frizz, and the soft volume. That’s where the true beauty lies. Now, go forth and create the stunning, head-turning twist hairstyles of your dreams. You’ve got all the tools you need.