How to Get angled bangs Hair That Looks Effortless (But Isn’t)
There’s a certain kind of hair magic that happens with the perfect set of angled bangs. They frame the face, add instant dimension, and project an air of cool, collected elegance. They look like you just woke up, tossed your hair, and landed a style worthy of a French film star. But let’s be real: that “effortless” look is often anything but. The good news? With the right knowledge, you can absolutely master the art of the angled fringe, making it look perfectly undone while being completely in control.
This isn’t just a haircut; it’s a styling statement. It sits in the sweet spot between the harshness of a blunt bang and the softness of side-swept layers. Whether you’re considering taking the plunge or are already a fringe-owner struggling with the upkeep, this guide is your ultimate resource. We’re diving deep into how to get, style, and maintain angled bangs that will have everyone asking, “How does she make it look so easy?”

What Exactly Are Angled Bangs? More Than Just a Diagonal Cut
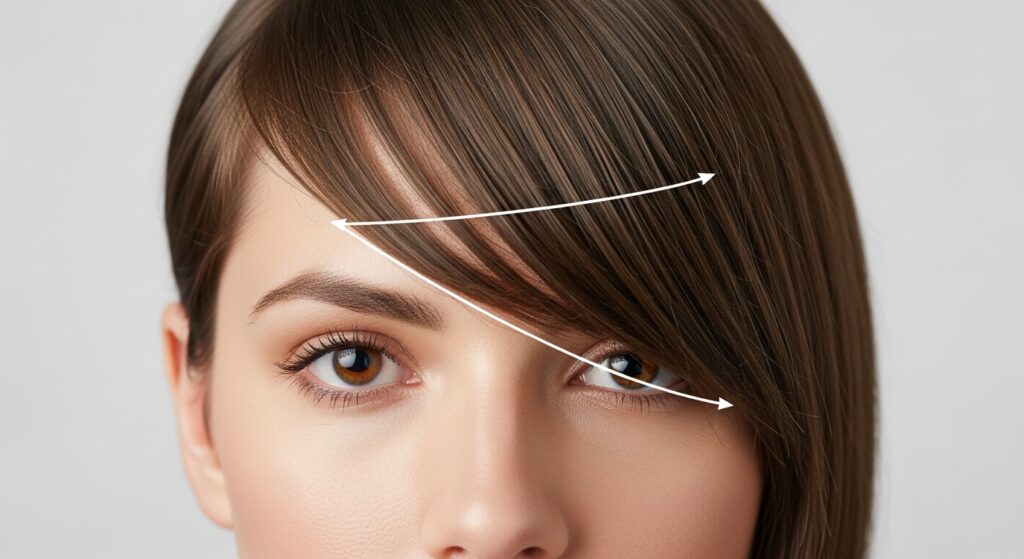
Before we pick up the scissors (please, don’t just yet!), let’s define our goal. Angled bangs are characterized by a distinct diagonal line that is shorter at one side of the face and gradually lengthens toward the other. Unlike blunt bangs, which create a heavy, straight-across line, angled bangs are dynamic. They create movement, draw the eye, and can be tailored to flatter virtually every face shape.
The key distinction from side-swept bangs is the integration. While side-swept bangs are often a separate, swept-aside section, the best angled bangs are cut to blend seamlessly into the rest of your hair—think of them as the face-framing layers that start right at your forehead. This seamless flow is the secret to their elevated, “effortless” appearance.
The Consultation: Your Blueprint for Success
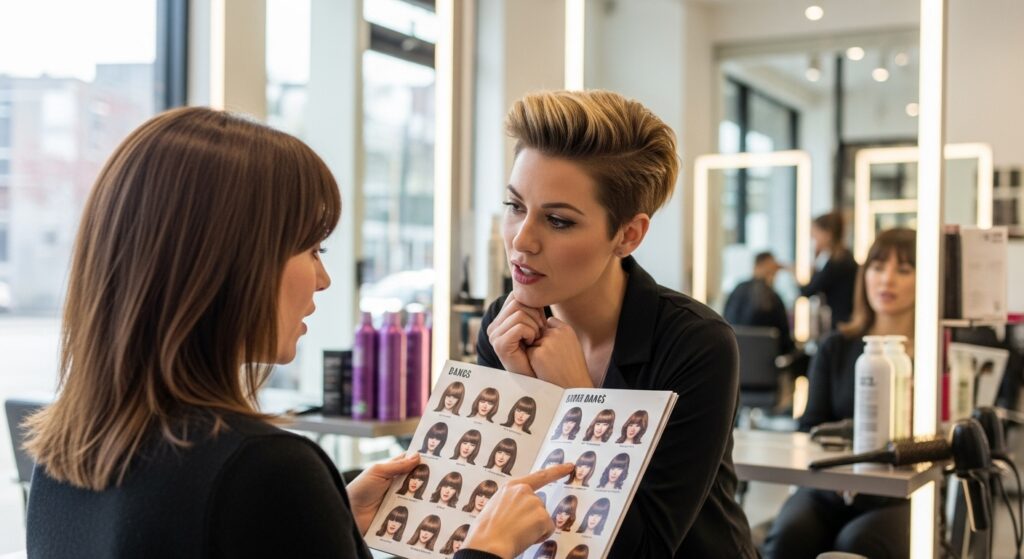
This is the most critical step in the entire process. Walking into a salon and saying “I want angled bangs” is not enough. The “effortless” outcome is 100% dependent on a great consultation with a stylist you trust.
Bring Visual References. Don’t just describe it; show it. Collect 3-5 photos of angled bangs you love, and a couple of what you don’t want. This gives your stylist a clear visual language to work with.
Discuss Your Face Shape. A skilled stylist will know how to tailor the angle and length to flatter your unique bone structure. For example, a steeper angle can help soften a square jawline, while a longer, softer angle can complement a rounder face.
Be Brutally Honest About Your Lifestyle and Hair Type. Do you have 5 minutes in the morning or 25? Is your hair bone-straight, wavy, or thick and curly? Do you love to air-dry or are you a heat-styling pro? This information is crucial. Thick, coarse hair might need more thinning to lie flat, while fine hair might need a slightly heavier weight line to prevent wispiness. Your stylist can adapt the cut and teach you the right techniques for your real life.
The Art of the Cut: Why Professional Scissors Matter
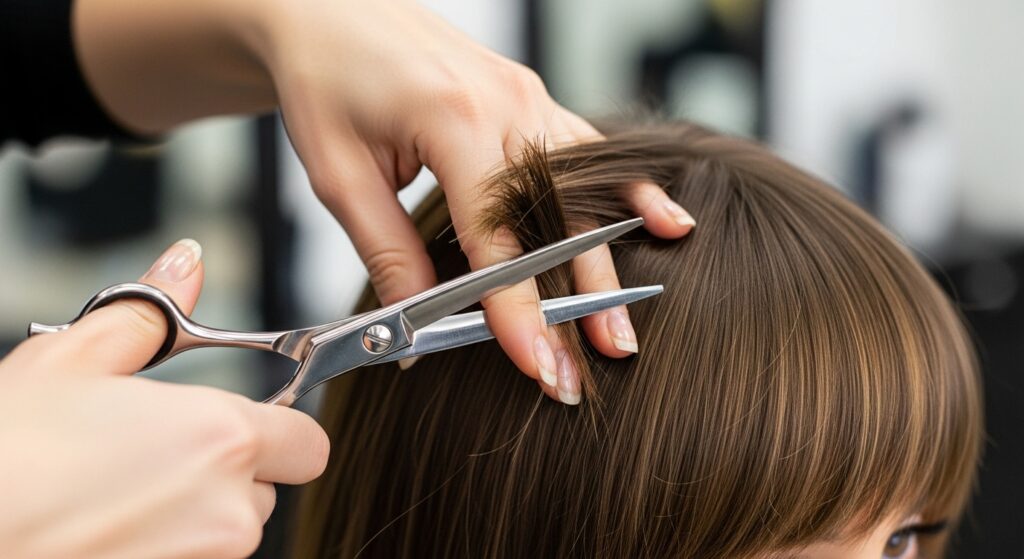
While the internet is full of DIY bang-trimming tutorials, angled bangs are a different beast. The precision required to create that seamless, graduated line that blends into your longer layers is a job for a professional. They understand how to cut into the hair to remove weight without creating choppy lines, and how to ensure the transition from your shortest to longest pieces is fluid.
A point-cutting technique is often used to create a soft, textured edge rather than a harsh, solid line. This technique is a huge part of achieving that undone, lived-in texture. The stylist will also cut the bangs dry a lot of the time. This allows them to see the natural fall of your hair and how the weight is distributed, ensuring the final shape is perfect for your hair’s unique behavior.
Your Daily Styling Ritual: The “Effortless” Formula
Here is where the magic—and the effort—truly happens. The goal is controlled texture, not helmet-head perfection.
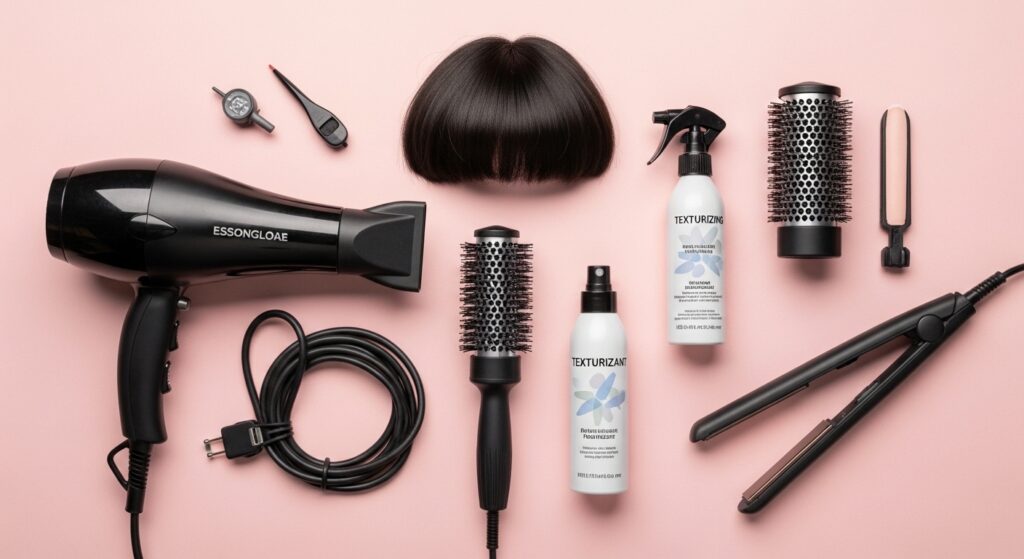
Step 1: The Wash and Prep. Start with clean, towel-dried hair. Apply a heat protectant spray and a light-hold mousse or volumizing spray to your roots and through your bangs. This creates a foundation of hold and body that will last all day.
Step 2: The Strategic Blow-Dry. This is non-negotiable for a polished look. Using a round brush, start at the roots of your bangs. Pull the brush slightly down and across your face, following the natural angle of the cut. Direct the airflow from the dryer down the hair shaft to smooth the cuticle. For the piece that blends into your longer hair, roll the brush under to create a soft curve away from the face. The key is to create a gentle bend, not a sharp flip.
Step 3: The Finishing Touches (The True Secret). Once your bangs are fully dry, this is where you introduce the “effortless” element. Do not leave them perfectly smooth.
- Break the Line: Use your fingers to gently tousle the roots and break up the perfect line created by the brush.
- Texturizing Spray: Lightly mist a texturizing or sea salt spray onto your bangs, then scrunch the ends gently with your fingers. This adds piece-y separation and that coveted lived-in feel.
- Flat Iron for Definition: If needed, use a flat iron to redefine the angle or smooth any kinks, but clamp and gently twist the iron as you pull it through to avoid a flat, lifeless look.
Taming the Beast: Maintenance and Growing-Out Phases
The “effortless” look quickly becomes “messy” if you don’t stay on top of maintenance.
Trims are Essential. Plan on a bang trim every 2-4 weeks to maintain the shape and angle. The longer you wait, the more the shape distorts, and the harder it is for your stylist to recreate the original look without taking too much length off.
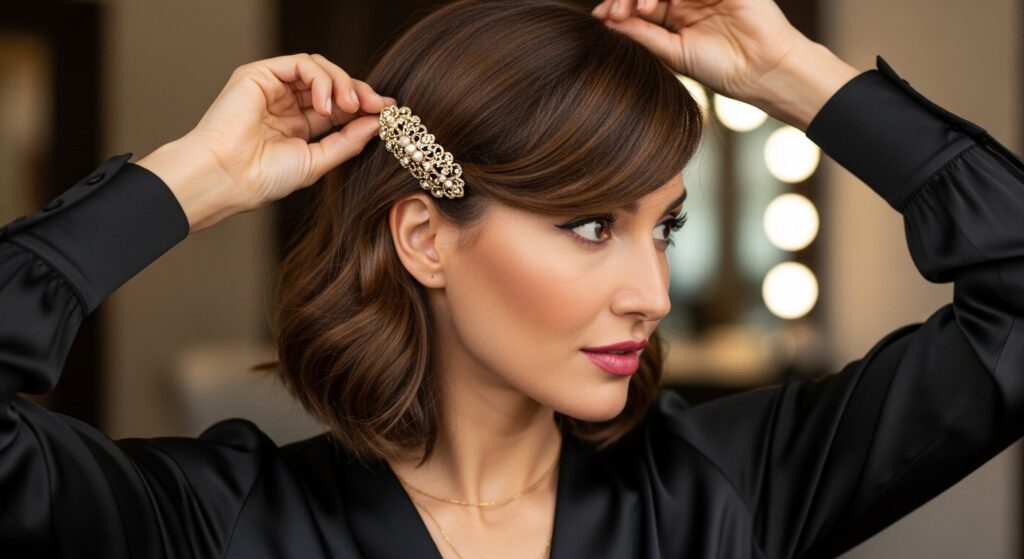
Mastering the “Grow-Out” Phase. The beauty of angled bangs is that they have a more graceful grow-out period than blunt bangs. As they get longer, they simply become more face-framing layers. You can push them to the side more easily, or use strategic styling to blend them. Pin them back with a cute clip, or incorporate them into a braided style. Communicate with your stylist during this phase; they can help trim and reshape them to transition beautifully into your next hairstyle.
Common Angled Bangs Pitfalls (And How to Avoid Them)
Even with the best intentions, things can go slightly awry. Here’s how to troubleshoot:
The “Helmet Head” Effect: Your bangs look too perfect, heavy, and separate from the rest of your hair. Solution: You’re over-straightening and under-texturizing. Embrace the texturizing spray and use your fingers, not a brush, for final adjustments.
The “Triangle” Bang: The section is too thick and triangular at the parting. Solution: This is a cutting issue. On your next trim, ask your stylist to texturize the inner corners and blend the section more gradually into the top of your hair.
The “Cowlick” Conundrum: A stubborn cowlick creates a part or flip you didn’t ask for. Solution: Blow-dry is your best friend. Blow-dry the section in the opposite direction of the cowlick first to train the roots, then flip it back into place. A strong-hold hairspray at the roots can also work wonders.
Are Angled Bangs Right for You? The Final Verdict
Angled bangs are a remarkably versatile style, but they do require a commitment to styling. If you enjoy playing with your hair and have even a few minutes to dedicate to a blow-dry and texture routine, you will likely love the result. They are a powerful tool to change your look without a drastic chop and can bring a soft, romantic, and undeniably chic energy to your overall aesthetic.
The journey to “effortless” angled bangs is paved with a little bit of deliberate effort. It’s about the perfect cut, the strategic styling, and the consistent maintenance. But when you nail it, the payoff is immense. You get a signature look that appears as if you were simply blessed by the hair gods, all while knowing the sophisticated art and skill that goes into creating it. So, arm yourself with these tips, find a stellar stylist, and get ready to frame your face with the most effortlessly cool accessory you’ll ever own.