13 Easy bun Ideas for choppy Hair You Can Do at Home
13 Easy Bun Ideas for Choppy Hair You Can Do at Home
Are you tired of fighting with your choppy, layered haircut? Those shorter pieces that are meant to add volume and movement can sometimes feel impossible to style, especially when you’re aiming for a sleek ponytail or a perfect bun. But what if we told you that your choppy hair is actually the secret ingredient to creating the most effortless, textured, and modern buns?
That’s right! Those layers you sometimes curse are your best friend when it comes to achieving that coveted, “I woke up like this” chic. They naturally create volume, frame your face beautifully, and prevent buns from looking too stiff or perfect. In this guide, we’re sharing 13 easy bun ideas for choppy hair that you can do at home, no professional hairstylist required.
Why Choppy Hair is Perfect for Buns
Before we dive into the tutorials, let’s appreciate the magic of layers. Choppy hair is characterized by its varied lengths and textured ends. This might seem like a styling hurdle, but for buns, it’s a blessing. The shorter layers naturally pull away from a tightly pulled style, creating a soft, face-framing effect. They add grip, meaning your bun is less likely to slip out. Most importantly, they inject instant volume and a touch of playful messiness that makes every bun look intentional and stylish.
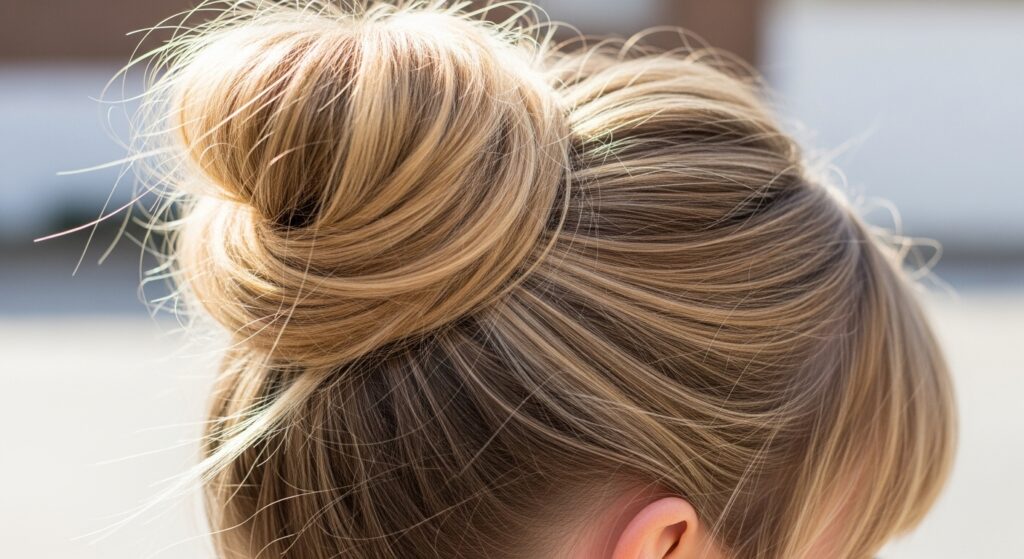
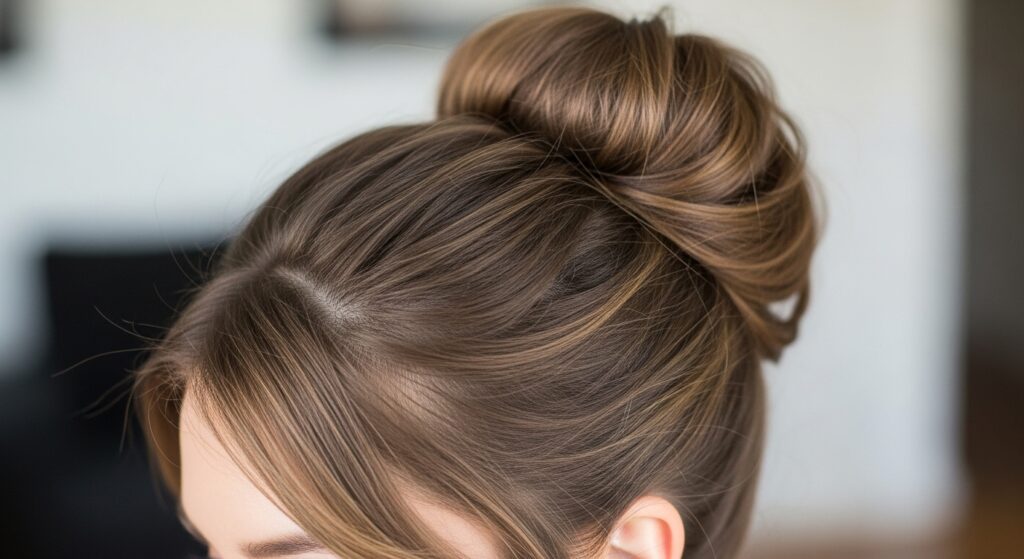
1. The Textured Messy Bun
This is the holy grail for choppy hair. The goal isn’t perfection; it’s effortless cool. Start by flipping your head over and gathering your hair into a high ponytail as if you’re going for a high ponytail. Instead of pulling the hair all the way through on the last loop of your hair tie, leave the ends out to form a loop. Then, gently pull at the sides of the bun to loosen it and create volume. The key here is to tease out those shorter layers around your crown and temples. The more pieces that escape, the better!
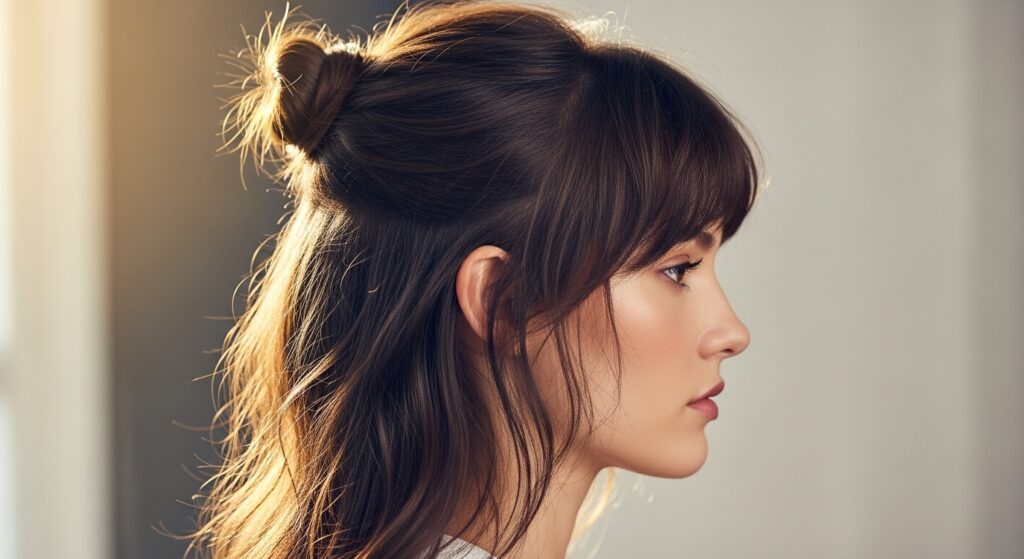
2. The Half-Up Top Knot
Can’t get all your layers into one bun? Don’t force them! The half-up top knot is your solution. Take the top section of your hair, from about your temples back, and gather it as if you’re making a half-up ponytail at the crown of your head. Twist it loosely and wrap it into a small, casual bun, securing it with a hair tie or a scrunchie. This style keeps hair out of your face while letting your beautiful layers flow freely down your back, creating a fun and flirty look.
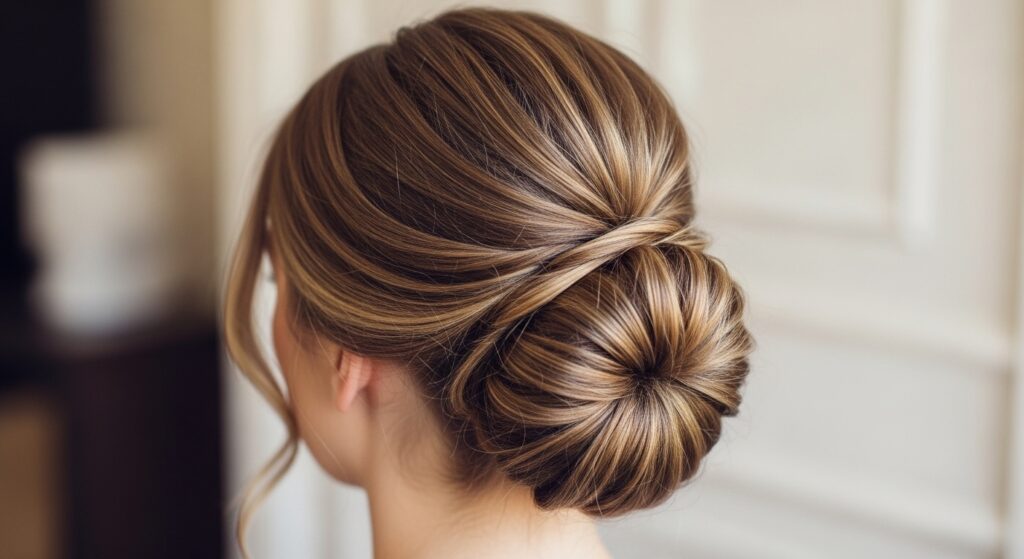
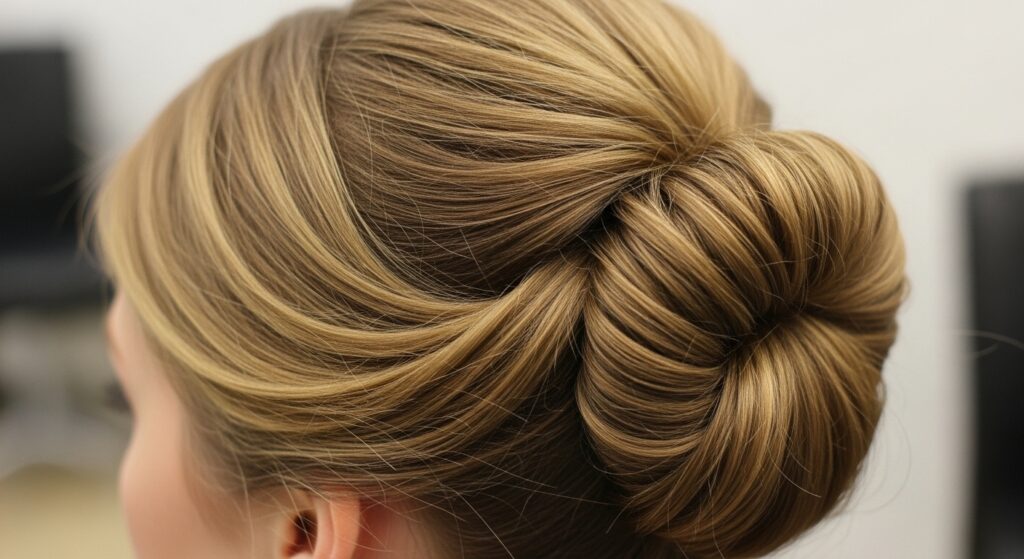
3. The Low Twisted Bun
For an elegant yet easy look, the low twisted bun is a winner. Gather your hair at the nape of your neck, but keep it loose. Twist the entire length of your hair until it naturally coils around itself. Then, wrap this twist around the base to form a bun. Use bobby pins to secure it, tucking in the ends. Because of your layers, the bun will have a beautifully imperfect, slightly undone texture that looks far more sophisticated than a tight ballerina bun.
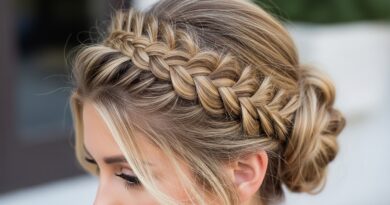
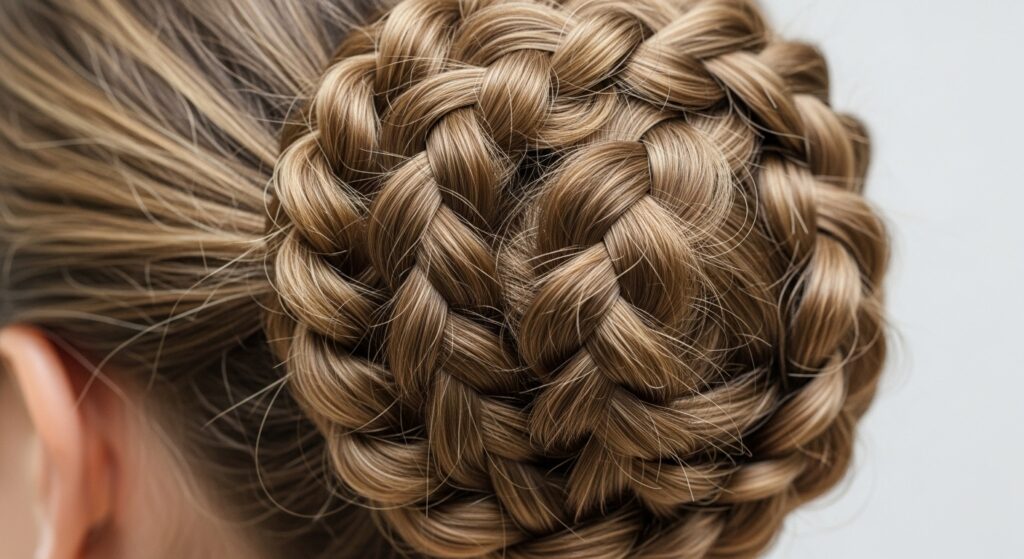
4. The Braided Bun
Incorporate a braid to tame and showcase your layers. A simple three-strand braid or a more intricate Dutch braid starting from your crown works wonderfully. Once you’ve braided your hair (it doesn’t have to be perfect—flyaways add charm!), twist the braid into a bun at your desired height and pin it securely. This style not only looks complex but also does a fantastic job of weaving those shorter pieces into the overall design.
5. The Bubble Bun
This playful and trendy bun is surprisingly simple and looks amazing with layered hair. Put your hair into a high ponytail. Then, space out hair ties down the length of the ponytail, about every few inches. Once all the ties are in, gently puff out the sections of hair between each tie to create “bubbles.” Your choppy ends will add to the textured, full effect. It’s a fun, modern take on the classic bun.
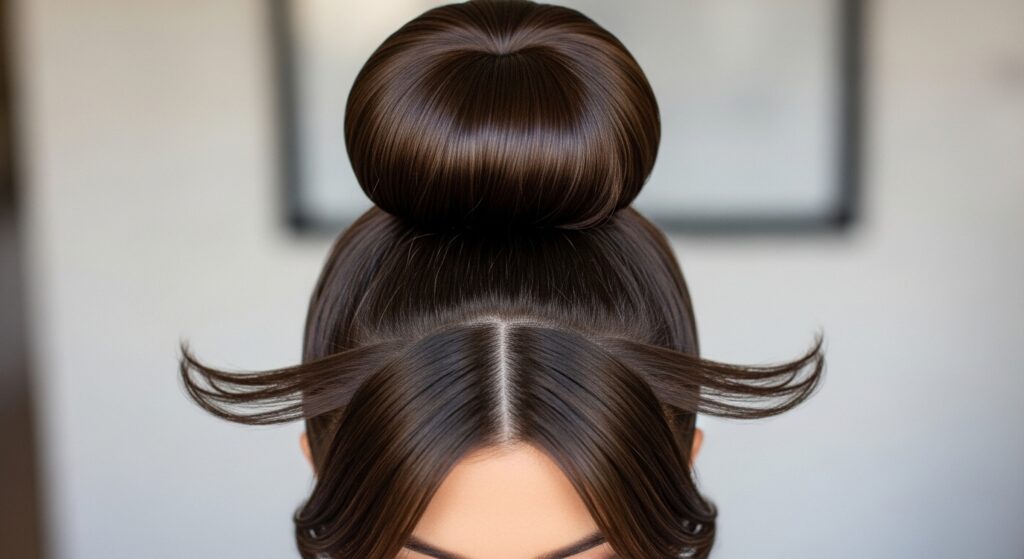
6. The Donut Bun (With a Hack!)
For a fuller, more polished look, a donut bun is a classic. The trick with choppy hair is to not fight the layers. Use a sock bun or a hair donut and pull your ponytail through it. Instead of neatly spreading your hair over the donut, tease your hair slightly first for extra grip and volume. As you tuck the ends and secure the bun with a tie, allow the shorter pieces to fall out naturally. This creates a beautiful, full bun with a soft, frayed edge that’s far from severe.
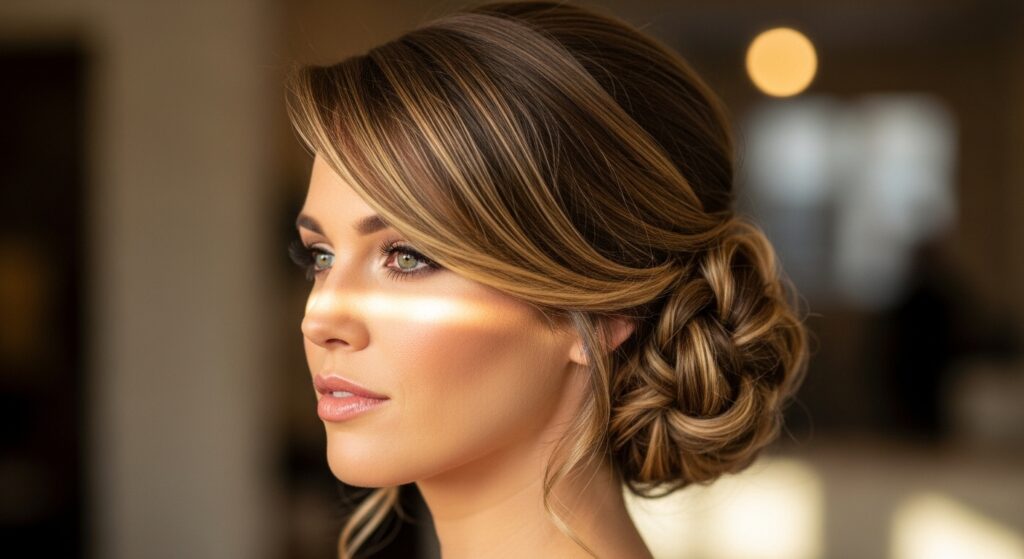
7. The Side-Swept Bun
Add a touch of glamour by sweeping your bun to one side. Gather all your hair as if for a low ponytail, but pull it over one shoulder. Twist it and wrap it into a bun, securing it with pins at the side base of your neck. This asymmetrical style is incredibly flattering and allows the layers on the opposite side to drape beautifully across your forehead and cheek.
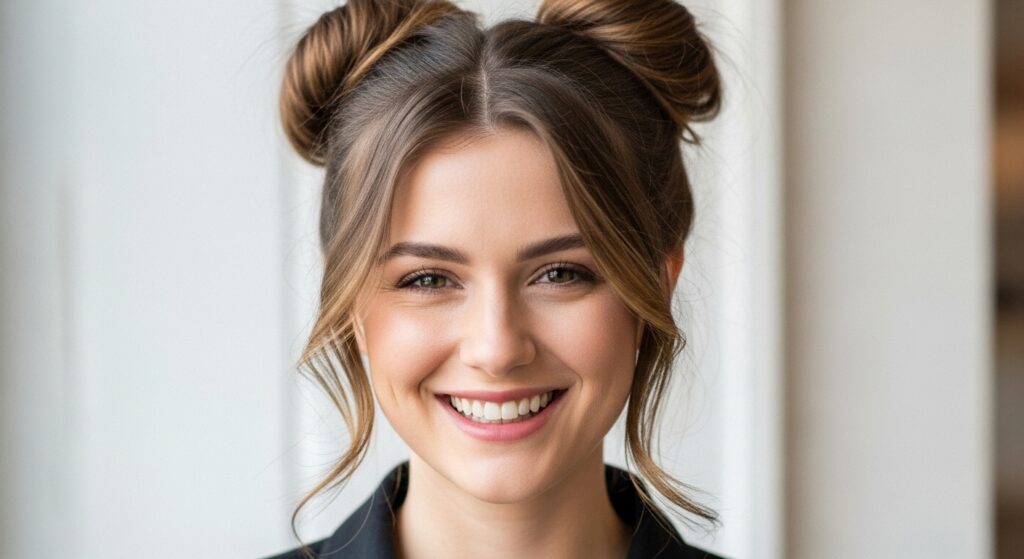
8. The Double Buns (Space Buns)
Who says space buns are just for festivals? They are a fantastic way to manage layered hair and look adorable. Part your hair down the middle. Gather the top half of each side (or all of it for a full double bun) and create a messy bun on each side of your head, high up near the crown. The shorter layers will naturally create a halo of wispy hair around the buns and your face, making the style look youthful and cool, not costumey.
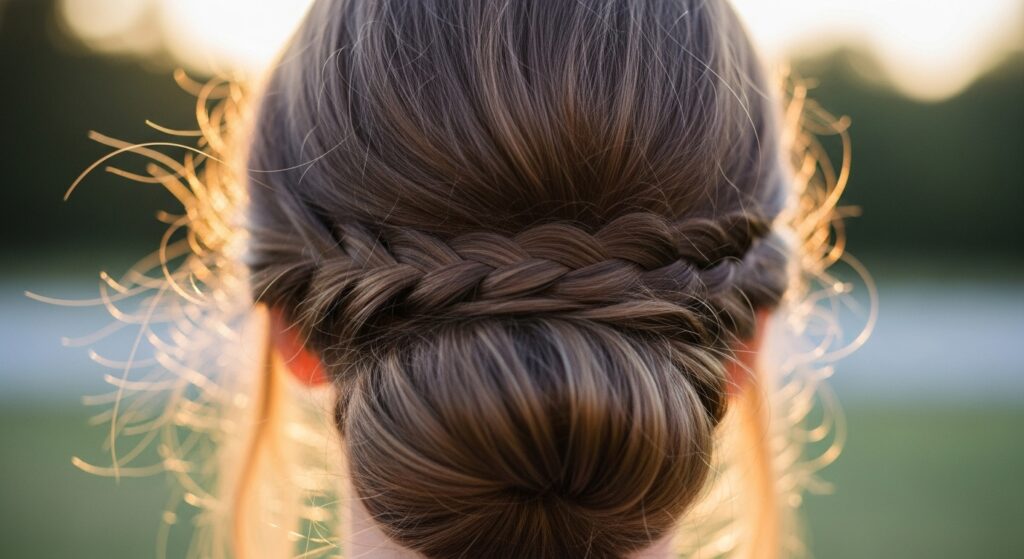
9. The Tucked Braid Bun
This is a subtle and romantic style. Create a low, loose braid with your hair—a simple three-strand or a fishtail braid works well. Instead of tying the end, gently twist the braid into a coil and tuck it under itself at the nape of your neck. Secure it with bobby pins. The end of the braid and your shorter layers will create a delicate, textured look that’s perfect for a date night or a wedding.
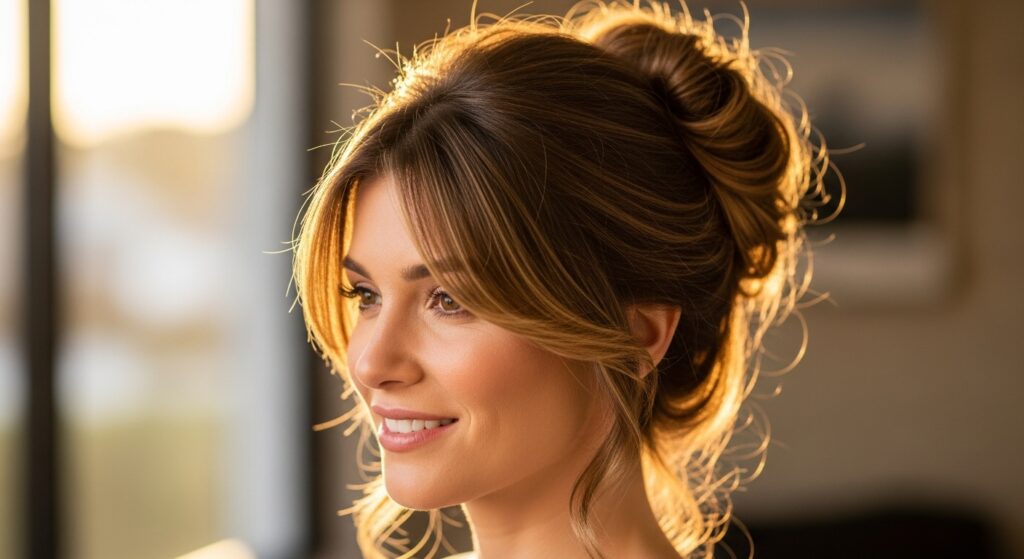
10. The Messy Ballerina Bun
A classic ballerina bun can sometimes look too severe for choppy hair, but we have a hack for that. After creating a sleek, high ponytail, form a neat bun. Instead of spraying down every flyaway, gently pull at the edges of the bun to loosen it. Then, carefully pull out a few select shorter pieces around your hairline and at the nape of your neck. This maintains the elegance of the style while softening it with your natural texture.
11. The Gibson Tuck Twist
This vintage-inspired style is easier than it looks and perfect for medium-length choppy hair. Create a low ponytail but leave the last loop of the hair tie undone, so you have a loop of hair. Then, gently push the loop forward, creating a “tuck,” and secure the opening with bobby pins. Your layers will naturally create a soft, ruffled look at the back of your head that is both elegant and bohemian.
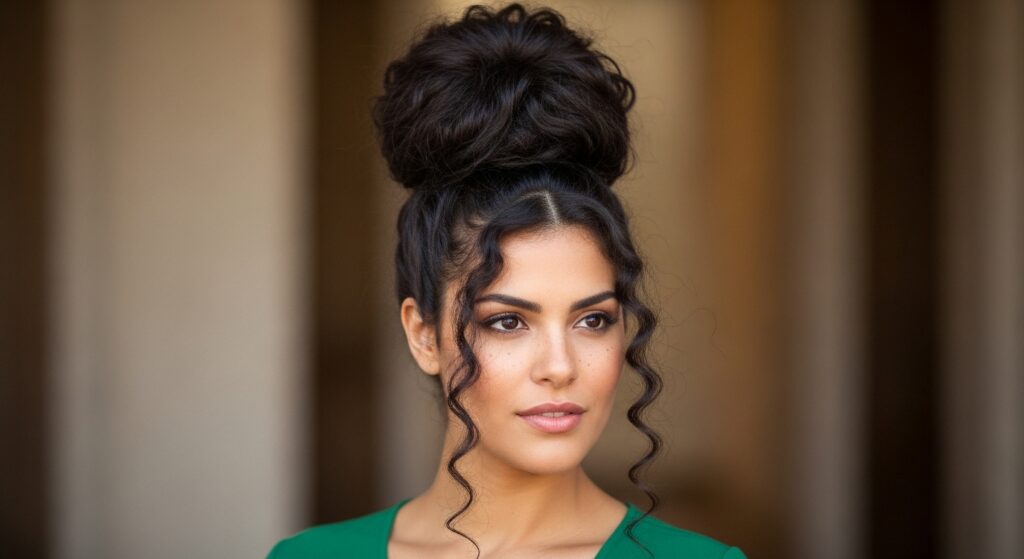
12. The Pineapple Bun
This is the ultimate lazy-day bun that protects your hair. Perfect for those with thicker, layered hair, the pineapple bun involves gathering your hair into an extremely high ponytail on top of your head—like a pineapple!—and letting the ends fall freely over the base. With choppy hair, the ends will create a gorgeous, cascading effect of texture and volume. It’s great for second-day hair or for keeping hair off your neck.
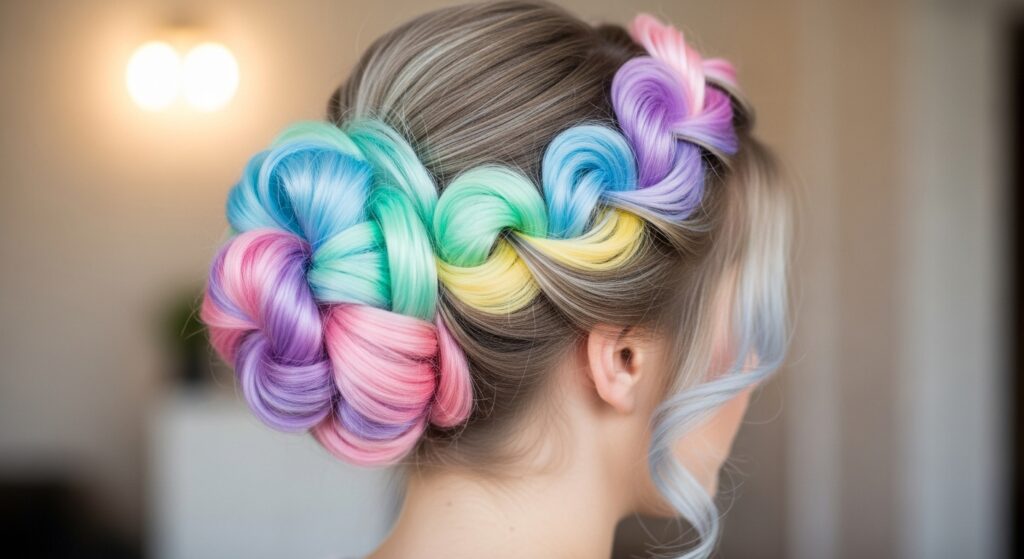
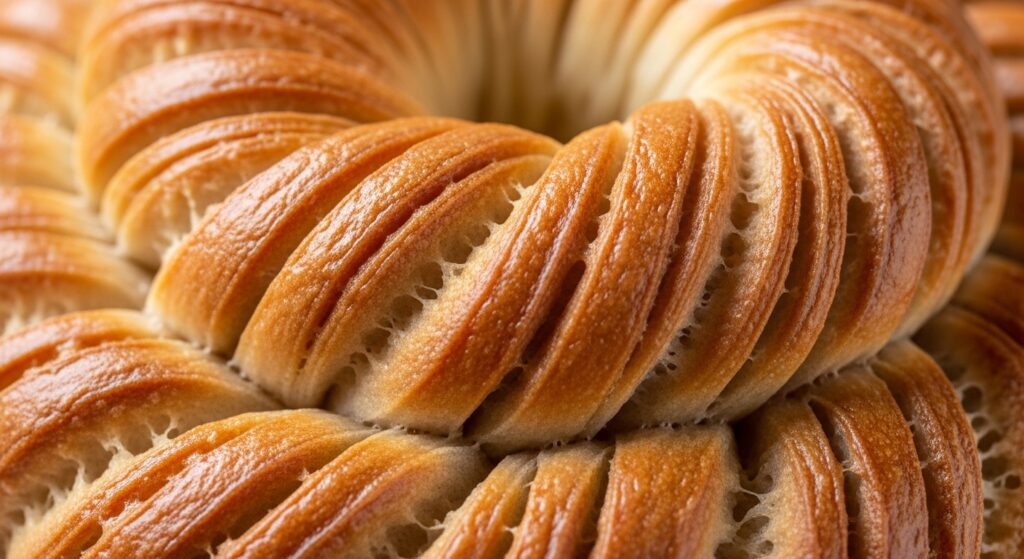
13. The Rope Twist Bun
Add a unique texture with a rope twist. To do a rope twist, split your ponytail into two sections and twist them both in the same direction. Then, wrap the two twisted sections around each other in the opposite direction. Once you reach the end, wrap the entire twist into a bun and secure it. This technique grips shorter layers beautifully and results in a bun with incredible, defined texture that looks like a piece of art.
Pro Tips for Styling Buns with Choppy Hair
Embrace the Flyaways: Don’t see them as a mistake. They are what make your bun look modern and effortless. A bit of texturizing spray can enhance them perfectly.
Invest in Good Products: A texturizing spray is your best friend. It adds grip and a lived-in texture. Similarly, bobby pins that match your hair color and snag-free hair ties are essential.
Tease for Volume: If your hair is fine, gently backcombing the hair at the crown before making your bun can give you that extra volume and help hold the style.
Practice Makes Perfect: Some of these buns might feel awkward at first, but a little practice in front of the mirror will make you a pro in no time.