How to Make wavy hair Hair Look Expensive on a Budget
You know the look. It’s the kind of wavy hair you see on a celebrity stepping out of a salon or gracing the cover of a magazine. It’s not just wavy; it’s expensive-looking. The waves are defined, the hair is glossy, and there’s a volume that seems to defy gravity. For those of us with natural waves, achieving that “million-dollar hair” feel can often seem like it requires a million-dollar budget. But what if we told you that the secret to luxurious, expensive-looking waves isn’t hidden in a high-end price tag?
The truth is, stunning wavy hair is less about the cost of your products and more about the intelligence of your routine. It’s about technique, consistency, and knowing which budget-friendly swaps deliver a high-end punch. With a few strategic changes, you can transform your waves from frizzy and forgotten to bouncy, brilliant, and utterly chic. Get ready to unlock the potential of your natural texture and learn how to make your wavy hair look expensive, even on the tightest of budgets.
The Foundation: A Healthy Scalp and Hydrated Hair
Let’s get one thing straight: no amount of styling product can camouflage hair that is fundamentally thirsty and damaged. Expensive-looking hair is, first and foremost, healthy hair. The journey to glossy waves begins at the scalp and is built on a foundation of moisture. When your hair is well-hydrated, it reflects light better, leading to that coveted shine. When your scalp is healthy, your hair grows stronger and looks fuller.
You don’t need a $50 shampoo for this. Focus on a gentle, sulfate-free cleansing routine. Sulfates are harsh detergents that strip your hair and scalp of their natural oils, leading to dryness and frizz. Many drugstore brands now offer excellent sulfate-free options. Follow up with a silicone-free conditioner, concentrating on your mid-lengths and ends. Once a week, treat your hair to a deep conditioning mask. A simple, budget-friendly DIY option is using pure, unrefined coconut oil. Warm a few tablespoons, apply it from root to tip, leave it on for at least an hour (or overnight for an intensive treatment), and then wash it out. You’ll be amazed at the softness and shine.

Master the Art of the Wash: Technique is Everything
How you wash your hair is just as important as what you wash it with. The goal is to encourage your natural wave pattern while minimizing friction and breakage. Start by thoroughly wetting your hair with lukewarm water, as hot water can dry out your scalp and hair. When applying shampoo, focus on massaging it into your scalp with your fingertips—not your nails—to stimulate blood flow and lift away buildup. Let the suds rinse through your ends; that’s all the cleansing they need.
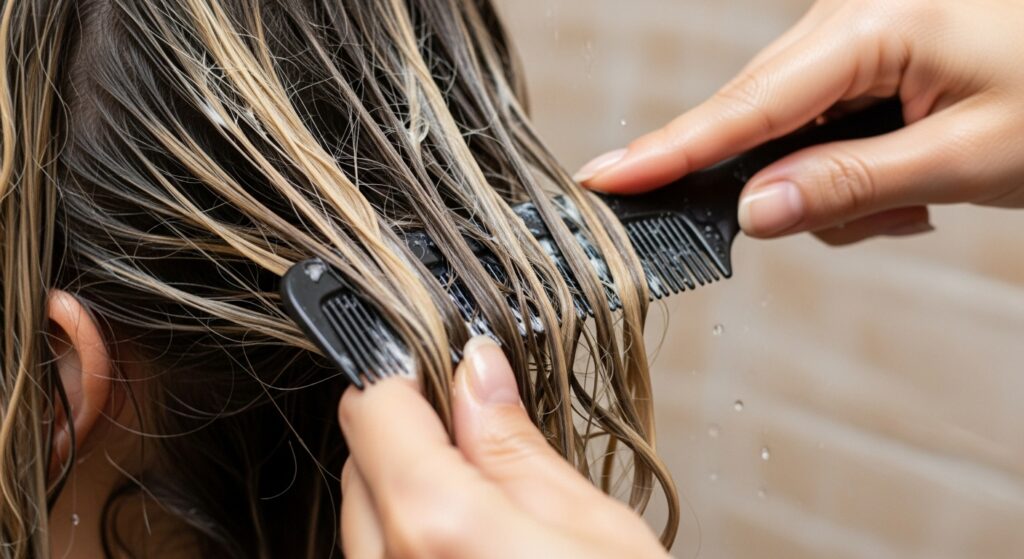
When it comes to conditioning, this is your secret weapon. Apply your conditioner generously to sopping wet hair, focusing on the ends. Then, with a wide-tooth comb, detangle your hair while the conditioner is still in. This prevents breakage that happens when you try to comb dry or damp hair. Before rinsing, try the “squish to condish” method: flip your head over and, with cupped hands, squish handfuls of water into your hair along with the conditioner. This helps to clump your waves together and ensures maximum hydration. Rinse with cool water to help seal the hair cuticle and boost shine.
Budget-Friendly Styling Products That Perform
You can build a powerhouse styling routine without breaking the bank. The key is to understand what your waves need and choose multi-tasking products. Forget the dozen bottles; you really only need a few heroes.
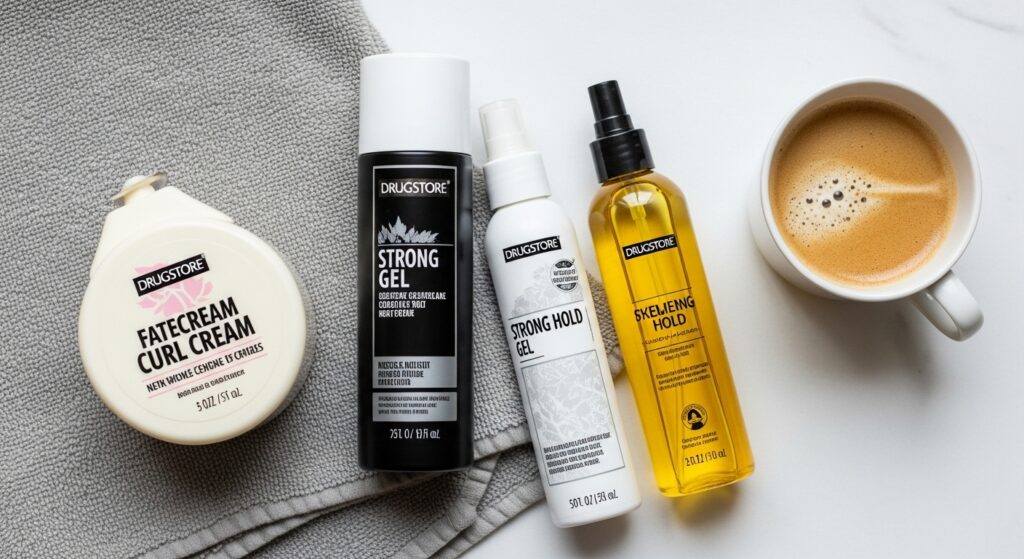
A Curl-Defining Cream or Mousse: This is your all-in-one styler for definition, frizz control, and a light hold. Look for drugstore brands that are specifically formulated for wavy or curly hair. Apply this to soaking wet hair by scrunching it upwards from the ends.
A Hard-Hold Gel: Yes, a cheap, strong-hold gel is your best friend for creating a “cast” that locks in your wave pattern and eliminates frizz as your hair dries. This cast might feel a bit crunchy when dry, but once your hair is fully dry, you simply “scrunch out the crunch,” and you’re left with soft, defined, and touchable waves with incredible shine.
A Lightweight Hair Oil: A small bottle of argan or jojoba oil can last for months. Use a single drop (seriously, just one!) rubbed between your palms and gently glazed over your dry hair to tame any flyaways and add an instant, expensive-looking gloss.
The Game-Changing Drying Techniques
Roughly towel-drying your hair is one of the biggest enemies of defined waves. It creates frizz and breaks up your beautiful wave clumps. Instead, invest in a microfibre towel or a simple, old, soft cotton t-shirt. These materials are much gentler on your hair cuticle. After applying your stylers, gently scrunch out the excess water by plopping your hair into the t-shirt or microfibre towel.
Air-drying is the most budget-friendly option, but if you’re in a hurry, how you use heat is crucial. If you own a diffuser, you’re in luck. Attach it to your hairdryer, set it to low heat and low speed, and use the “hovering” technique: place your hair in the diffuser basket and simply hold it near your scalp without moving it around too much. This dries your roots for volume without disturbing your wave pattern. Then, gently scrunch sections with the diffuser until your hair is about 90% dry. Let the rest air-dry to prevent heat damage.

Protect Your Waves While You Sleep
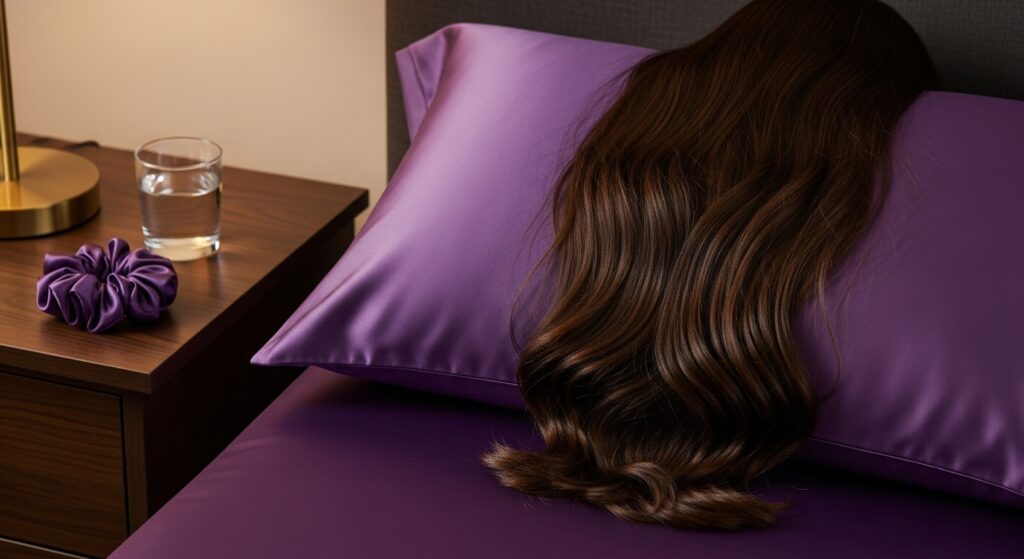
You put in all that work, don’t let a good night’s sleep ruin it! Cotton pillowcases create friction, which leads to frizz and tangles. The solution? A satin or silk pillowcase. This isn’t just a luxury item; you can find very affordable satin pillowcases online. The smooth surface allows your hair to glide as you sleep, reducing friction and helping you wake up with your waves still intact and refreshed.
For an even more protective style, try “pineappling.” Before bed, loosely gather your hair into a very high, loose ponytail on the very top of your head (like a pineapple). Use a soft, coiled hair tie or a scrunchie. This prevents your waves from getting crushed and maintains root volume. In the morning, simply take it down, flip your head over, give it a shake, and refresh with a spritz of water mixed with a drop of conditioner.
Strategic Trims and Embracing Your Natural Pattern
You might think frequent salon visits are a must, but you can stretch the time between trims by being proactive. The goal is to prevent split ends from traveling up the hair shaft. Investing in a pair of sharp hair shears (and using them only for hair) to do very minor, search-and-destroy dustings on single split ends can keep your hair looking healthy for longer. Simply twist a small section of hair and snip off any ends that stick out.
Most importantly, stop fighting your natural texture. Expensive-looking hair looks effortless because it is effortless. It works with its natural pattern, not against it. The more you embrace your unique waves—whether they’re loose beachy waves or tighter S-shaped curls—the healthier your hair will be, and the more confident you will feel. Stop trying to flat iron your waves into submission; instead, learn to enhance them. Your hair’s natural texture is its greatest asset.

The Final Touch: Confidence and a Quick Refresh
On days two and three, your waves might need a little pick-me-up. Don’t re-wet and re-style the entire head. Instead, mix a few spritzes of water with a tiny bit of your leave-in conditioner or curl cream in a spray bottle. Lightly mist your hair, then scrunch. This will reactivate the products from the previous day and bring your waves back to life. For targeted frizz, rub a tiny drop of oil between your palms and gently smooth it over the problem areas.
Finally, remember that the most expensive-looking accessory you can wear is confidence. When you feel good about your hair, it shows. You’ve put in the work with smart, budget-conscious techniques. You’ve nurtured your hair and learned to style it in a way that celebrates what you have. Walk out the door knowing that your beautiful, healthy, wavy hair doesn’t just look expensive—it looks uniquely, wonderfully you.