How to Make wavy wave Hair Look Expensive on a Budget
You were blessed with beautiful, natural waves. But instead of looking like a sun-kissed sea goddess, some days you feel more like a frizzy, unkempt mess. You’ve admired those glossy, perfectly defined waves on celebrities and influencers, assuming they’re the result of expensive salon visits and high-end products. What if we told you that achieving that expensive-looking wavy hair is entirely within your reach, without blowing your budget?
Master the Art of the Wash: Your Foundation for Fabulous Waves
It all starts in the shower. How you wash your hair sets the stage for everything that follows. Expensive-looking hair is healthy hair, so your first goal is to nurture your waves without weighing them down or stripping them of moisture.
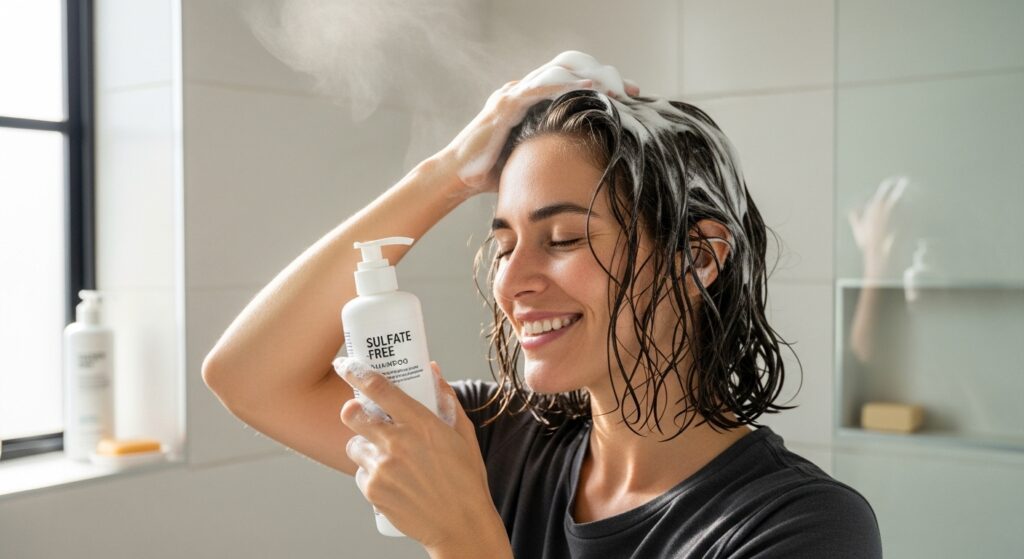
Become a Sulfate-Sleuth: Many budget-friendly shampoos contain harsh sulfates (like SLS and SLES) that create a satisfying lather but strip your hair and scalp of their natural oils. This can lead to dryness, frizz, and a desperate scalp overproducing oil to compensate. Look for sulfate-free formulas that cleanse gently. Brands like Not Your Mother’s, SheaMoisture, and Maui Moisture offer excellent, affordable options that respect your hair’s natural balance.
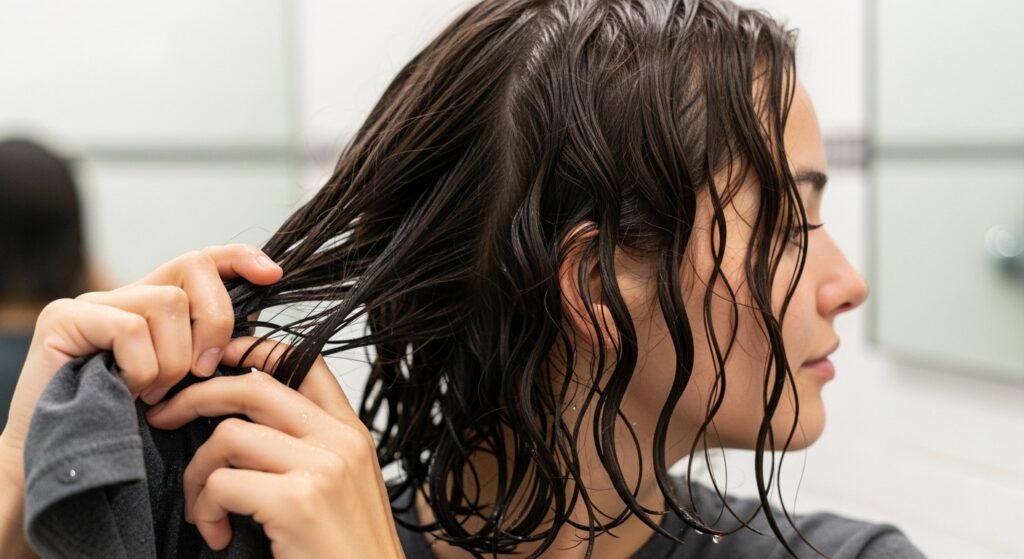
Condition with Intention: While you should apply conditioner from mid-lengths to ends, pay special attention to how you apply it. Instead of roughly raking it through, use a smoothing, squishing motion to encourage your wave clumps to form. Rinse with cool water for the final rinse. This might be a slight shock to the system, but it helps to seal the hair cuticle, locking in moisture and boosting shine significantly.
Clarify Once a Month: Product buildup is the enemy of volume and definition. Once a month, use a clarifying shampoo (a simple, affordable one like Suave Daily Clarifying or Neutrogena Anti-Residue Shampoo works perfectly) to deeply cleanse and reset your hair, giving you a fresh, clean canvas.
The Budget Styling Product Hall of Fame
You don’t need a cabinet full of hundred-dollar serums. A few strategically chosen, budget-friendly products can perform miracles. The key is knowing what to use and when.
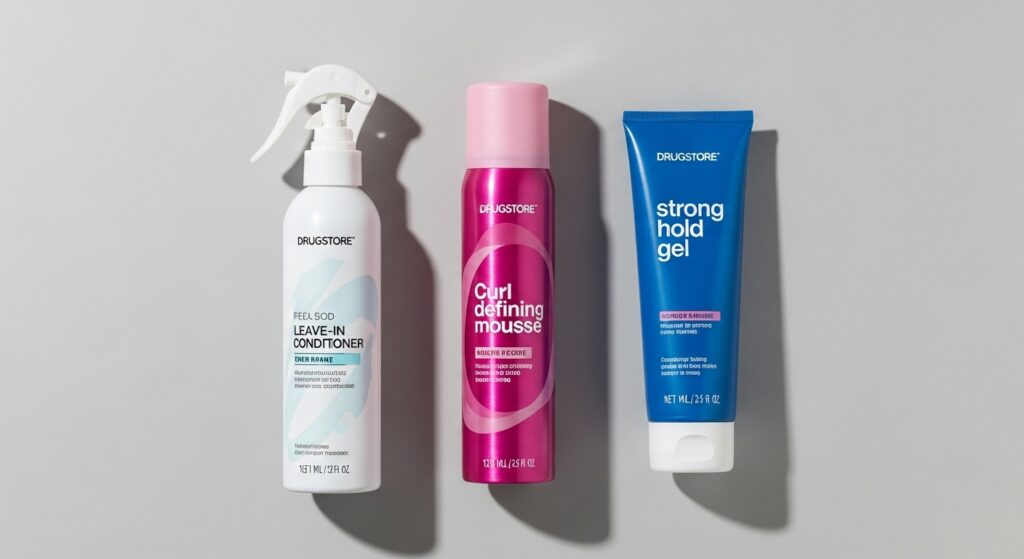
The Leave-In Conditioner: This is your non-negotiable first step after washing. A good leave-in provides hydration, detangles, and forms a protective barrier against frizz. Look for lightweight formulas that won’t weigh your waves down. Spray it evenly through damp hair, focusing on the ends.
The Curl-Defining Cream or Mousse: This is your definition hero. A curl cream (better for thicker, drier hair) or a mousse (ideal for finer hair that needs volume) will help clump your waves together and hold their shape. Apply this by scrunching it upwards into your hair. The scrunching motion is what encourages those beautiful, coherent wave formations.
The Hard-Holding Gel (Yes, Really!): This is the secret weapon for a “glass-like” shine and frizz control that lasts all day. Don’t fear the crunch! Apply a generous amount of a strong-hold, affordable gel (like Aussie Instant Freeze or Eco Style Gel) by scrunching it into soaking wet hair. This will create a “cast” as it dries. Once your hair is completely dry, you simply scrunch out the crunch, and you’re left with soft, defined, and incredibly shiny waves with zero frizz.
Ditch the Towel: Your Hair’s Worst Enemy
That fluffy bath towel you love is creating a frizz explosion. Its coarse fibers rough up the delicate hair cuticle, causing flyaways and destroying your carefully formed wave clumps.
The solution is simple and cheap: swap it for a microfiber towel or an old cotton t-shirt. These materials are much smoother and absorb water through osmosis without causing friction. After you apply your products, gently plop your hair into the t-shirt or microfiber towel to remove excess water. Simply lay the shirt flat, place your hair in the center, and then tie the arms around the back of your head. This method enhances your natural wave pattern and reduces drying time without the frizz.
Heat-Free Styling for Maximum Impact and Health
Expensive hair is healthy hair, and nothing damages hair faster than daily heat styling. The good news is that the most effective techniques for gorgeous waves require no heat at all.
Plopping: As mentioned above, this is a game-changer. Leaving your hair plopped in a t-shirt for 20-30 minutes after your shower will set your waves up for incredible definition and volume from the root.
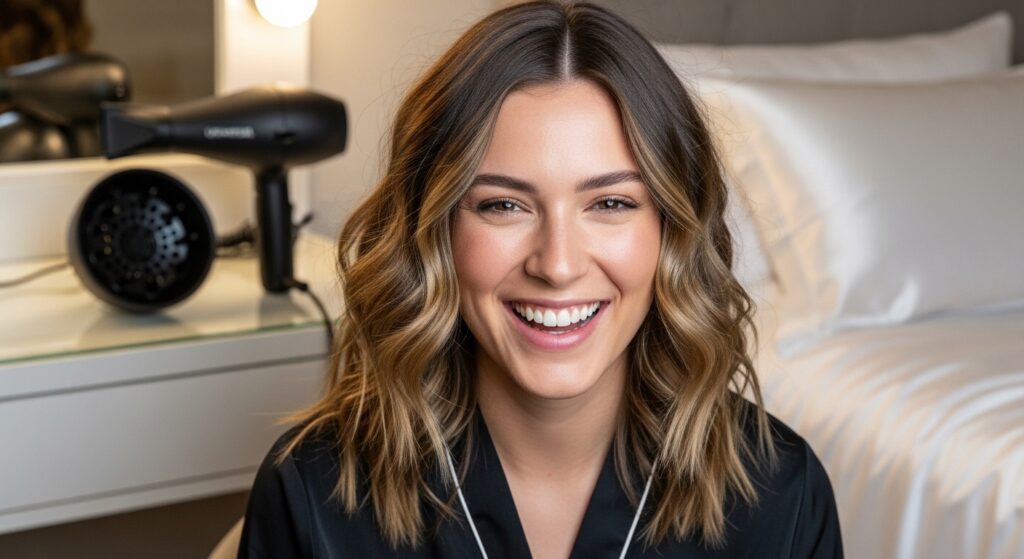
Diffusing on a Budget: If you must speed up drying, a diffuser is your best friend. The good news? You can buy a universal diffuser attachment that fits most hairdryers for under $15. The key technique is to hover diffuse: place your hair in the diffuser but don’t press it directly against your scalp. Hover the diffuser around the roots until they are 50% dry to create volume, then you can gently cup sections to dry the ends. Always use the cool shot button to set your style.
Overnight Magic: Protect your style while you sleep. Loosely pineappling your hair (a very high, loose ponytail on top of your head) with a silk or satin scrunchie and sleeping on a silk or satin pillowcase prevents friction, reduces breakage, and means you’ll wake up with your second-day waves looking just as good as they did on day one.
The Secret of Strategic Haircuts and Maintenance
A great haircut is the foundation of expensive-looking hair. It doesn’t have to be costly, but it does have to be smart.
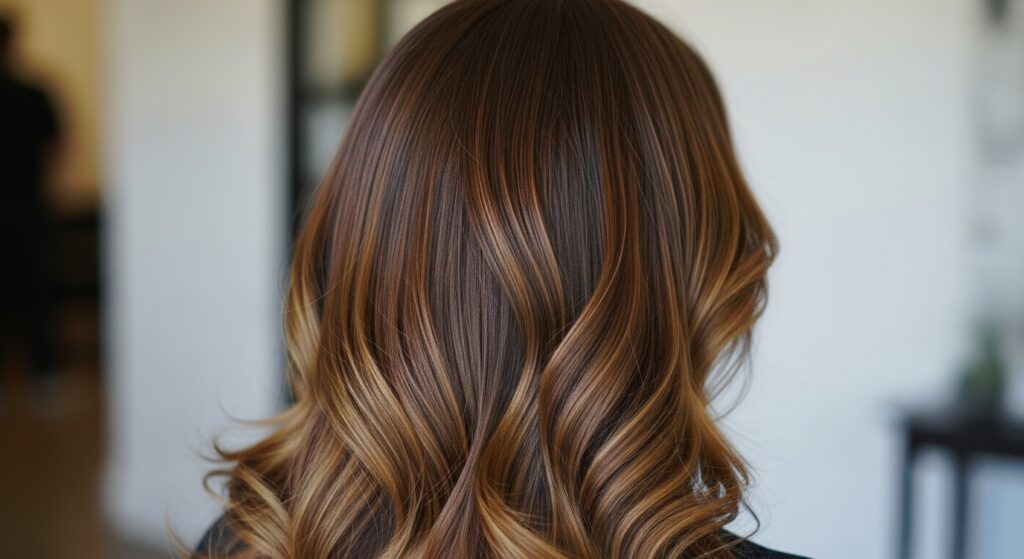
When booking your next cut, ask for long layers. This technique removes weight without sacrificing length, allowing your waves to spring up and move freely. Mention that you want to enhance your natural wave pattern. A good stylist will understand to cut your hair dry or styled as it naturally falls, so they can see exactly how your waves behave and cut accordingly.
And don’t underestimate the power of a regular micro-trim. Every 10-12 weeks, get just a quarter to a half-inch cut off. This prevents split ends from traveling up the hair shaft, keeping your ends looking thick, healthy, and fresh, which is a hallmark of a luxurious head of hair.
Mastering the Second (and Third!) Day Wave
Truly luxurious hair doesn’t just look good on wash day. The real test is day two and three. With the right revival techniques, your waves can look even better the next day.
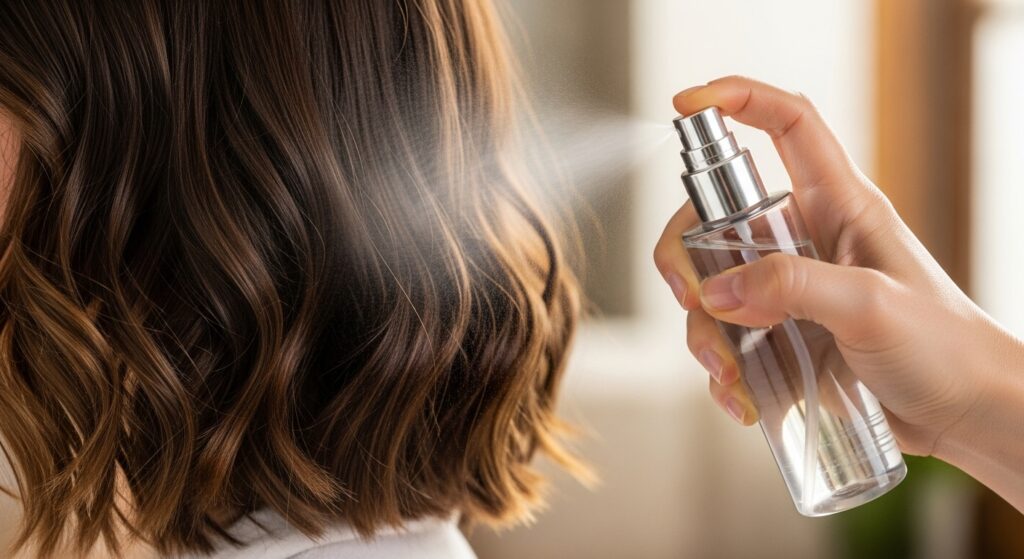
Do not, under any circumstances, brush your dry wavy hair. This will separate the clumps and create a poofy, frizzy triangle shape. Instead, your best tool is a fine-mist spray bottle. In the morning, mix a little bit of water with a drop of leave-in conditioner. Lightly mist your hair all over—you want to dampen it, not soak it. Then, gently scrunch your hair from the ends upwards to reactivate the products from the previous day and bring your waves back to life.
For targeted refresh, you can also rub a tiny drop of serum or gel between your palms, add a *tiny* spritz of water to emulsify it, and then gently glaze and scrunch it over any particularly frizzy or flat sections.
Conclusion: Your Journey to Expensive-Looking Waves Starts Now
Transforming your wavy hair from something you fight with to your most valuable asset doesn’t require a magic potion or a limitless budget. It requires a shift in strategy. By embracing a gentle washing routine, investing in a few key, affordable products, ditching damaging habits, and mastering heat-free styling techniques, you can unlock the full, expensive-looking potential of your waves.
The most luxurious thing your hair can possess is health and confidence. Start with one or two of these tips, be patient with your hair as it adjusts, and get ready to fall in love with your natural texture all over again. Your gorgeous, budget-friendly, head-turning waves are waiting for you.