10 Easy cut Ideas for voluminous Hair You Can Do at Home
The good news is that you don’t need a cosmetology license to achieve these results. With the right guidance, a few key tools, and a bit of courage, you can master DIY haircuts designed specifically for volume. This guide will walk you through 10 easy-to-follow cutting techniques that you can do at home, saving you time and money while unlocking your hair’s most voluminous self.
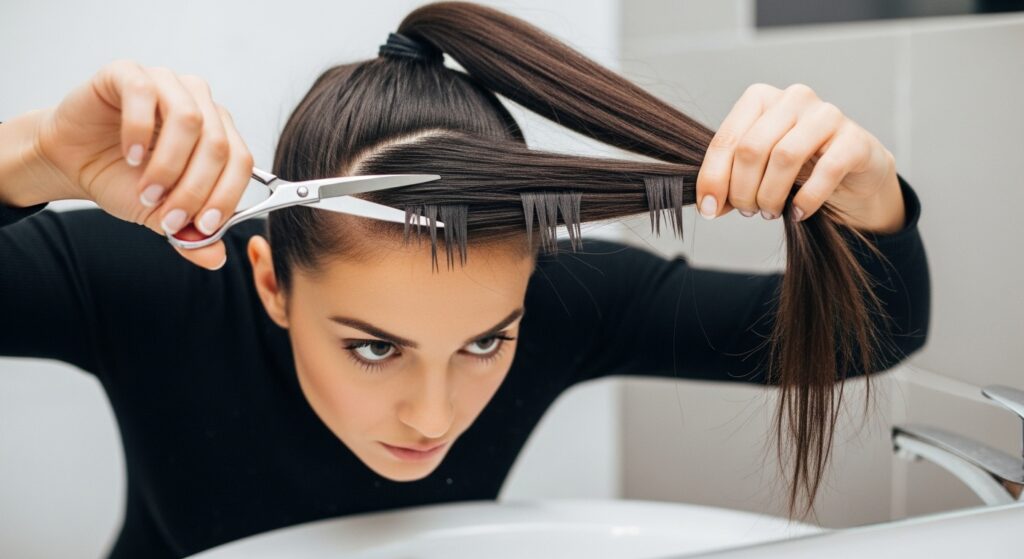
1. The Feathery Face-Framing Layer Cut
This technique is the ultimate starting point for DIY beginners. It focuses solely on the front sections of your hair, creating soft, feathery layers that draw the eye and add instant dimension. By removing weight from around your face, these layers naturally lift at the roots, providing a beautiful, voluminous frame that highlights your features.
How to do it: Start with dry, styled hair. Take a triangular section from the front of your hair, from the crown down to your chin. Twist this section tightly. Using sharp hair shears, carefully snip into the twisted strand at a slight upward angle. The twist will ensure the cut is uneven and soft, preventing harsh lines. Release and see the soft, face-framing wisps appear.
2. The DIY “Shag” for Maximum Texture
Shags are all about volume. This iconic cut is built on layers and texture, making it a perfect candidate for fine hair. A modern shag uses internal layering and razoring techniques to remove bulk without sacrificing length, creating a lived-in, voluminous look that is surprisingly low-maintenance.
How to do it: Section your hair from the top of your head to just behind your ears. Clip the top section up. On the bottom section, use a razor or texturizing shears to gently slice into the mid-lengths and ends, focusing on the underside. This removes weight and allows the top layers to sit higher. For a more advanced step, you can point-cut the top layers to create a disconnected, textured effect.
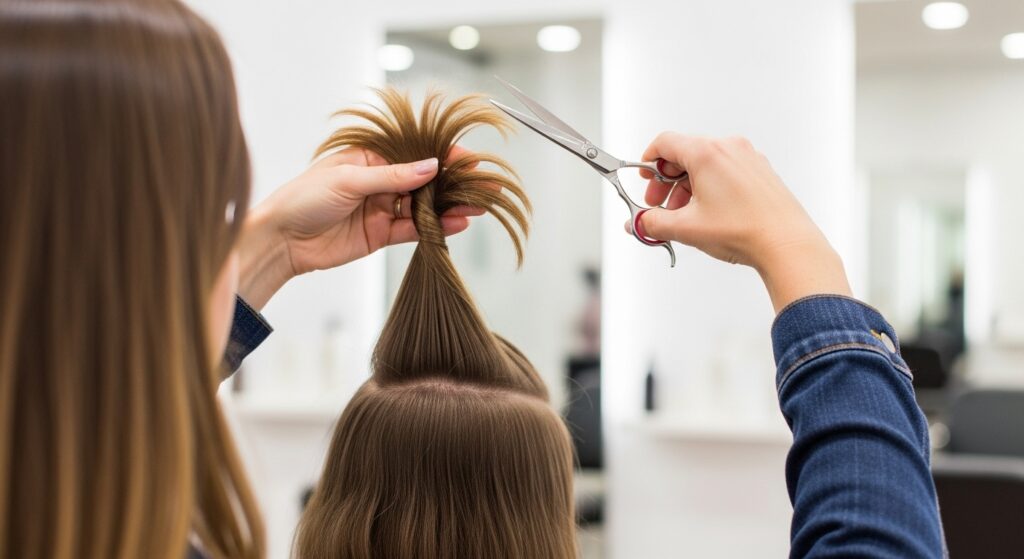
3. The Ponytail Crown Layers Method
This is a classic, foolproof method for creating uniform, voluminous layers all around your head. By cutting all your layers at once from a central point, you ensure they blend perfectly and provide lift from the crown, which is the key area for overall volume.
How to do it: Lean forward and brush all your hair directly forward towards your face. Gather it into a tight ponytail positioned on the very center of your forehead. Slide the ponytail holder to the desired length of your shortest layer—the closer to your head, the shorter and more dramatic the layers. Carefully snip off the end of the ponytail. When you release your hair, you’ll have beautifully blended, face-framing layers.
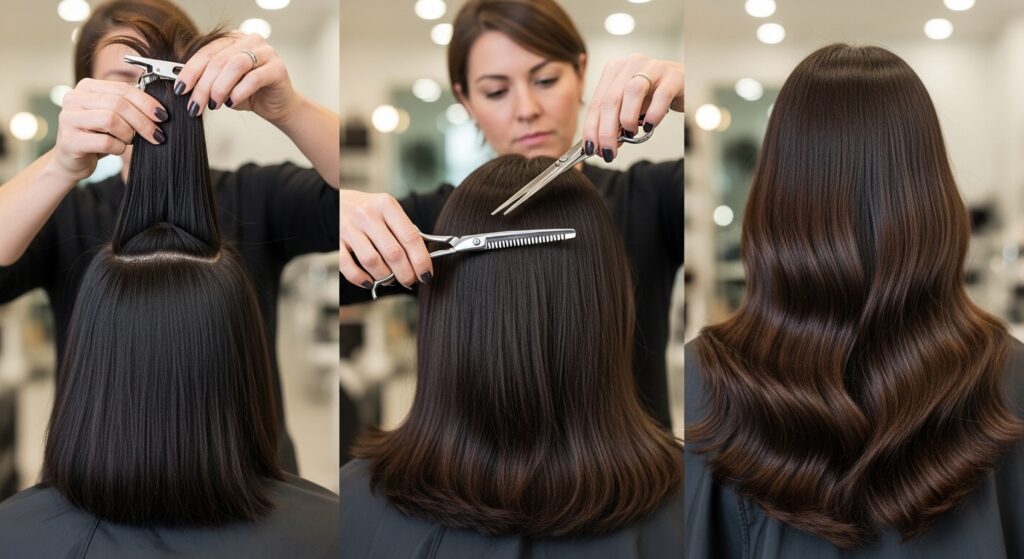
4. The “Long and Layered” Weight Removal
If you love your length but need more body, this is your go-to technique. The goal is to strategically remove weight from the interior of your hair, not the ends. This allows the hair to have more “swing” and for the roots to lift more easily, creating volume from within.
How to do it: Make a horizontal part at the back of your head, from ear to ear, and clip up the top section. Take a one-inch vertical subsection from the bottom layer. Instead of cutting straight across, hold your shears vertically and use a “point-cutting” technique to snip upwards into the hair shaft, focusing on the mid-lengths. This thins out the section without shortening the overall length. Work through the bottom sections before unclipping the top and repeating.
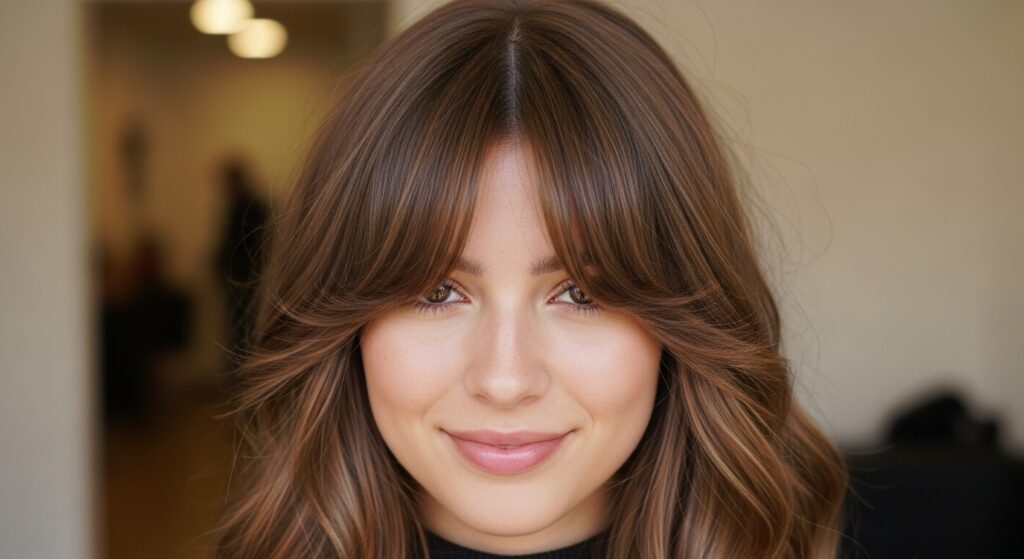
5. Curtain Bangs for a Voluminous Frame
Never underestimate the power of bangs for volume. Curtain bangs, which sweep away from the face, are masters at creating root lift at the front of your head. This lift often makes the rest of your hair appear thicker and fuller as well.
How to do it: Section off a triangular portion of hair at the front. Part this section down the middle. Starting with one side, hold the hair out and slightly away from the face. Cut on a diagonal, starting longer near the cheekbone and getting slightly shorter towards the center. Repeat on the other side, using the first side as a guide. The two sides should meet in the middle to form a soft “V” or “U” shape.
6. The Pig-Tail Layer Chop (for Bold Texture)
This method is a fun, edgy twist on the classic ponytail cut and is excellent for creating chunky, textured, and disconnected layers. It delivers a more dramatic, modern result with lots of movement and body.
How to do it: Part your hair down the middle. Create two low ponytails, one on each side, positioned right in front of your ears. Bring the two ponytails forward over your shoulders. Decide on your desired length and cut straight across. For extra texture, you can point-cut the ends of the ponytails before releasing them. When you let your hair down, you’ll have a cool, layered look with incredible volume at the back.
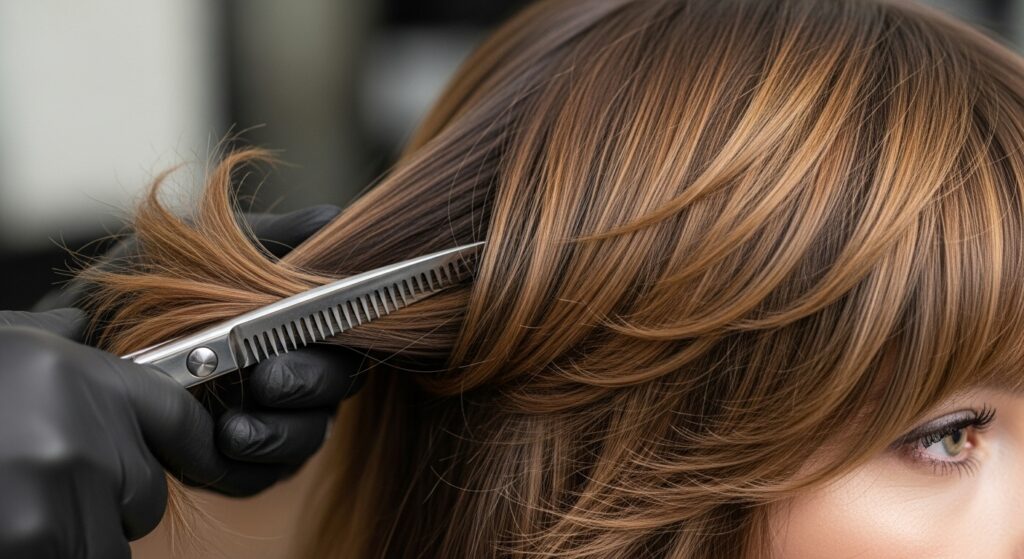
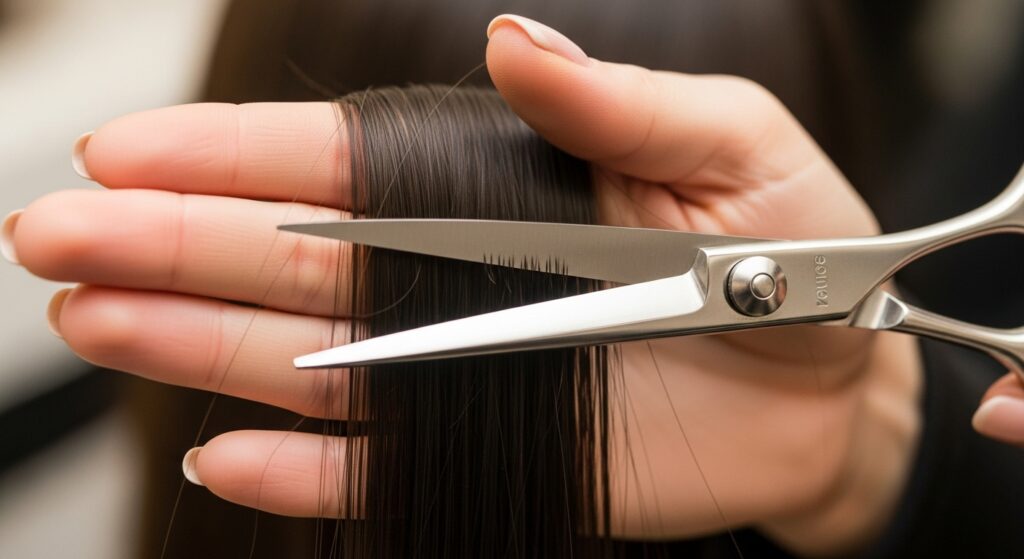
7. Point-Cutting for Lightness and Movement
This is less of a specific cut and more of an essential technique for any volume-seeking stylist. Point-cutting involves cutting into the hair vertically (instead of straight across) to create a soft, textured, and feathered effect. This removes weight and prevents the dreaded “helmet head” or bulky ends that can weigh hair down.
How to do it: After you’ve established your basic length, work through small sections of your hair. Hold your shears vertically and make small snips into the ends and mid-lengths of the hair. The motion is like “chipping away” at the hair. This is perfect for softening a blunt cut or adding movement throughout any of the other styles mentioned here.
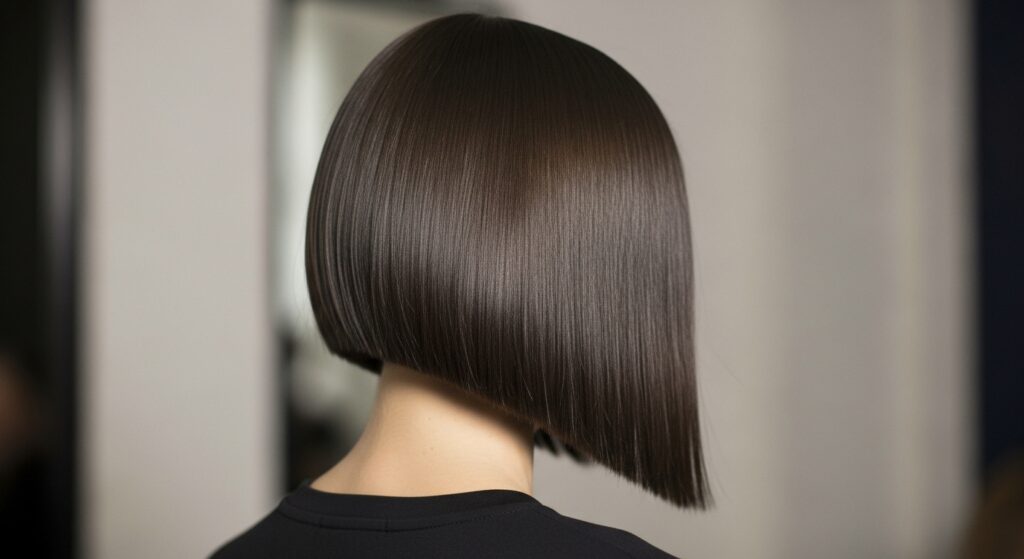
8. The Voluminous Blunt Bob with Textured Ends
A blunt bob can be incredibly voluminous because the uniform length creates a thick, solid shape. The trick is to avoid a heavy, sharp line at the bottom. By adding texture only to the ends, you keep the weight and fullness through the body of the hair while allowing the ends to move freely.
How to do it: Cut your hair to your desired bob length, making a straight, blunt line (using a guide and working in sections is best for accuracy). Once the length is set, take vertical sections around the perimeter of your hair. Use the point-cutting technique exclusively on the last half-inch to one inch of the ends. This will break up the line just enough to add airiness without losing the powerful, voluminous shape of the bob.
9. Face-Framing Choppy Layers
For those who want a more modern and edgy look, choppy layers are the answer. Unlike soft, feathery layers, choppy layers are more defined and irregular, creating dynamic sections of light and dark that add immense visual volume and texture.
How to do it: Isolate the face-framing sections. Instead of twisting, hold the hair straight out. Using the very tips of your shears, take small, deliberate “chops” out of the section, varying the height and depth of each cut. The goal is not a smooth line but an intentionally uneven one. This works exceptionally well on medium to thick hair types and can be concentrated around the face for a dramatic effect.

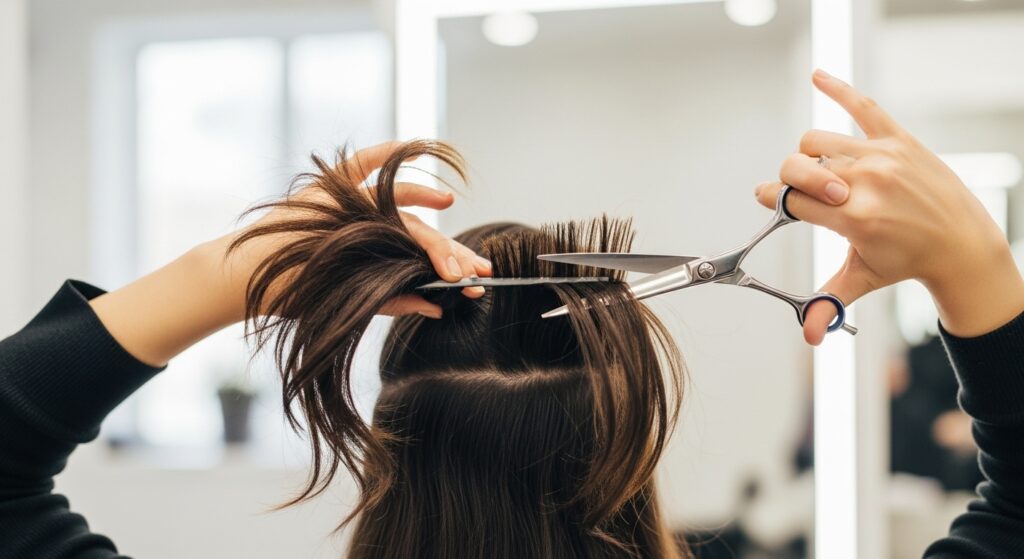
10. The “Under-Cut” for Secret Volume
This is the ultimate stealth volume booster. You’ll never see the cut, but you will absolutely feel its effects. By removing weight and thickness from the very bottom layer of your hair, you relieve the burden on the top layers, allowing them to spring up with newfound lift and body.
How to do it: Part your hair as you normally would. Then, lift up the top layers of your hair and secure them out of the way. On the bottom-under layer, use texturizing shears or a razor to meticulously remove bulk. Focus on the area from the nape of your neck up to about your ears. Be conservative—you can always take more off later. When you drop the top layers back down, your hair will feel lighter, bouncier, and more voluminous instantly.
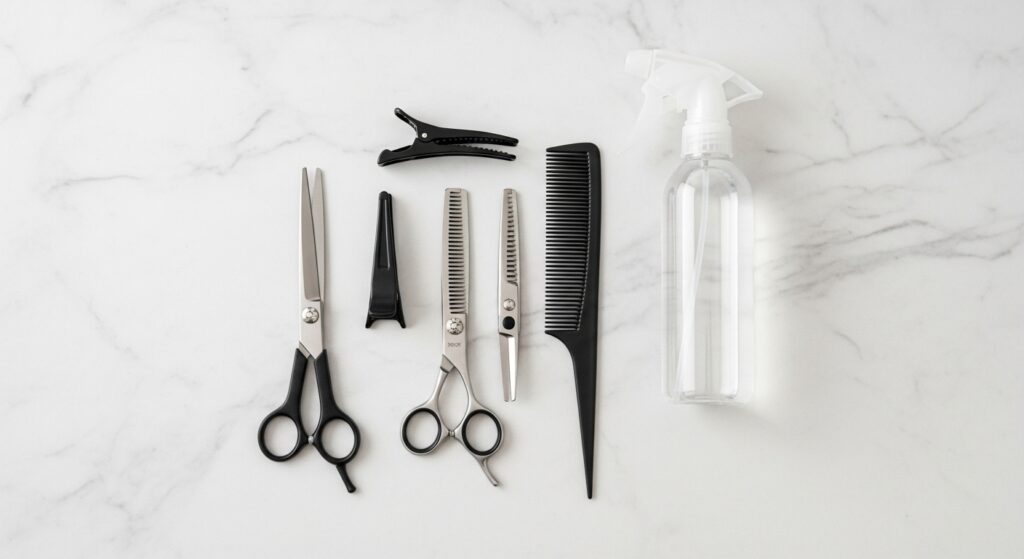
Your At-Home Haircut Toolkit for Success
Before you start, arm yourself with the right tools. Using the proper equipment is the difference between a hair victory and a hair horror story.
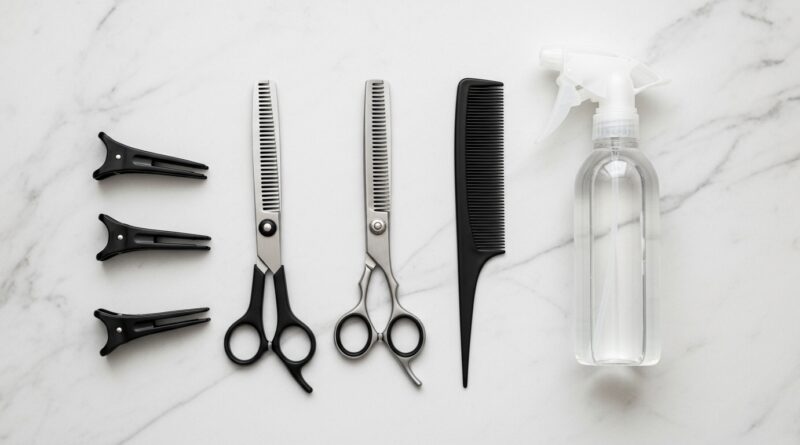
Essential Tools:
Sharp Hair Shears: Do not, under any circumstances, use kitchen or craft scissors. They will crush and damage your hair, leading to split ends. A decent pair of professional hair shears is a worthy investment.
Fine-Tooth Comb: For creating clean, precise sections.
Hair Clips: Essential for sectioning and keeping your work organized.
Texturizing Shears (Optional but Recommended): These are fantastic for removing weight and adding texture without drastically changing the length.
Two Mirrors: One for the front and one for the back, so you can see what you’re doing from all angles.
Spray Bottle with Water: For dampening hair if your chosen technique requires it.
Final Pro Tips Before You Snip
Start Conservatively: You can always cut more hair off, but you can’t put it back on. Take your time and make small, incremental cuts.
Cut on Dry Hair (When Possible): Dry cutting allows you to see how the hair naturally falls and how much volume you’re truly achieving in real-time.
Embrace Imperfection: The beauty of many volume-boosting cuts is their texture and slight irregularity. It doesn’t have to be perfectly even to look amazing.