19 Subtle Changes That Make Your textured shag Look Brand New
You fell in love with your textured shag for its effortless cool, its rock-and-roll spirit, and that perfectly imperfect, lived-in vibe. But lately, something feels off. The layers might be blending together, the ends looking a little weary, or that signature volume has decided to take a nap. Before you book a complete restyle or assume the magic is gone, take a breath. Your shag has more life in it than you think.
The beauty of this iconic cut is its inherent flexibility and texture. With a few strategic tweaks and some simple at-home or salon tricks, you can completely revitalize your look. We’ve gathered 19 subtle changes from top stylists that will inject new energy into your shag, making it look and feel brand new without a dramatic haircut.
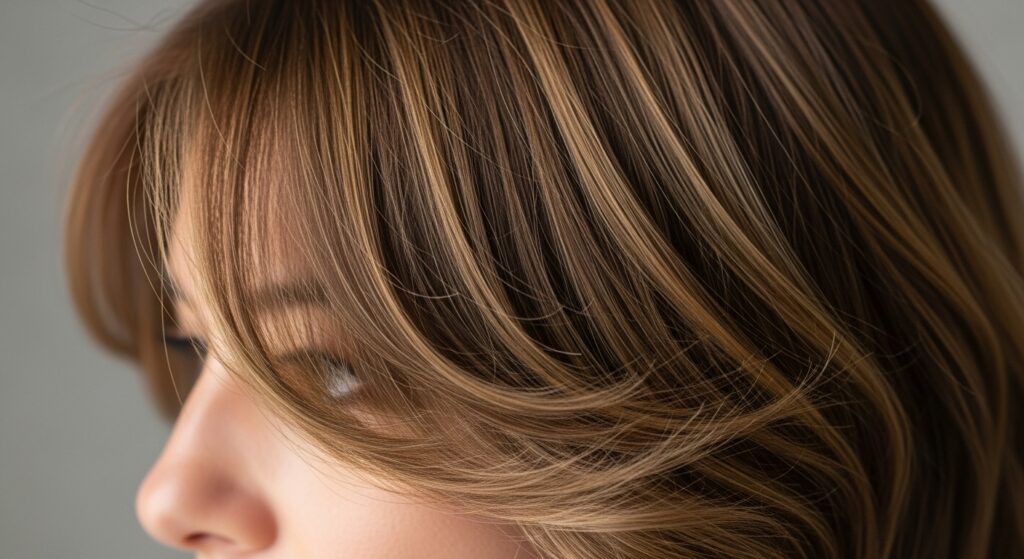
1. The Power of a “Shaggy” Face-Framing Refresh
One of the most impactful yet subtle changes you can make is to refresh the pieces around your face. Over time, these front layers can grow out, losing their shape and flattering angle. Ask your stylist for a light trim on just the face-framing layers. The goal isn’t to remove length from the entire haircut, but to re-establish the shag’s signature curtain bangs or wispy pieces. This immediately opens up your features and brings the entire style back into focus.
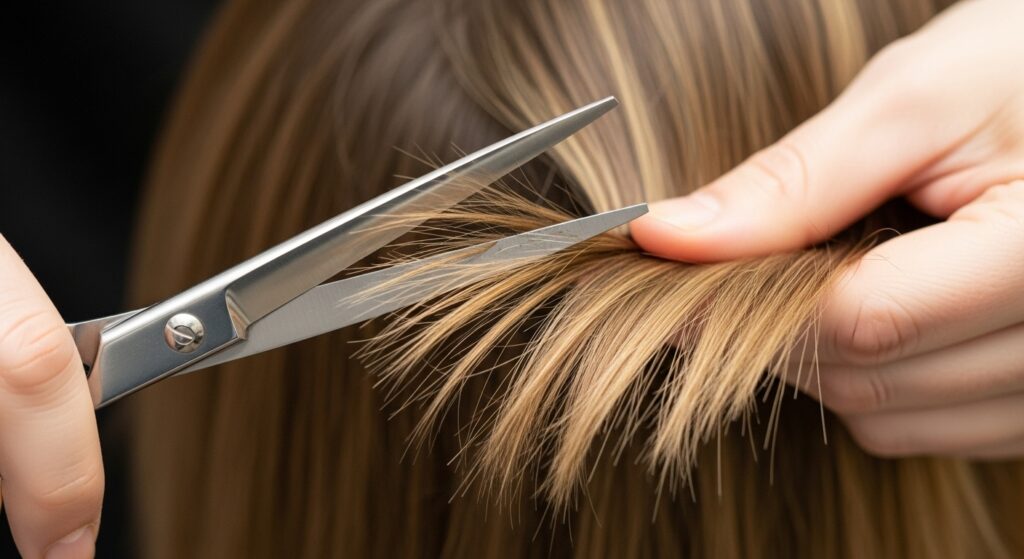
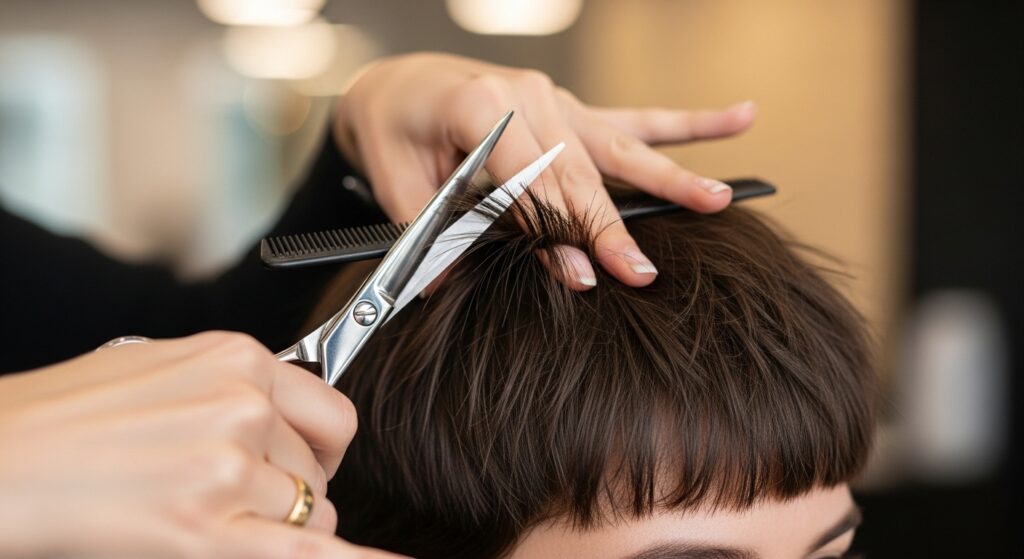
2. Re-texturize the Ends
Shags thrive on texture, but blunt, heavy ends are the enemy of movement. If your shag is starting to look a bit “helmet-like” or triangular, it’s time for some point cutting. This technique involves cutting into the ends of the hair at an angle, creating a softer, more feathered effect. A good texturizing session will chop up the weight without sacrificing length, allowing your layers to dance and separate as they were meant to.
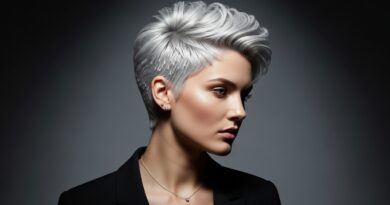
3. Add Invisible Layers Within the Crown
Volume at the crown is the foundation of a great shag. If yours has flattened, the solution isn’t always more layers on the surface. Ask your stylist about adding internal or “invisible” layers. These are shorter layers cut underneath the top sections of hair. They act as a hidden support system, providing lift and body from within without altering the external length or shape of your cut. It’s a secret weapon for unbelievable volume.
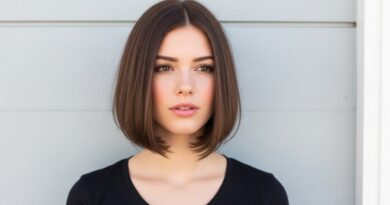
4. Switch Up Your Part
This is the easiest, zero-commitment trick in the book. If you always wear a center part, try a deep side part. If you’re a dedicated side-parter, experiment with a center part. This simple shift changes how the layers fall around your face, redistributes volume, and can even make your hair look instantly thicker. It’s a five-second change that offers a completely new perspective on your cut.

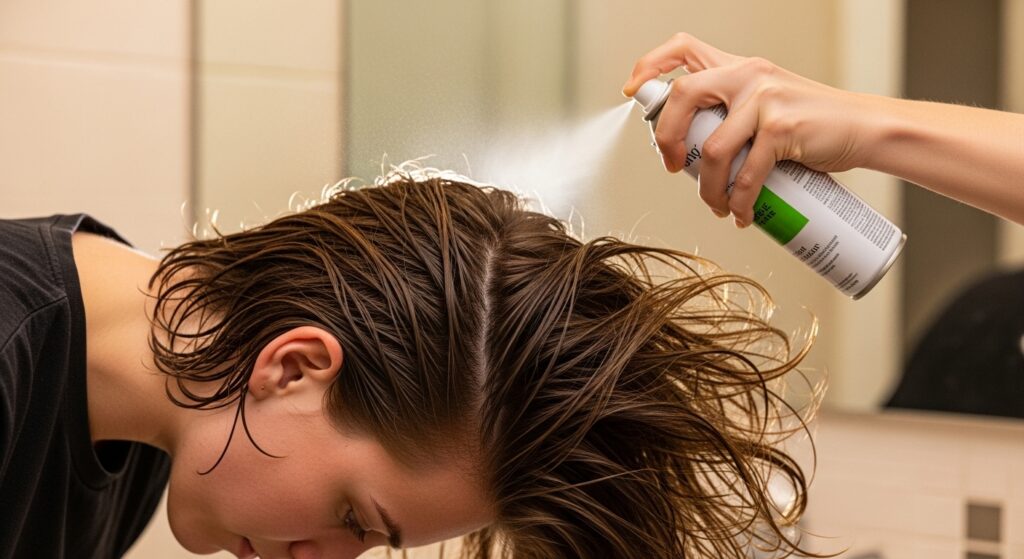
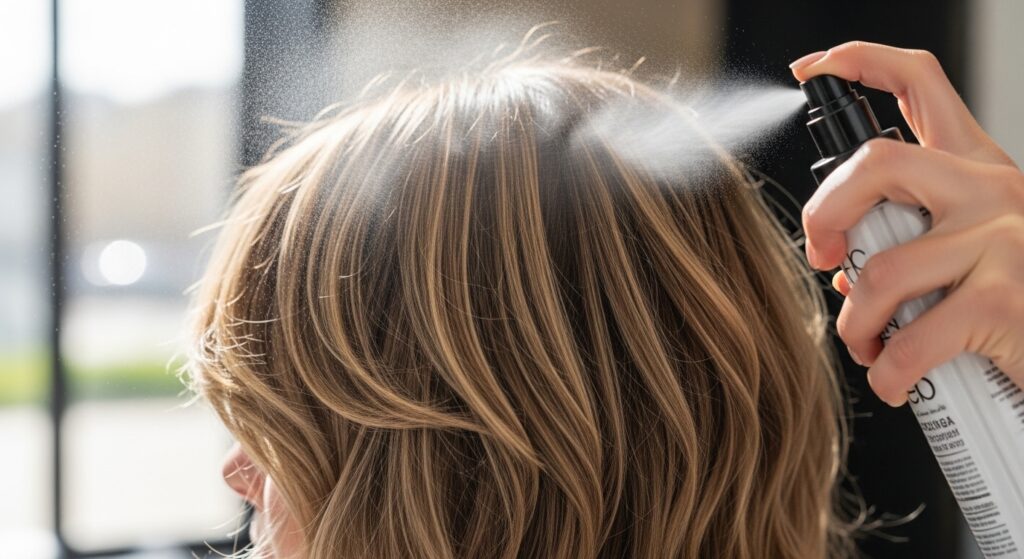
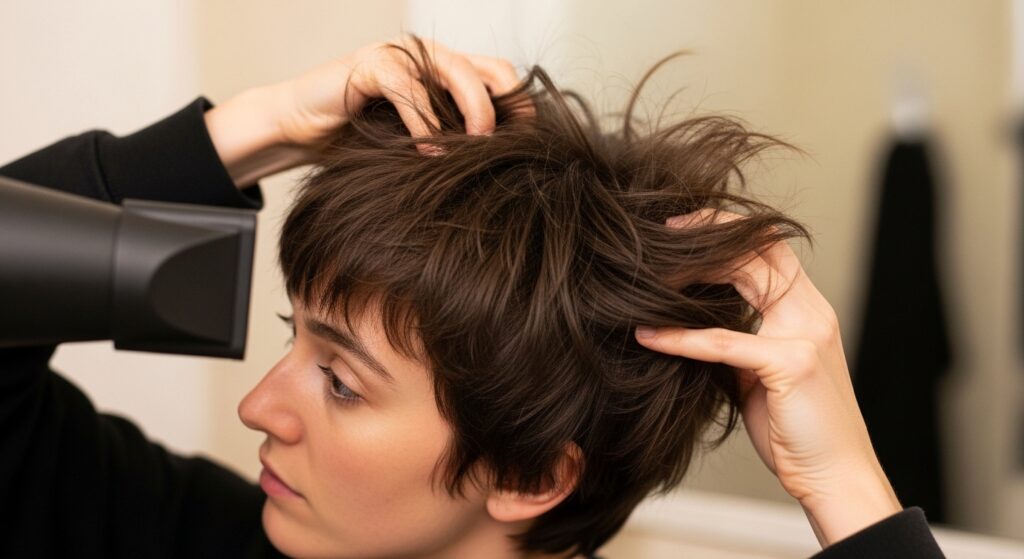
5. Master the Art of Root-Lifting Products
Product application is everything. Instead of smoothing mousse or cream all over, focus it at your roots. While your hair is still damp, flip your head over and apply a root-lifting spray or mousse directly to the scalp. Use your fingers to massage it in and then blow-dry upside down for the first few minutes. This builds a lasting base of volume that your shag desperately needs to look its best.
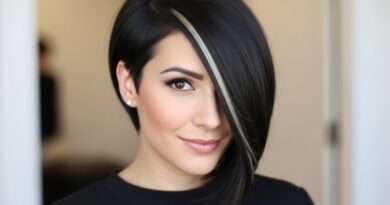
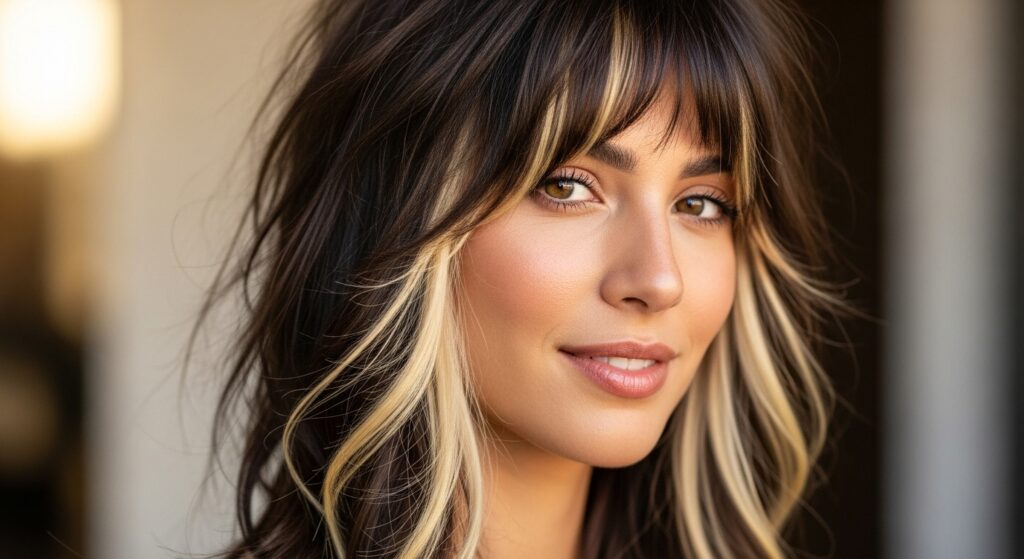
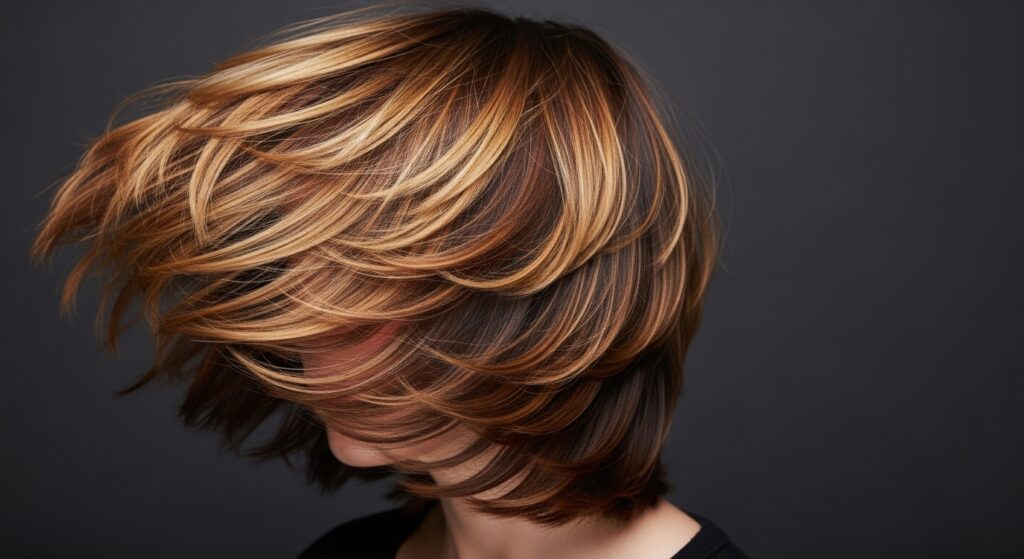
6. Introduce a “Money Piece”
Brighten up your entire look by adding a subtle face-framing highlight, often called a “money piece.” This involves lightening just the two front sections of hair that frame your face. It doesn’t have to be a stark, blocky blonde; it can be a soft, buttery tone or even a pastel. This technique adds dimension, makes your eyes pop, and gives your shag a modern, sun-kissed effect.
7. Play with Dry Shampoo as a Styling Tool
Dry shampoo isn’t just for dirty hair. On clean, styled hair, a light dusting of dry shampoo at the roots and mid-lengths can add incredible grit and texture. It helps layers separate and gives that “second-day hair” hold that is perfect for a shag. It also provides extra grip for styling pieces to stay in place.
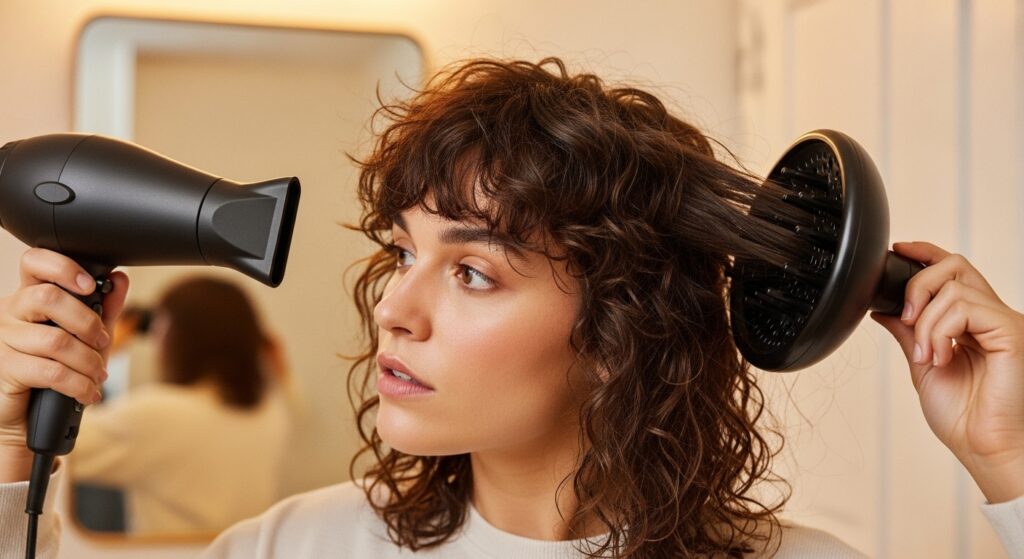
8. Redefine Your Curls or Waves
If your shag is wavy or curly, its revival lies in your curl definition. Experiment with new styling techniques like scrunching, plopping, or diffusing. Try a different product cocktail—perhaps a curl cream followed by a light gel for a cast. Redefining your natural texture will make the layers spring to life, showcasing the cut’s intended shape in a whole new way.
9. The “Twist and Pin” Volumizing Trick
For a quick volume fix, try this. Once your hair is about 80% dry, take a large section of hair at the crown, twist it loosely, and pin it flat against your head with a clip. Continue drying the rest of your hair. Once everything is completely dry, remove the clip, shake out the twist, and you’ll be left with incredible, lasting lift at the roots.

10. Opt for a Shadow Root
If you have highlights or an all-over color, a grown-out root can sometimes make a shag look messy instead of cool. The solution? Ask your colorist for a “shadow root.” This technique involves blending your root color down slightly into your lengths, creating a soft, graduated effect. It makes regrowth look intentional, adds depth, and makes the shag’ layers appear more pronounced.

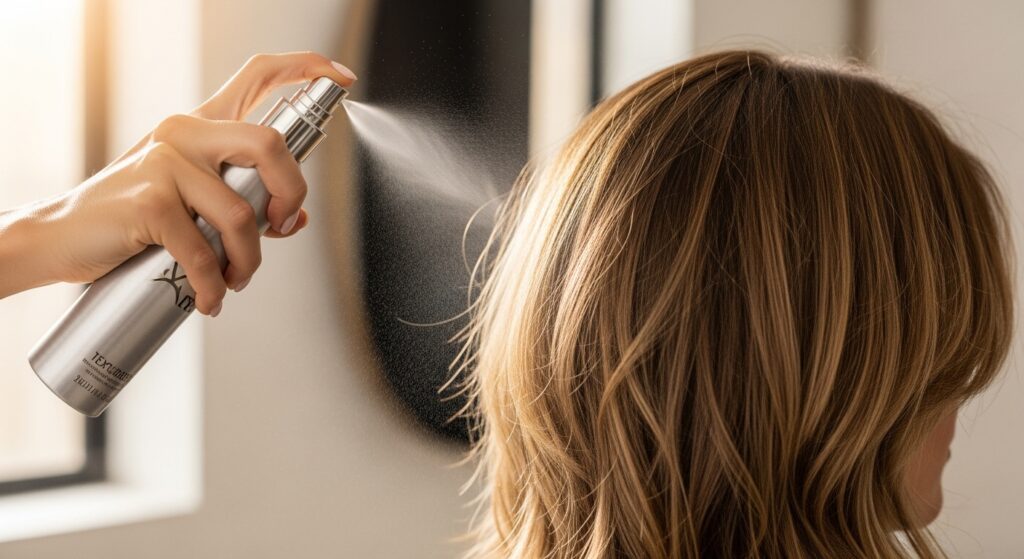
11. Invest in a Texturizing Spray
This is a non-negotiable product for a shag. A good texturizing spray is like hairspray’s cooler, more effortless cousin. It delivers a flexible hold while adding grit, separation, and that coveted piece-y finish. Spray it on dry hair, focusing on the mid-lengths and ends, then scrunch with your hands to break up the layers and create movement.
12. Change Your Drying Technique
How you dry your hair is as important as the cut itself. Ditch the round brush if it’s making your hair too smooth. Instead, try “rough drying”—using your fingers to tousle and lift the hair at the roots while using the dryer on a low heat/high speed setting. This encourages natural texture and volume without over-styling.
13. Add Some Hidden Color Depth
Sometimes, a shag looks flat because the color is too uniform. Adding subtle lowlights or a richer tonal dimension can work wonders. By placing slightly darker shades underneath the top layers, you create a sense of depth and shadow that makes the shag’s movement and layers more visually dynamic when you move.
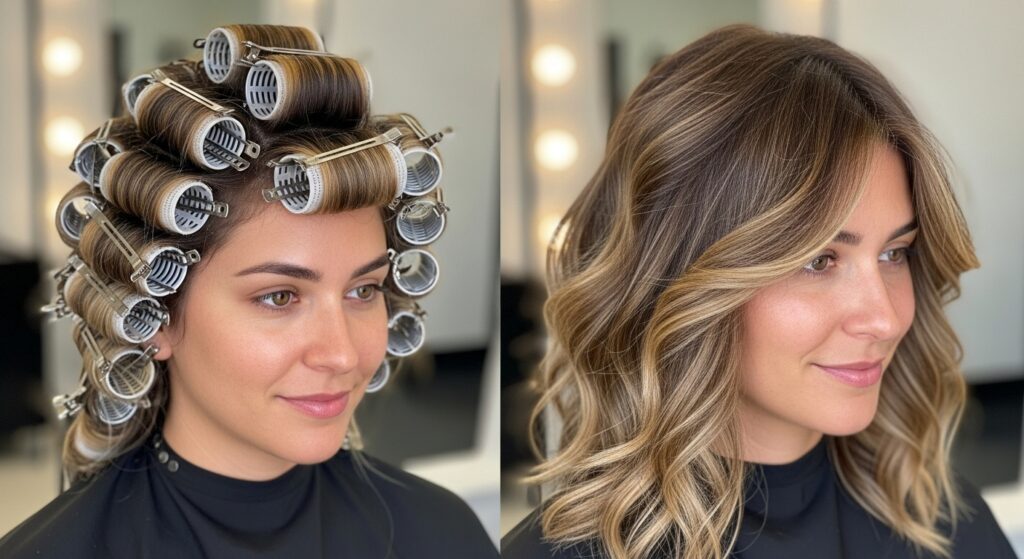
14. The Pin-Curl Method for Vintage Waves
For a gorgeous, retro-inspired texture, try setting your damp shag in pin curls. This creates soft, uniform waves that work beautifully with the shag’s layered structure. It’s a different kind of texture than you get from a wand or iron, and it can make your haircut feel entirely new and sophisticated.
15. Refresh Your Bangs Specifically
If your shag has bangs—whether they’re wispy, curtain, or blunt—keeping them sharp is crucial. Even a tiny trim, just to clean up the line and remove straggly ends, can make the entire haircut look fresher and more intentional. Don’t let overgrown bangs drag down the rest of your style.
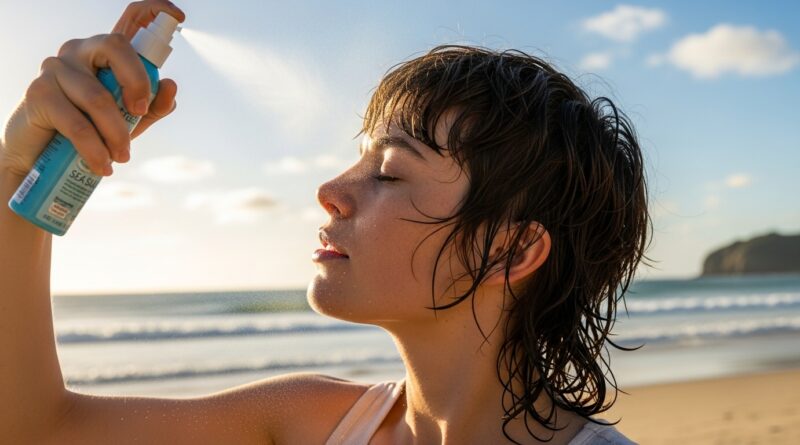
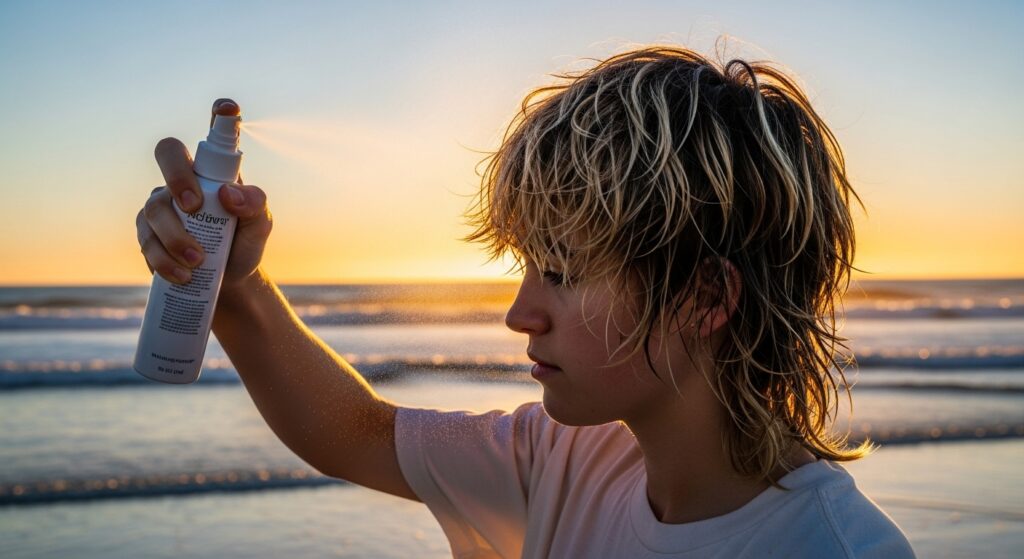
16. Experiment with Sea Salt Spray
For a beachy, undone texture, sea salt spray is your best friend. Spritz it on damp hair and scrunch for natural-looking waves, or use it on dry hair to add a touch of grit and separation. It enhances your hair’s natural wave pattern and gives that “just got back from the ocean” feel that pairs perfectly with a shag.
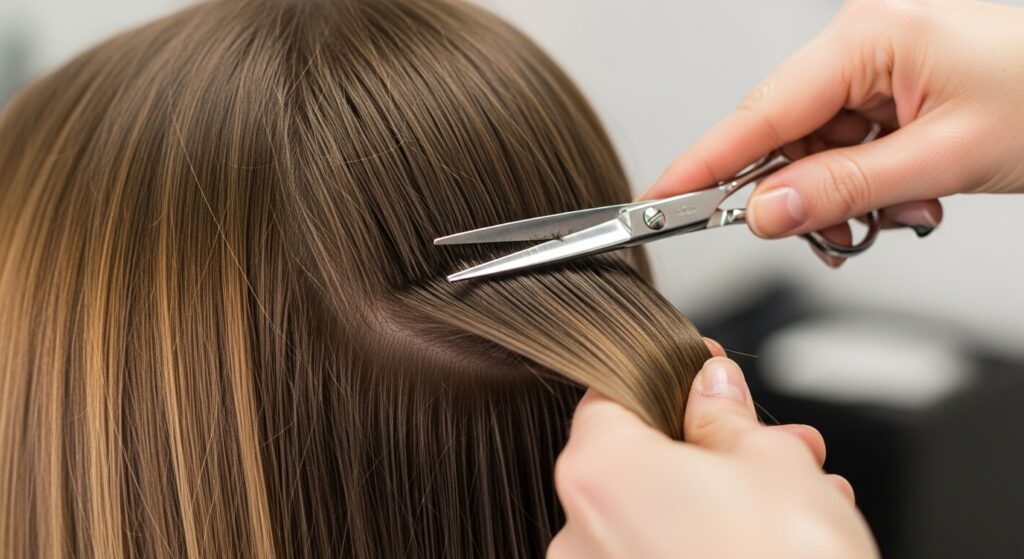
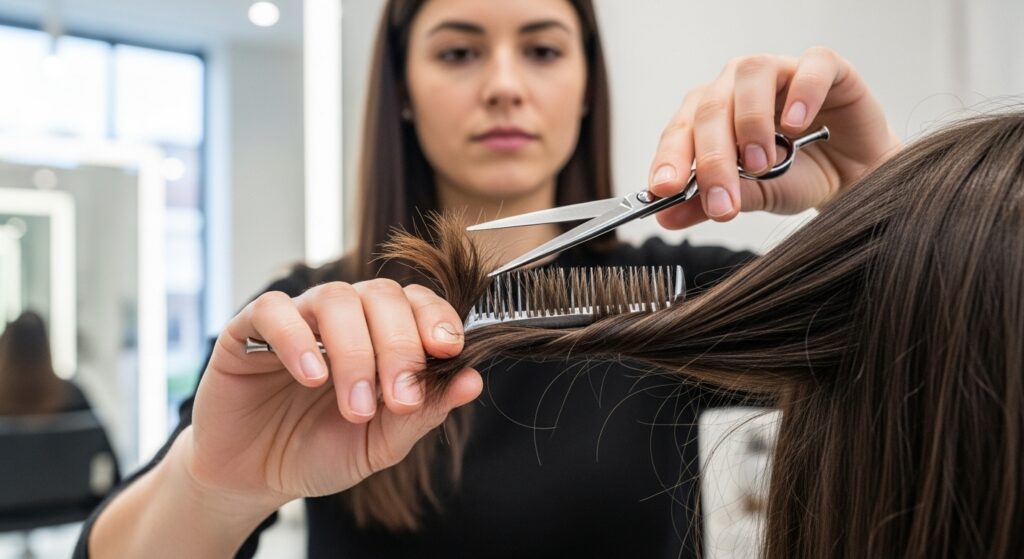
17. Get a “Dusting”
If you’re terrified of losing length but need a refresh, ask for a “dusting.” This is a micro-trim where the stylist only cuts off the very tips of your hair—literally just the damaged, see-through ends. This removes the dead weight without sacrificing your hard-earned length, resulting in hair that looks thicker, healthier, and full of bounce.
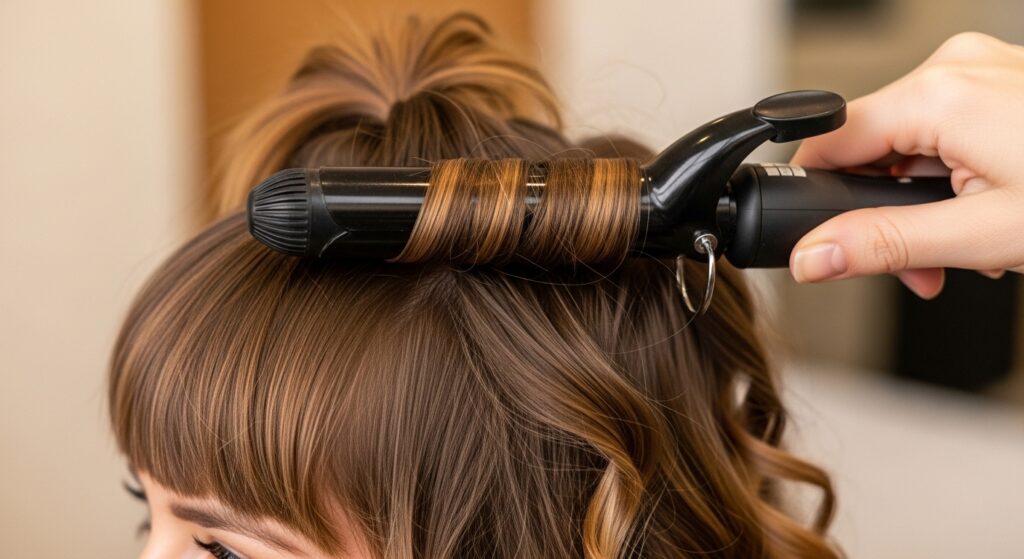
18. Use a Curling Wand on Random Sections
Instead of curling your entire head in one uniform direction, use a curling wand to add random waves and bends. Curl some pieces away from your face, some toward it, and leave others straight. This mismatched, artistic approach enhances the shag’s textured, rock-and-roll aesthetic and prevents it from looking too “done.”
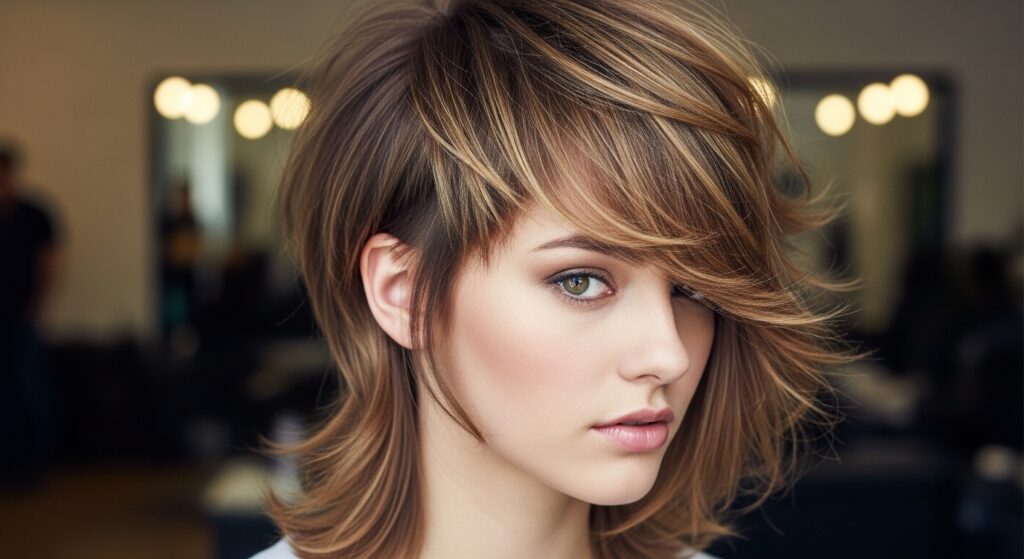
19. Embrace a Slight Shape Shift with Textured Angles
Finally, if you’re ready for a slightly more noticeable change, talk to your stylist about adding more pronounced texture or angle to one side. This could mean making the layers around one side of your face slightly shorter or more heavily textured than the other. This asymmetric touch is modern, edgy, and guarantees your shag will have a unique, custom shape.
Breathing New Life Into Your Signature Cut
Your textured shag is a haircut built on personality and movement. It’s not meant to be perfect, but it is meant to make you feel incredible. By implementing even a few of these subtle changes—from switching your part to mastering a new product—you can rediscover the joy of your look without starting from scratch. So, book that trim, buy that texturizing spray, and get ready to fall in love with your shag all over again.