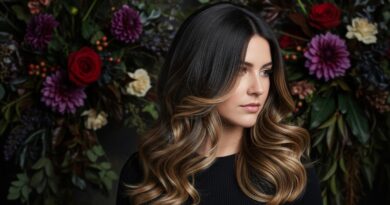
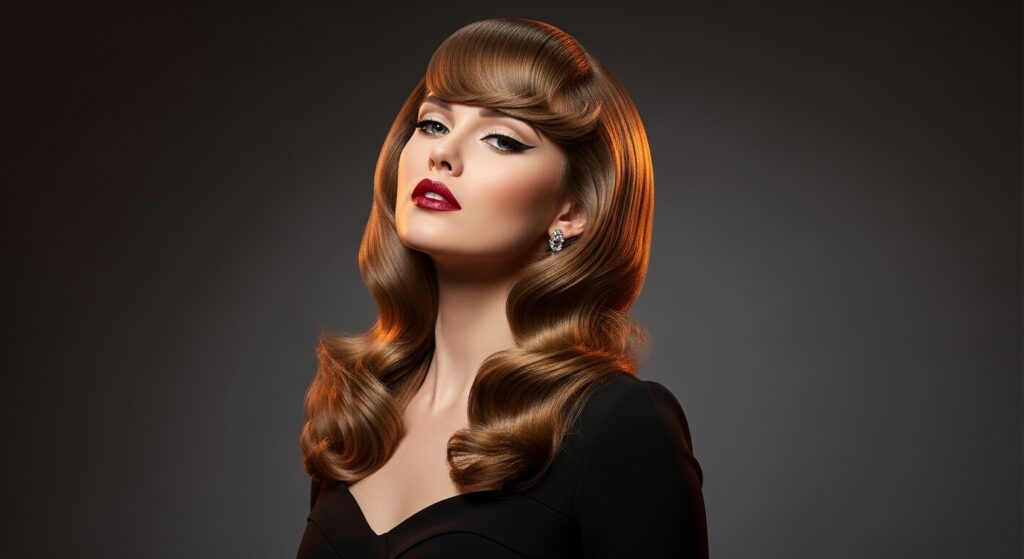
20 Subtle Changes That Make Your messy bangs Look Brand New
You took the plunge. You got the bangs. For a glorious week, you felt like a French film star or a chic, downtown It-girl. But now? Now they’re in that awkward phase—not short enough to be crisp, not long enough to tuck behind your ears. They’re just… there. A little limp, a little uneven, a little messy in the wrong way.
Before you grab the nearest bobby pin and declare them a lost cause, know this: the journey from messy-to-magnificent is shorter than you think. You don’t need a dramatic chop or a complete style overhaul. Often, it’s the smallest, most subtle adjustments that can make your fringe look fresh, intentional, and brand new. We’ve gathered 20 of these game-changing tweaks to revive your bangs and your confidence.
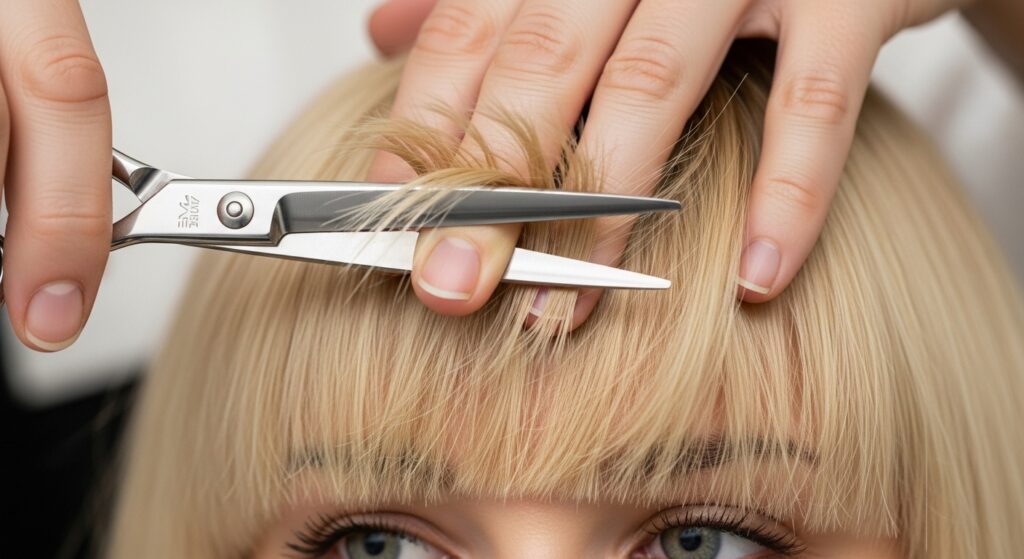
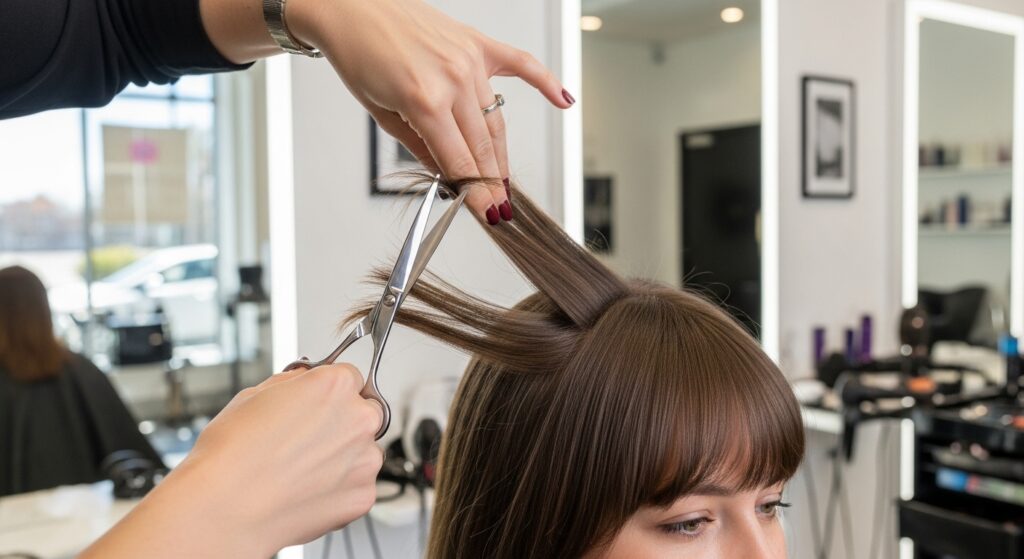
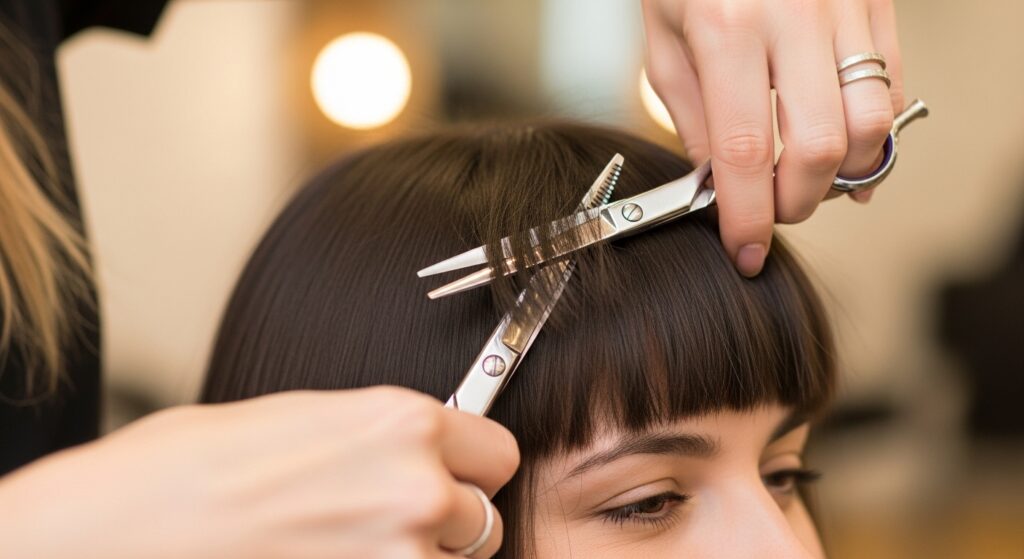
1. The “Point Cut” for Softness
One of the biggest culprits of harsh, unflattering bangs is a blunt, straight-across cut. If your bangs feel too heavy or helmet-like, ask your stylist for a point cut. Instead of cutting straight across, they use the tips of the shears to snip into the ends of your hair, creating a softer, more textured, and feathered effect. This subtle technique removes weight without sacrificing length and makes bangs blend more naturally with the rest of your hair.
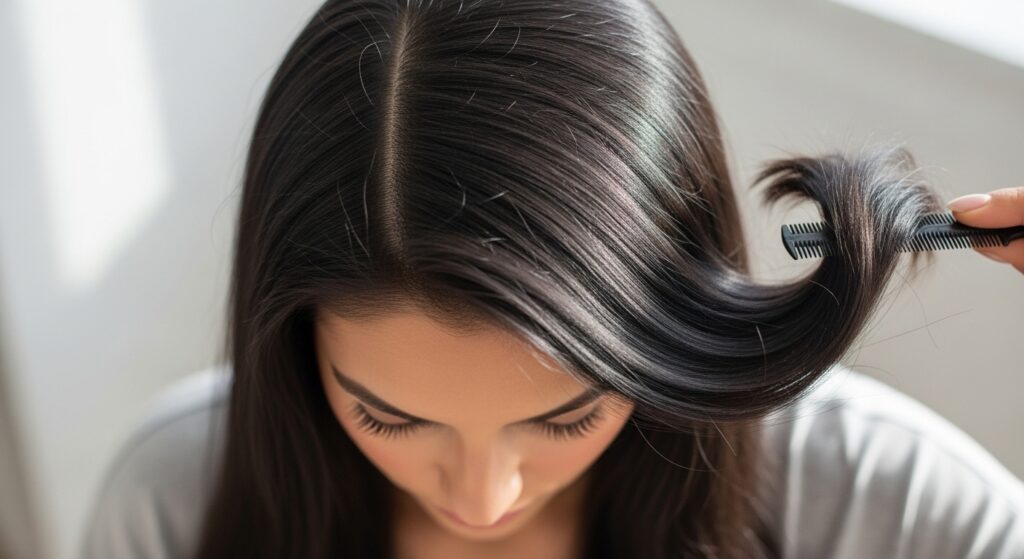
2. Master the Curved Part
Your part is the foundation of your bang style. A rigid, straight part can look severe. Instead, try creating a softly curved part just off-center. Use a tail comb to draw a gentle “C” shape from your crown to your forehead. This tiny change adds instant volume at the roots and creates a more dynamic, face-framing effect that looks effortlessly cool.
3. The Strategic “Bottleneck” Trim
Are the sides of your bangs, the pieces that frame your eyes, getting too long and straggly? Instead of trimming the entire fringe, focus on a strategic bottleneck trim. Isolate these longer side pieces and point-cut them to blend seamlessly with the shorter center section and the longer hair around your face. This creates a fluid, graduated line that is incredibly flattering and modern.
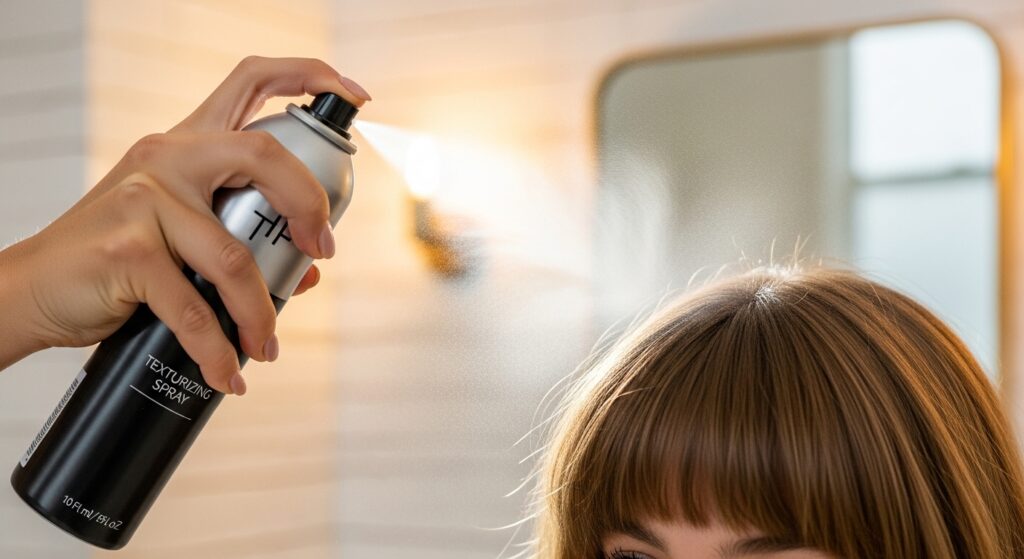
4. Switch Up Your Styling Product
If you’re still using the same heavy wax or gel from years ago, your bangs are suffering. Product technology has evolved. Swap that thick product for a texturizing spray or a lightweight sea salt spray. These products add grit, volume, and separation without the grease or crunch, giving you that “I just woke up like this” texture that makes messy bangs look intentional.
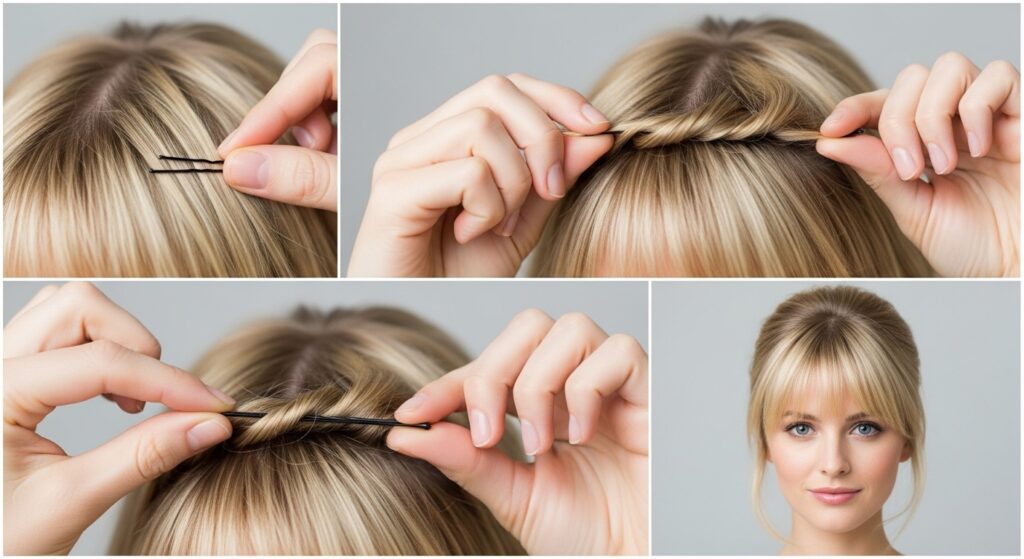
5. The Hidden Bobby Pin Trick
For bangs that are growing out or just won’t stay put, the classic bobby pin can be your secret weapon. But don’t just clip it straight on. Take a small section at the root, twist it back slightly, and secure the pin underneath the top layer of hair. This lifts the roots for volume and keeps your bangs in place while keeping the pin virtually invisible.
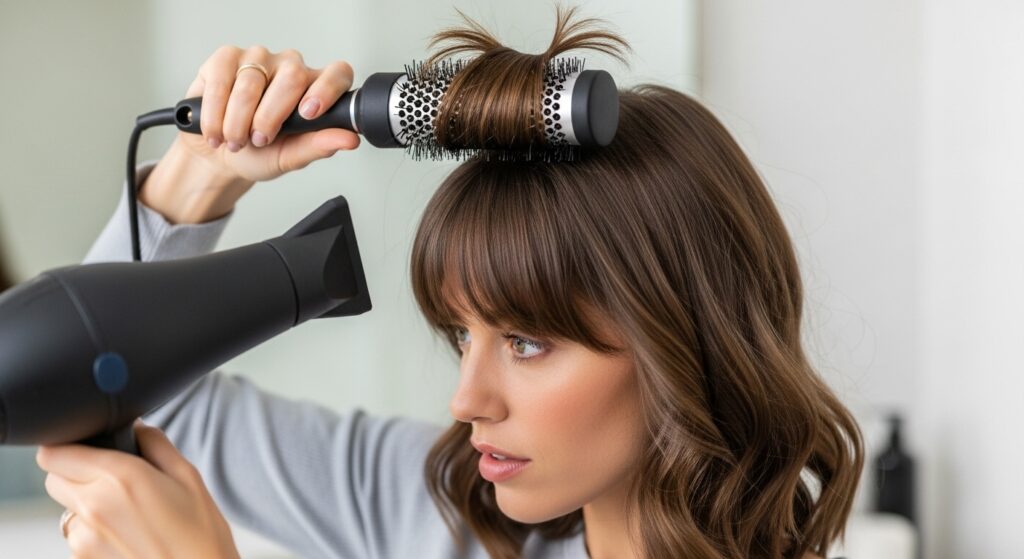
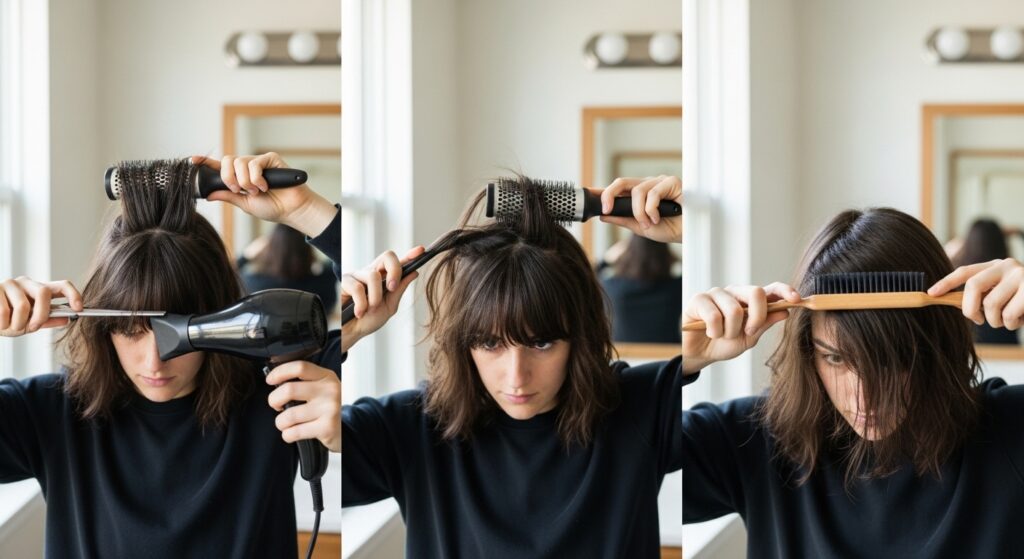
6. Change Your Blow-Drying Direction
You always blow-dry your bangs straight down, right? Time for a change. For more volume and body, try blow-drying them side-to-side. As you dry, use a round brush to pull sections first to the left, then to the right. This roughs up the cuticle and creates a fuller, more lived-in base that holds style better throughout the day.
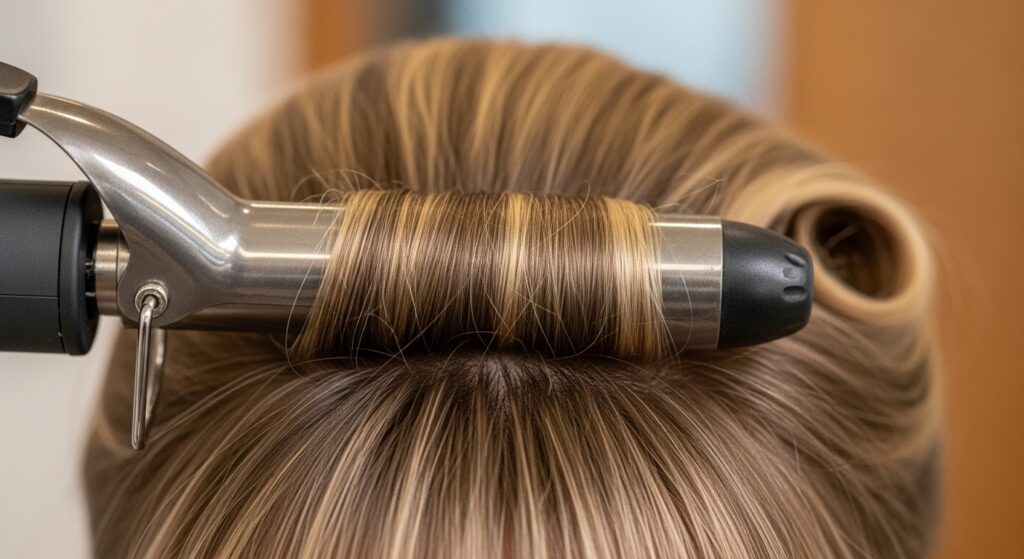
7. Embrace the “Bang Lift” with a Small Barrel Iron
A flat iron can make bangs look flat. For a subtle, retro-inspired lift, use a small-barrel curling iron (about 3/4 inch). Take the front section of your bangs and, instead of curling under, wrap them over the barrel and away from your face, rolling them upward and back. This creates a soft, poufy volume at the front that is chic and timeless.
8. The Power of Dry Shampoo… Before Bed
Dry shampoo is a lifesaver for oily bangs, but for the best results, don’t wait until morning. Apply a light dusting of dry shampoo to your roots the night before. This gives the product time to absorb excess oil as you sleep, so you wake up with bangs that already have volume and texture, requiring minimal touch-ups.

9. Twist and Tuck for a Mini Updo
On a bad bang day, don’t fight them—style them. Take the longer sections of your bangs, twist them gently back, and tuck them into the hair at your crown, securing with a hidden bobby pin. This creates a mini, face-framing updo that clears your forehead and looks polished and intentional, not like you’re hiding anything.

10. Redefine Your Cowlick
Fighting a cowlick is a losing battle. Instead, work with it. When your hair is damp, use a blow dryer to style your bangs in the direction the cowlick wants to go. Once dry, you can gently guide them back to your desired part. This trains the hair to sit more smoothly and reduces that awkward split during the day.
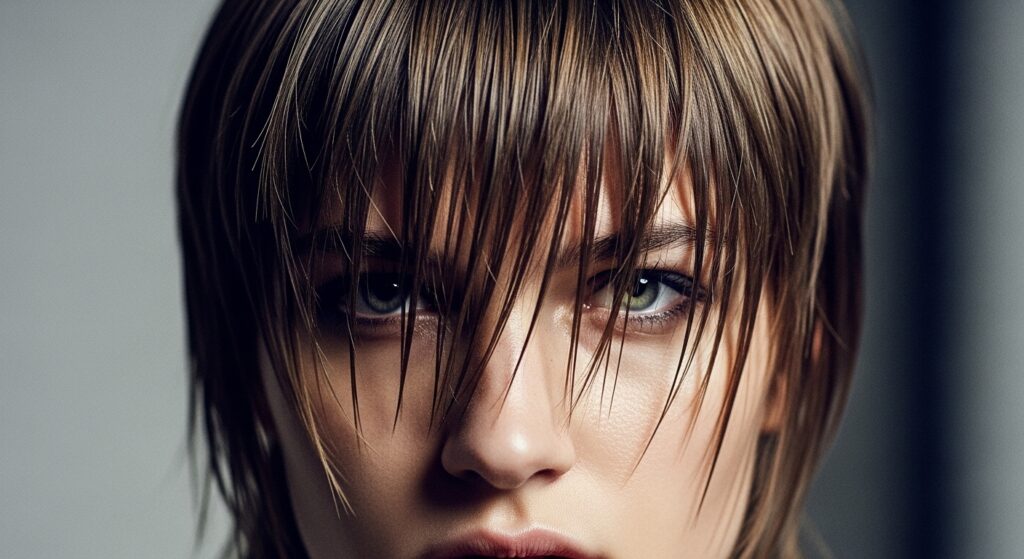
11. The “Underbrush” Technique
This is a pro secret for wispy, see-through bangs. Using thinning shears (be careful!), a stylist will texturize the underside of your bangs only. This removes bulk and weight from below, allowing the top layer to fall more softly and creating that coveted, airy, feathery effect without making the bangs look thin from the front.
12. Switch to a Silk Pillowcase
Your nighttime routine matters. Cotton pillowcases create friction, causing frizz and flattening your bangs overnight. A silk or satin pillowcase allows your hair to glide smoothly as you sleep, preserving your style, reducing bedhead, and keeping your bangs looking fresher for longer.

13. The Side-Swept Refresh
If your blunt bangs are boring you, you don’t need to grow them out. Simply use a round brush and your blow dryer to sweep them dramatically to one side. Use a strong-hold hairspray to lock in the deep side part. This creates a whole new silhouette and gives you the glamour of a side-swept bang without the commitment.
14. Add Invisible Layers
Layers aren’t just for the rest of your hair. Asking your stylist for very subtle, long layers within your bangs can add movement and prevent that solid, curtain-like effect. These layers should be almost invisible but will make a world of difference in how your bangs move and fall.
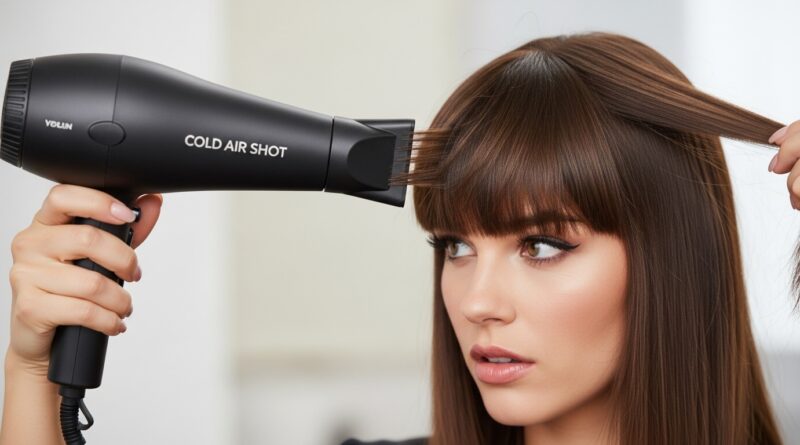
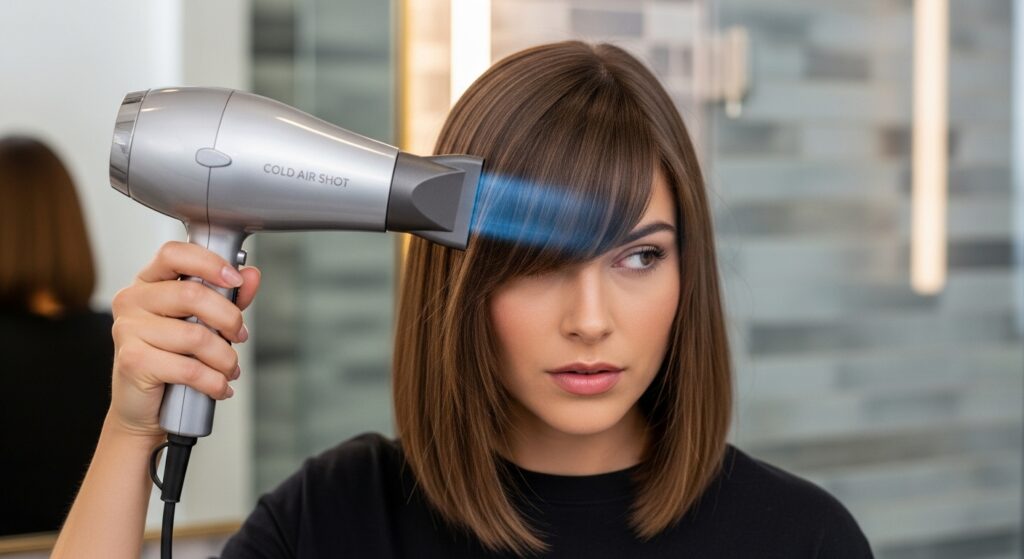
15. Use a Cold Shot
After you’ve styled your bangs with heat, finish with the cold shot button on your blow dryer for 30 seconds. The blast of cool air helps set the style by sealing the hair cuticle, locking in the shape and shine, and making your bangs more resistant to humidity and frizz.
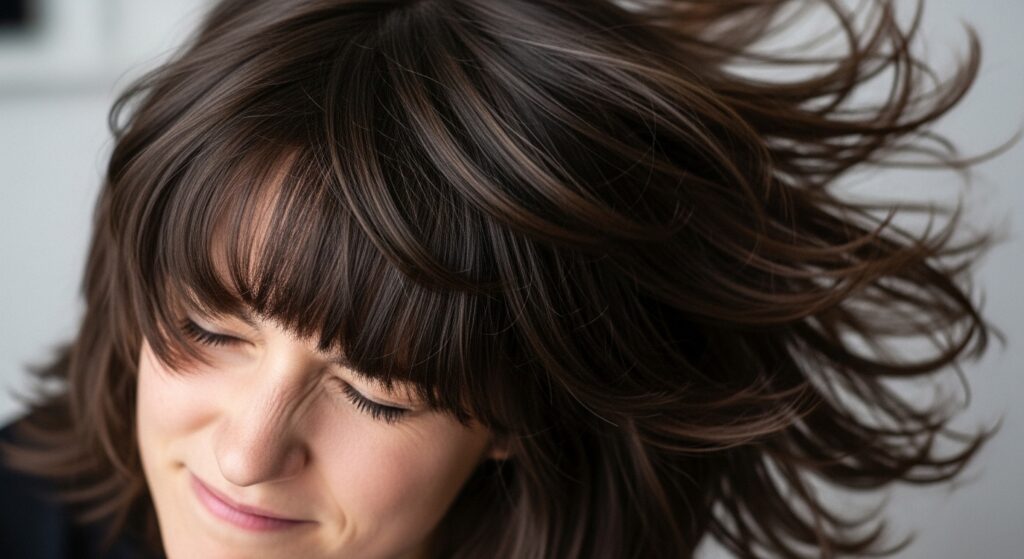
16. The “Broken” Bang Line
This editorial trend is perfect for refreshing a stale fringe. Instead of a perfect, unbroken line across the forehead, the bang length is intentionally varied with shorter and longer pieces. It’s a more artistic, deconstructed take on messy bangs that looks incredibly modern and requires very little maintenance.
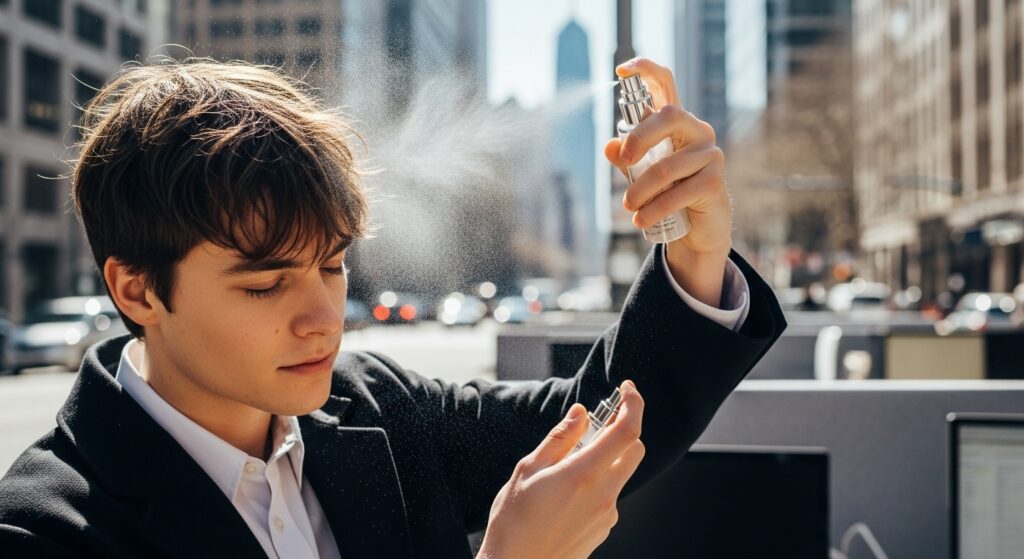
17. Refresh with a Facial Mist
Throughout the day, your bangs can collect product buildup and environmental dust, making them look limp. Keep a refreshing facial mist in your bag. A light spritz can help reactivate styling products and add a touch of moisture, reviving the shape and texture of your bangs without making them greasy.
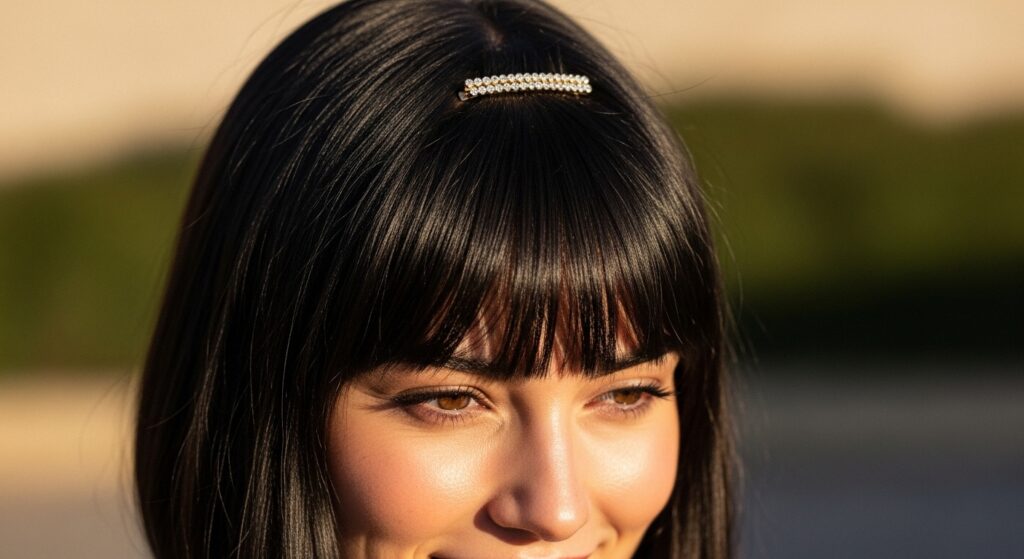
18. Pin-Back the Very Front
For a subtle change, take only the very front, center section of your bangs—about an inch wide—and pin it back with a small, decorative clip. This creates a mini “curtain” effect on the sides and draws the eye upward, giving the illusion of a different bang style entirely.
19. Train Them with Overnight Braids
If your bangs are growing out and you want to train them to go to the side, try this overnight trick. While slightly damp, braid your bangs loosely to the side you want them to fall. Secure the end with a soft hair tie. In the morning, undo the braid for beautifully waved bangs that naturally fall in the right direction.

20. The Mindset Shift: Own the Mess
Finally, the most subtle but powerful change of all: your attitude. The “messy bang” look is a style, not a mistake. A little piecey-ness, a slight asymmetry, a bit of texture—this is what gives bangs their character and cool-girl appeal. Stop striving for perfection. Run your fingers through them, fluff them up, and wear them with confidence. That, more than any product or tool, is what truly makes them look brand new.