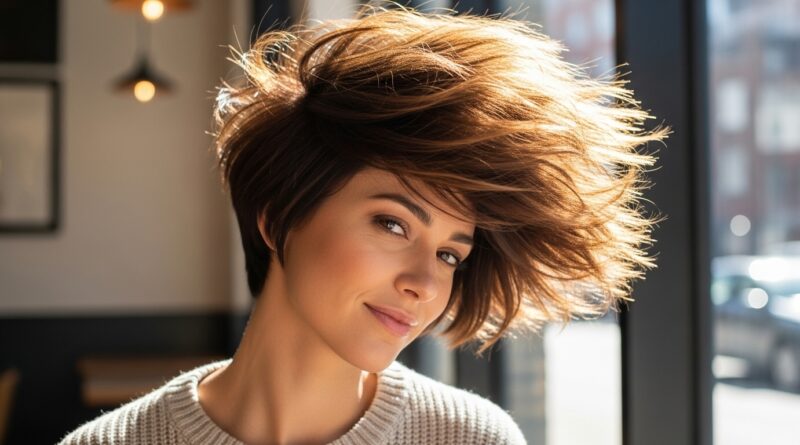
How to Get layered pixie Hair That Looks Effortless (But Isn’t)
You’ve seen it on celebrities, style icons, and that impossibly cool woman you passed on the street. It’s the layered pixie cut that looks like she just rolled out of bed, ran her fingers through her hair, and walked out the door looking like a masterpiece. We’re here to let you in on a little secret: it’s a lie. Well, not the masterpiece part—the “rolled out of bed” part.
That perfectly textured, piecey, and dynamic “effortless” pixie is often the result of meticulous cutting and a strategic styling routine. But don’t let that discourage you! Achieving this coveted look is entirely within your reach. This guide will walk you through everything, from the crucial consultation with your stylist to the daily rituals that transform a simple short cut into a layered, volume-packed statement of style. Get ready to learn how to master the art of looking like you didn’t try at all.
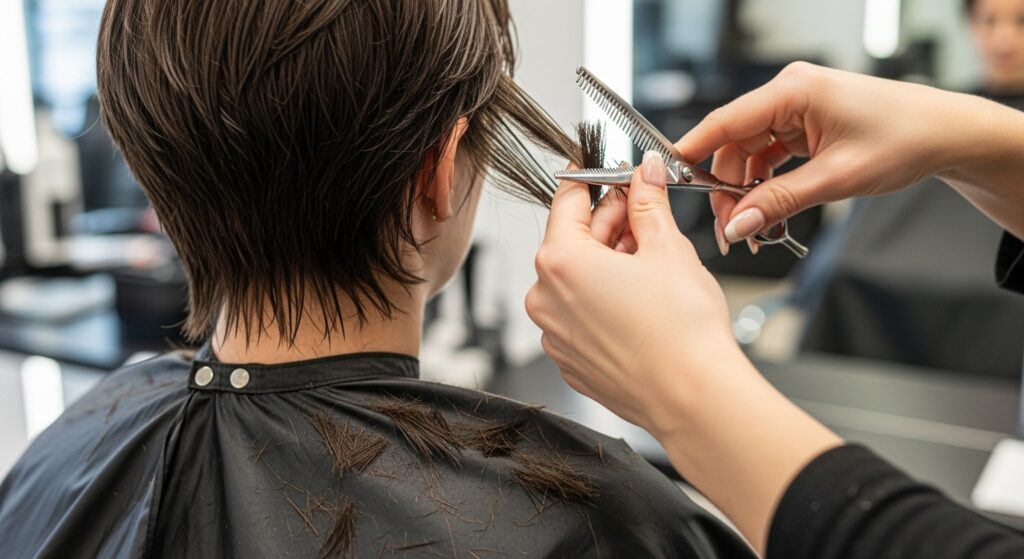
It All Starts with The Cut: The Blueprint for Effortless Texture
You cannot style your way into a truly great layered pixie if the foundation—the cut—isn’t there. This is the most critical step. A blunt, one-length pixie will fight you every day, while a strategically layered one will naturally fall into that beautiful, piecey shape. When you sit down in your stylist’s chair, the conversation is key.
Bring Visual Inspiration: Don’t just say “textured and layered.” Show them. Find pictures from multiple angles that capture the essence of the look you want. Pay attention to the crown, the nape of the neck, and the fringe. Is it choppy? Soft? Longer on top? These details matter.
Key Phrases to Use With Your Stylist:
“I want a lot of internal layers for movement, not just perimeter layers.”
“Please use texturizing shears or a razor to break up the ends and avoid a heavy, helmet-like look.”
“Let’s focus on building volume at the crown and keeping the sides soft.”
“I want pieces that can fall naturally around my face, not a solid, heavy fringe.”
This cut is about creating a map for your hair to follow. The layers remove weight, allowing sections to lift and separate. The texturizing creates those soft, imperfect ends that are the hallmark of an undone style. A great stylist will assess your hair type—fine, thick, straight, or wavy—and customize the layering technique to work with your natural texture, not against it.
The Styling Arsenal: Products That Build “I-Woke-Up-Like-This” Magic
Once you have the perfect cut, the right products are your best allies. This look is not achieved with a can of firm-hold hairspray. It’s built with products that add grip, separation, and a flexible hold that looks and feels natural.
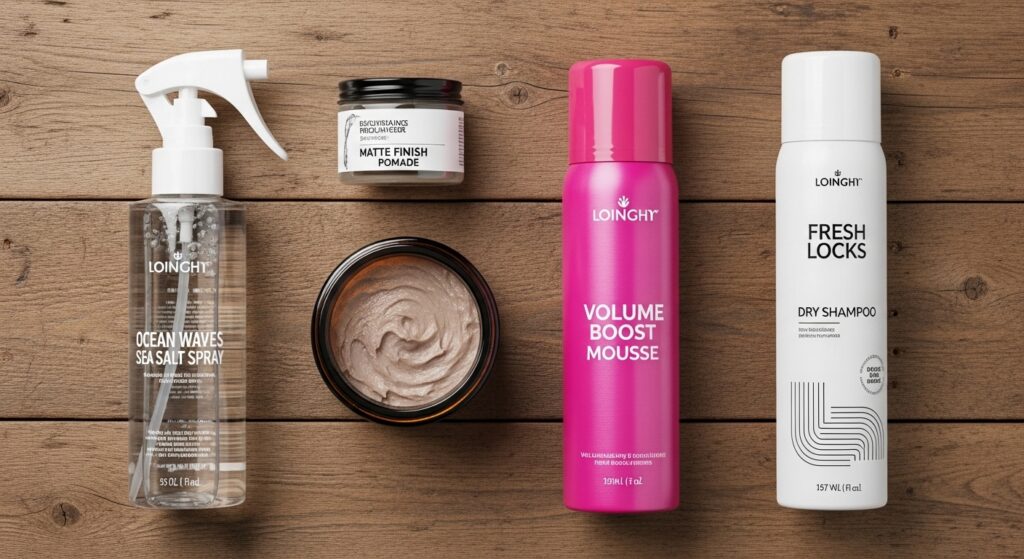
Texture Spray or Sea Salt Spray: This is your holy grail. These sprays contain minerals that gently rough up the hair cuticle, creating instant grit, volume, and that beachy, piecey texture. Spritz onto damp or dry hair, focusing on the roots and mid-lengths.
A Lightweight Pomade or Wax: Forget the thick, greasy formulas of the past. Modern pomades and waxes are lightweight and pliable. Use a tiny amount (think pea-sized) warmed between your fingers to define individual pieces, twist small sections, and control flyaways without weighing hair down or making it look crunchy.
Volumizing Mousse or Root Lifter: For that essential lift at the crown, a mousse or root lifter applied to damp roots before blow-drying is a game-changer. It gives your hair the memory to stay upright and voluminous all day.
Dry Shampoo (Even on Clean Hair): Dry shampoo isn’t just for skipping washes. It’s a fantastic texturizing agent. A light spray at the roots on clean hair adds instant volume and that slight grit that helps styles hold and pieces separate beautifully.
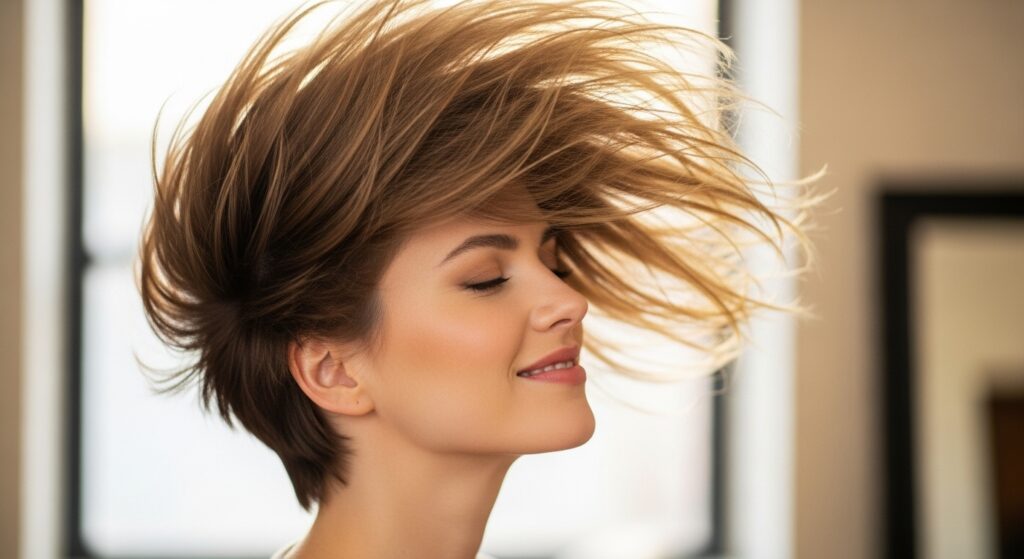
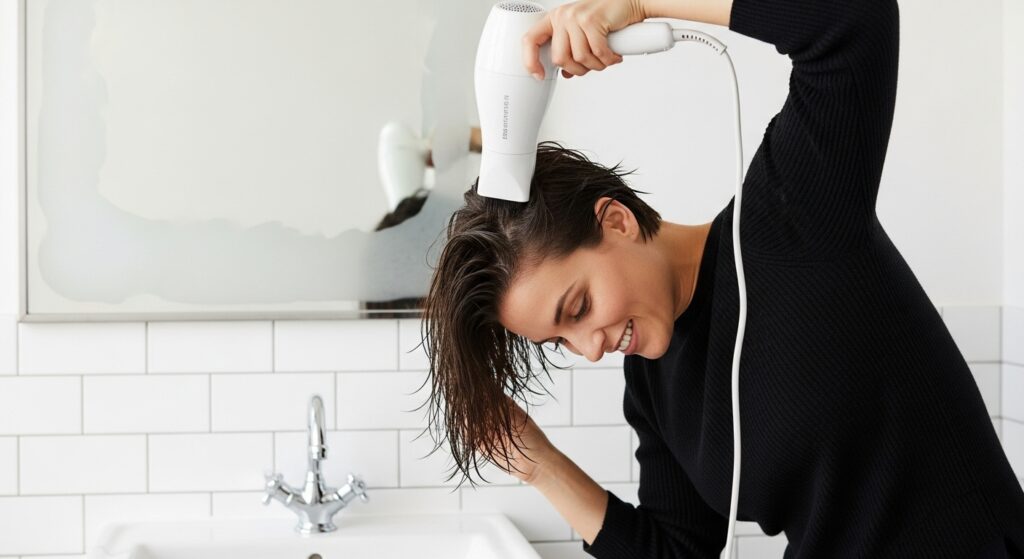
The Art of the “Effortless” Blow-Dry
Yes, even a two-minute pixie needs a strategic blow-dry. The goal is to create volume and direction, not to sleek it into submission.
Start by towel-drying your hair and applying your chosen volumizing product. Then, flip your head upside down and blow-dry the roots until they are about 80% dry. This simple technique instantly creates massive volume at the crown. Flip your head back up.
Now, use your fingers or a wide-tooth comb—not a brush—to guide the hair into place as you finish drying. Brushes can create too much tension, leading to a flat, “done” look. Instead, use your fingers to lift the hair at the roots as you aim the dryer. For the front pieces, twist small sections lightly with your fingers as you dry them to create natural-looking movement and direction.
The key is to almost dry it. Leave it just slightly damp. This allows you to go in with your texture spray and pomade to finish the style, letting the hair settle into a more natural, less “blown-out” shape.
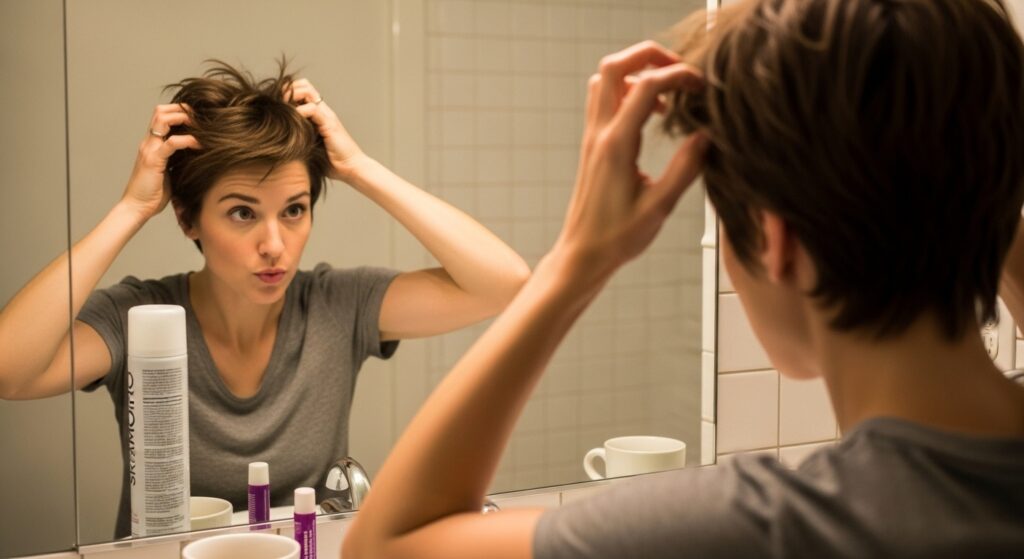
Mastering the Day-Two (and Three) Refresh
The beautiful truth about a layered pixie is that it often looks better on day two or three. The natural oils from your scalp, combined with the leftover product, create a perfect texture base.
Your best friend on non-wash days is dry shampoo. Spray it at the roots not only to absorb oil but to reactivate the volume and texture. Don’t be afraid to scrunch your hair a bit with your hands after spraying to redistribute the product and revive the shape.
If certain pieces have fallen flat overnight, dampen your fingers slightly and re-twist them, letting them air dry. A tiny dab of pomade can redefine any pieces that have lost their shape. The goal is to build upon the style you created yesterday, enhancing the lived-in texture rather than starting from scratch.
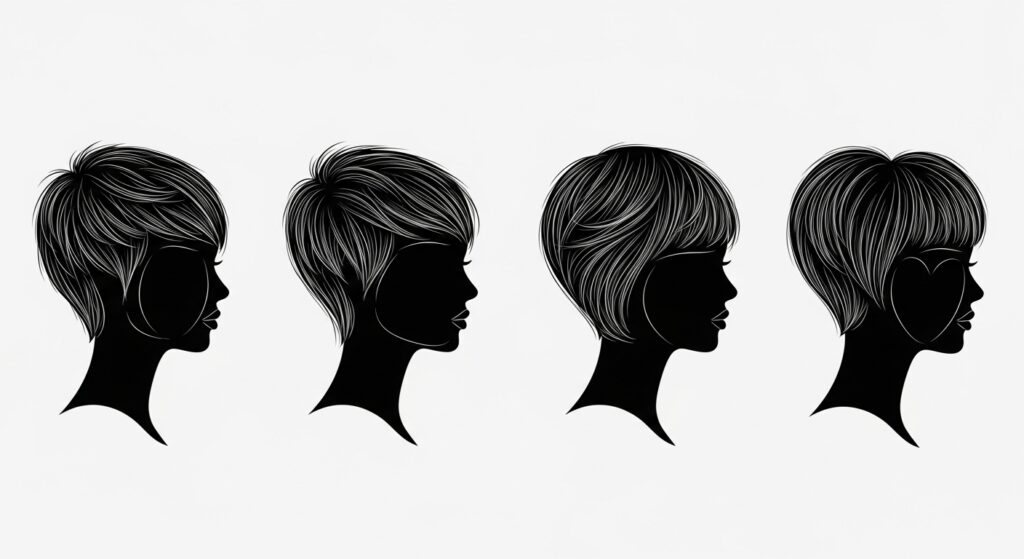
Face Shape & Personalization: Making The Pixie Yours
An “effortless” pixie isn’t one-size-fits-all. The most successful versions are tailored to the individual’s face shape and features.
For Round Faces: Ask for longer, wispy layers around the perimeter and height at the crown to elongate the face. Avoid heavy, rounded shapes that mirror the face’s contour.
For Square Faces: Soft, graduated layers around the jawline can help soften a strong jaw. A side-swept fringe is also a flattering option to create diagonal lines.
For Oval Faces: You have the most versatility! You can pull off almost any variation, from super short and spiky to longer, softer styles. Play with asymmetry and dramatic fringes.
For Heart-Shaped Faces: Balance a narrower chin by keeping some weight and width around the jawline. Textured, piecey ends at the bottom of the pixie can achieve this beautifully.
Don’t forget your personal style! The “effortless” vibe can be edgy, romantic, or classic. Communicate this to your stylist so the layers reflect not just your bone structure, but your personality too.
The Commitment: Maintenance and Mindset
Let’s be real: a pixie cut is high-maintenance in terms of frequent salon visits. To keep that layered shape looking sharp and intentional (even when it’s styled to look undone), you’ll need a trim every 4-6 weeks. As it grows out, the layers can lose their definition and start to look shaggy in a less intentional way.
Embrace the evolution of your cut. The growing-out phase of a layered pixie can actually be full of fun, in-between styles. Those face-framing pieces become curtain bangs, and the top layers can be styled into a short shag. The mindset for this haircut is one of playfulness and adaptability. Some days it will be perfectly piecey, other days it might be a bit wild—and both are part of the effortless charm.
The final, most important secret? Confidence. This haircut is a statement. Wear it with a smile and a straight spine. Own it. When you feel confident, that “effortless” energy becomes real, and your perfectly layered, meticulously messy pixie will look exactly as it should: like a natural extension of your fabulous self.