14 Subtle Changes That Make Your curly hair Look Brand New
Do you ever stare at your curls and feel like they’ve lost their spark? You’re following the same routine, using the same trusted products, yet your hair just doesn’t have the same zing, bounce, or life it once did. You’re not alone. The journey with curly hair is a constant evolution, and sometimes, the smallest shifts can yield the most dramatic results.
You don’t need a complete, overwhelming overhaul. Often, it’s the subtle, almost imperceptible changes in technique, timing, or product application that can wake up your curls and make them look and feel brand new. Ready to rediscover the magic? Let’s dive into 14 subtle tweaks that will revolutionize your curl game.
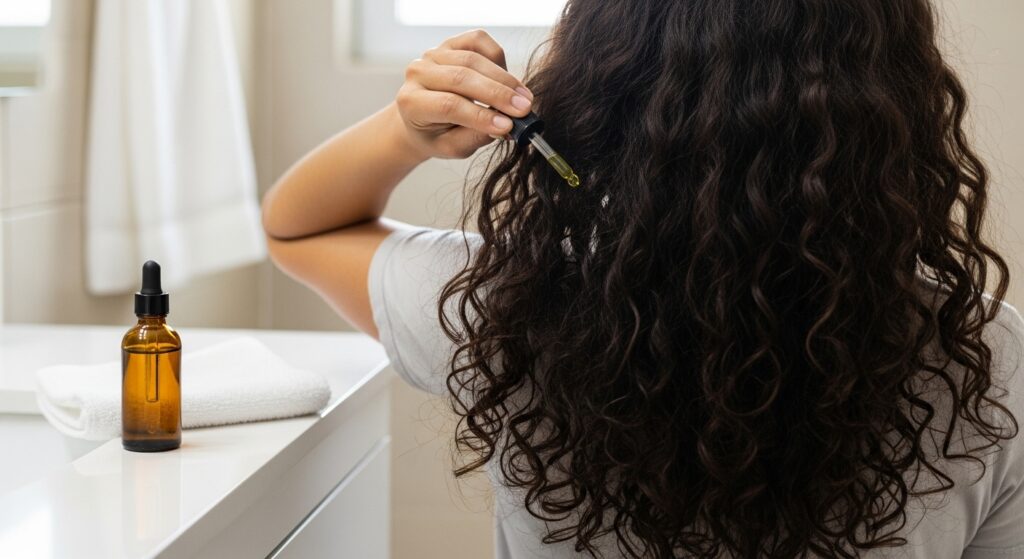
1. The Pre-Wash Power-Up: More Than Just Detangling
Most of us see pre-pooing (pre-shampooing) as just a detangling step. But its real power lies in protection and prep. Applying a light oil like argan or jojoba, or even your favorite conditioner, to dry or damp hair before you hop in the shower creates a barrier. This prevents your shampoo from stripping your curls of their essential natural oils, leading to shinier, more hydrated, and less frizzy hair from the very start.
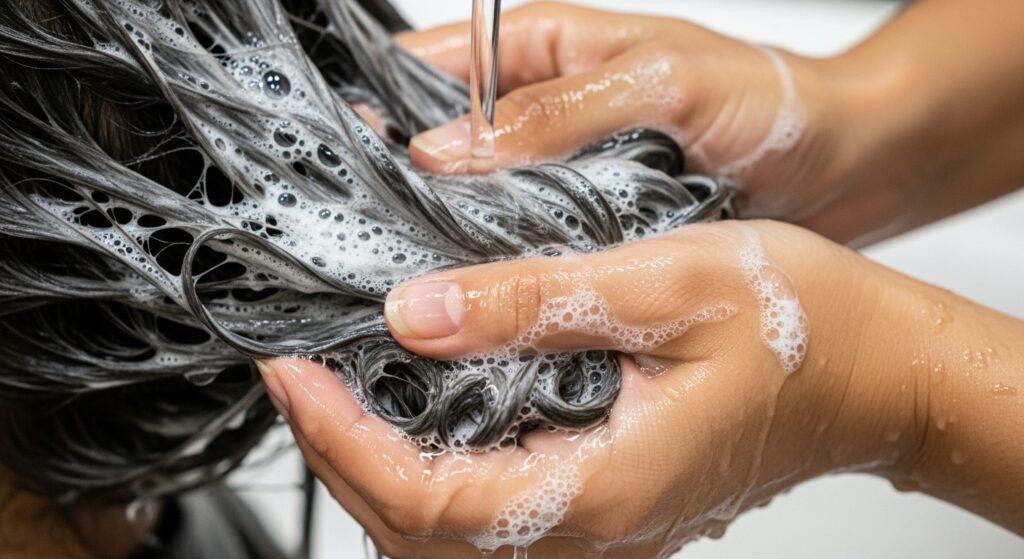
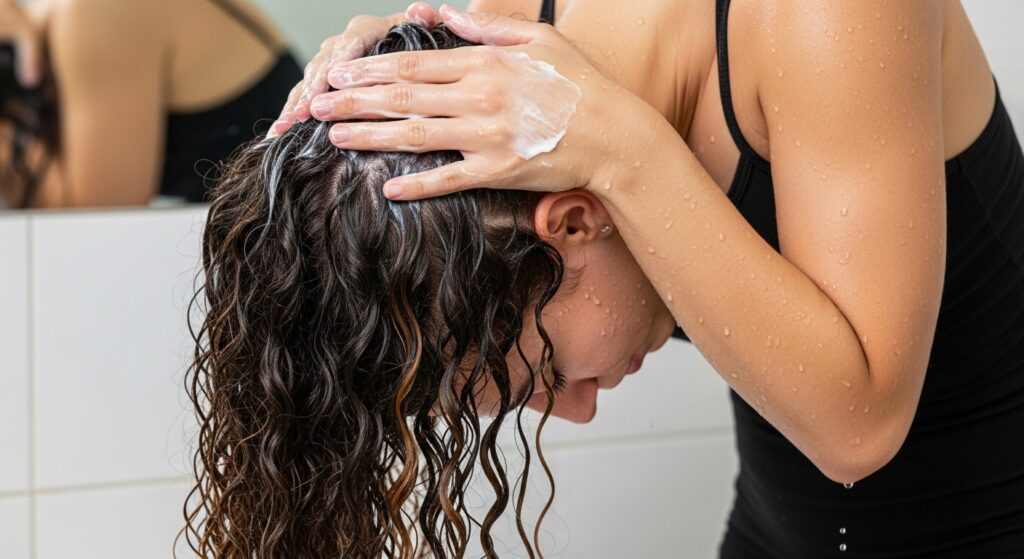
2. The Squish to Condish Revelation
You’ve probably heard of “Squish to Condish,” but are you doing it right? This isn’t just about scrunching. It’s about encouraging your hair to absorb every last drop of moisture. While your head is upside down under the stream of water, take a handful of conditioner-soaked hair and gently “squish” it upwards towards your scalp. You should hear a satisfying squelching sound. This action helps to close the hair cuticle, locking in hydration and creating a softer, more defined curl clump. The difference in squish-factor is everything.
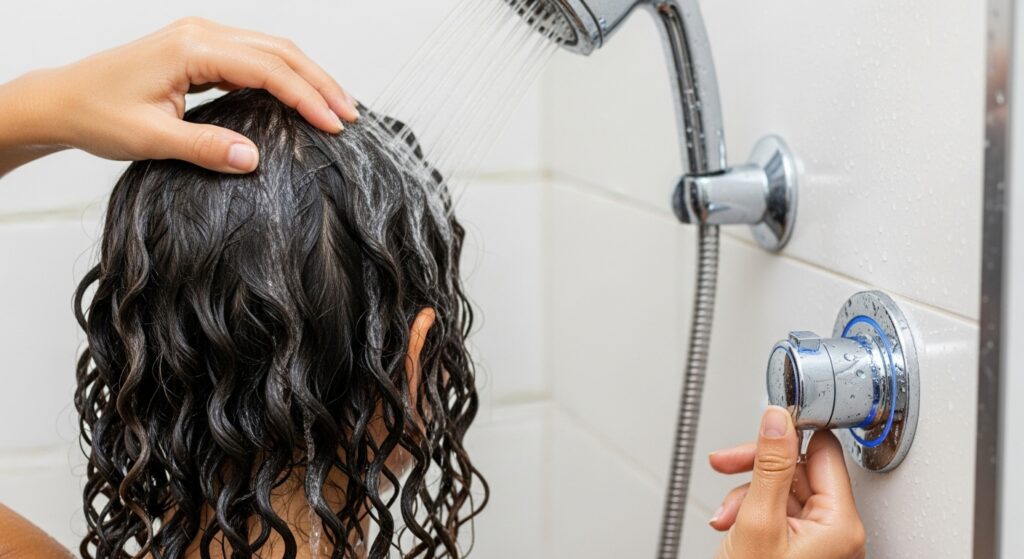
3. The Cold Water Rinse Finale
It might send a slight shiver down your spine, but this trick is a game-changer for shine. After you’ve rinsed out your conditioner, give your hair a final, brief rinse with cold water. The cool temperature helps to seal the hair cuticle, which lies flat and reflects light, giving you instant, noticeable shine. It also helps to tame frizz and lock in the style. It’s a 10-second commitment for a massive payoff.
4. The “Upside-Down” Application Tweak
How you apply your products can be as important as the products themselves. For voluminous roots and uniform distribution, flip your head upside down after your final rinse. Apply your leave-in conditioner, curl cream, and gel in this position, using a raking or praying hands method. This ensures the product gets to all your curls evenly and encourages lift from the root, banishing flatness at the crown.
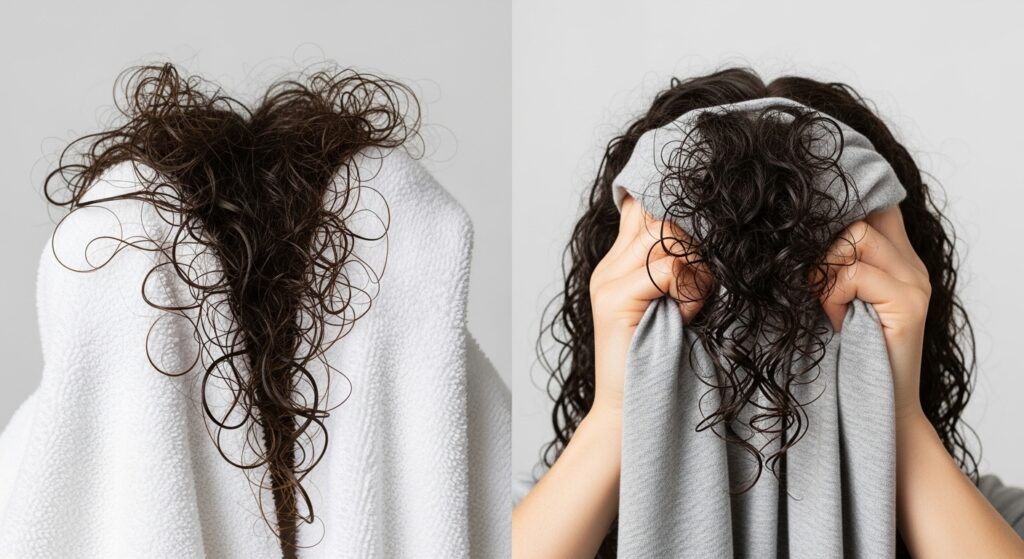
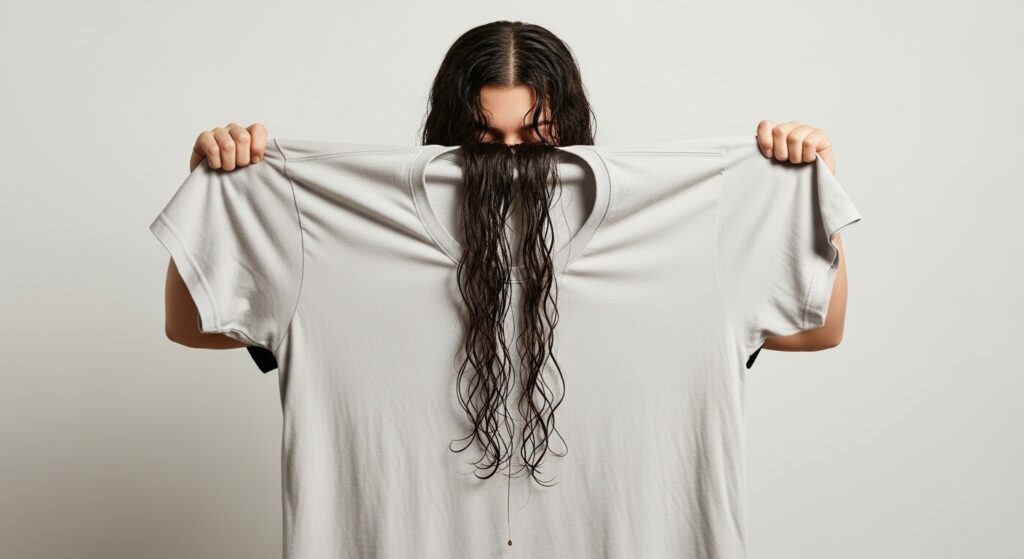
5. The Microfiber Towel / T-Shirt Upgrade
That old, fluffy bath towel is a curl’s worst enemy. Its textured loops create friction, roughing up the hair cuticle and causing a frizz explosion. The simple switch to a soft microfiber towel or a plain, smooth cotton t-shirt is revolutionary. Gently scrunch your hair with it to remove excess water. The smooth surface absorbs water without disturbing your fragile curl pattern, preserving definition and reducing frizz dramatically.
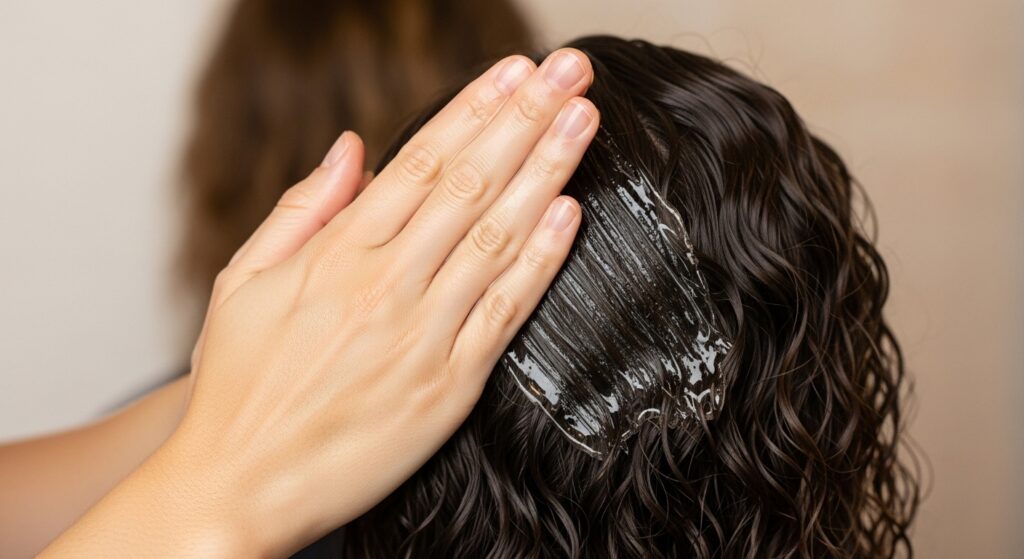
6. The Prayer Hands Over Raking
We often rake product through our hair to distribute it quickly. But this technique can break up your beautiful curl clumps and create stringiness. Instead, try the “praying hands” method. Glide your product between your palms and then gently smooth it over your hair sections, as if you were praying. This technique encourages clumping, smoothes the cuticle, and applies product evenly without causing separation.
7. The “Plopping” Precision
Plopping isn’t just a funny word; it’s a curl-defining technique. After applying your products, use your microfiber towel or t-shirt to “plop” your hair. Lay the fabric flat, place your hair in the center, and then fold the fabric up and tie it. Let it sit for 10-20 minutes. This allows your curls to set in their clumped formation from the root without being disturbed, enhancing definition and reducing drying time.
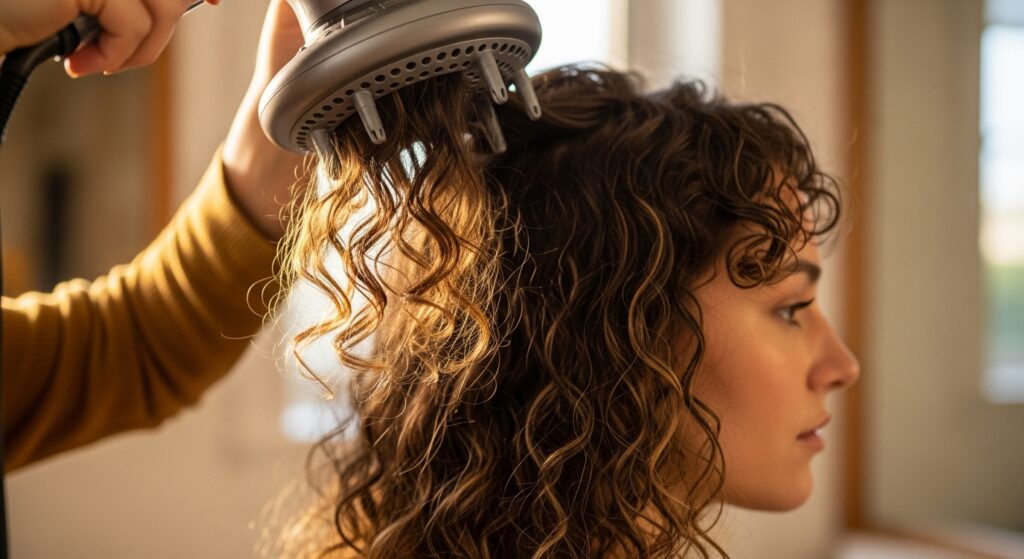
8. The Diffuser Distance Rule
Blasting your curls with a hairdryer on high heat and speed is a recipe for frizz. The key is low and slow. Set your dryer to low heat and low speed. Place your curls in the diffuser cup, but don’t press the diffuser directly onto your scalp. Instead, bring the diffuser up to your head, hold it for a moment, then lower it. This “hovering” technique dries the roots without creating chaos. Only when your cast has formed should you gently scrunch with the diffuser.
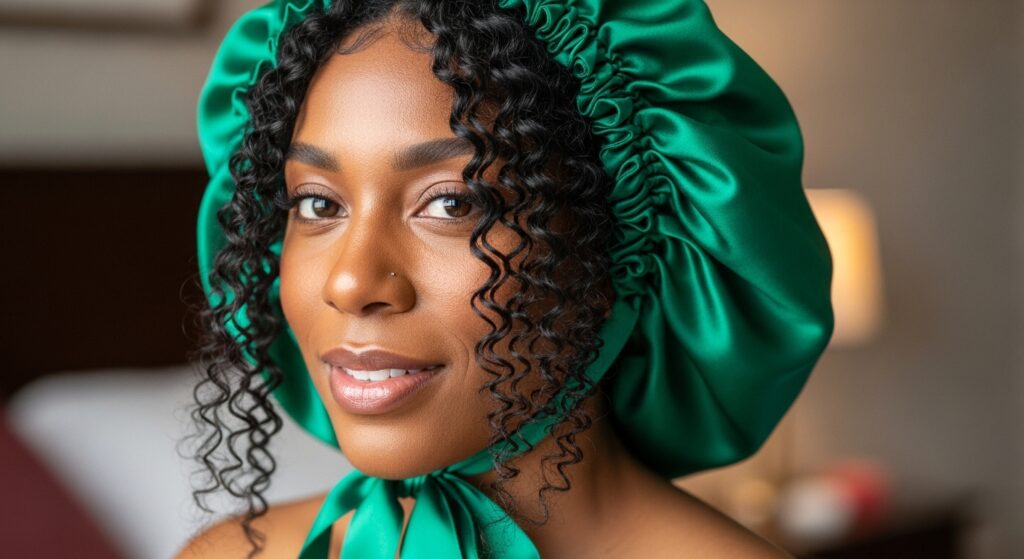
9. The Pineapple Sleep Shift
Protecting your curls at night is non-negotiable. The classic “pineapple” is great, but its placement matters. Instead of piling all your hair into a super high ponytail, which can stretch the curls at your crown, make a loose ponytail on the very top of your head using a satin scrunchie. Then, cover it all with a satin or silk bonnet or pillowcase. The smooth fabric prevents friction, and the loose pineapple preserves your volume and definition for days.
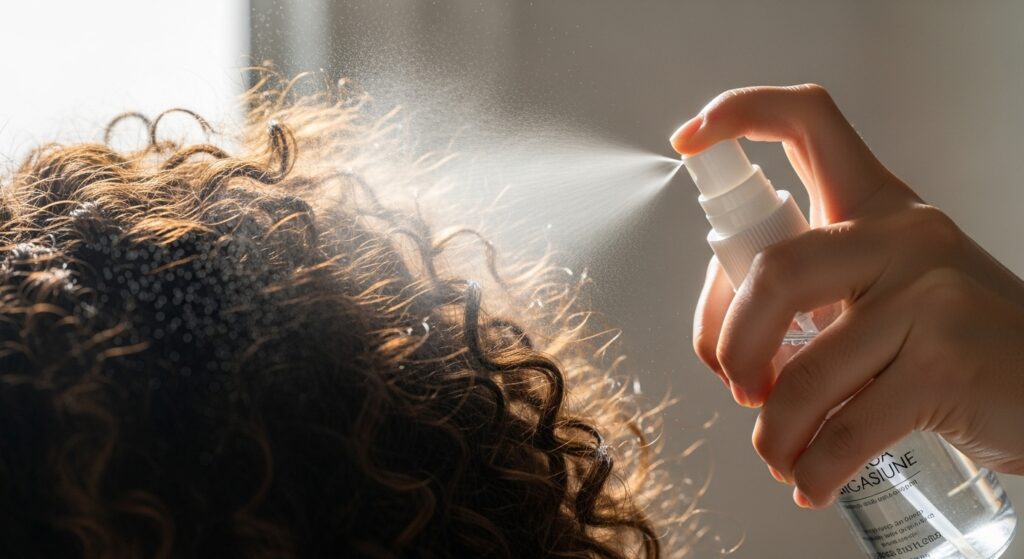
10. The Targeted Refresh Mist
Wetting your entire head on day 2 or 3 can lead to product buildup and weighed-down curls. Instead, mix water with a tiny bit of leave-in conditioner in a spray bottle. Mist your hair lightly, focusing only on the frizzy or flat sections. Then, gently scrunch your curls back to life. This targeted approach revives your style without starting from scratch.
11. The Scalp Massage for Growth and Health
Healthy curls start at the scalp. Incorporating a 1-2 minute scalp massage while you shampoo or with a light oil pre-poo can work wonders. It stimulates blood flow, which brings more oxygen and nutrients to the hair follicle, promoting healthier growth and can even improve the texture of new hair coming in. It’s a moment of self-care with tangible benefits.

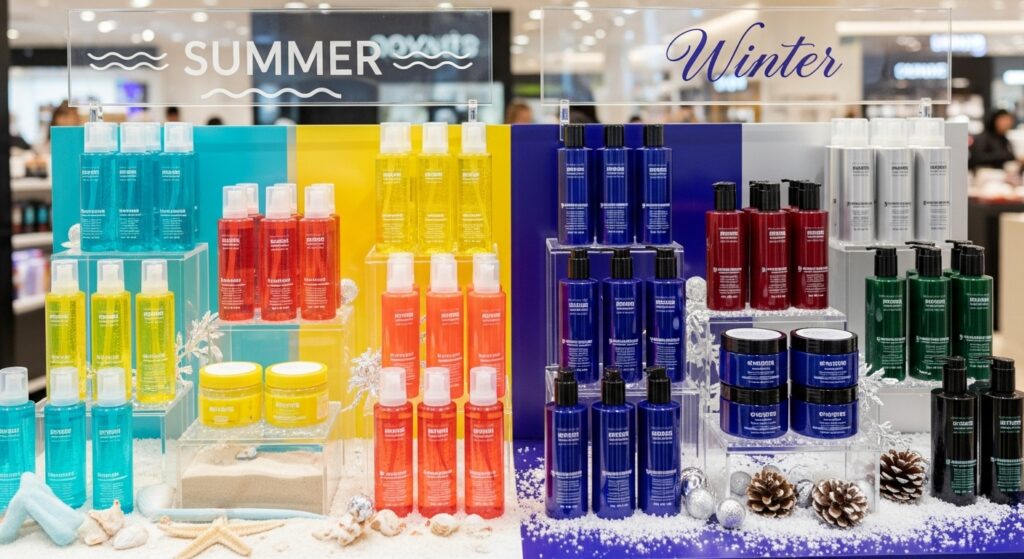
12. The Seasonal Product Switch-Up
Your skin care changes with the seasons, so why shouldn’t your hair care? In humid summers, you might need a stronger gel. In dry, cold winters, you’ll likely need richer creams and butters. Pay attention to how your hair behaves in different climates and be willing to rotate one or two key products. This subtle adaptation keeps your curls perfectly balanced year-round.
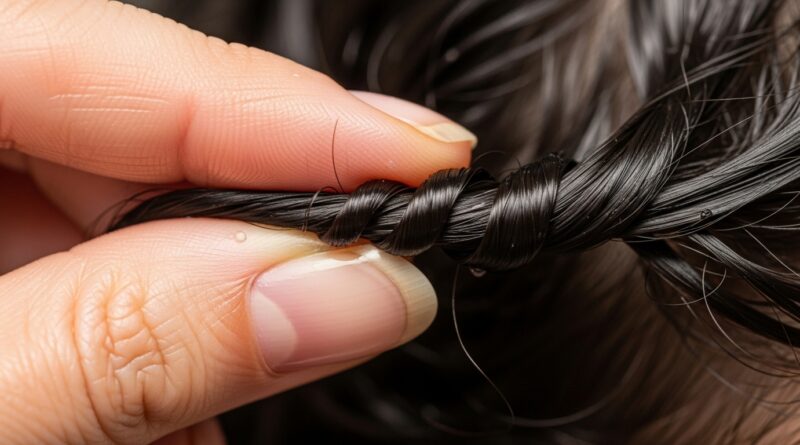
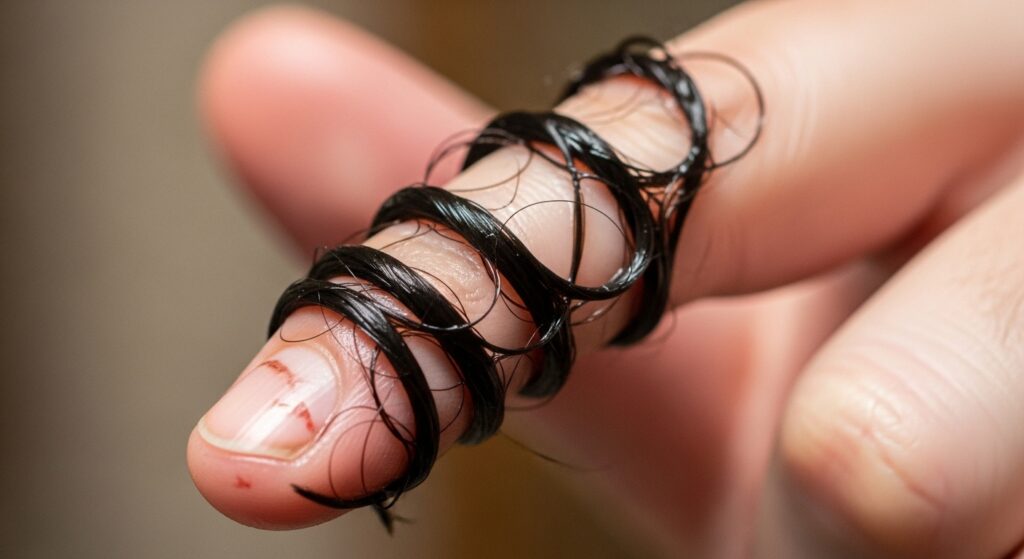
13. The “Finger Coiling” for Trouble Spots
You don’t need to finger coil your entire head, but this technique is a secret weapon for those areas that never seem to curl right. After applying your stylers, take a small section of hair and wrap it around your finger from the root to the end. Hold for a few seconds. This manually trains the curl pattern and can create perfect, springy ringlets in otherwise straight or wavy sections.
14. The Clarifying Reset
Over time, product residue, minerals from hard water, and natural oils build up on your hair, leaving it dull, limp, and unresponsive. This is where a monthly clarifying wash comes in. Use a clarifying shampoo (with sulfates, it’s okay for this purpose!) to deeply cleanse and reset your hair. Follow it with a deep conditioner. The result? A clean slate and curls that feel incredibly light, bouncy, and brand new.

Your Brand New Curls Await
Transforming your curly hair doesn’t always require a dramatic, expensive, or time-consuming routine change. As you’ve seen, the magic often lies in the subtle details. It’s in the way you apply your conditioner, the temperature of your final rinse, or how you protect your hair at night.
We encourage you to pick just two or three of these subtle changes to experiment with this week. Pay close attention to how your curls respond. You might be surprised to find that these small, intentional tweaks are the very thing that brings back the life, shine, and vitality you’ve been missing. Your brand new curls are waiting to be rediscovered.