How to Perfect curly braid Hair Without a Trip to the Salon
There’s something undeniably magical about curly braids. They combine the free-spirited texture of curls with the intricate, bohemian charm of braided hair. But for many of us, achieving that perfect, defined, and frizz-free curly braid feels like a feat reserved for salon professionals. The thought of tackling it ourselves often leads to a tangled mess, flyaways, and a deep sigh of frustration.
What if we told you that the secret to flawless curly braids isn’t a secret at all? It’s a combination of the right preparation, technique, and a little insider knowledge. You can absolutely create stunning, head-turning curly braids without ever leaving your bathroom. This guide is your all-access pass to mastering this beautiful style, saving you both time and money while unlocking a new level of hair confidence. Get ready to embrace your inner hair artist and perfect the art of the curly braid.
Why Curly Hair is a Braiding Dream (When Treated Right)
Before we dive into the “how,” let’s appreciate the “why.” Curly hair, with its natural texture and volume, is actually the ideal candidate for braiding. The inherent coil and spring provide a built-in grip that helps braids hold their shape far better than on straighter hair types. This texture gives curly braids their characteristic fullness and dimensional beauty.
However, the very things that make curly hair perfect for braids—its texture and tendency to dry out—also present the biggest challenges. Frizz is public enemy number one, often caused by a lack of moisture and rough handling. The goal, therefore, isn’t to fight your curl pattern, but to partner with it. By understanding that your curls are an asset, you can approach the braiding process with confidence, knowing you’re working with a powerful and beautiful foundation.
The Golden Rule: Pre-Braiding Preparation is Everything
You would never paint a room without prepping the walls first, and the same logic applies to braiding curly hair. Skipping preparation is the most common mistake and the primary reason for disappointing results. The perfect curly braid is born in the pre-braiding routine.
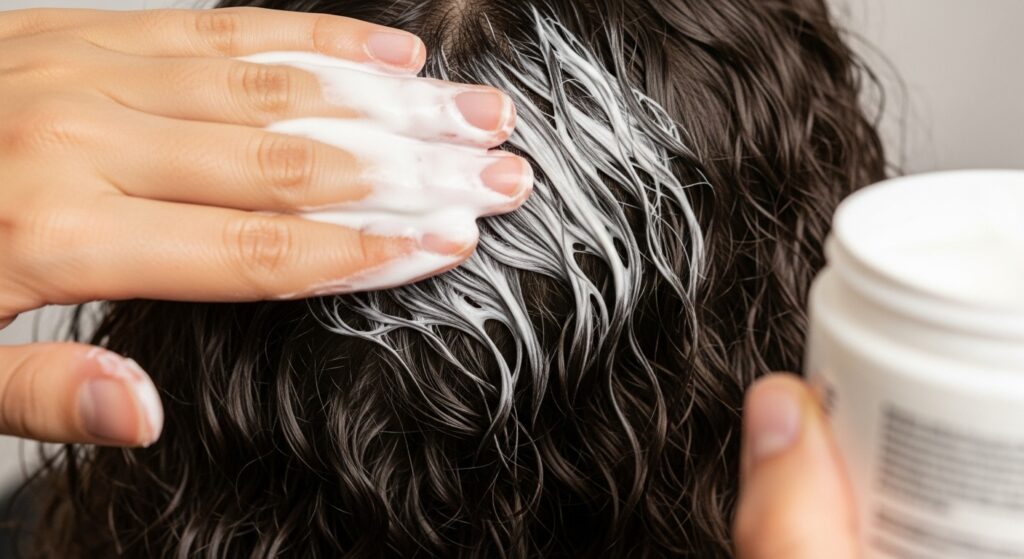
Start with hair that is thoroughly cleansed and deeply conditioned. A clarifying shampoo can be useful every few weeks to remove product buildup that can weigh hair down, but for most sessions, a moisturizing shampoo will do. Follow with a rich, hydrating conditioner, focusing on the mid-lengths and ends. This step ensures your hair strands are smooth, supple, and less prone to tangling during the braiding process.
The single most important step? Do not braid soaking wet hair. While it might seem easier to manage, braiding hair that is too wet can lead to mildew and an unpleasant smell as it takes forever to dry deep within the braids. Instead, work with damp, towel-dried hair. After your wash, gently blot your hair with a microfiber towel or an old t-shirt to remove excess water. Your hair should be damp to the touch but not dripping. This is the perfect canvas for product application and styling.

Your Curly Braiding Toolkit: Essential Products & Tools
Having the right arsenal at your disposal makes the journey from chaotic curls to elegant braids not just possible, but enjoyable. You don’t need a salon’s worth of equipment, just a few key items.
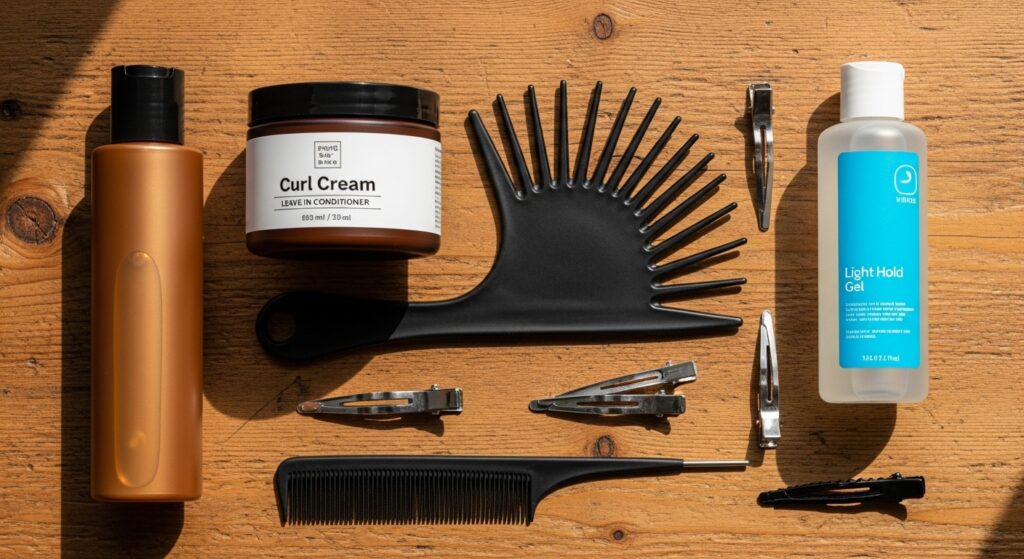
The Essentials:
Leave-In Conditioner: This is non-negotiable. It provides a base layer of moisture that keeps your curls defined and hydrated throughout the day.
Curl-Defining Cream or Mousse: This product will be your best friend for creating definition and controlling frizz. It enhances your natural pattern and gives the braid a polished look.
A Lightweight Holding Product: A light-hold gel or styling spray helps to lock everything in place without creating crunch or flakiness.
Wide-Tooth Comb & Detangling Brush: A wide-tooth comb is gentle for initial detangling, while a flexible detangling brush is excellent for smoothing hair before sectioning.
Rattail Comb: Essential for creating clean, sharp parts.
Hair Clips: Good-quality clips that don’t snag are vital for sectioning your hair and keeping it organized as you work.
Coated Hair Elastics: These prevent breakage and don’t get tangled in your curls like regular elastics can.
The Step-by-Step Guide to a Perfect Curly Braid
Now for the main event. Follow these steps carefully, and you’ll be amazed at the professional-looking results you can achieve.
Step 1: Product Application on Damp Hair
Begin with your damp, towel-dried hair. Apply your leave-in conditioner from roots to ends, ensuring every strand is coated. Follow with a generous amount of your curl-defining cream, scrunching it into your hair to encourage your natural curl pattern. Finally, apply your light-hold gel, focusing on the canopy of your hair where frizz tends to appear. This “product cocktail” creates a smooth, defined, and holdable texture.
Step 2: The Art of Sectioning
Use your rattail comb to create a clean part for your braid. Whether it’s a side part, middle part, or a part for multiple braids, precision here pays off. Clip away the hair you aren’t working with first. For a single braid, you might section off the top crown area to create a more dynamic look. Clean sections are the foundation of a neat braid.
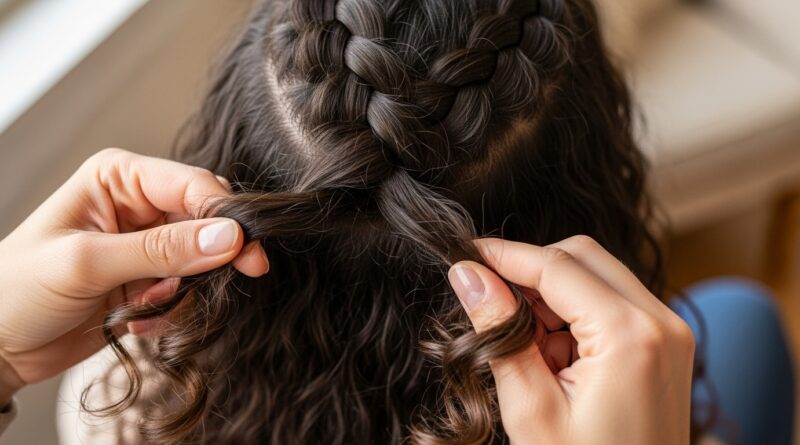
Step 3: Detangling with Care
Take your first section and gently detangle it from the ends up to the roots using your wide-tooth comb or detangling brush. Work in small subsections if necessary. Never rip a comb through a knot; this creates breakage and instant frizz. Be patient and methodical.
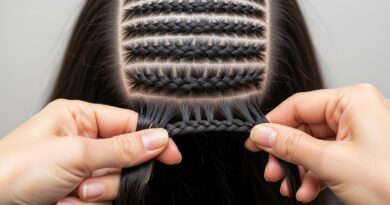
Step 4: The Braiding Technique for Definition
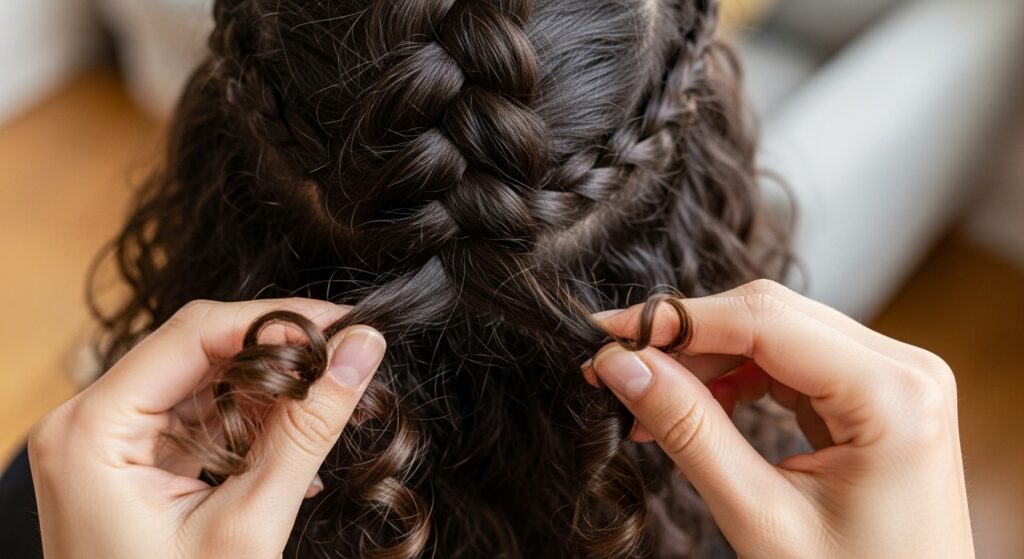
Here is the pro tip: braid tightly, but don’t pull tightly. There’s a difference. You want the braid itself to be compact to prevent it from falling apart, but you don’t want to pull the individual sections so taut that you stretch out your curls or cause tension on your scalp.
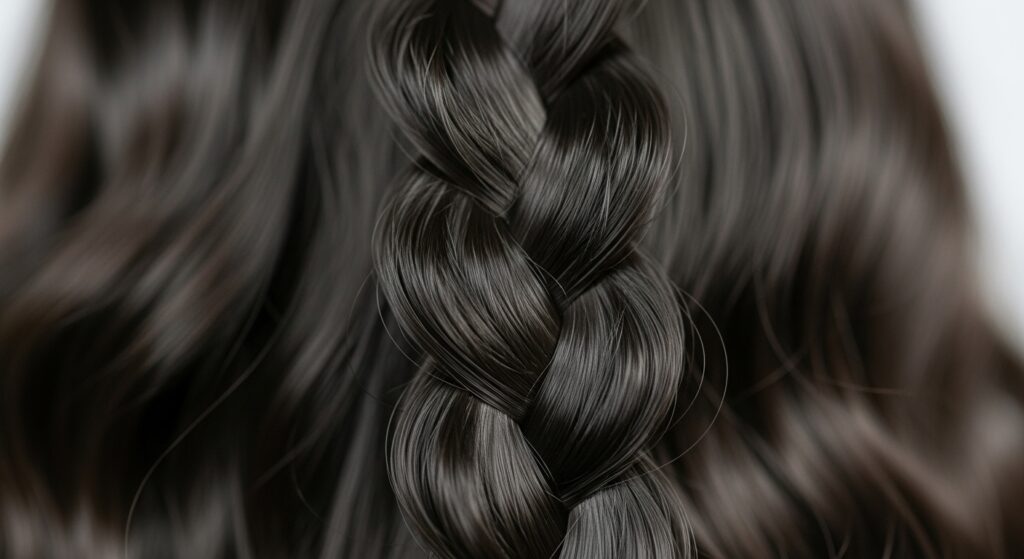
As you braid, make sure you are incorporating all the hair from the section smoothly. Keep your hands close to the head for a neat look near the roots. The magic of the curly braid reveals itself as you go—the texture will start to coil and pop, creating that beautiful, dimensional effect.
Step 5: Securing and Sealing the End
Once you’ve braided to the ends, secure it with a coated elastic. For an even more polished finish, take a tiny bit of the leftover curl cream or gel and smooth it over the tail end of the braid and any flyaways along the braid’s length. This is called “sealing” the braid.
Pro Tips for Frizz-Free, Long-Lasting Curly Braids
To truly elevate your braid from “good” to “great,” incorporate these professional secrets.
1. The Overnight Set: Braid your hair at night before bed. While you sleep, the braids will set, and any minor frizz will settle. In the morning, gently unravel the braids for incredibly soft, defined, and wave-like curls with minimal effort.
2. Finger-Detailing is Key: After you’ve finished braiding, don’t just walk away. Run your fingers gently down the length of the braid, carefully pulling it apart slightly to plump it up and accentuate the curl pattern within. This adds volume and a more intentional, bohemian look.
3. Tame the Baby Hairs: Use a small, clean toothbrush or a spoolie brush sprayed with a light-hold hairspray or a dab of edge control to gently lay down any baby hairs or flyaways around your hairline.
4. The Refresh Spray: If your braid starts to look a little tired on day two or three, mix water with a little leave-in conditioner in a spray bottle. Lightly mist the braid and scrunch it gently to revive the definition and moisture.
Troubleshooting Common Curly Braid Problems
Even with the best techniques, sometimes things don’t go perfectly. Here’s how to fix common issues.
Problem: The Braid is Too Slippery and Won’t Hold.
Solution: Your hair might be too wet or have too much slip from conditioner. Ensure you’re braiding on damp, not wet, hair. You can also try a stronger-hold gel at your roots or lightly mist the section with a texturizing spray before braiding to add grit.
Problem: My Braid is Frizzy as Soon as I Finish It.
Solution: This usually points to a lack of moisture or rough detangling. Make sure you’re using enough leave-in conditioner and curl cream. Also, re-examine your detangling technique—always start from the ends and work up slowly.
Problem: The Curls in My Braid Look Stringy, Not Defined.
Solution: You may have used a product that is too heavy or not right for your hair type. Next time, try a lighter curl cream or mousse. Also, ensure you are scrunching the product in to encourage clumping, which leads to better-defined curls.
Unleash Your Inner Stylist and Enjoy the Journey
Mastering the perfect curly braid is a skill, and like any skill, it improves with practice. Your first attempt might not be Instagram-ready, and that’s perfectly okay. Each time you braid, you’ll learn more about your hair’s unique texture, its needs, and the techniques that work best for you.
The ability to create this beautiful, protective style at home is empowering. It saves you a significant amount of money on salon visits and gives you the freedom to style your hair on your own schedule. So, gather your toolkit, be patient with the process, and embrace the creative journey. Your dream of having perfect, salon-worthy curly braids is no longer a dream—it’s a reality waiting to happen in your own home.