Dutch Braid Tutorial: Easier Than You Think Step-by-Step
Have you ever scrolled through social media, seen a picture-perfect Dutch braid, and immediately thought, “I could never do that”? You’re not alone. The Dutch braid, with its intricate, raised appearance, often looks like a style reserved for hairstylists and braiding prodigies. But what if we told you that this beautiful, versatile braid is actually easier than you think?
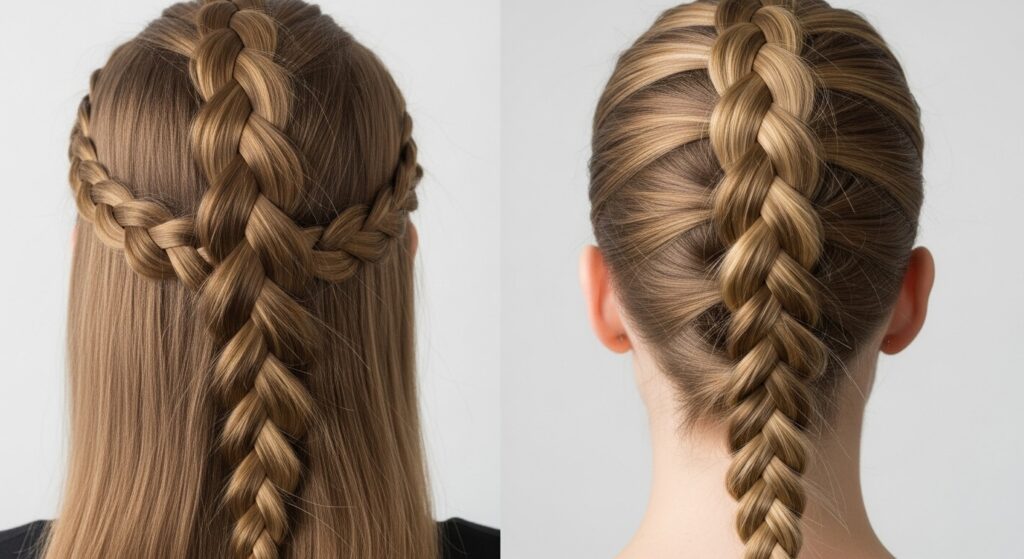
Often mistaken for a French braid, the Dutch braid is its bolder, more pronounced cousin. While a French braid tucks sections under the central piece, a Dutch braid crosses them over, creating a stunning 3D effect that seems to pop right off your head. It’s a hairstyle that works for the gym, the office, a wedding, or a casual day out. In this step-by-step guide, we’re demystifying the process. We’ll break it down into simple, manageable steps that anyone can follow. Get ready to unlock a new hairstyle and impress yourself with what you can create.
What Exactly is a Dutch Braid?
Before we dive into the how, let’s clarify the what. The Dutch braid, sometimes called an “inside-out” or “reverse” French braid, is a classic three-strand braid where the sections are crossed under the central piece instead of over it. This fundamental difference is what gives the Dutch braid its signature raised, crown-like look.
Think of it this way: if a French braid sinks into the hair, a Dutch braid proudly sits on top. This structure makes it incredibly versatile. It can be a single braid down the center of your head, two pigtail braids, or even a gorgeous halo braid that crowns your entire head. Understanding this simple “under” technique is the key that unlocks the entire style. Once you grasp it, a world of braiding possibilities opens up.
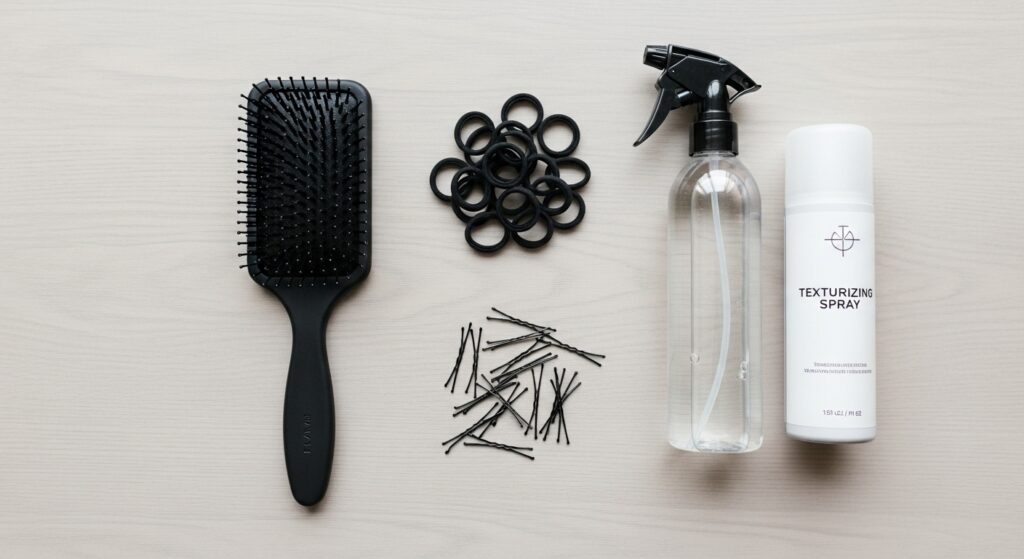
Gathering Your Braiding Essentials
You don’t need a professional kit to create a beautiful Dutch braid. In fact, you likely have everything you need already. The right tools, however, can make the process significantly smoother, especially when you’re learning.
Start with a fine-tooth comb or a brush to detangle your hair thoroughly. Knots and tangles are the enemy of a smooth braid. You’ll also need a few hair ties—one for a practice ponytail and one to secure the final braid. A spray bottle with water can be a lifesaver; slightly damp hair is far more manageable and less flyaway-prone than bone-dry hair. For an even easier time, consider a light-hold styling mousse or texturizing spray. These products add grip and volume, making your hair easier to section and hold the braid’s shape. Finally, keep some bobby pins handy for tucking away any loose ends or for creating more elaborate styles like the braided crown.
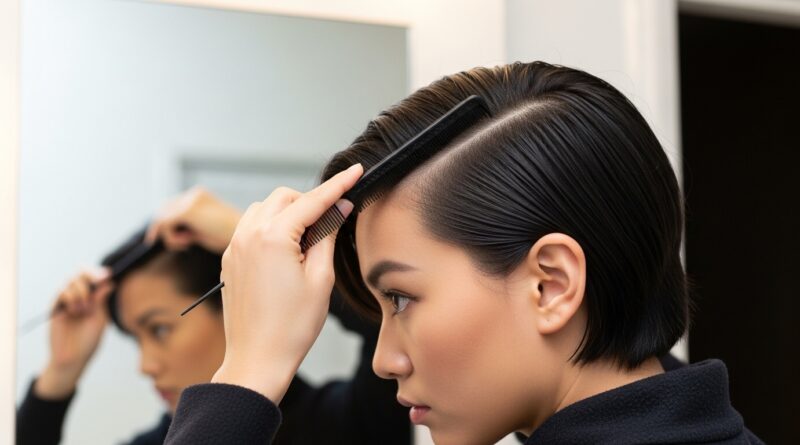
The Foundation: Preparing Your Hair for Success
Preparation is 90% of the battle when it comes to braiding. Starting with the right canvas will make the entire process feel less like a struggle and more like an art form.
First, decide on your desired look. Are you going for a single Dutch braid or two? For your first attempt, a single braid is often easier to manage. Begin by brushing your hair to remove all tangles. If your hair is very slippery or freshly washed, adding a bit of texturizing spray or dry shampoo at the roots will provide the necessary grip. For a classic look, part your hair as you normally would. Many people find that a side part adds a touch of elegance to the Dutch braid. If you’re aiming for a symmetrical style with two braids, a center part is your best bet. The goal is to create a smooth, controlled base from which to start your braid.
Your Step-by-Step Guide to the Perfect Dutch Braid
This is the moment you’ve been waiting for. Find a comfortable seat in front of a mirror, take a deep breath, and let’s begin. We’ll start with a classic single Dutch braid from the crown of your head. Remember, your first attempt doesn’t have to be perfect. The goal is to learn the motion.
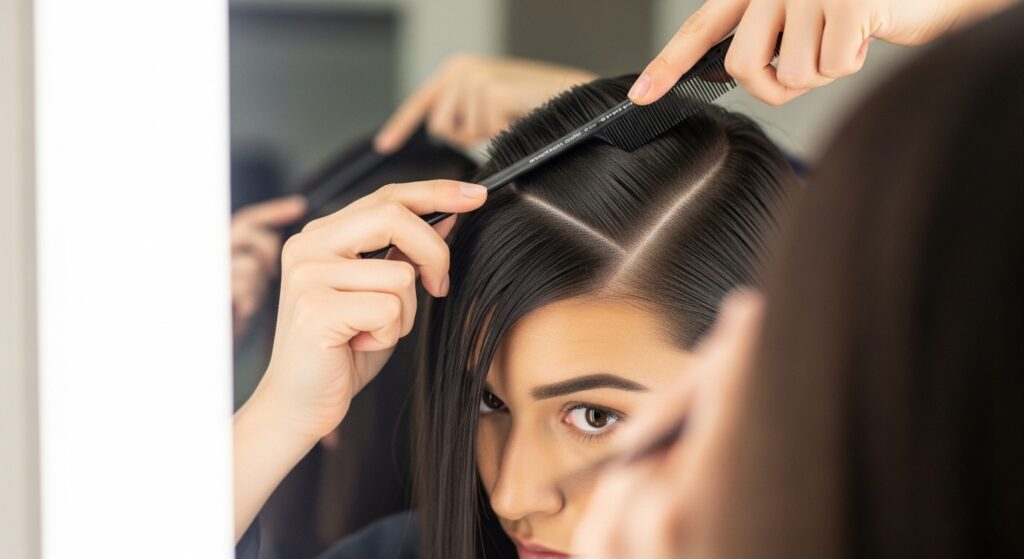
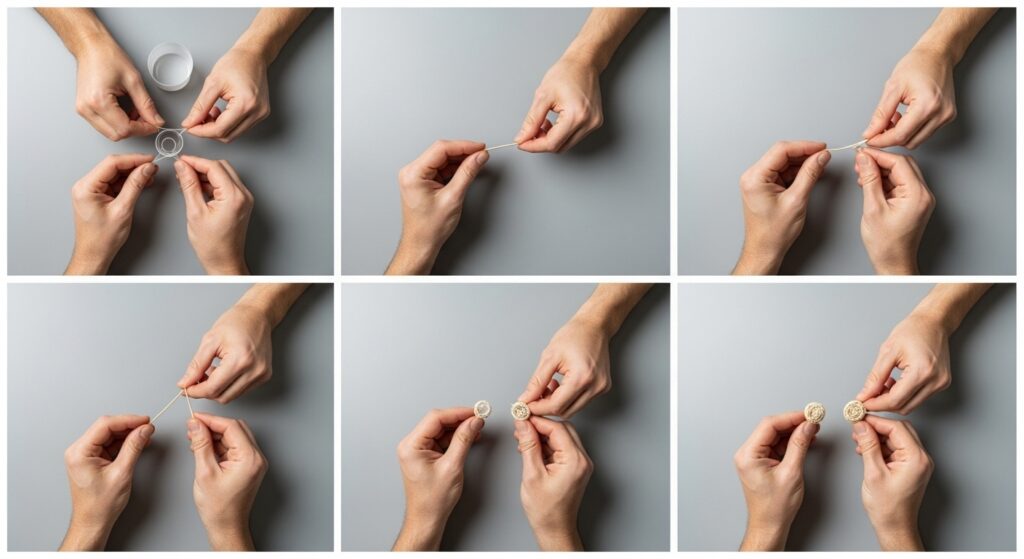
Step 1: The Starting Section
At the very top of your crown, take a section of hair. The size is up to you, but for a standard braid, a section about three inches wide is perfect. Split this initial section into three even strands: left, middle, and right. Hold them as you would for a regular braid.
Step 2: The First “Under” Cross
This is the crucial step that defines the Dutch braid. Instead of taking the left strand and crossing it over the middle, you will cross it under the middle. As you do this, the left strand becomes the new middle strand. Use your fingers to keep this initial cross fairly tight to anchor the braid at the top of your head.
Step 3: Mirror on the Right
Now, repeat the same motion on the opposite side. Take the right strand and cross it under the new middle strand (which was originally the left strand). Now, the right strand becomes the new middle. You’ve completed one full cycle of the Dutch braid technique. See? You’re already doing it!
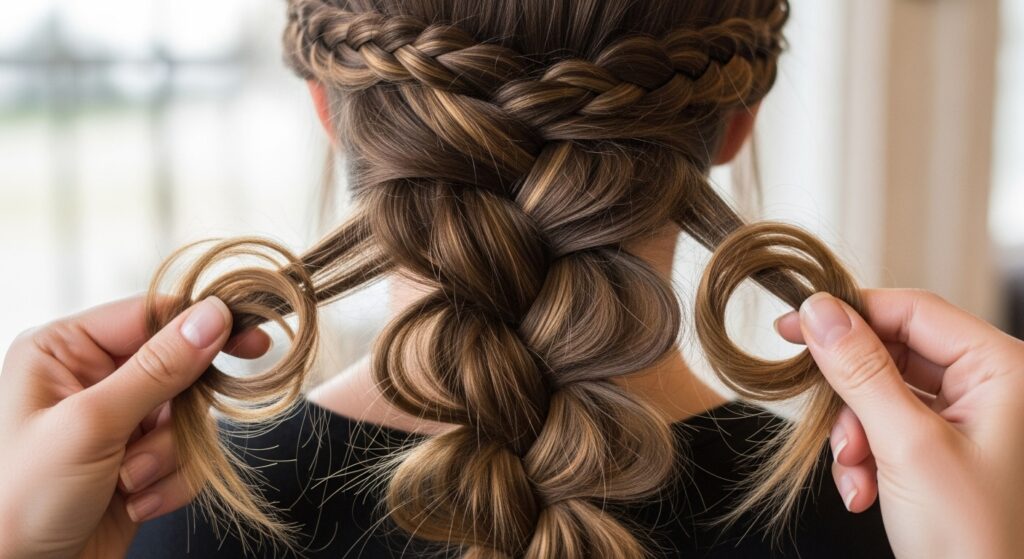
Step 4: Incorporating Hair (The “Dutch” Part)
Now, for the next cross on the left side, you’re going to add more hair. Before you cross the left strand under the middle, grab a new section of hair from the left side of your head (along the hairline) and combine it with the existing left strand. Now, cross this now-thicker left section under the middle strand.
Step 5: Continue the Pattern
Repeat the process on the right. Before crossing the right strand under, grab a new section of hair from the right side and add it to the existing right strand. Then, cross this thickened right section under the middle. Continue this pattern—adding hair to a strand and then crossing it under—all the way down the back of your head. The key is to pick up clean, manageable-sized sections each time to maintain a neat appearance.
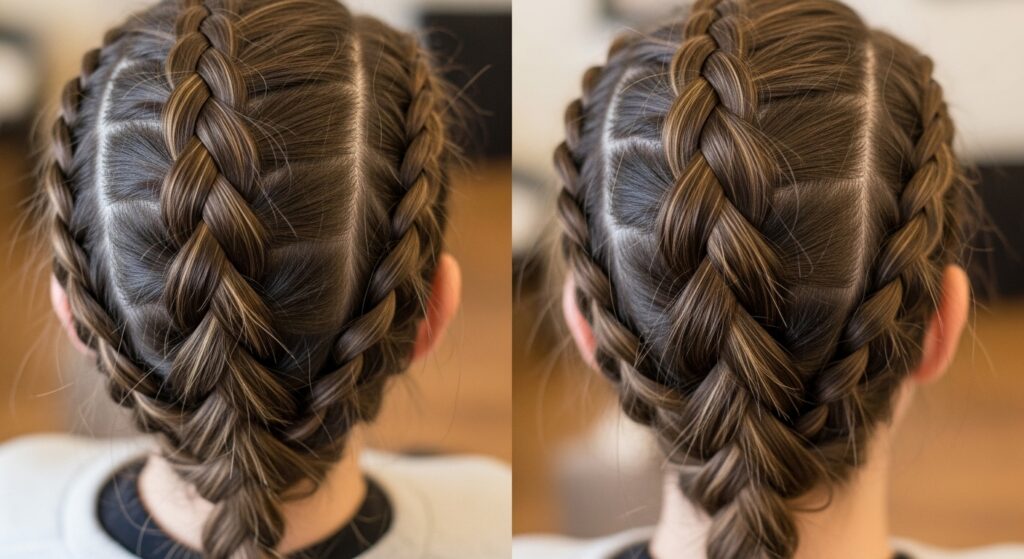
Step 6: Transitioning to a Regular Braid
Once you have incorporated all the loose hair from the sides (usually when you reach the nape of your neck), you will be left with three strands of equal thickness. From this point, simply continue braiding in the same underhand motion, but without adding any new hair. This will create a traditional three-strand braid that continues the raised, Dutch braid texture.
Step 7: Secure Your Masterpiece
When you’ve braided as far down as you can, secure the end with a hair tie. Give the braid a very gentle tug along its length, pulling lightly on the outer loops to loosen and fluff it. This step enhances the 3D effect and makes the braid look fuller and more romantic.
Top Tips for a Flawless Finish
Even with the steps down, a few pro tips can elevate your Dutch braid from “good try” to “did you do that yourself?!”
Practice on Slightly Dirty Hair: Second-day hair has more natural texture and grip, making it infinitely easier to braid than freshly washed, silky hair.
Tension is Your Friend: Maintain a consistent, firm (but not pulling) tension as you braid. This prevents the braid from becoming loose and sloppy too quickly.
Use a Mirror Strategy: For a single braid, use one hand to hold the strands and the other to work. Position yourself between two mirrors or use a hand mirror to check the back of your head periodically.
Don’t Fear the Messy Braid: A few flyaways can add a beautiful, bohemian touch. If you have shorter layers around your face, embrace them as face-framing pieces.
Finger Combing for a Softer Look: For a less structured, more effortless braid, try using your fingers instead of a comb to separate the sections you add in. This creates a softer, more relaxed vibe.
Troubleshooting Common Dutch Braid Problems
It’s completely normal to hit a few snags when learning. Here’s how to solve the most common issues.
Problem: My braid is sticking straight out.
Solution: This usually means your tension is too tight or you’re holding the braid too far away from your head. As you cross sections under, keep the braid close to your scalp. Pull the strands downwards rather than outwards.
Problem: The braid looks loose and messy.
Solution: This is often a tension issue on the opposite end. Make sure you are pulling the strands firmly each time you cross them under. Also, ensure the sections of hair you are adding are neat and not too thick.
Problem: I can’t get the hang of adding hair.
Solution: Slow down. Practice the motion of just crossing the three strands under without adding any hair first. Once that feels natural, then introduce the step of picking up new sections. It’s all about muscle memory.
Problem: The top of my braid is a tangled mess.
Solution: Your starting section might be too big or not detangled enough. Ensure that initial three-strand section is perfectly smooth and a manageable size.
Beyond the Basics: Fun Variations to Try
Now that you’ve mastered the classic Dutch braid, the fun truly begins. You can use this foundational skill to create a myriad of stunning hairstyles.
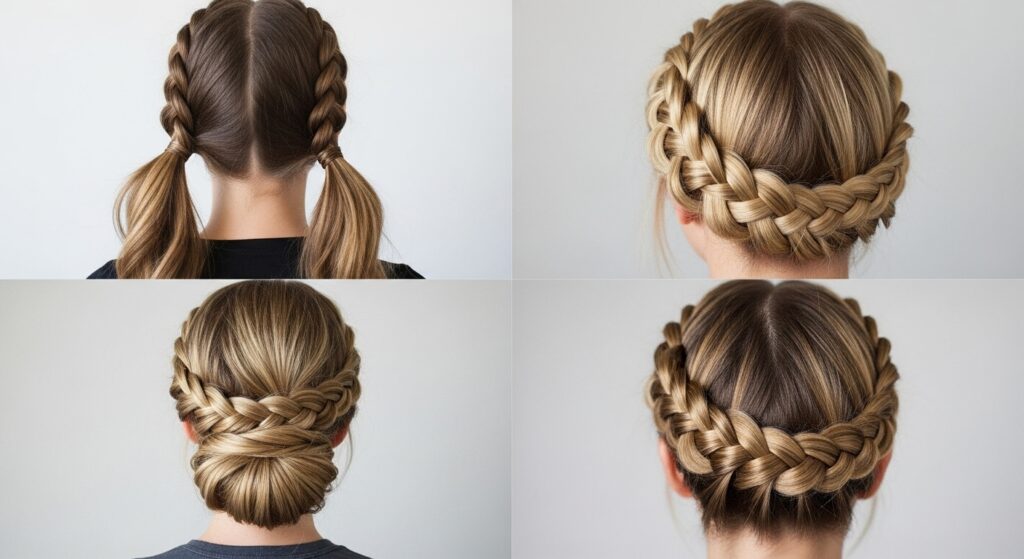
The Double Dutch Pigtails: Part your hair down the middle. Create a Dutch braid on each side, starting at your temple and braiding back. This is a playful, sporty, and incredibly chic look.
The Dutch Braid Crown (Halo Braid): Create a Dutch braid along your hairline, starting at one temple and braiding around the back of your head to the other temple. Secure the end with bobby pins tucked under the braid, creating a beautiful halo effect.
The Dutch Braid Ponytail or Bun: Create a single Dutch braid starting at your crown, but only braid about a third of the way down. Gather the remaining hair—both the braided and unbraided parts—into a ponytail or a bun. This adds an elegant detail to a simple style.
The Dutch Fishtail Braid: For the ultimate challenge, try a Dutch fishtail. The concept is the same—adding sections under the central piece—but using the two-strand fishtail technique. It creates a breathtaking, intricate look.
Conclusion: Your New Go-To Hairstyle is Mastered
Look at you! You’ve journeyed from wondering if a Dutch braid was even possible to understanding the simple “under” technique that makes it all work. Like any new skill, it requires practice. Don’t be discouraged if your first, second, or even third attempt isn’t Instagram-ready. Each time you try, your fingers will remember a little more, and the motions will become more fluid.
The Dutch braid is no longer a hairstyle just for others; it’s a hairstyle for you. It’s a testament to what you can achieve with a little patience and a step-by-step guide. So grab a hair tie, embrace the process, and get ready to add this stunning, versatile, and yes—easier than you think—braid to your everyday repertoire.